Today I want to talk about Tackling Zipper Fear. As a bag maker, I have chatted with a lot of sewists over the years and I can attest that zipper fear is real! But why?
Think about it. You were probably afraid to sew anything at first. Maybe you were even afraid to use your machine, but you did it!
For me, it was top stitching. I was so afraid to even try, and to be very honest, my first few attempts were very rough (and very squiggly). But, with time and practice my stitches started looking better and better!
So why not think about sewing with zippers in the same way! Like any new skill, the first few times may not be perfect, and it will likely be scary. However, eventually it will not only become possible but it may even become easy!
I am Shevaun Corey (of Sew Shevaun) and I have been making zippered pouches and bags for almost 8 years (which means I have sewn a LOT of zippers). A zippered pouch was the second thing I have ever sewn; I took a class at a local quilt shop and the rest has been history! I have always loved small pouches and bags. In fact, I love changing them out with the seasons (or my mood) and I love having different bags to organize different things. As soon as I realized I could make my own, using fabrics I loved from modern fabric designers, I was hooked. I made lots of pouches for myself and then others started asking me to make some for them. I am relatively self taught after that first class. Now I am designing my own patterns (thanks in large part to Elizabeth’s Quilt Pattern Writing course – it’s good for more than just quilts!). I love sewing, quilting, and cross stitching, so a lot of my bags are made with the maker and crafter in mind.
Now that you know a bit about me and my zipper history, you can be confident that I know my way around a zipper! Soon you will too! I have created a free zipper guide that you can download here that walks you through the basics. With this helpful guide in your back pocket, let’s talk about what I think are the top 3 questions people have about sewing with zippers that contributes to that zipper fear.
If you are using a pattern, then it should specify the type of zipper, although many do not. It may just list the size, such as: 8” zipper. This is often purposeful so that you, as the maker, can choose what type you would like to use. However, the flip side to this is it can be overwhelming for someone who is new to sewing with zippers.
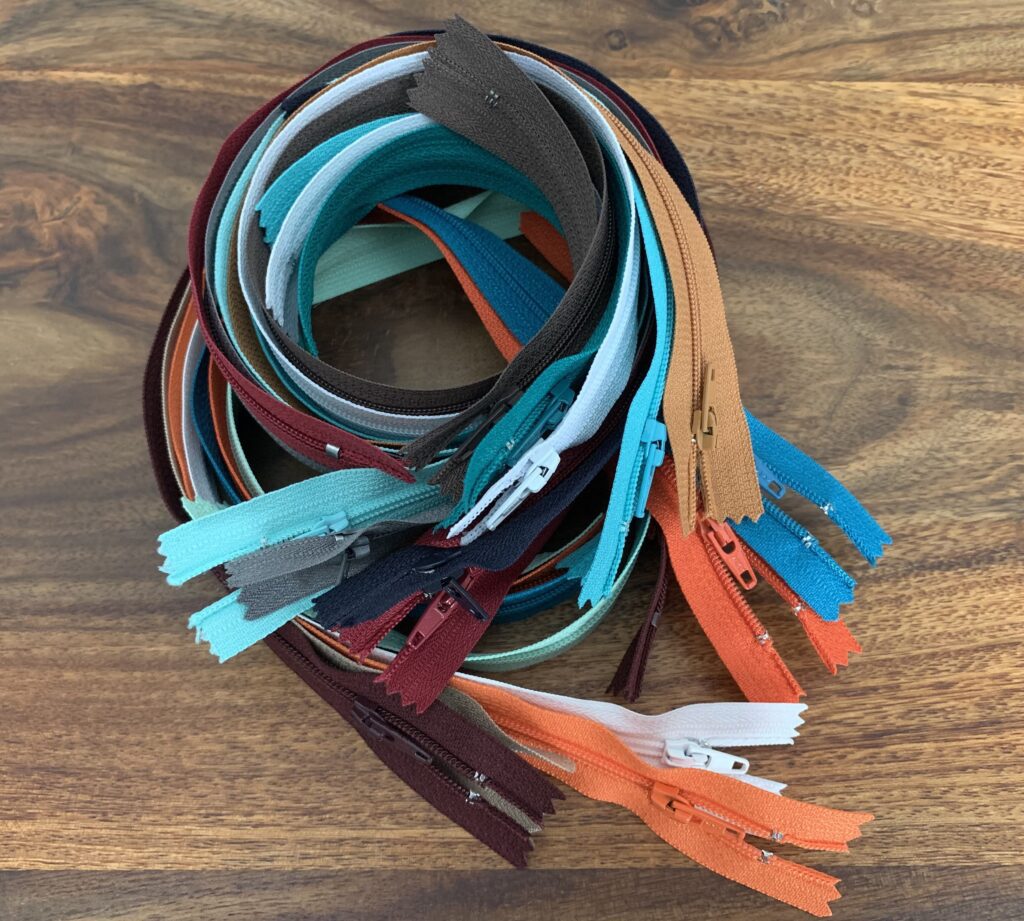
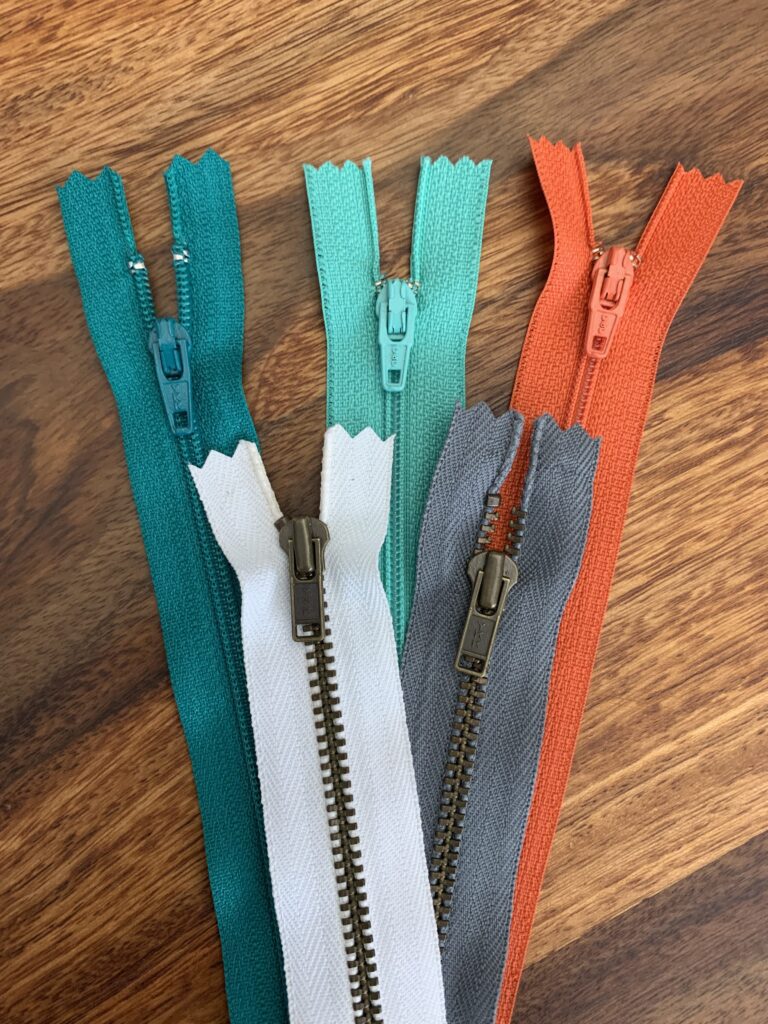
There are 3 main types of zippers you can use for bag making – coil, metal, and plastic. I generally use coil zippers, and definitely recommend starting with these if you are new to bag making or sewing with zippers. The reason why is because they are light weight, easy to find in a wide variety of sizes and colors, and you can sew right over them. You can also cut coil zippers down to size if needed (using non-fabric scissors of course). Metal zippers (although they look awesome) will break your needles if you sew over them. They also can’t be cut down to size easily, and you need to be a bit more precise with them. Don’t get me wrong, I am not saying not to use them, but I would get your feet wet with coil first. I also tend to use closed-ended zippers, which means there are small metal bars at either end of the teeth that prevent it from opening all the way.
Remember how I mentioned above that often the zipper information provided in a pattern is the size? Well, you are probably thinking that this should be pretty straightforward then… It is, in the sense that the size is usually provided and then you can go to the store and find a zipper with the size specified on it. But, it is important to note that the size of a zipper refers to the length of the teeth (the coil/metal/plastic pieces that open and close between the two zipper stops). It is not referring to the tape (the fabric) that surrounds the zipper teeth. The teeth are usually about 1 inch shorter in length than the tape. Tape sizes can very in thickness too but that is less important for bag making than the length (in my opinion). Knowing this will also help if you happen to find an old zipper lying around without a tag on it. You will be able to determine the size by measuring the size of the teeth. My free zipper guide provides a diagram of all of the parts of a zipper for easy reference.
You can change the length of a zipper by creating a zipper tab (using fabric sewn across the zipper), which in essence is creating your own zipper stop. Some patterns include a zipper tab.
The short answer to this question is no. I have sewn hundreds of zippers on with my regular presser foot. However, I find that using a zipper foot definitely makes it easier to get close to the teeth and ensure a consistent seam allowance (which is basically the equivalent of a quilter’s 1/4″ for zipper sewing). When using a regular presser foot sometimes the edge of the foot will go over the zipper teeth and it is harder to get a clean, straight line. It can also be hard to get in close to the zipper pull, which creates some wonky stitches. If the foot goes over the teeth or over the zipper stop or zipper pull your stitches can also be looser.
This is also where you can cut yourself a little slack too. It’s ok if it’s not perfect. Generally you want your zipper to be attached as close to the teeth as possible. But, I think, as is the case with a lot of sewing techniques, it is a matter of personal taste. Once your zipper is sewn in, adding a top stitch along where the fabric meets the zipper tape creates a polished look. It also helps secure your layers of fabric, preventing them from getting caught in your zipper. I usually switch back to my regular presser foot for the top stitching. The only thing I use the zipper foot for is attaching the zipper.
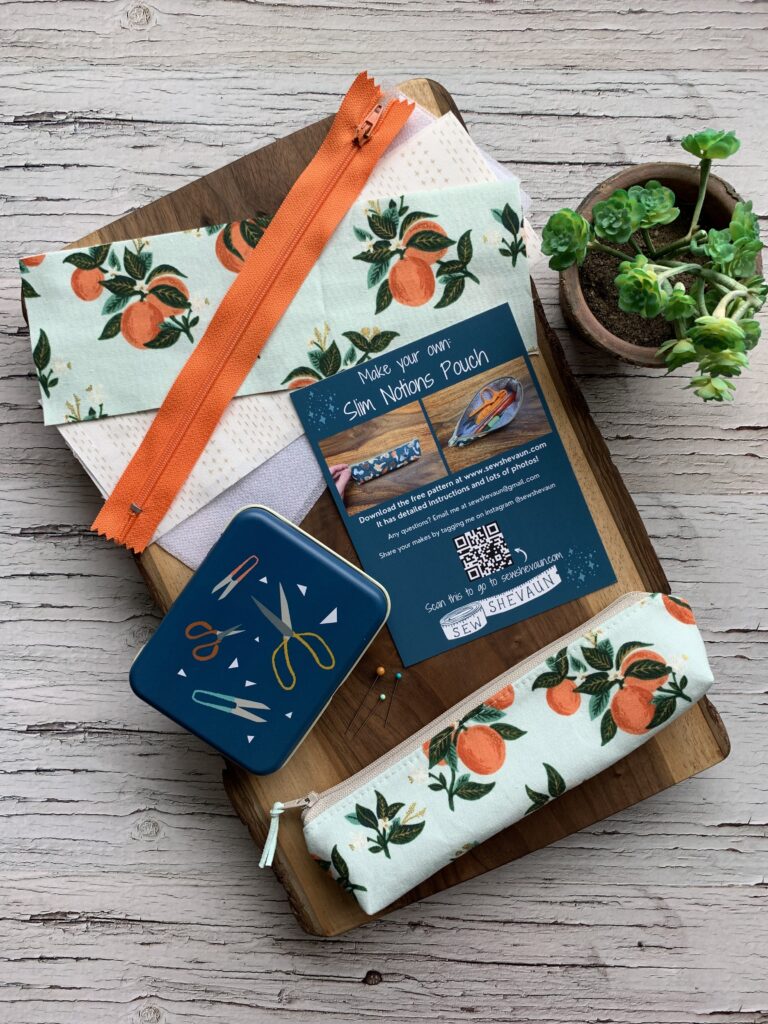
If you are looking to conquer those zipper fears, I have a free pattern that is perfect for practicing sewing with zippers. It is a small project that is a quicker make and doesn’t require a lot of materials. So…it’s not the end of the world if it doesn’t work out quite as well as you’d have liked it to the first time. Most of the fabric you can likely grab from your scrap stash.
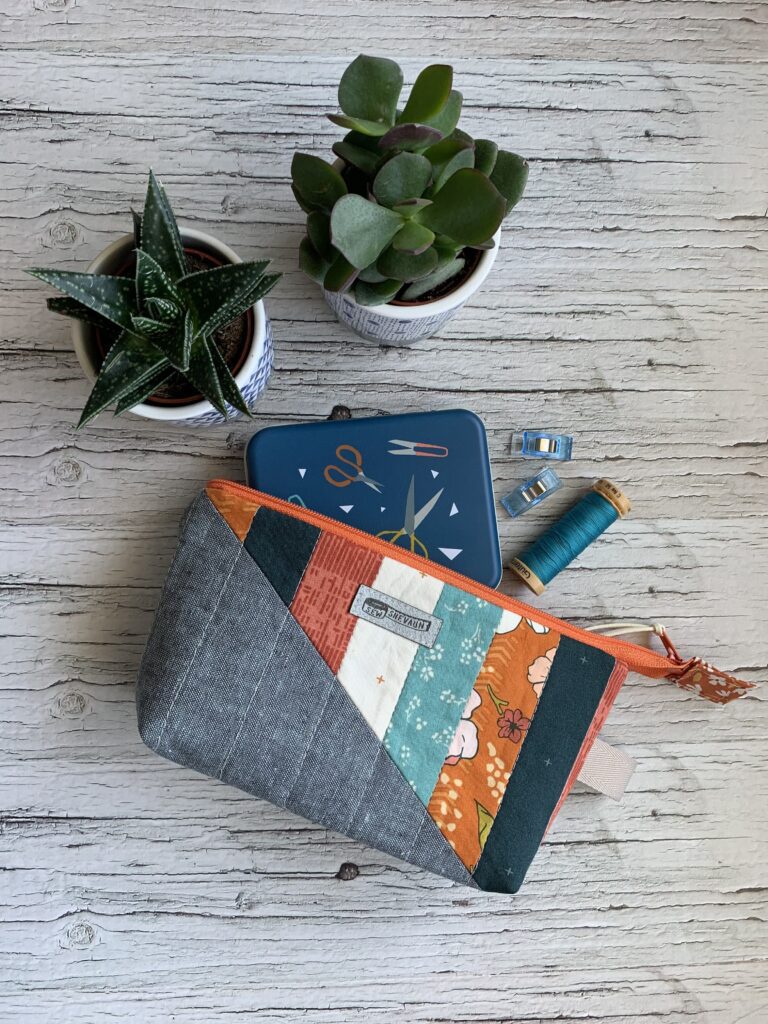
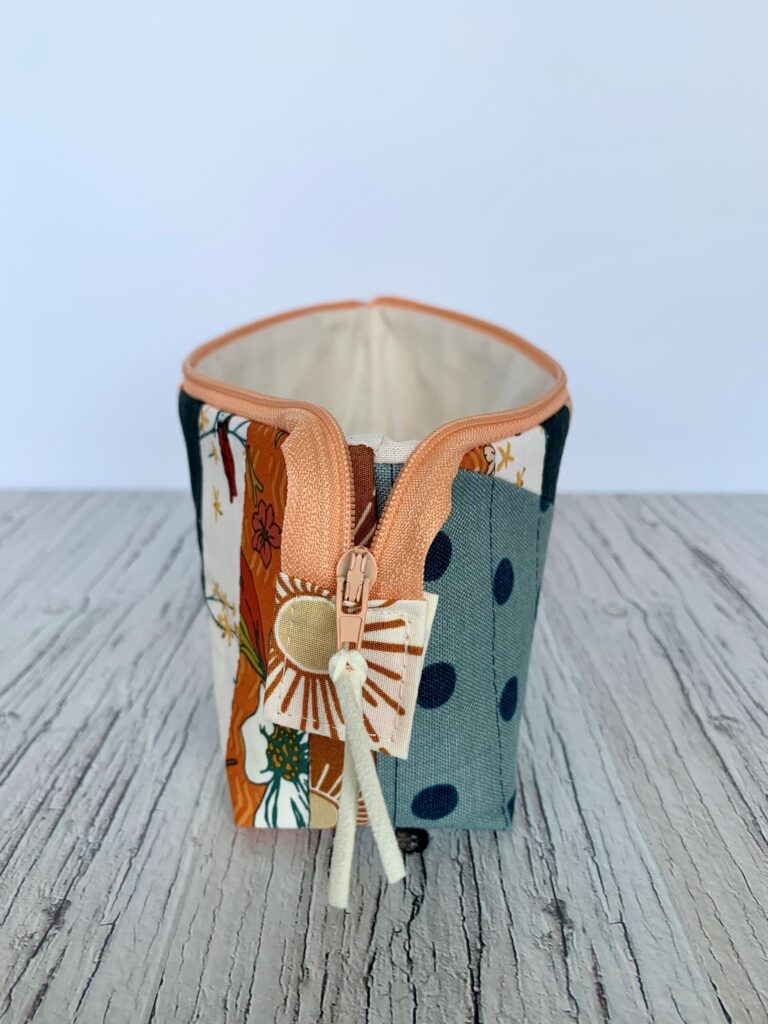
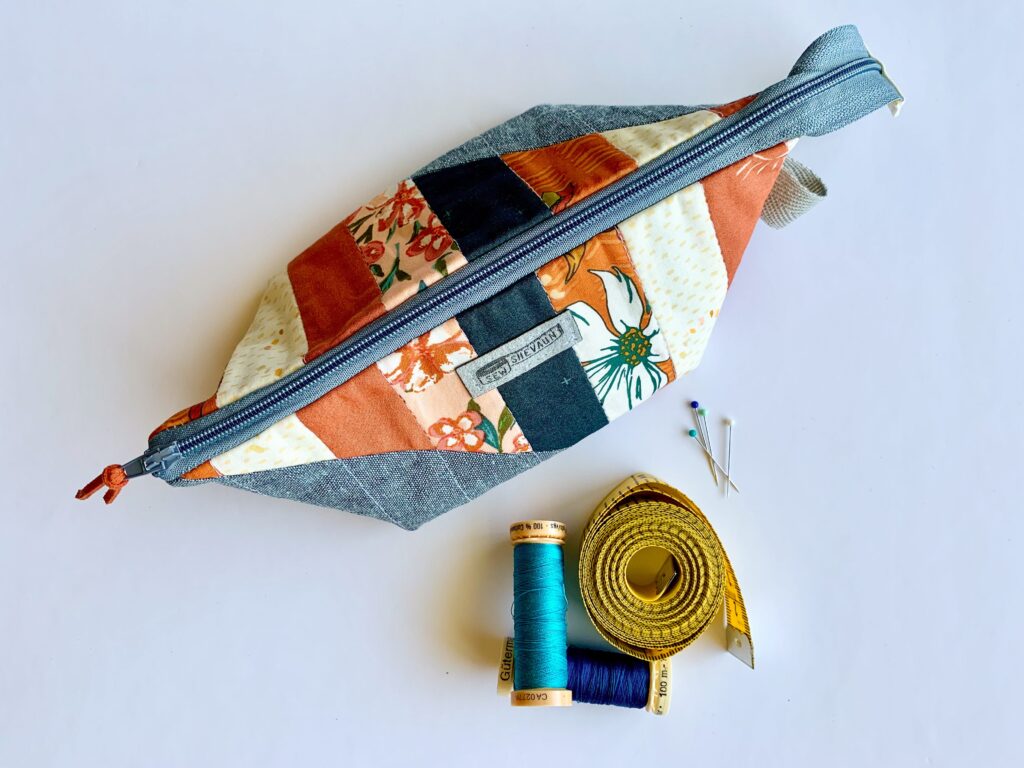
It is a small but mighty make, called the Slim Notions Pouch, that is super practical. It fits way more than you think, and is very addictive. This pouch is very handy for organizing everything from pens and pencils to other craft supplies. You’ll want one for every bag!
The other benefit of working on a smaller project is that once you’ve mastered this, you will be ready to move on to bigger and more complex bags. In addition to installing a zipper, you’ll also box some corners which is very common in bag making. These corners are pretty small and finicky.
I am offering an exclusive tip here on the Quilter’s Candy Blog:
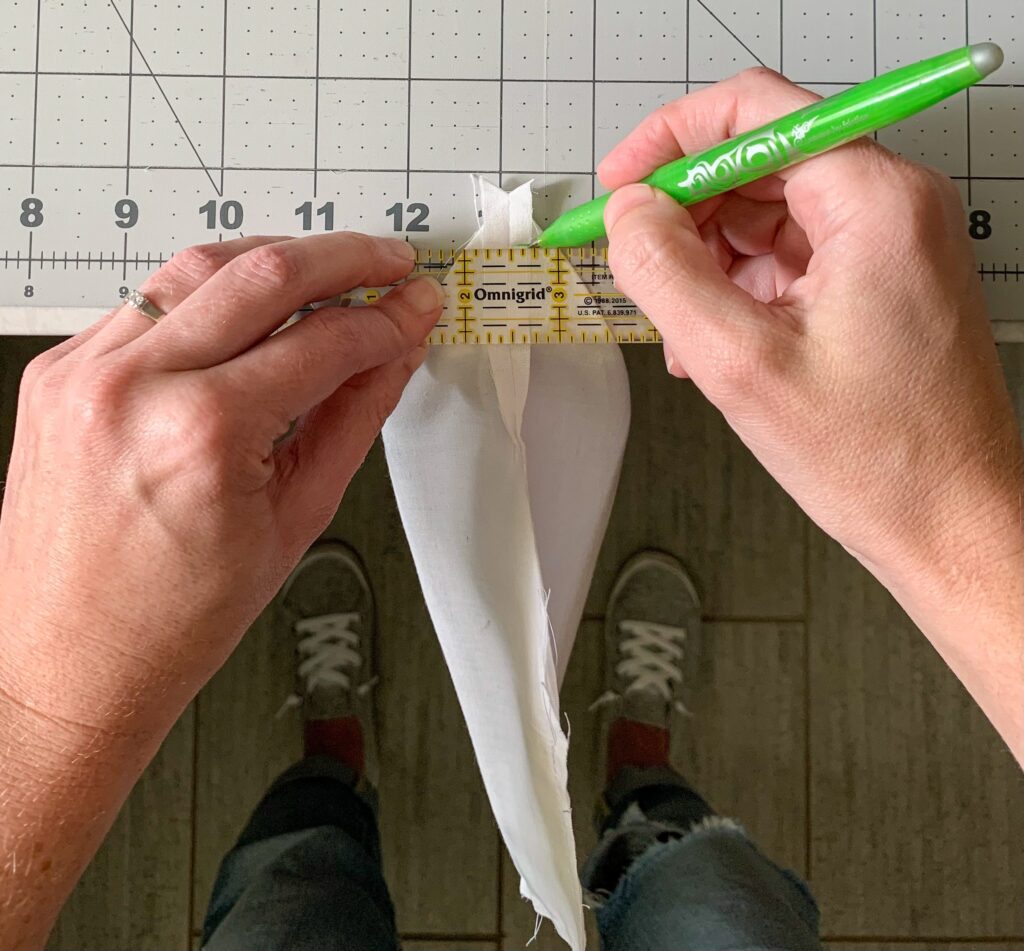
Hang the bag off the end of a table when you are marking your corners and gravity will help it lay better so you can get a more even line. So if you are facing the table, the only thing on the table will be the corner and a little bit of the lining. The rest of the bag hangs off the edge of the table. I also have a reel pinned to my Instagram page that shows me going through the steps to make the pouch from start to finish.
I hope you will all give the pouch a try and let me know how it goes! You can download the free pattern here. Please make sure to tag me on your social media posts using @sewshevaun, #sewshevaunpatterns, #slimnotionspouch
If you are interested in following along on Instagram, you’ll find me @sewshevaun You can also sign up for emails and updates at www.sewshevaun.com
Happy Sewing!
Shevaun
Did you enjoy this tutorial? Be sure to check out these free tutorials:
Tips For Sewing a Zipper Pouch with the Baby Lock Crescendo - Quilters Candy
[…] followed a tutorial by Shevaun Corey of Sew Shevaun. She wrote a blog post for Quilters Candy here that includes a download for a tutorial for her Slim Notions Pouch. I followed her instructions, […]
Cynthia Gottlieb
Great instructions for zipper fear! I sew zipper top stitch from front or back depending if I use a loose lining or if my lining is quilted to main fabric. If lining is quilted to main fabric, sewing the top stitching on the lining side you encase those raw edges. It’s really slick. On front side the top stitching is perfect. I find ¼ inch presser foot works better for me than a zipper foot. Move the needle over 1 notch and you’re closer to the zipper.
Anonymous
Cynthia GottliebGreat tips! Thank you for sharing!
Kathleen
I am so excited to try this!
Thank you!
Anonymous
KathleenYay! I’m so glad you liked this!
Julie Cefalu
Those are some excellent tips, Shevaun! I never knew the zipper size referred to the zipper teeth length. Thanks for all of the info and the free pattern.
Anonymous
Julie CefaluI’m so glad you found this helpful! 🙂