
Hand Quilt Your Binding
Quilting by Hand Tips and Tutorials
If you know me, you know I love the look of hand quilting. I even have a tutorial on hand quilting an entire quilt top. You can also read my Best Kept Binding Tip before diving into the hand quilting.
Here’s a couple of my older quilts with hand quilted work:
-
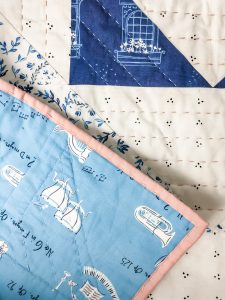
- Snow Globes quilt with hand quilted binding.
-
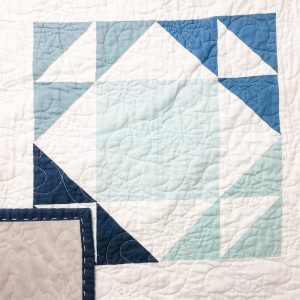
- Vienna Quilt with hand quilted binding and some hand quilted work on the quilt top.
-
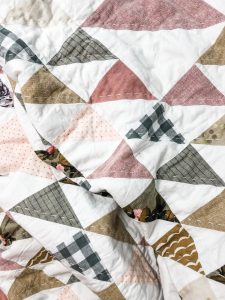
- HST quilt that is 100% hand quilted, and is one of my personal favorites.
Recently, I posted a video on Instagram doing some hand quilting quilt binding, (that’s a mouth full!) and the questions came flooding in. I decided it was time to share tips on how to hand quilt your quilt binding.
WATCH MY HAND QUILTING YOUR QUILT BINDING VIDEO TUTORIAL
Here’s the video I shared on Instagram. Note: This is NOT my tutorial video. To watch the tutorial, click HERE.
[wpvideo jvH70hDO]
Or You can explore our Quit Tutorial Video Page
TO GET STARTED
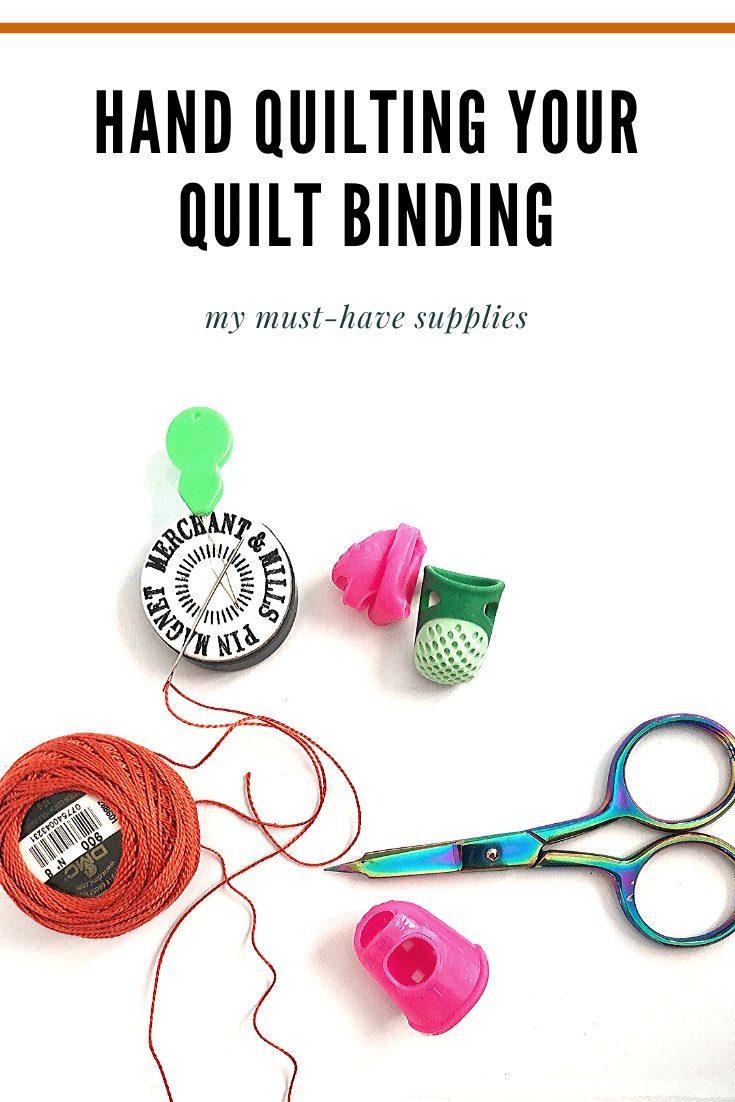
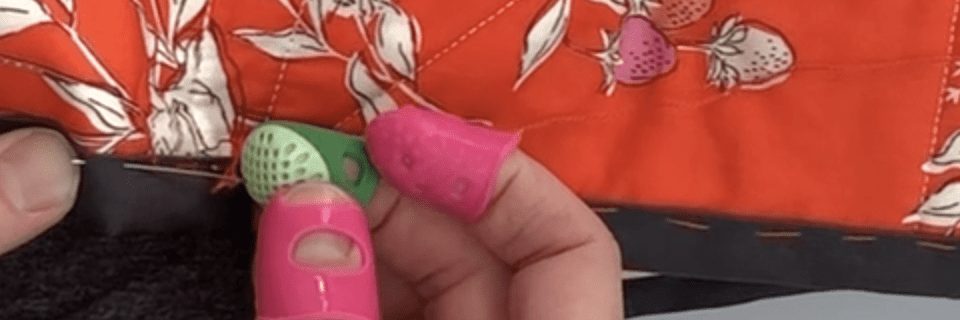
You will need the proper thread, needles, thimble, and scissors. I also like using needle grippers , a magnetic needle minder, and a needle threader. Those last items aren’t musts, but I do love using them.
Once you have your supplies and your quilt binding is ready to be sewn to the back of your quilt:
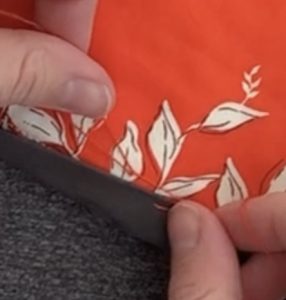
- Tie a knot on the end of your thread and hide the knot under your binding.
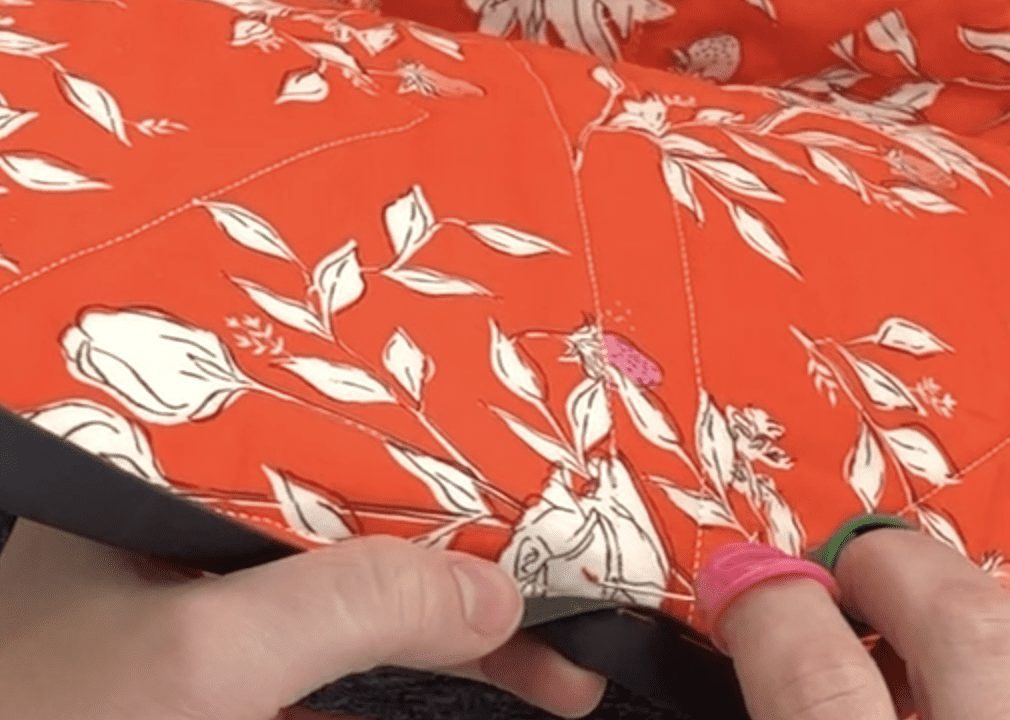
- Once the knot is hidden, pull your needle from the bottom of the binding to the top. Make sure your knot, needle, and thread have caught your backing fabric, but NOT the front of your quilt.
- Do a simple stitch all around your backing, making sure your needle and thread only catch your backing and batting, not the front of your quilt, so that your stitches do not show on the front of your quilt.
- Don’t worry too much about the length and size of your stitches. If you REALLY dislike some of them, unpick and redo them. Just remember that the purpose of hand quilting your binding is to give a handmade look – and handmade looks imperfect. So embrace your uneven stitches!
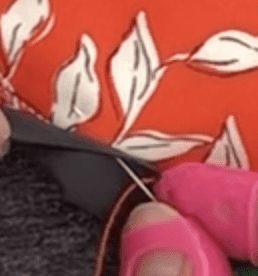
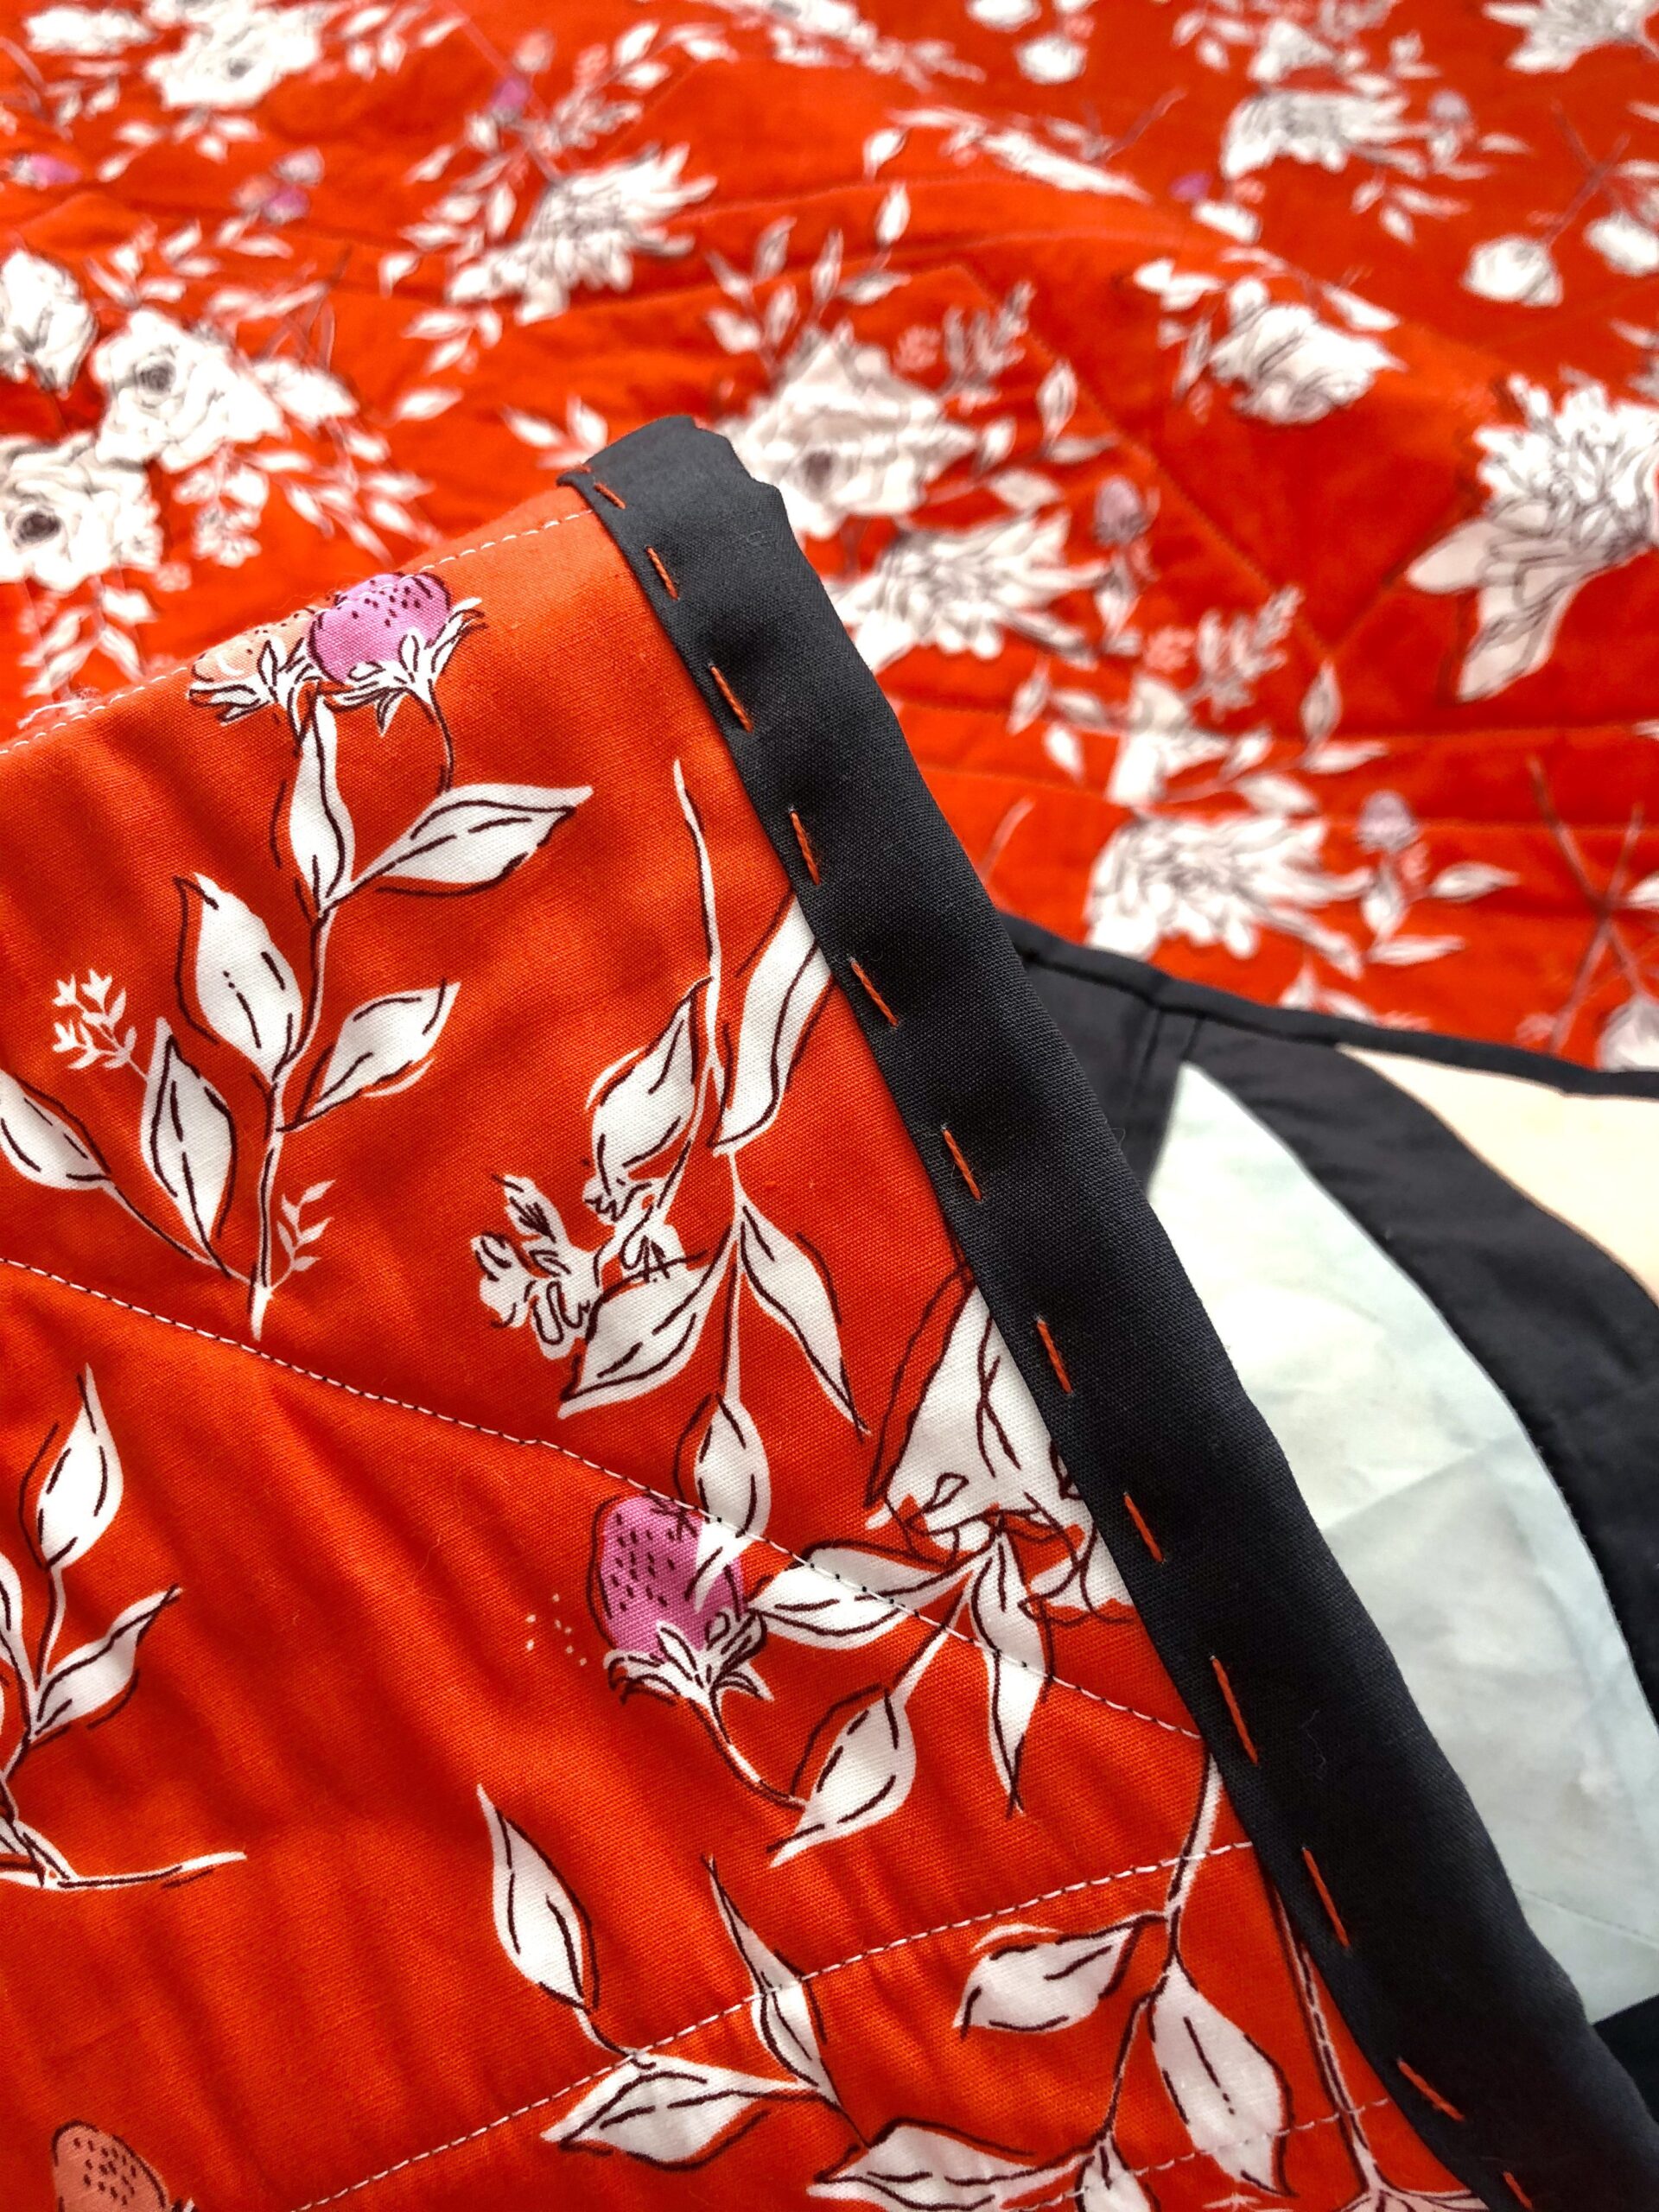
- When you are ready to end your stitching, or you run out of thread, pull the needle to the backing of your quilt. Tie a knot (or two) as close to your backing as possible. NOTE: make sure your knot is placed on your backing so it will be hidden by your binding. For visuals on this, watch my YouTube video tutorial HERE.
NOTE: To read notes on the following pictures, hover over each photo to read the captions.
-
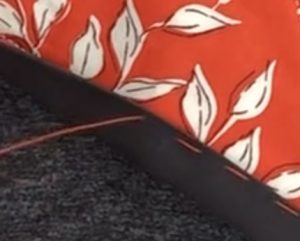
- Do not end with your thread like this – coming OUT of the binding,
-
- End with your thread behind the binding, and attaching to the backing.
-
- Tie a knot, making sure that where your thread knot is located will be hidden by the binding.
I hope this makes you excited to try hand quilting your quilt binding! I love it, and I hope you do, too. If you have any questions, feel free to leave a comment or email me. I’m happy to help.
If you enjoy this free tutorial, there are many more in my Quilters Candy Membership. We would love to have you join us!
RECENT BLOG entries
Hand Quilt Your Binding
Hand Quilt Your Binding
Hand Quilt Your Binding
Hand Quilt Your Binding
Hand Quilt Your Binding
Hand Quilt Your Binding

the latest
June 26, 2025
From Fashion to Freedom: How Christine Lindebak Built a Creative Sewing Business She Loves What happens when you leave a high-powered fashion career behind for a slower, more intentional life built around sewing, creativity, and freedom? In this episode of the Craft to Career podcast, I’m joined by Christine Lindebak, an inspiring garment sewist, pattern […]
tune into the
Craft to Career
Podcast
Each week get insights on how to turn your craft into a successful career. With both guest speakers and tips from myself, you get valuable, free education on the Craft to Career podcast!


