
All About Binding Boards
Introducing Binding Boards – The Quilt Binding Tool Every Quilter Needs

The quickest and easiest way to make your Quilt Bindings
Let me introduce you to Nicole Christoffersen, who is sharing all about Binding Boards. In fact, Nicole is the creator behind these boards. When I saw them, I knew I needed to get one and share about it with y’all. Nicole, take it away!
________________________
The Story Of Binding Boards

Learn to quickly make quilt bindings with the Binding Board
Benefits of Binding Boards
- A fun benefit of the Binding Board is that it doubles as a small, portable pressing station.
- The increased temperature from the reflective heat material helps to create amazingly flat seams like a wool mat does. Unlike a wool mat, though, there’s no wet dog smell or steam moisture seeping through to damage your furniture below.
- And of course, you can finish making a quilt binding in WAY less time than normal.
How Do You Use A Binding Board
To use a Binding Board, first press about a 10-12” section of the binding in half. Place this pressed section on the Binding Board and insert the included push pins on both sides of the fabric. The pins should be far enough apart to set your iron between them. This creates an opening that’s exactly the width of the finished binding.
Then place your iron in the opening you left for it and gently pull the binding through. Using your left hand to guide the fabric strip in half can help to make sure you’re getting a double fold binding (standard quilt binding), rather than a single fold binding. Continue pulling the binding through until you’ve reached the end. Tada! Pressed binding in a fraction of the time.
Binding Board In Action
Binding Board Love
Where Can You Get A Binding Board
SEE THE MOST
RECENT BLOG entries
All About Binding Boards
All About Binding Boards
All About Binding Boards
All About Binding Boards
All About Binding Boards
All About Binding Boards
the latest
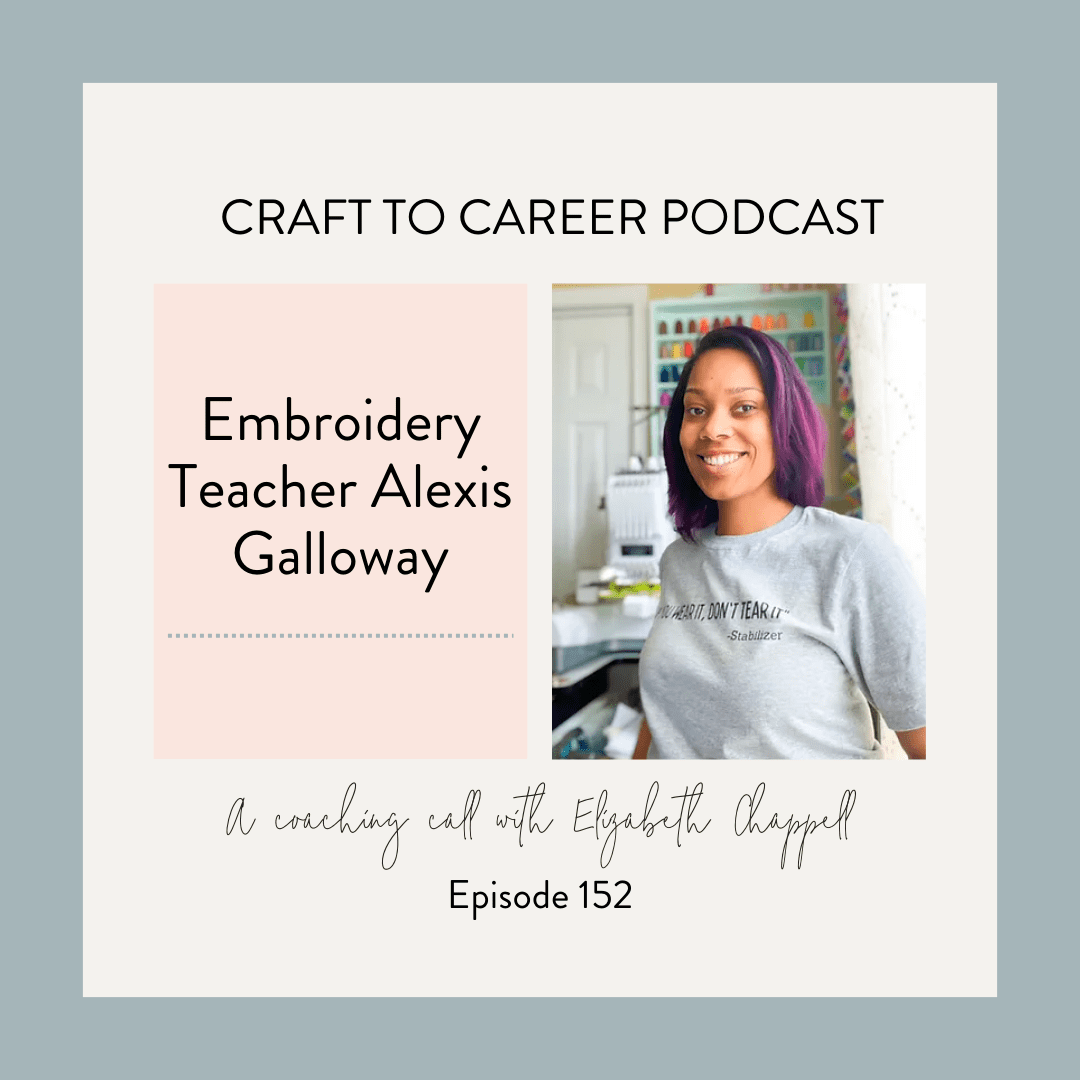
April 19, 2024
Embroidery Teacher Alexis Galloway Join the coaching call with Alexis as we talk about how to add a new course to what she offers. Alexis has been a succssful business woman for years, but is ready to uplevel her business. Alexis teaches people how ot start a business as an embroiderer. She has studied business […]
tune into the
Craft to Career
Podcast
Each week get insights on how to turn your craft into a successful career. With both guest speakers and tips from myself, you get valuable, free education on the Craft to Career podcast!


