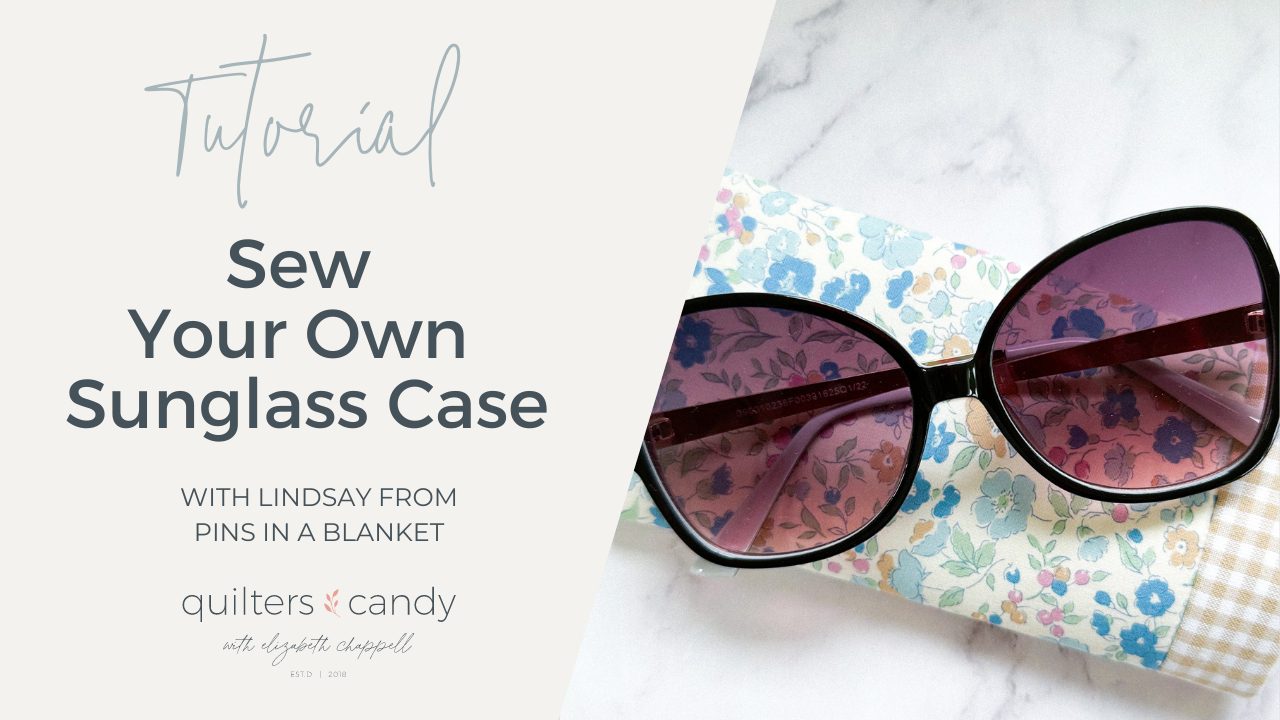
Sew Your Own Sunglass Case
June 27, 2023

Sunglasses Case Blog

I’m Lindsay from Pins In A Blanket and today on the blog I am going to share with you how to sew your own sunglass case. Are you ready to dive into a fun and quick summer project? Not only will this project protect your beloved shades from scratches and smudges, but it’ll also add a touch of personal style to your summer accessory game. 

Now, you might be wondering, why is making a sunglass case the perfect summer project? Well, my friend, the reasons are as bright as a summer day itself! First and foremost, it’s quick. With the warm sun calling your name, you don’t want to spend hours upon hours on a single sewing project. This sunglass case can be whipped up in less than 15 minutes, leaving you with plenty of sunshine-filled hours to enjoy the great outdoors.

Another reason why this project is perfect for summer is that it’s versatile. You can choose colorful, playful fabrics that reflect the vibrant spirit of the season. Think bold florals, funky geometrics, or even tropical prints. The choice is yours! By making your sunglass case unique, you’ll be able to spot it in a sea of generic ones, and it’ll bring a smile to your face every time you pull it out of your purse or beach bag. Let’s get started!

Sunglass Case

For regular size glasses or readers cut:

  • (1) 7” x 7” square of outer fabric
  • (1) 9” x 7” rectangle of lining fabric
  • (1) 7” x 7” square of batting or foam (ie: Soft and Stable)

For oversized glasses cut:

  • (1) 7” x 8” rectangle of outer fabric
  • (1) 9” x 8” rectangle of lining fabric
  • (1) 7” x 8” rectangle of batting or foam (ie: Soft and Stable)

You will also need…

  • Coordinating thread
  • Rotary cutter
  • Self healing mat
  • Ruler
  • Hera marker or disappearing ink pen (optional)

Once you have everything, it’s time to get stitching. Follow these easy steps:

Assemble Your Layers

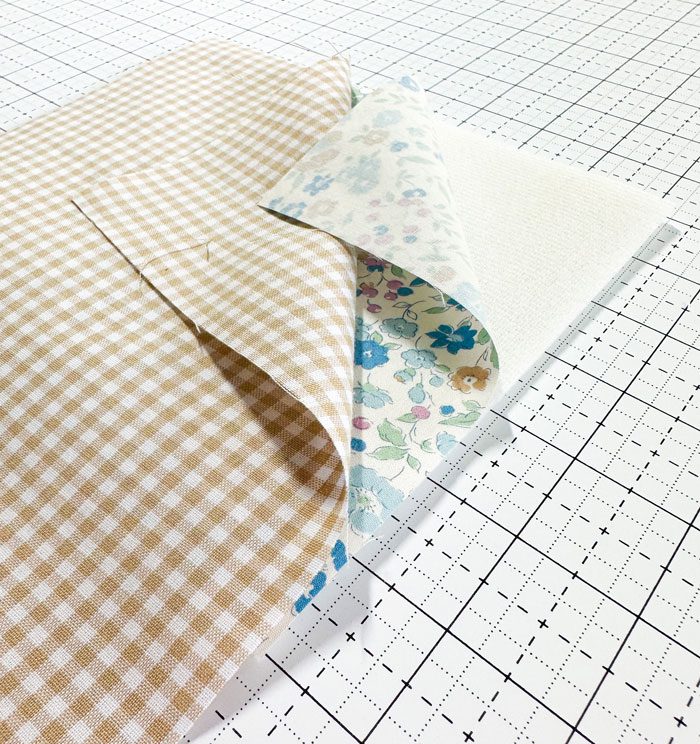
1. Place the piece of batting/foam on your work surface. Lay your outer piece of fabric on top of the batting/foam with the right side of the fabric facing up. These two layers should fit on top of each other perfectly. For the oversize glass case, the 7” side should run vertically.

Next, lay the lining piece of fabric on top of your exterior fabric with the right sides together. The lining fabric should have a 2” overhang on the bottom.

Layer the Fabric

Let’s Get Stitching

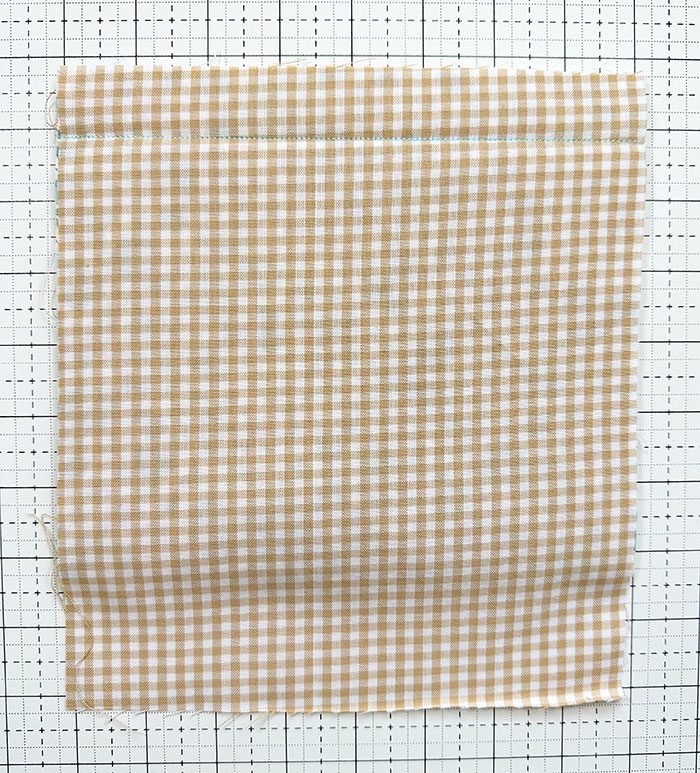
2. Starting 1″ down from the top, sew a horizontal line across the top of all three layers (lining fabric, outer fabric, and batting/foam). Use a straight stitch and maintain a straight line. You may find it helpful to mark the line with a hera marker or water erasing ink pen like I did before sewing. Remember to backstitch at the beginning and end to secure the stitches.

Stitching the Pieces together

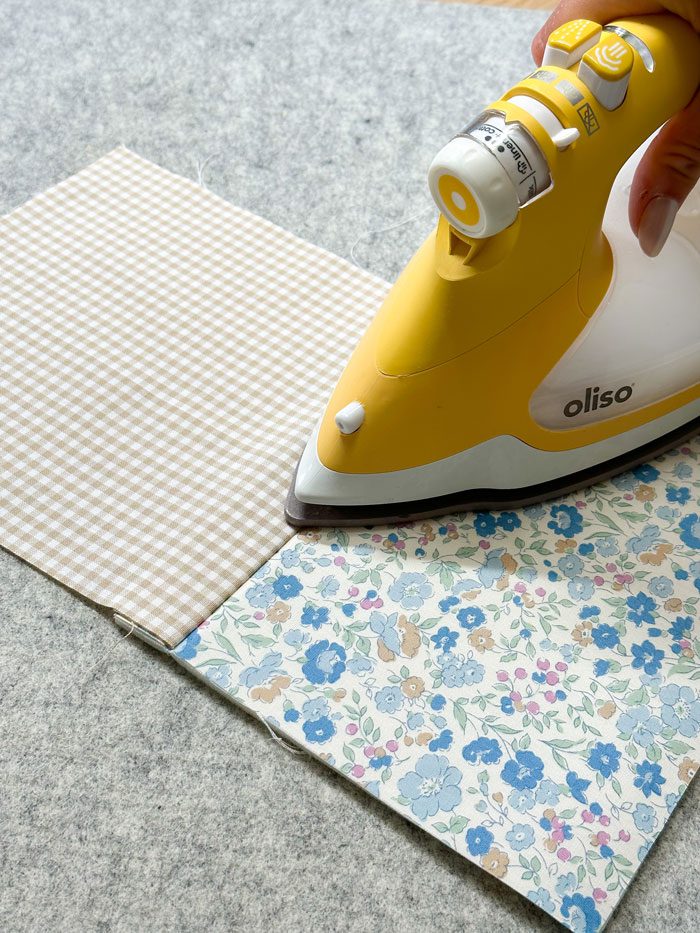
3. Gently flip the lining fabric up and press the seam with an iron. This will create a neat and crisp edge for your sunglass case.

Fold and Stitch

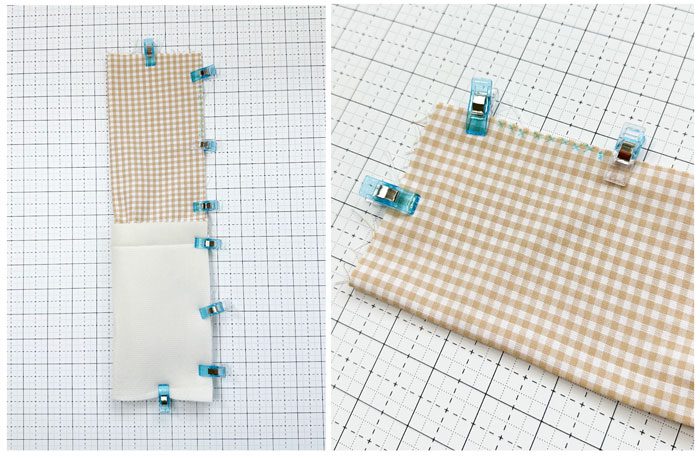
4. With the lining fabric flipped up, ensure that both right sides of fabric are face up. Then, fold the project in half lengthwise. If folded properly, your fabrics should be right sides together with the batting/foam exposed. Secure the layers together with pins or clips, making sure to align the edges around the perimeter of the case.

5. Using a ¼” seam allowance, sew around the edges of the case, stitching through all layers. It is crucial to leave approximately 3″ unsewn on the lining fabric side. I like to mark my project with blue x’s along where the opening will be so I don’t accidentally sew it together. This opening will allow you to turn the project right side out. Again, remember to backstitch at the beginning and end of the stitching.

Sew and Backstitch the case

Turn It Right Side Out

6. After you have sewn the perimeter of the case, carefully reach through the 3” opening and turn the sunglass case right side out. Gently push out the corners on the outer fabric and batting/foam end using a blunt tool (a chopstick or pencil eraser) to ensure they are well defined. You don’t need to push out the corners on the lining side as they are already in the perfect position for when they get tucked inside the pocket of the case.

Turn case right side out

7. After turning the case right side out, tuck the raw edges of the 3” opening inward and press the entire case with an iron to make it smooth and wrinkle-free. Stitch the opening closed either by hand or with your sewing machine, using a blind stitch or a straight stitch to close the edge.

8. Finally, push the lining fabric of the sunglass case into the pocket and it’s ready to go.

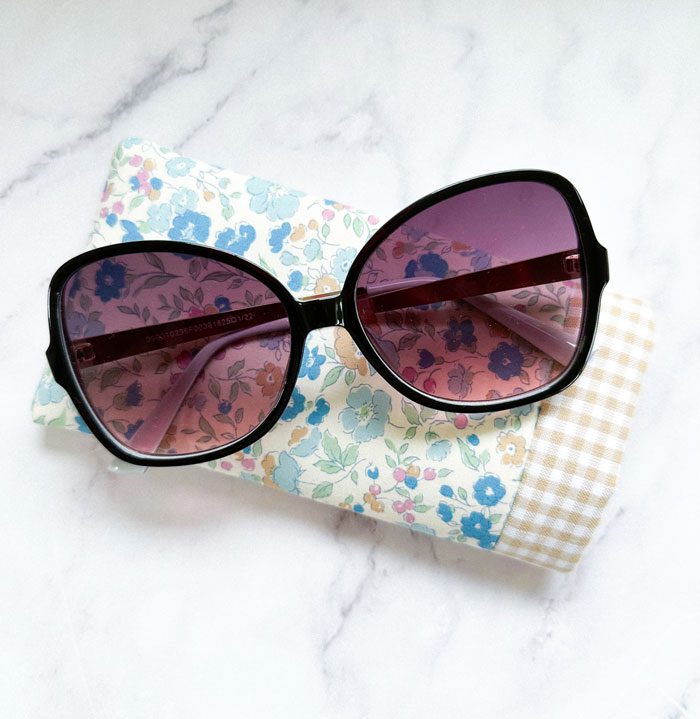
Sunglass Case

And there you have it, a sunglass case ready to accompany you on all your summer adventures! This project is not only a practical way to protect your shades but also a fantastic opportunity to express your individual style. Plus, it’s so quick and easy that you can make several cases in an afternoon and gift them to your friends or family. I hope you enjoyed the tutorial on how to sew your own sunglass case.

Don’t forget to follow me on Instagram, @Pins_In_A_Blanket , to see a step-by-step video of this tutorial. Make sure to use the hashtag #ShadesAndStitches so I can admire your incredible creations firsthand! You can also sign up for my newsletter to stay up to date on the latest quilting tips and tricks.

Happy sewing and enjoy the summer sun!

MORE BLOG POSTS LIKE THIS ONE


Did you enjoy this tutorial? Be sure to check out these free tutorials: 

Scrappy Mug Rug Tutorial

Nested Baskets

How to Make A Charm Pack Tote

or SEARCH THESE

Popular categories

Craft to Career
Digital Downloads
Patterns
Podcast
Quilt Alongs
Quilt Questions
Tutorials
back to the top

Copyright 2024 Quilters Candy  |  Terms & Conditions