Tips on Sewing a Curved Quilt
March 14, 2023

Hi there, my name is Lynett, the pattern designer and quilter behind LynsAvenue. I’m so honored to be a guest blogger for Elizabeth and share with you tips on sewing a curved quilt.

Before we begin, a little bit about me. I fell into quilting almost 10 years ago and I have never looked back since. In 2018 I started designing patterns, with my first pattern releasing in 2020. I live in Melbourne, Australia, with my husband and our 2 girls. Lastly, I work as a Social Worker during the day, currently working in the Family Violence and Child Wellbeing space.

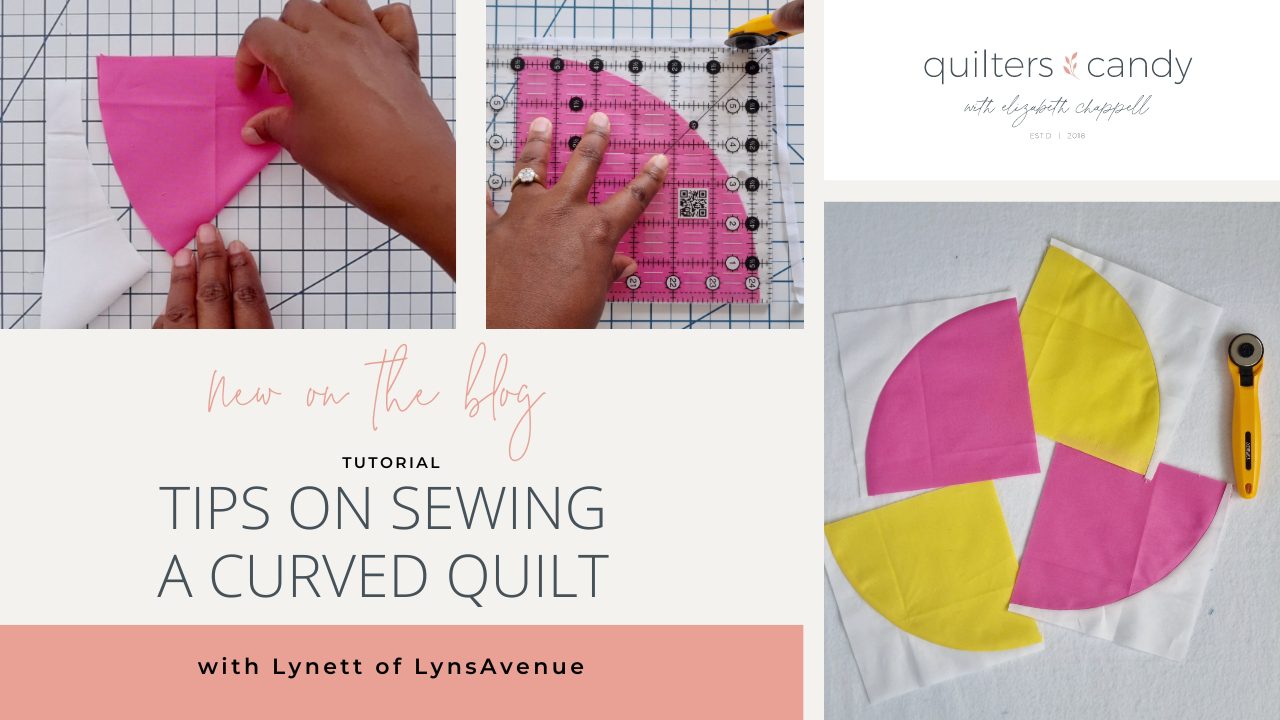
I’m so excited to share with you some tips to sewing curves in a quilt using the versatile Quarter Circle block template. I’ve added a printable of this tutorial for you that comes with a bonus diagram that shows different ways you can lay out Quarter Circles into 9 different block layouts to achieve different design options and a Quarter Circle template. Even though this tutorial uses the Quarter Circle or drunkards path quilt block, these tips will work for most curved piecing, like a half-circle quilt block.

Templates

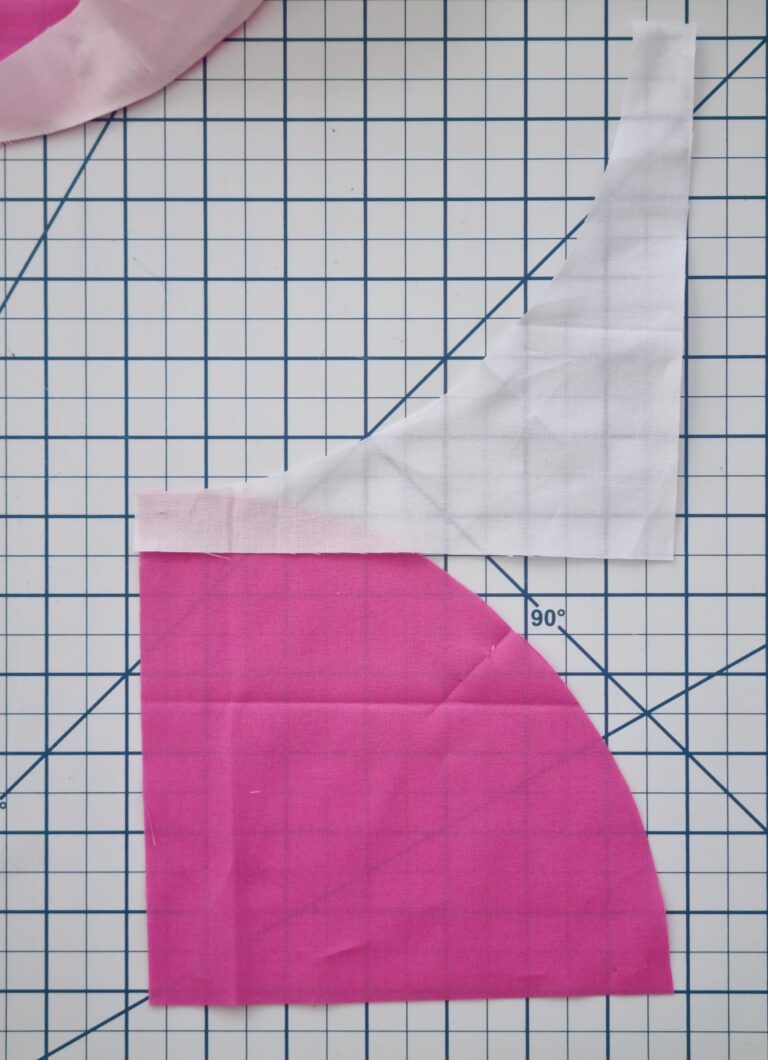
  1. A curved quilt block is made up of two pieces: a concave piece (with the curve going inwards) and a convex piece (with the curve going outwards). Measure the 1″ test square on the templates to ensure templates are printed at the correct size. Print templates at a 100%, do not scale to size as this results in a small block. It’s helpful to have a sharp rotary cutter to cut your template pieces and l find the small 28mm rotary cutter the easiest to use when cutting curved pieces. Cut on the dashed line as the solid line indicates final size. Place a piece of double folded tape at the back of the templates to help them stick to the fabric when cutting.
Sewing Curves Template
Sewing Curves Fabric

Basting your template

2.     There are different ways to baste your curved pieces: using pins, glue or just go for it with no pins or glue. I like to have my concave piece on top as l find it easier to adjust and maneuver the pieces as l stitch.

Pins

If using pins, fold your pieces in half and finger press to mark their centers along the curved side. Align the edges of the two pieces at the center, right sides together and place a pin. Pin at the both ends and in-between these pins if desired.

Sewing Curves with Pins

Glue

3.     l like to use this Sewline glue stick as it’s less messy and is easy to apply however any washable glue will work. If using the liquid glue, l would recommend using one with a fine tip as it helps to apply a little bit of the glue rather than have it smudge all over the piece. You’ll want to draw a thin line along the seam allowance on the curved side. Place the concave piece on top and manipulate the pieces to stick together until you sew them in place. Press your glued pieces together.

Sewing Curves Glue

No glue or pins

Simply take your pieces to the machine and start sewing a ¼” seam allowance.

sewing curves

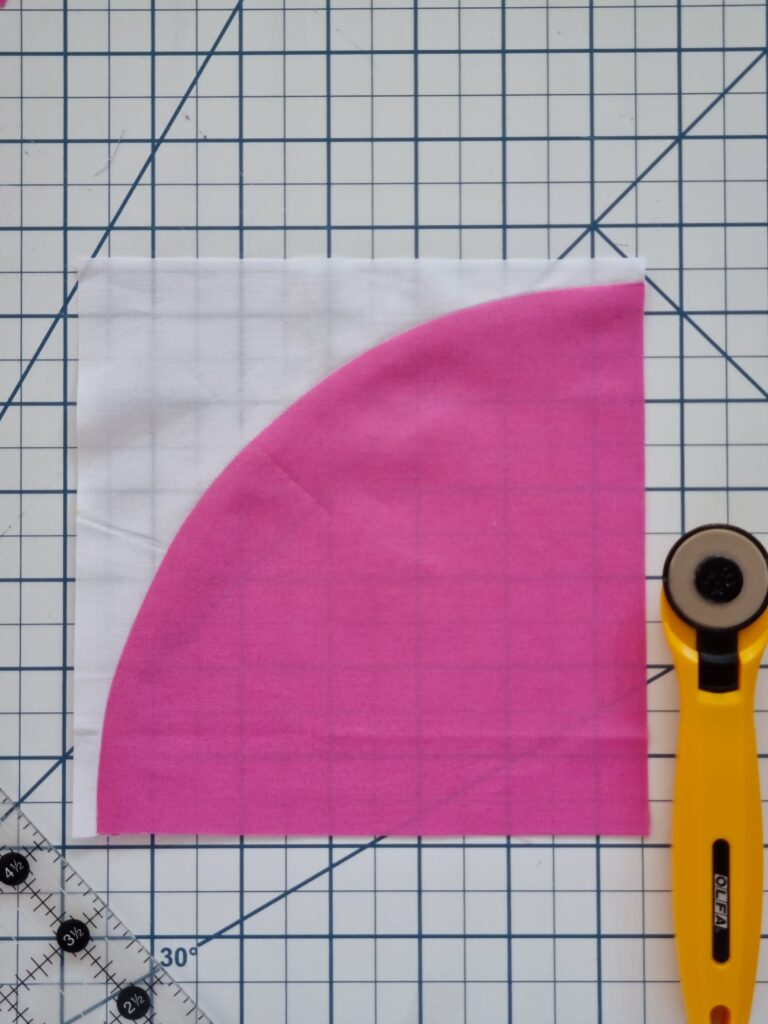
4.     Piecing your circle quilt block

  • Go slow and steady when sewing curved pieces together stopping every few inches to adjust and align the edges as this helps to avoid gathers and puckers.  
  • Take care not to stretch your pieces while you sew.
  • Always have the needle in the down position (needle always left in the fabric to hold it in place) each time you stop to adjust your pieces.
  • Remember to remove pins as you get close to them.
  • A ¼ inch presser foot is a helpful handy tool to help maintain a ¼” seam allowance and use a shorter stitch length.

This blog shows you a video of sewing curves using the no pin method.

Pressing

5.     Press and not iron your curved quilt block with a dry iron using your preferred option, to the side or open.

I find it easier to press to the side. If piecing the units together to form a circle, be sure to press the blocks in opposite directions as this ensures that the seams are nesting together nicely when sewn together.

Trimming

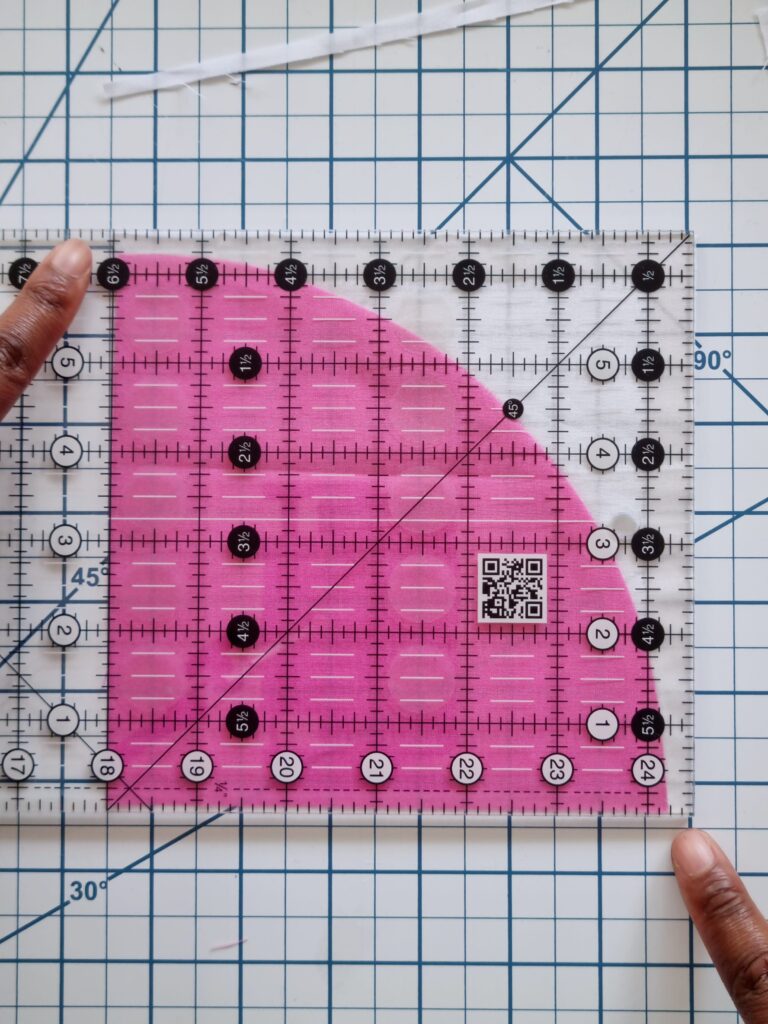
6.     Trim your square according to your pattern instructions. For the template provided, you’ll want to square up to 6 ½”. Be sure to leave a ¼” seam allowance from the stitched line on either ends of the curve.

sewing curves

I hope you found these tips useful for sewing curved pieces for a quilt. Now that you have the confidence to sew curved pieces, l invite you to try some of my favorite curved patterns; Heart Posy, Ella Vista, Hook and Pop. Happy quilting!

Download the FREE template here:

Website: www.lynsavenue.com

Instagram: @lynsavenue

Facebook: LynsAvenue

Pinterest: LynsAvenue

MORE BLOG POSTS LIKE THIS ONE


or SEARCH THESE

Popular categories

Craft to Career
Digital Downloads
Patterns
Podcast
Quilt Alongs
Quilt Questions
Tutorials
back to the top

Copyright 2024 Quilters Candy  |  Terms & Conditions