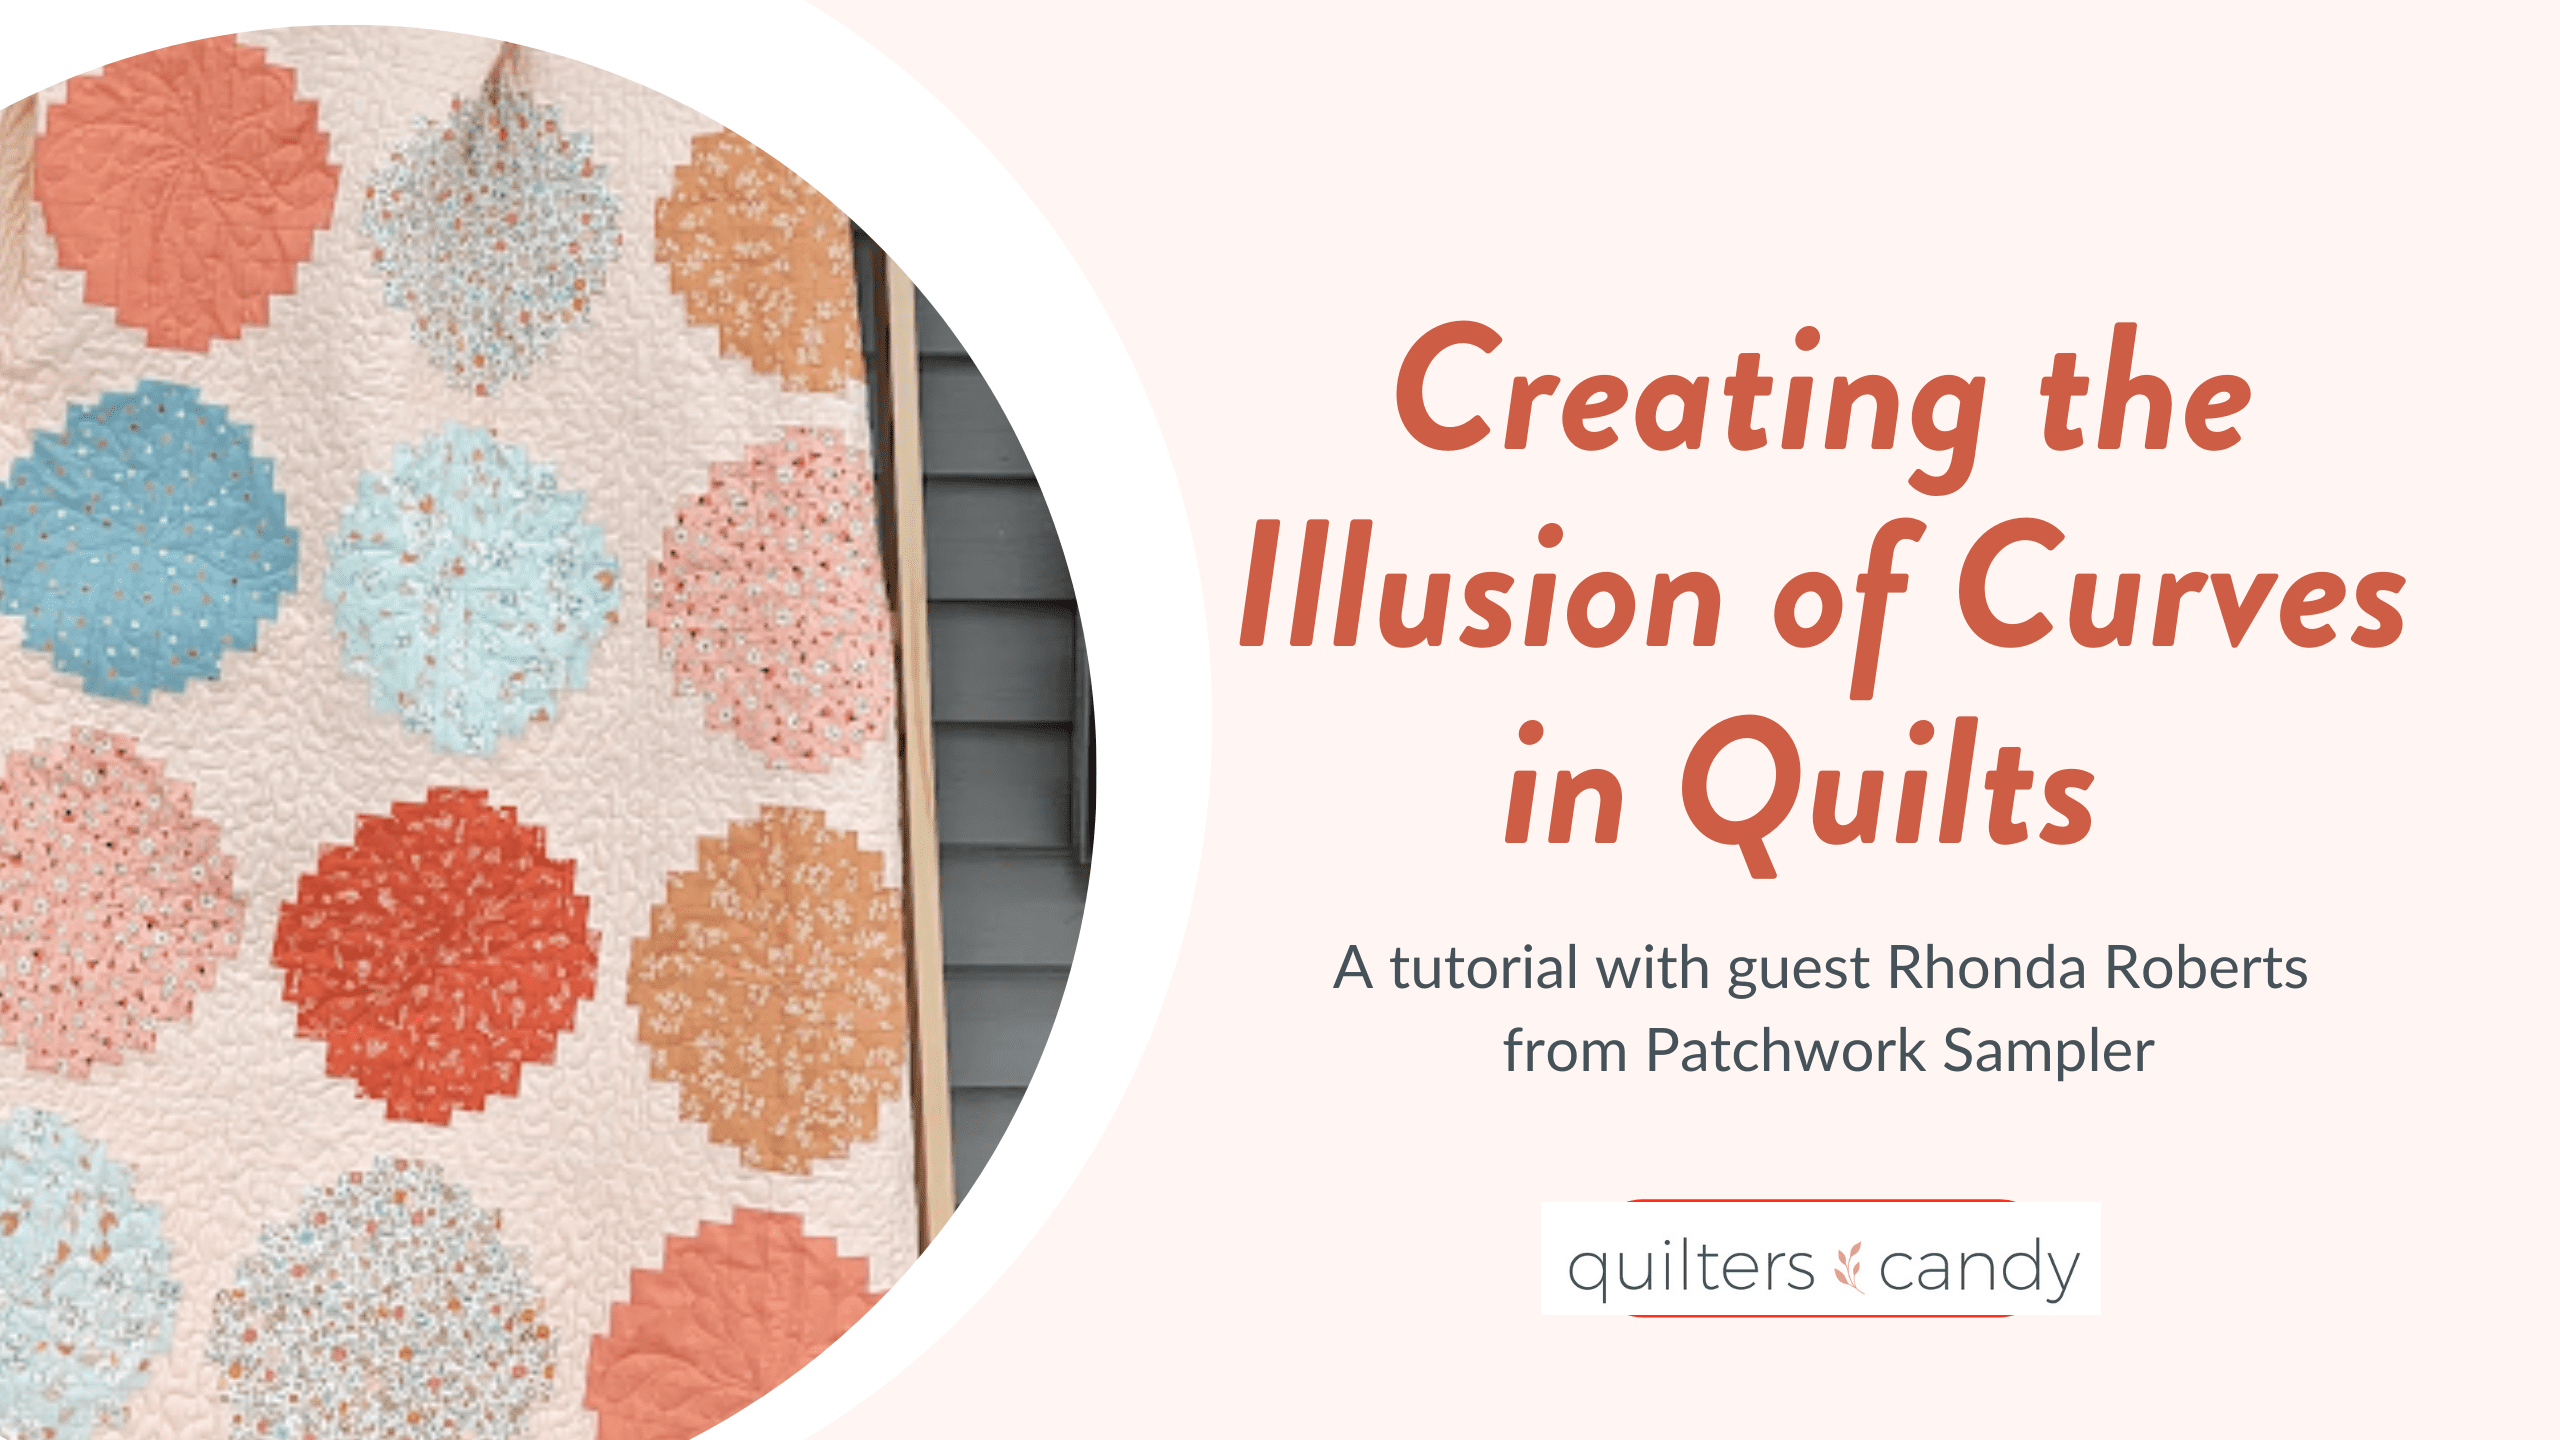
Creating the Illusion of Curves in Quilts
January 3, 2023

Creating the Illusion of Curves in Quilts

Hello, Friends! 

I am Rhonda Roberts from Patchwork Sampler. I am a long-time quilter and pattern designer. Beautiful fabric makes my heart sing and my mind spin with possibilities.Many of my quilts are fun, easy designs that allow the fabric to take center stage. Quilting has brought me much joy over the years and my passion is to share inspiration and motivation to help you create quilts you love. I appreciate Elizabeth allowing me to share some ideas and a fun, FREE pattern with you. 

My favorite quilts are those that look more complicated than they are. There is something magical when an unexpected design appears as quilt blocks are set together. One of the best surprises is when the illusion of curves occurs. I love curved piecing, but it can be intimidating, fiddly, and more time-consuming. Fortunately, you can achieve the appearance of curves in quilts with simple straight piecing. 

Be sure to hop over and sign up for your FREE pattern here. Then, take a look at some of the examples below, and try your hand at creating your own quilt with the illusion of curves.

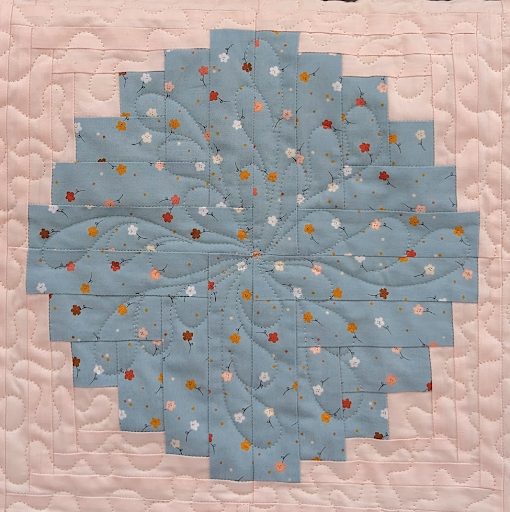
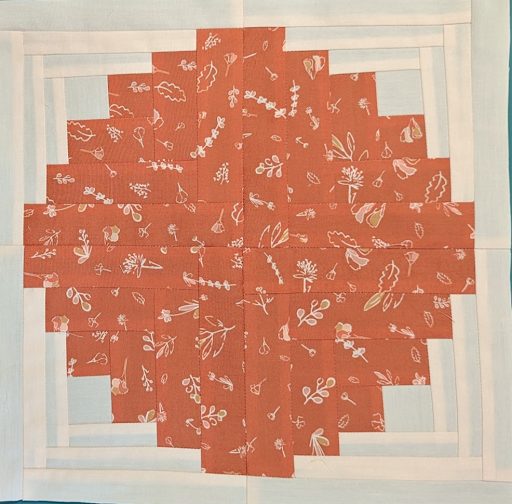
Creating the Illusion of Curves in Quilts circle quilt block

Place a Ring of Color in the Block

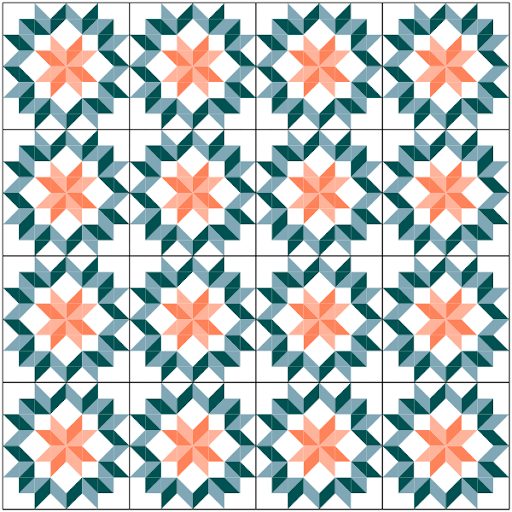
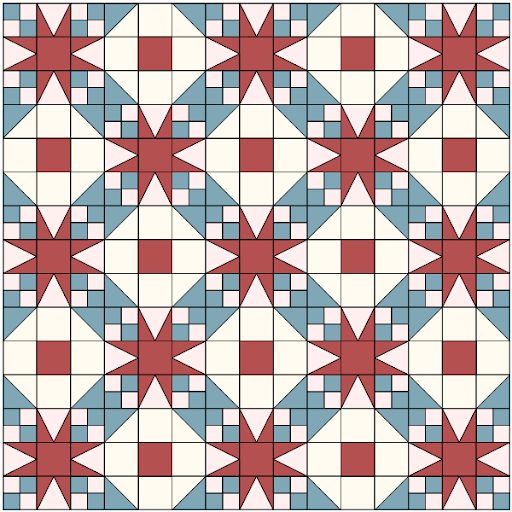
One of the easiest ways to create the illusion of curves is to place a common color in a ring around the quilt block. Many star blocks, like this Carpenter’s Star variation, work well with this method. The technique is especially effective when the fabric with the darkest value is used for the ring. A design bonus is that the outer ring also nicely frames the star!

Star block

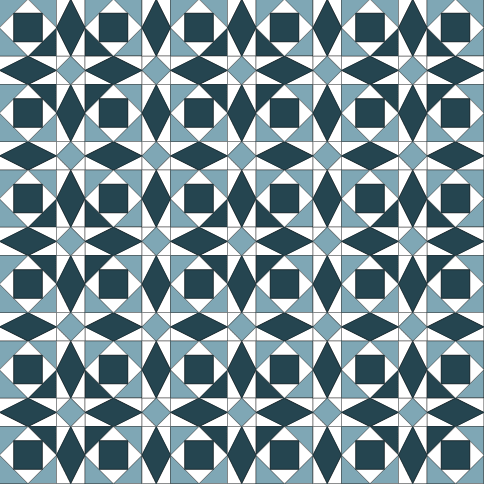
Another example of this is the Storm at Sea block. These are such simple units, but when combined, they have a big impact. I like this quilt because there are dark curves around the stars that alternate with light circles (if you can’t see the circles, just squint a little bit!). It is amazing that this illusion is created with straight piecing.

Alternate Lights and Darks in Blocks

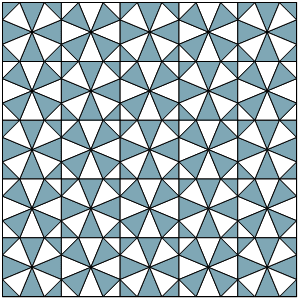
This Kaleidoscope design uses another technique by alternating the lights and darks in the blocks which creates the illusion of both light and dark circles. The illusion of curves creates movement in this quilt and it is achieved with very simple piecing.

kaleidoscope

Continue the Design in an Alternate Block

A Tennessee Waltz quilt is maybe the first time I realized the illusion of curves could be created with straight piecing. I saw one hanging in a show and was mesmerized by the possibilities. The alternate block with connector corners continues the ring of color, creating a circular effect. Again, both the star block and the alternate block are very simple, but magic happens when they are combined.

Tennessee Waltz

Stair Step Blocks

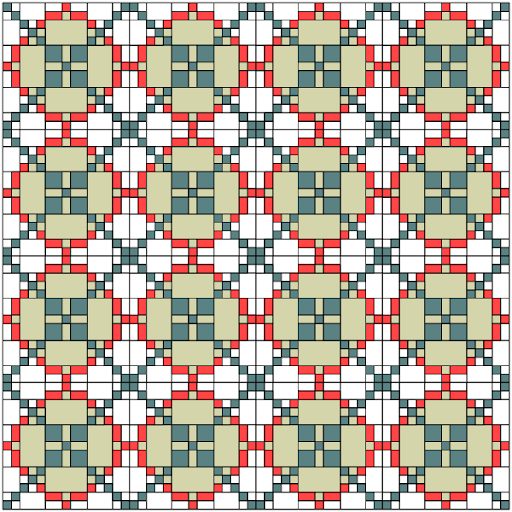
One last method I will share of creating the illusion of curves in quilts is by placing color in a block in stair step fashion. A traditional example of this is the Burgoyne Surrounded block. The circle is created by color placement and varying the size of the blocks in small increments.

Burgoyne Surrounded block

Now, Make Your Own Quilt with the Illusion of Curves

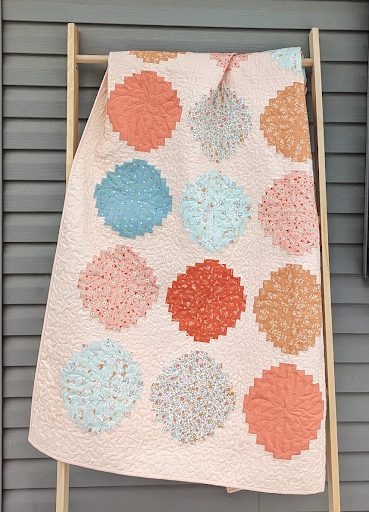
The Encompass Quilt, the pattern  I am sharing with you today, also uses little stair steps to create the curves. It is an easy log cabin design, but when the sizes of the center and background logs are different, circles appear. This quilt has very simple piecing that really showcases the fabric. In this case, the quilt features the gorgeous Gayle Loraine fabric by Elizabeth Chappell for Art Gallery Fabrics!

The Encompass Quilt

If you would like to try this technique, here is a quick tutorial to make the block. Please download the pattern here to get the cutting instructions. The pattern also has full instructions to make a throw or twin-size quilt. 

You will need four log cabin blocks to make a circle block. Typically, I chain-piece four blocks at a time, but for simplicity’s sake, I am showing only one block in the tutorial.

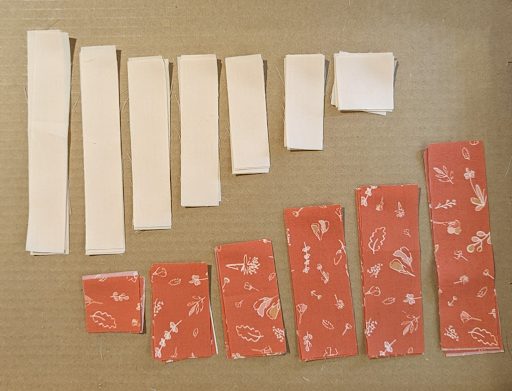
I try to stay very organized when I’m sewing so I can spend more time making quilts and less time finding things and ripping! Some of these pieces are very similar in size so it is important to keep them in order. Place the strips in a box. 

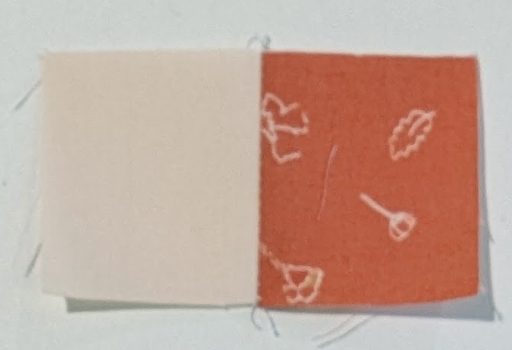
Start by sewing the center square of background fabric to the print square. Press toward the print. 

two fabric squares sewn together

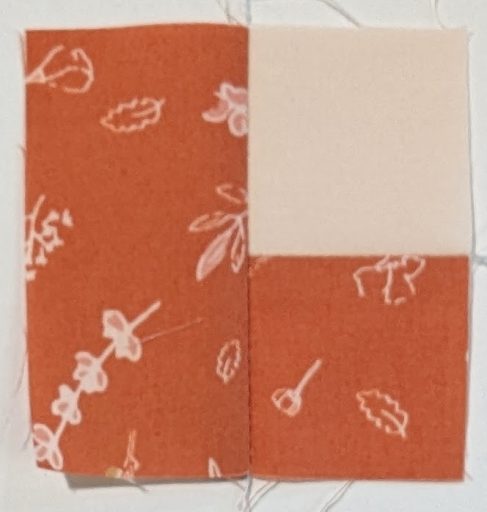
Next, rotate the block so the print is at the bottom and sew the second print strip to the unit. Press toward the print.

sewing example

Now that you have the basics of the block construction, here are some tips that will help. 


  1. The center square is the background fabric. The block is constructed by alternating two strips of print fabric, then two strips of background fabric around the center square.
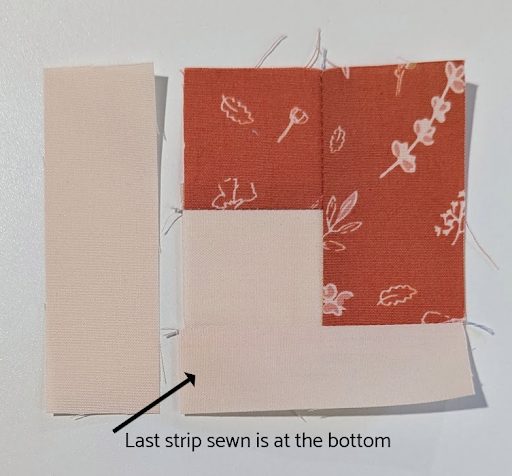
  2. Always rotate the block so the last strip you sewed is at the bottom, then sew the next strip to the left side of the block. 

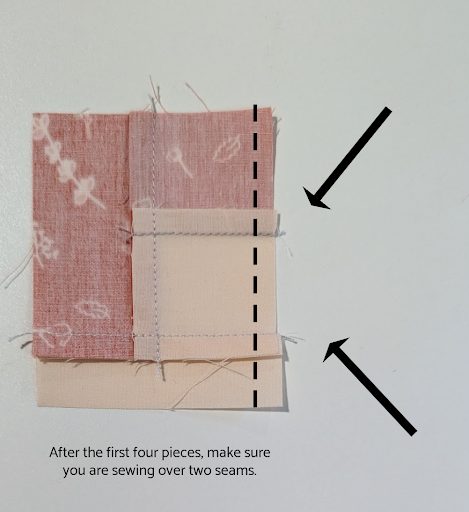
3. After the first round, to make sure you are sewing the strip to the correct side of the block, check to see that you are sewing over two seams.

sewing over two seams

Continue adding strips to the block as shown; alternating two strips of print fabric, 

block

followed by two strips of background fabric. Each time, press toward the last strip added.

example two

Repeat these steps one more time until your block looks like this:

repeat steps until it looks like this

You will then add the last two strips of background fabric. On the last round, press in, toward the block. This will allow all the seams to nest when you sew four blocks together to make the circle.

adding the last two strips

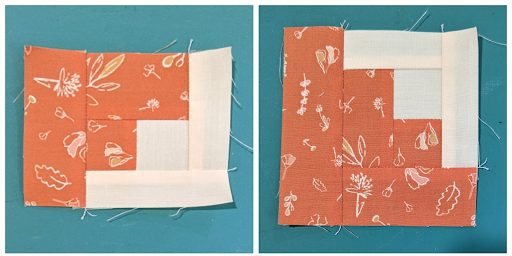
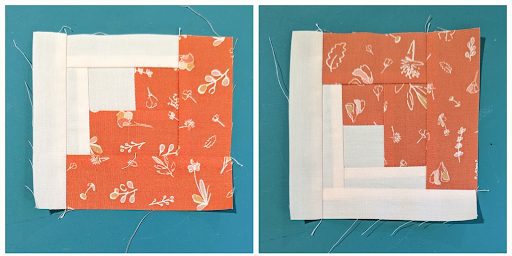
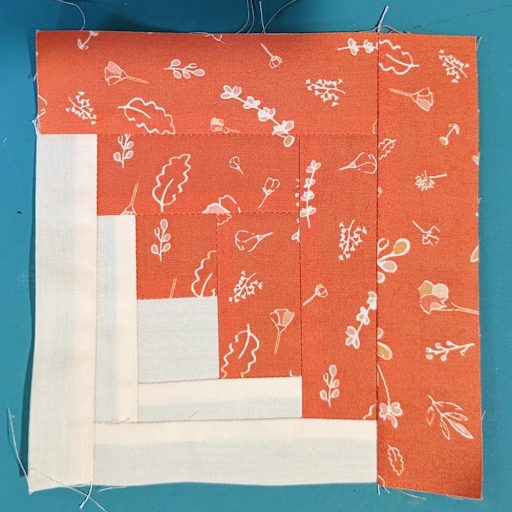
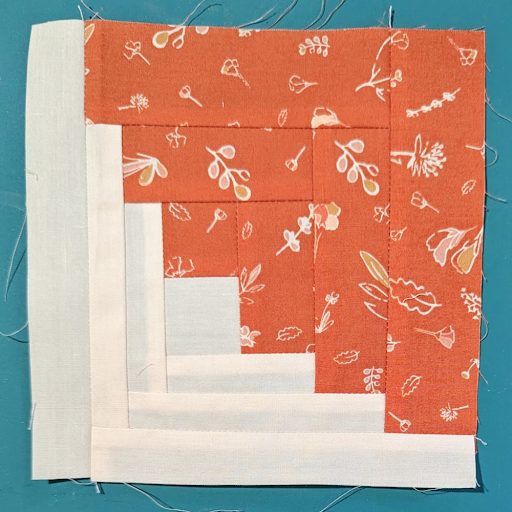
Rotate four of these blocks as shown to create the circle block. I spin the seams (there is a great tutorial on the Quilters Candy blog here on how to spin seams) or, if you prefer, press the seams open. You have just created a block with the illusions of curves.

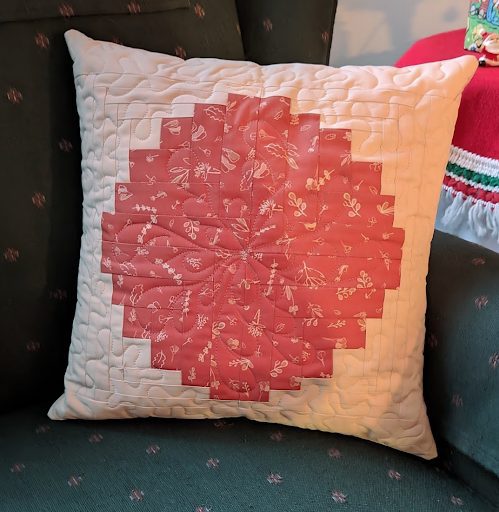
If you just want to try the technique, you can easily turn this block into a 14” pillow. 

Turning the block into a pillow.

Stop by the Patchwork Sampler website for instructions on completing the pillow. You can also find tips and tricks for sewing these narrow strips.. While you’re there, be sure to take a sneak peek at my upcoming pattern, The Reflection Quilt, to be released on January 7. 


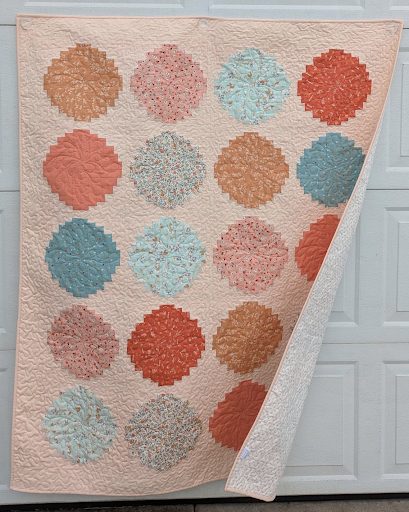
If you are ambitious, you can create a larger quilt like this one–such beautiful results from a simple block!

finished quilt

I hope this post has given you some ideas for making your own quilt with the illusion of curves. Throughout the year, I will release some free patterns with these techniques. Sign up for my newsletter here for updates on these quilts. If you have any questions, send me a DM on Instagram @patchworksampler

MORE TUTORIALS LIKE THIS


Did you enjoy this tutorial? Find more free patterns and tutorials below. 

or SEARCH THESE

Popular categories

Craft to Career
Digital Downloads
Patterns
Podcast
Quilt Alongs
Quilt Questions
Tutorials
back to the top

Copyright 2024 Quilters Candy  |  Terms & Conditions