Creative Gift Tags Using Mini Art Quilts

June 7, 2022

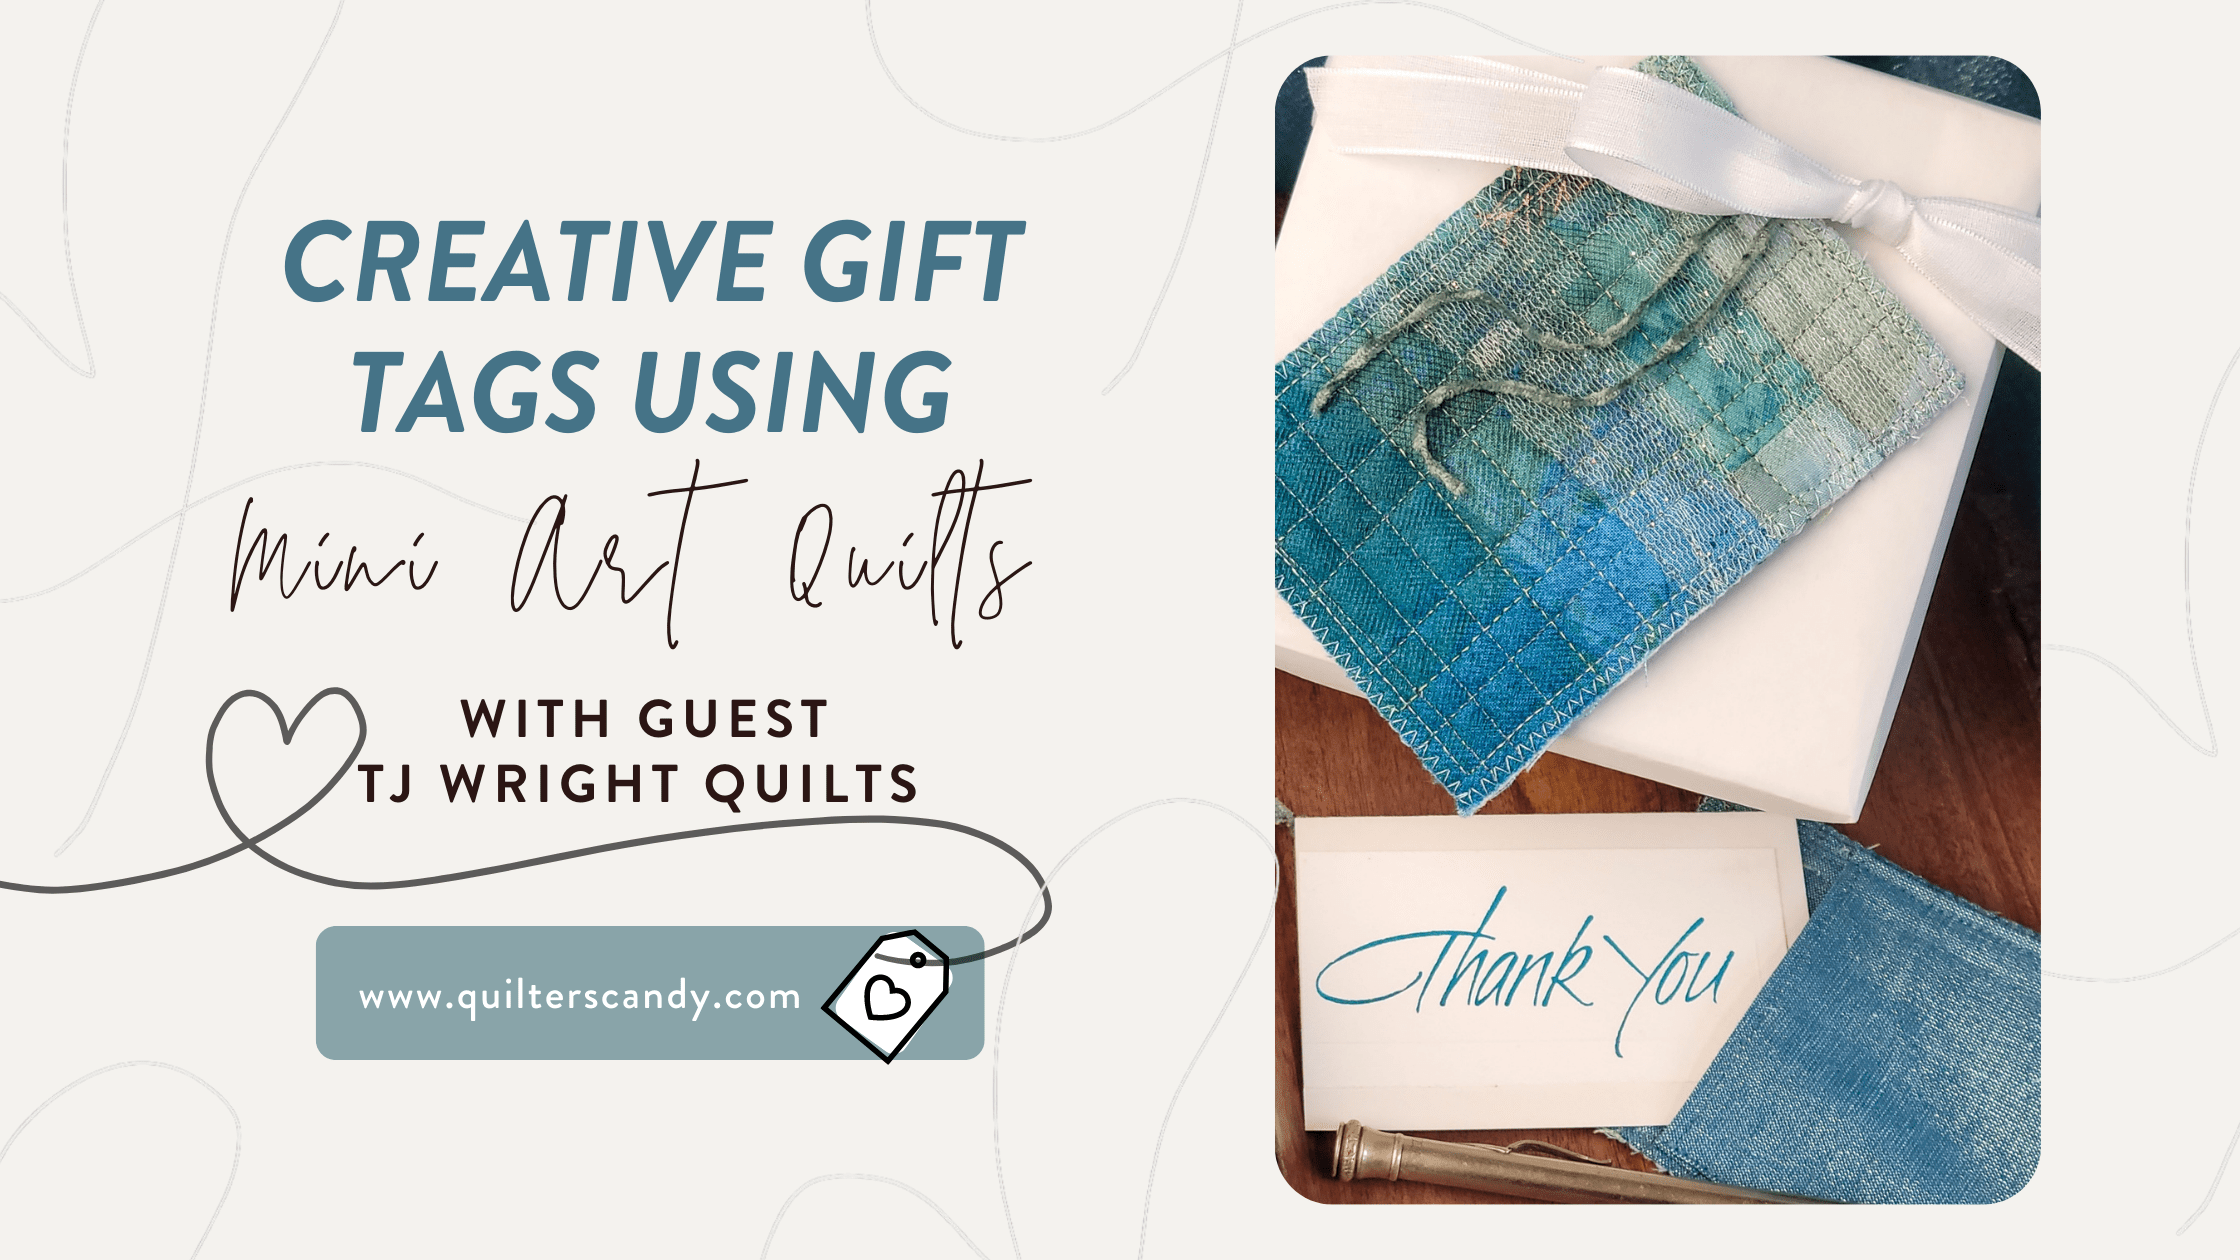
Blog post cover photo - gift tag example

My name is TJ Wright and today I am going to share a fun tutorial: Creative Gift Tags Using Mini Art Quilts.  I have a passion for quilting. Color and texture are a source of inspiration for me in my work. As an art quilter and pattern designer there are so many ideas to explore, and I hope to do them all. I share my life with my husband and three dogs in Oregon. If you would like to follow this journey you can find me on Instagram  or on my website.

Do you like to give gifts as much as I do? I love to give gifts and the presentation is as important to me as the gift. The following tutorial is a creative way to use mini art quilts as gift tags.

If you are interested in other creative ways to use art quilts you can Subscribe HERE.

Creative Gift Tags Using Mini Art Quilts

Materials needed

Quilt block 15″ x 15″

Batting 16″ x 16″

Backing fabric 17″ x 17″ and (12) 3½” x 3½” squares

Contrasting or decorative thread

(12) pieces of 10″ decorative ribbon or string

Gift Tag Foundation

Start with an orphan block or fabric that will compliment your wrapping paper. For (12) gift tags I like to start with a 15″ x 15″ quilt block. Layer block with batting and backing and quilt all layers together. I like to use decorative and contrasting threads. Square up your mini art quilt. 

Orphan block of blues and greens fabric 15"x15"

Cut your mini art quilt into (12) 3½”x 4½” sections using a quilting ruler and rotary cutter to get straight edges.

Finish the raw edges of your tags with a zigzag stitch.

gift tags using mini art quilts
Gift Tags Using Mini Art Quilts

Making Back Pocket

Using 3½” x 3½” squares, fold over and press a ¼” seam allowance to the back side of fabric on all four sides. Top stitch one side only.

Folding over and pressing 1/4" seams

Now attach your pocket and tag string to the back of mini art quilt. Fold tag string in half, position string to the middle of the top back, then align pocket with the bottom edge and left and right sides, leave the finished edge open at the top. Top stitch all four sides from back so that the pocket and string are secure.

Pocket and tag string on the mini art quilt

You are all done, now just wrap your gift and add a special message on a card to put in the pocket on the back. Let the celebration begin!

A thank you with the mini art quilt tag

MORE BLOG POSTS LIKE THIS ONE


Did you enjoy this tutorial? Be sure to check out these free tutorials: 

Hand Quilt Your Binding 

Liquid Starch For Quilters 

All About Binding Boards 

or SEARCH THESE

Popular categories

Craft to Career
Digital Downloads
Patterns
Podcast
Quilt Alongs
Quilt Questions
Tutorials
back to the top

Copyright 2024 Quilters Candy  |  Terms & Conditions