Framing Your Quilts

October 3, 2023

Framing Your Quilts

Brenda Holland of Salty Kitty Cat shares framing your quilts.

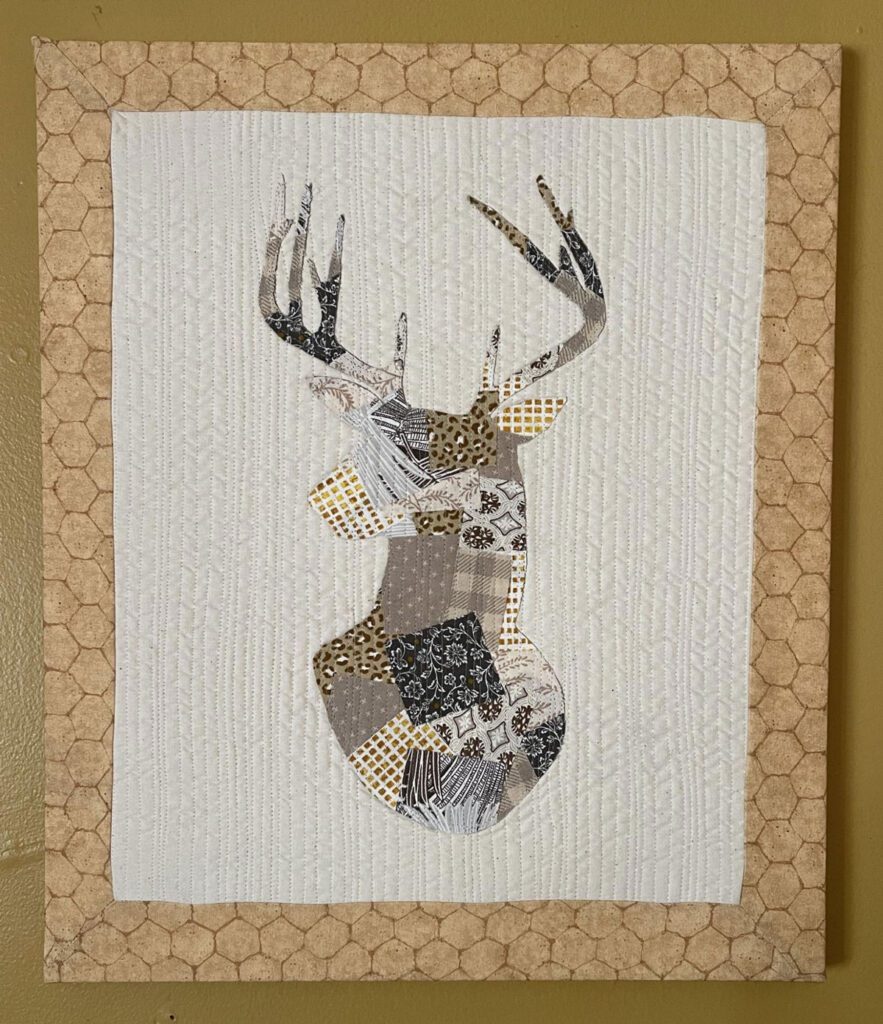
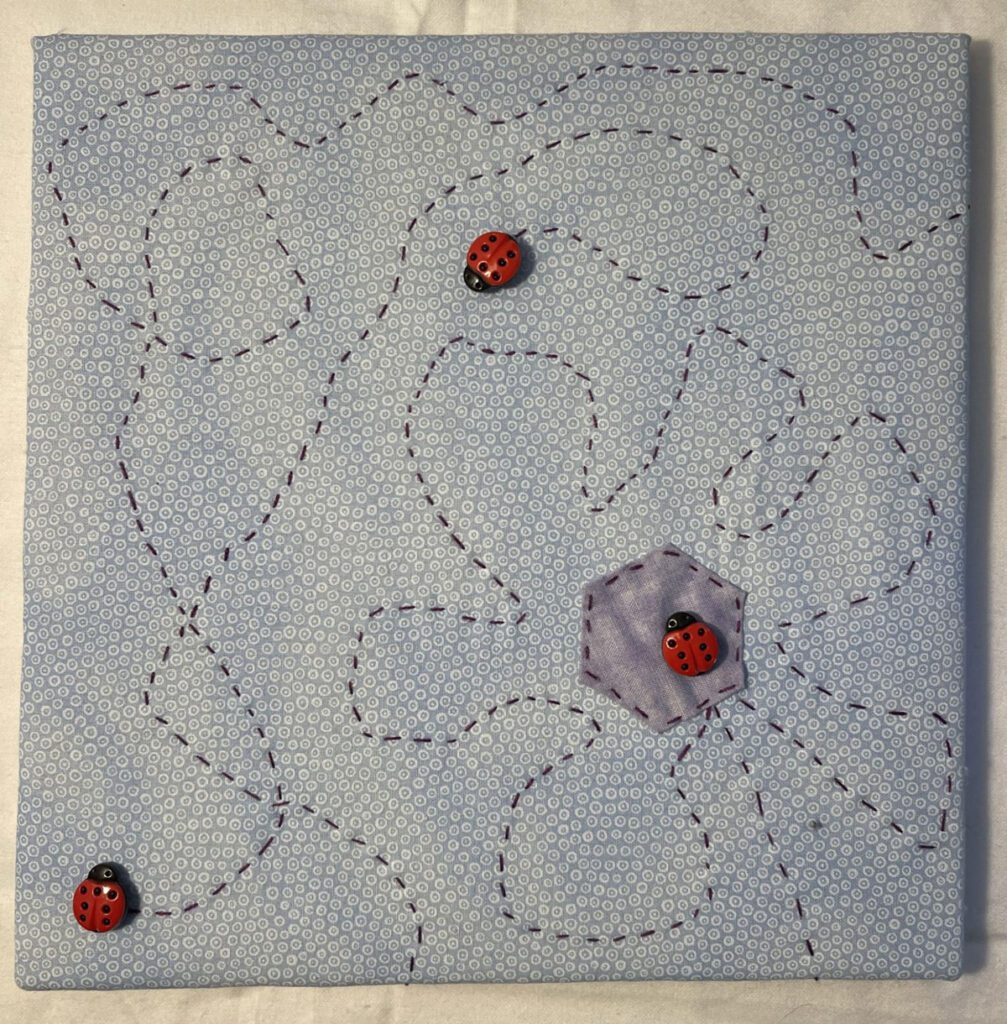
Quick finishes such as wall hangings and hand sewn embroidery pieces provide a break during those long-term quilting projects. Most quick finishes are completed in less than a week. I love to decorate my home and give these works of art as gifts to family and friends.  For example, this “Oh Dear” Scrappy Applique was created for an auction at my family reunion and took 3 days to complete. The hand-sewn piece was stitched while listening to podcasts. 

Deer Quilt Framed
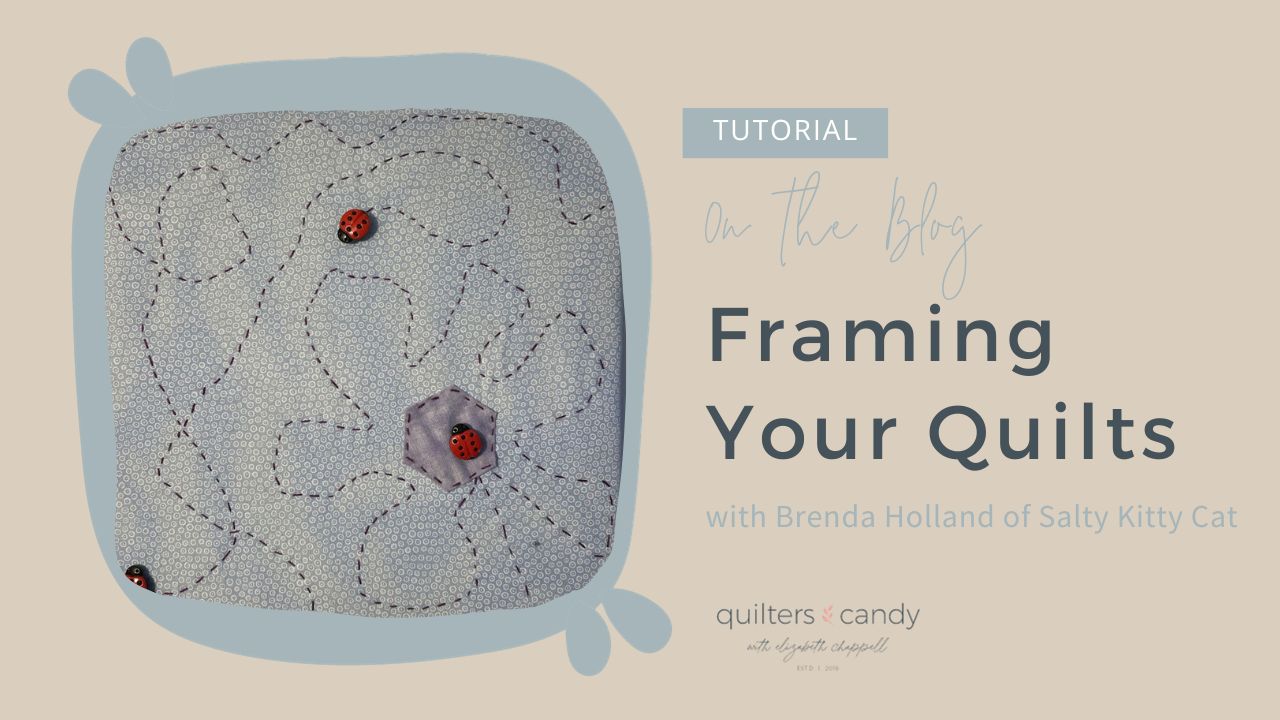
Ladybug Quilt Framed

The Oh Dear and hand-stitched pieces are both framed. Two different techniques were used for these pieces; however, the frame for the hand-stitched piece is quick and helps to get your artwork finished and ready for display in your home or gift-giving.

Supplies for a framed wall hanging are as follows: Stretched artist canvas, such as those you can buy at a craft store; tape measure; staple remover tool or utility knife; pliers; staple gun; scissors; and wall hanging, hand-sewn piece, or quilt top. Don’t forget safety glasses and gloves!

Measure your wall hanging. This will be the size of stretched artist canvas that you will need to buy.  Once you have the size needed, layer the wall hanging with thin batting or flannel. Flannel is ideal since the bulk of batting is not needed. Ensure there is a minimum of 4″-5″ extra material or borders around the wall hanging. The extra material will eventually be wrapped around the wood frame. Quilt the wall hanging and batting. The extra material can be quilted if desired. No need for a quilt backing or binding. 

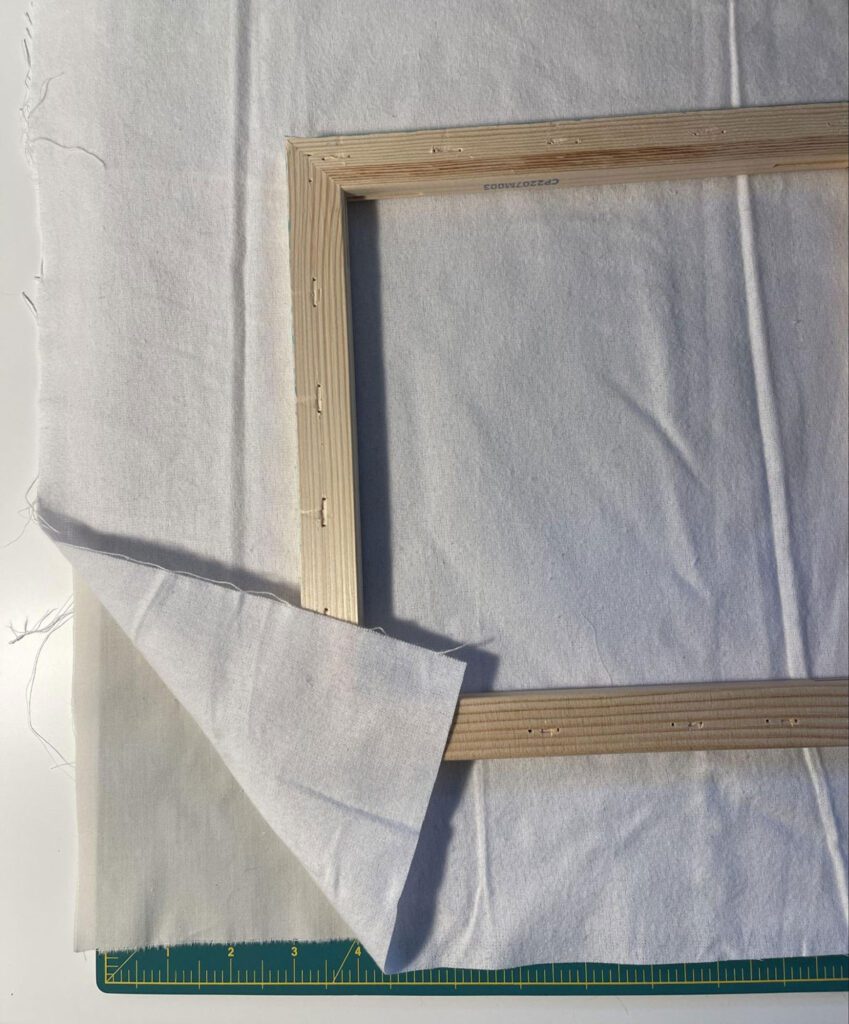
wood frame for quilts

It is best to remove the staples and canvas leaving only the wooden frame when preparing the stretched artist canvas. Use the staple remover tool or utility knife to remove the staples from the wooden frame. Pliers can be used to pull out any stubborn staples. Remove the canvas. Sand the wooden frame if the wood is splintered after removing the staples.

Place the quilted wall hanging down with batting side facing up. Center the wooden frame on the wall hanging.  

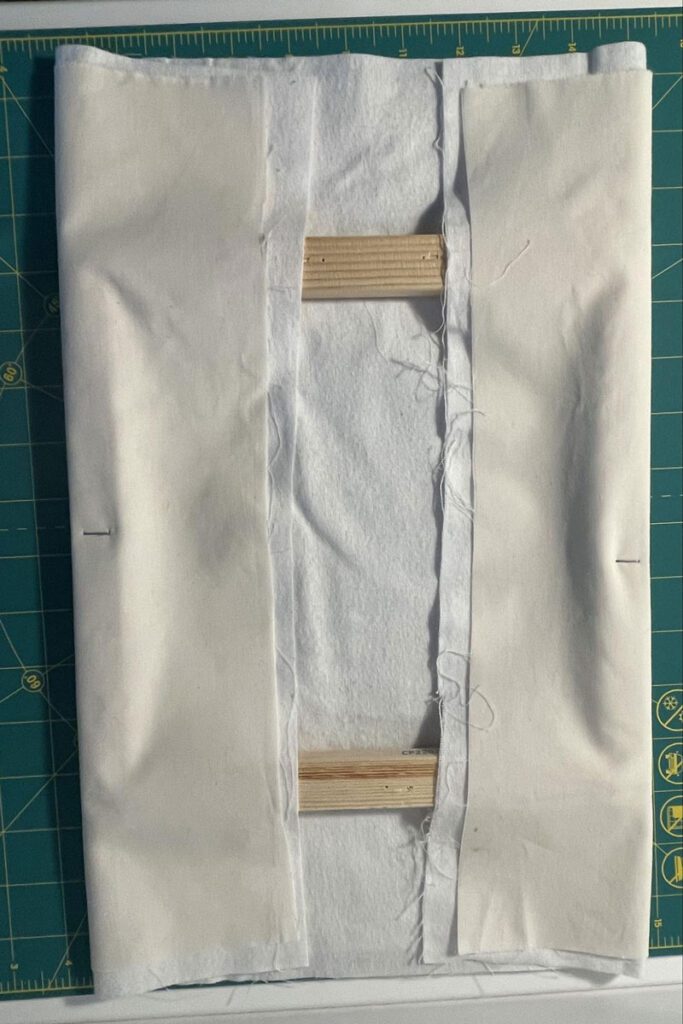
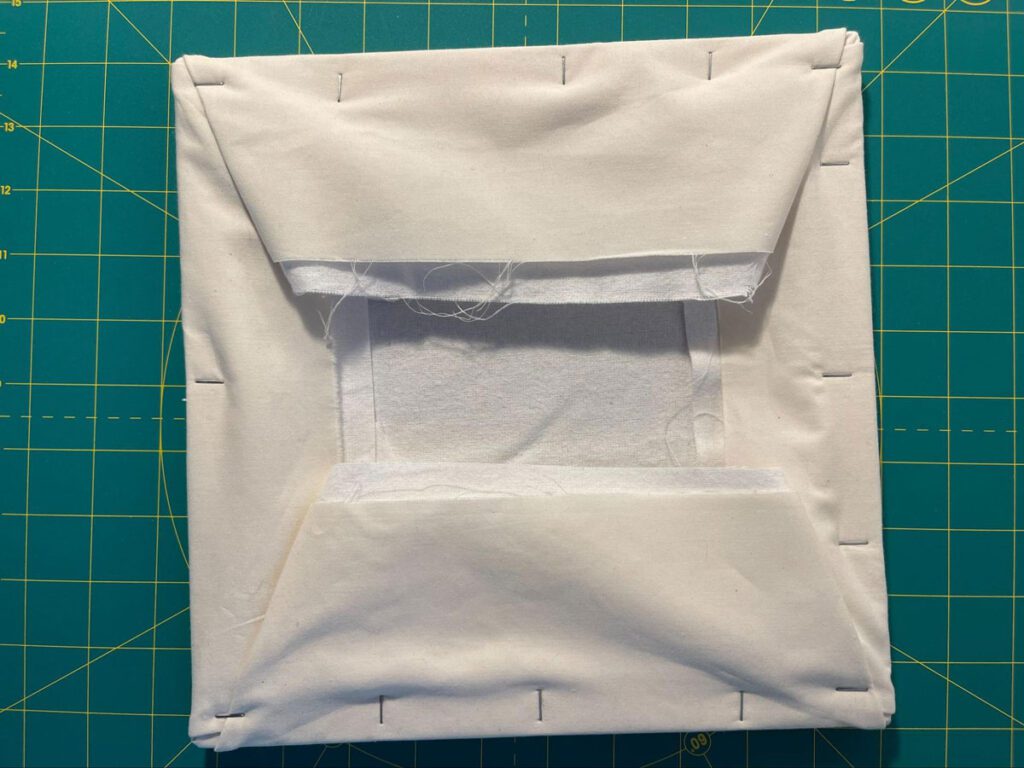
Pull the excess material of the wall hanging around the opposite sides of the wooden frame. Staple the pulled excess material onto the center of the sides once you are sure the wall hanging is stretched and not loose. Do the same to the other two opposite sides.

Making the wood frame
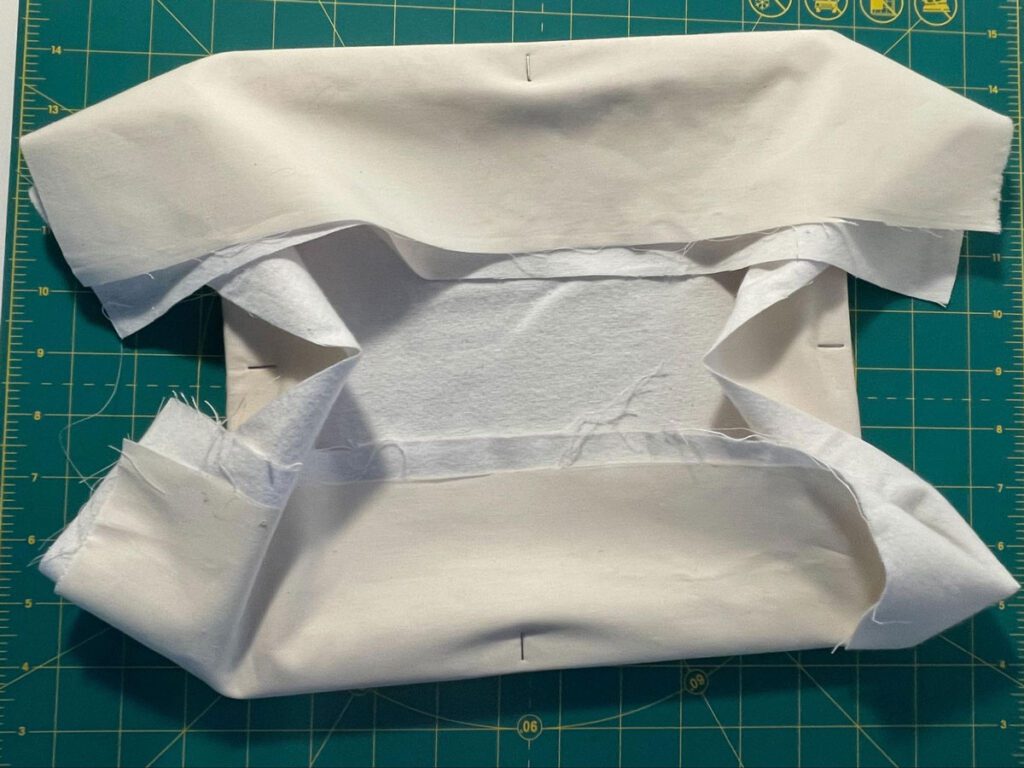
Back of the frame

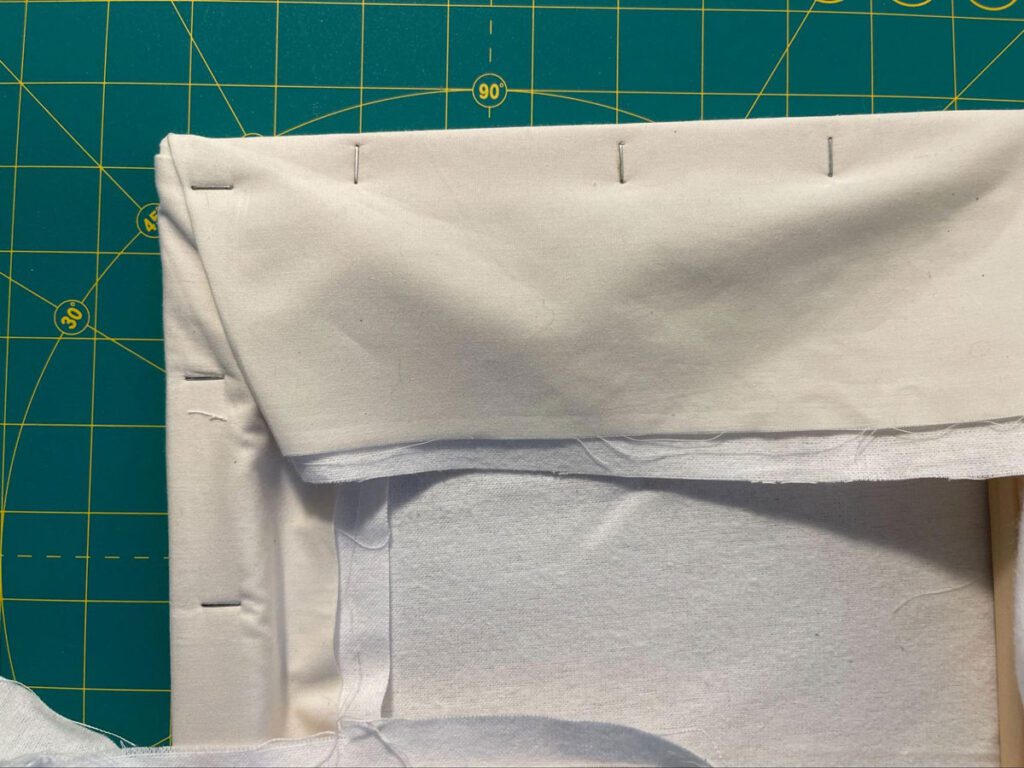
Continue to stretch and staple the excess material of the wall hanging onto the wooden frame on all sides. Stop stapling about 1 inch from the corners. The goal is to have as little bulk as possible for the corners. Extra excess material may need to be trimmed at this point to reduce corner bulk.  

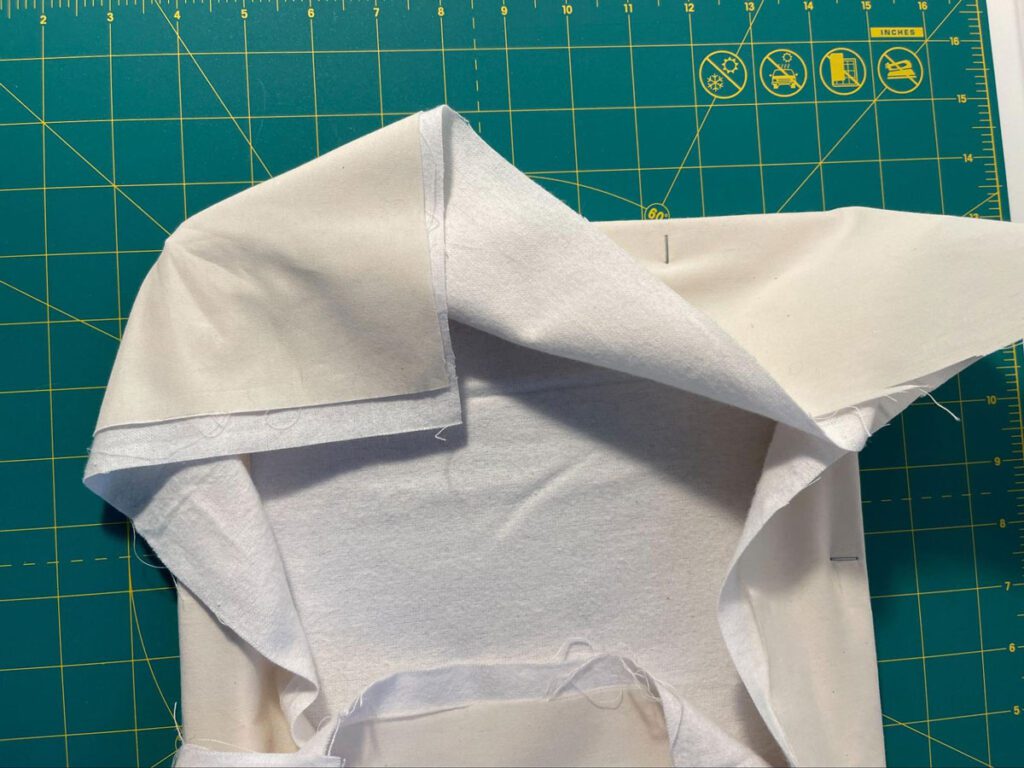
For the first corner, fold a miter corner by folding the fabric over the corner.

back corner of frame

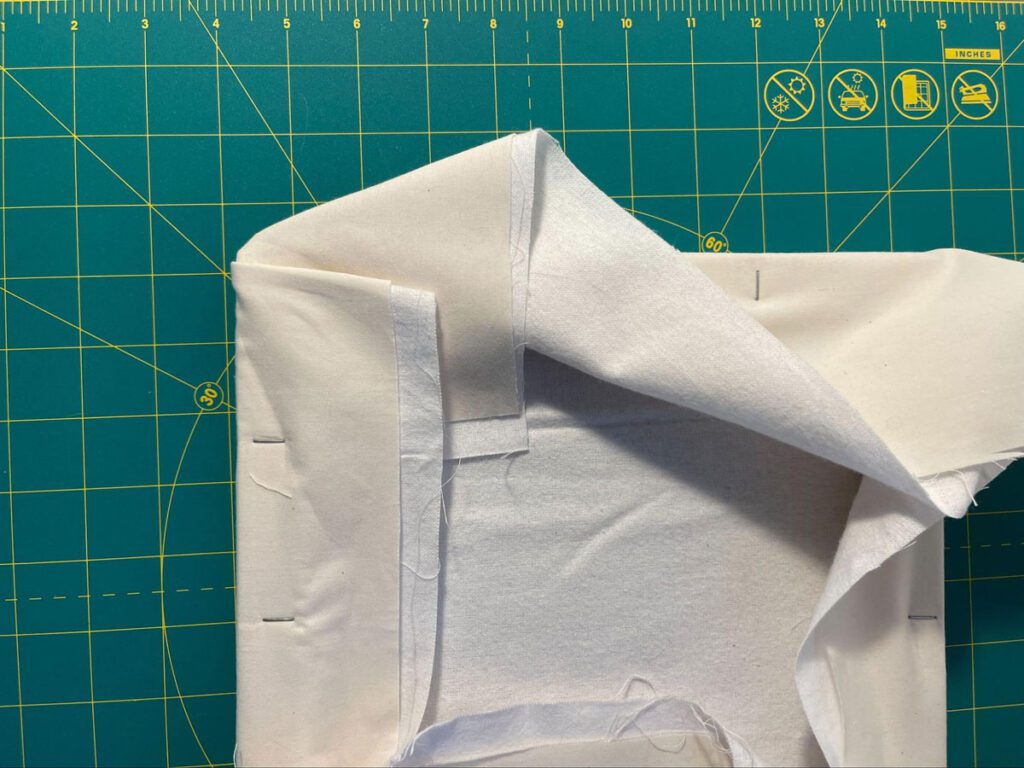
Fold one side of the excess fabric over the first fold. 

Fold over corner

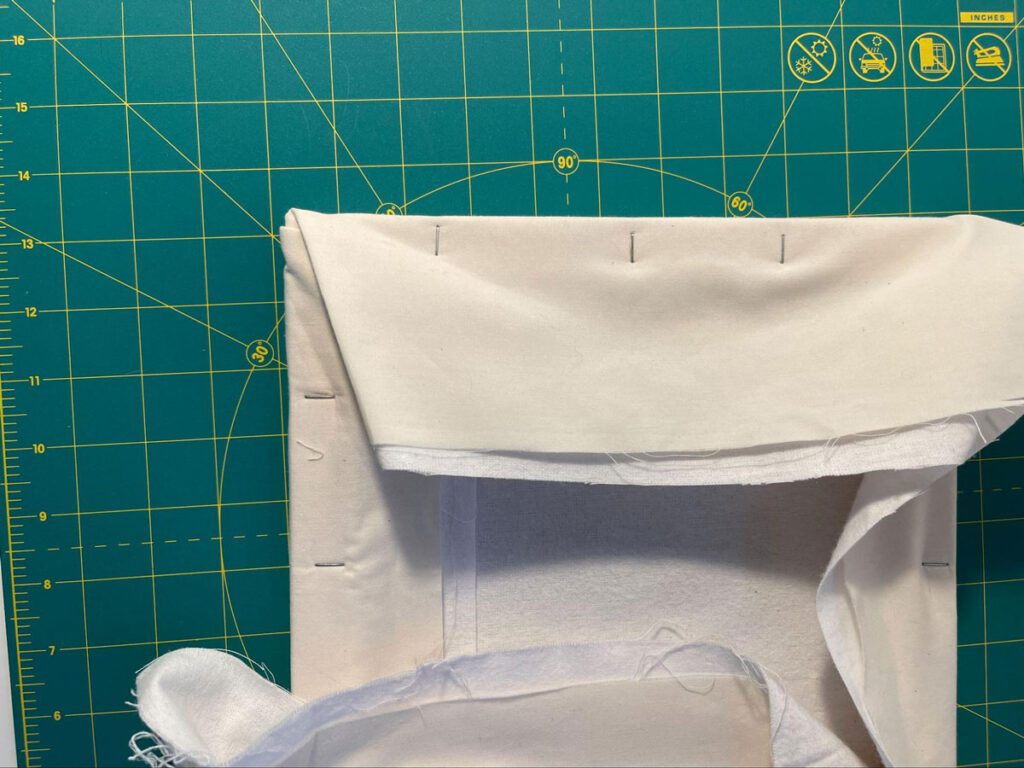
Fold the opposite side of excess fabric over the first two folds on the corner.  

Staple.  

Staple Remaining Corners

Repeat for the remaining 3 corners.

Turn the framed wall hanging over and take note if there are any loose or wrinkled sections. If there are, don’t fret. Turn over, remove existing staples, re-stretch until tight, and staple. When done, trim any extra excess material from the back.

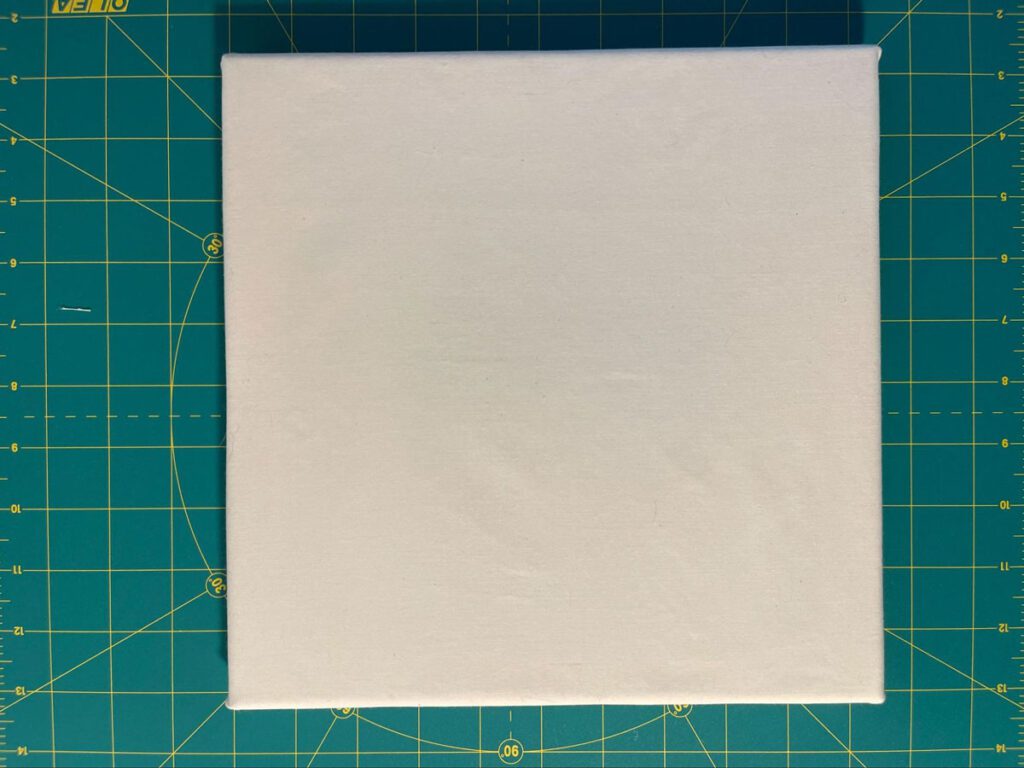
Quilt Frame

Congratulations, you now have a framed wall hanging!  This piece is now ready for a hand sewing project. Sign up for my newsletter to be notified when digital courses showing various framing techniques for your sewing projects are available!

Brenda Holland is the creative behind Salty Kitty Cat. She is a cybersecurity analyst by day and an applique addict by night. She loves to frame her finished applique, hand-sewn, and quilt projects using different framing techniques. Visit her website at https://saltykittycat.com. Follow her on Instagram @saltykittycatcreations.

MORE BLOG POSTS LIKE THIS ONE

or SEARCH THESE

Popular categories

Craft to Career
Digital Downloads
Patterns
Podcast
Quilt Alongs
Quilt Questions
Tutorials
back to the top

Copyright 2024 Quilters Candy  |  Terms & Conditions