Perfecting Your Bias-Cut Quilting

September 12, 2023

Bias-Cut Quilting

Mary Catherine Longshore of Due Pinoli shares perfecting your bias-cut quilting. 

Hi, I’m Mary Catherine Longshore of Due Pinoli and I love to make quilting fun and easy with skill-building patterns full of detailed, step-by-step instructions because quilting should be a joyful and restorative escape for everyone! Today I’m talking about cutting and sewing on the bias, including three tips for working with bias-cut fabric, and sharing a quick project to practice your bias binding skills. 


bias quilted placemat
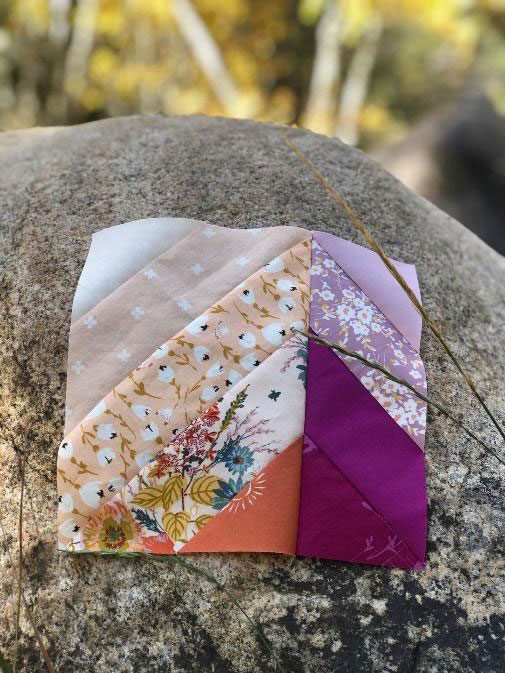
bias quilting block

What is fabric bias?

“Bias” is a term you might hear from quilters and sewists, but what does it mean and why does it matter? Most simply, cutting on the bias means cutting fabric at an angle relative to one of the straight edges. 

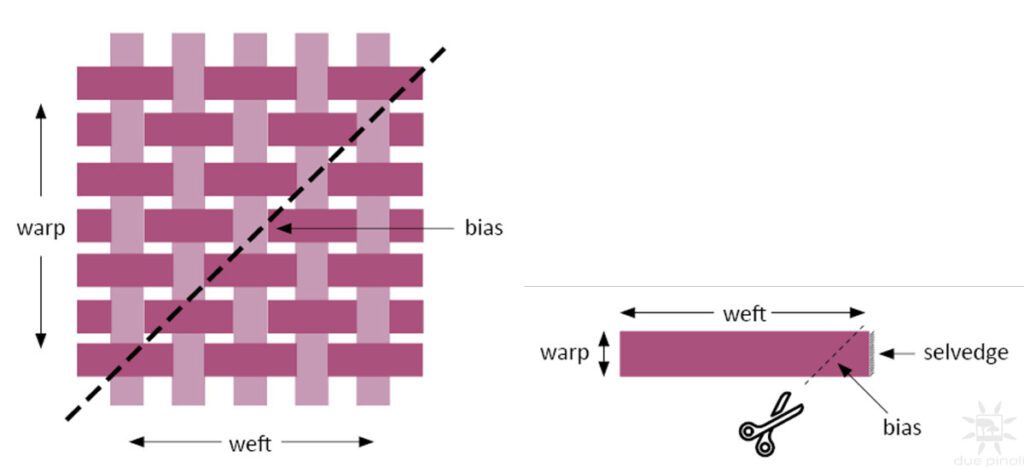
When fabric is created, long threads (light purple in the image below) are first placed up and down on a loom. These are called the warp. Then, other threads (dark purple in the image below) are woven over and under the warp threads, like weaving a basket. These left-to-right woven threads are called the weft.

warp and weft

Often, when you cut fabric, you’ll cut it on grain which means you’re cutting it along the warp or weft threads with your ruler parallel to one of the straight edges of the fabric. 

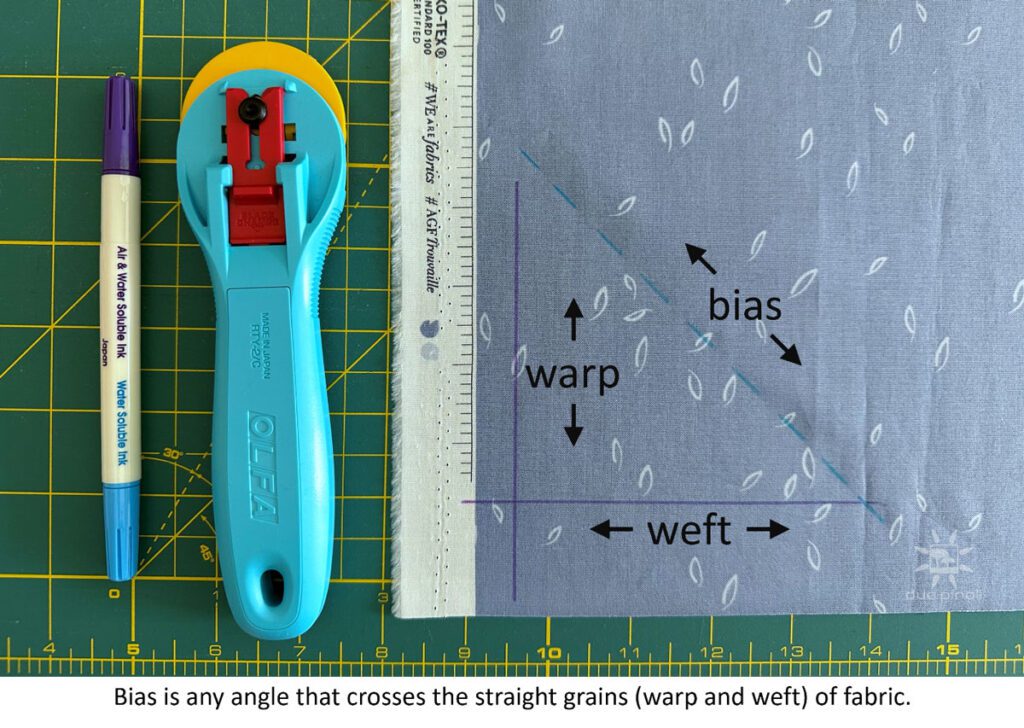
When you cut fabric on the bias, you are cutting on a diagonal line (dashed line in the images above and photo below) across both the warp and the weft.

the bias angle

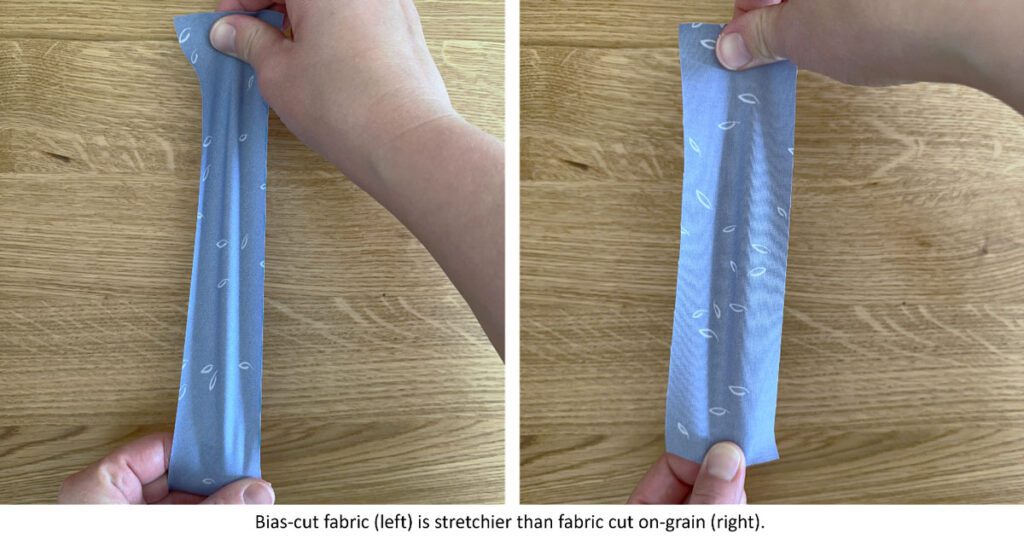
This newly cut edge will be stretchy and will fray more easily.

Three Tips for Cutting and Sewing on the Bias

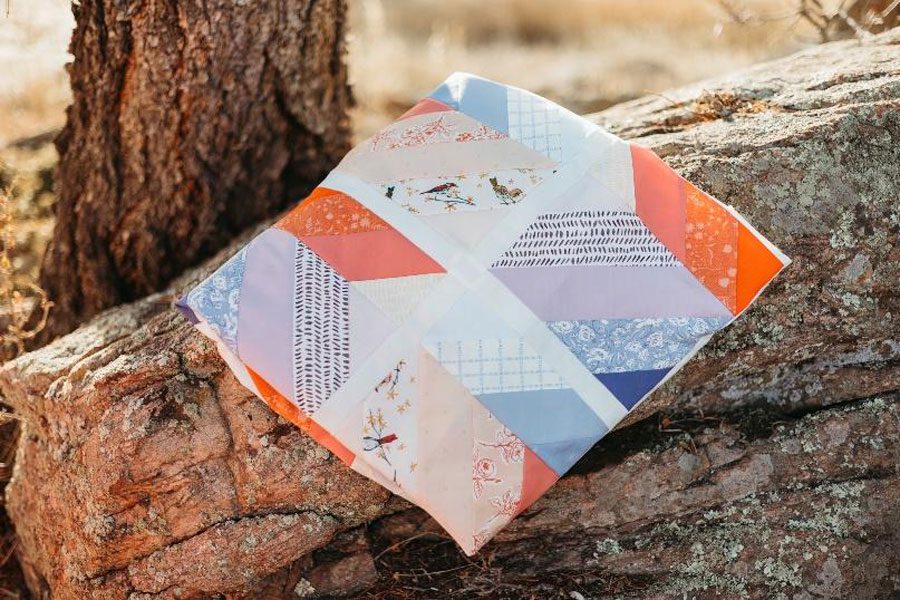
bias cut quilt
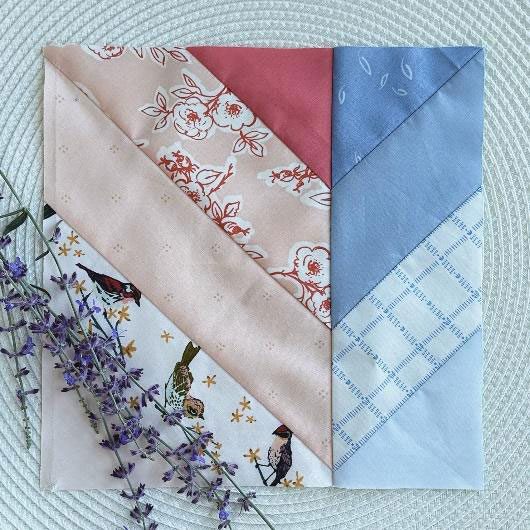
bias quilt block

Follow these three tips to keep your bias edges straight and you’ll have a spectacular quilt in no time!

  1. Store your bias-cut pieces carefully. Whenever you cut pieces on the bias, set them aside carefully and avoid touching them until it’s time to sew them together to help prevent stretching and fraying.

  2. Use a light touch when sewing. Work slowly and avoid touching the fabric as much as possible when sewing. Let the machine do the work of feeding the fabric. If you pull or tug the bias-cut edge when sewing, the fabric can stretch, and ripples might appear. This can make it difficult to line up your seams properly when piecing. 

  3. Rip seams slowly and re-press. If you need to rip out a seam, be very careful. Work slowly and avoid pulling or tugging which can stretch the fabric. After you rip out a seam, spritz the fabric with a little water and press the fabric into shape again with a hot iron before sewing a new seam.

  4. BONUS TIP: Many quilters spray starch on their fabric before ironing to keep their bias-cut edges straight. If you’re struggling to keep your bias-cut fabric pieces straight, try using a little starch. 

Practice Project: ‘Alpine Trivet’ with Bias Binding

Alpine Trivet

Whenever you bind a project with rounded edges, it’s best to use bias binding to allow for more flexibility and to ensure a clean, smooth finish.

Some quilters use bias binding for every project, but I find bias binding more difficult to work with, so I save it for my projects with curved edges or for seams that need to move, such as coat and bag seams. To practice working with bias-cut fabric, make this quick round trivet and finish it with bias binding.

Materials

  • Trivet: 10″ quilted circle (Use scraps from another project like I did with scraps from my Alpenglow Quilt)
  • Binding Fabric: 1 fat quarter

Making Bias Binding
1. From (1) fat quarter, cut (2) 2¼” x 22″ strips at a 45° angle relative to the selvedge. Use a ruler with a 45° line to make your bias cutting easier. Trim the ends of your strips to make them square.

45 degree bias

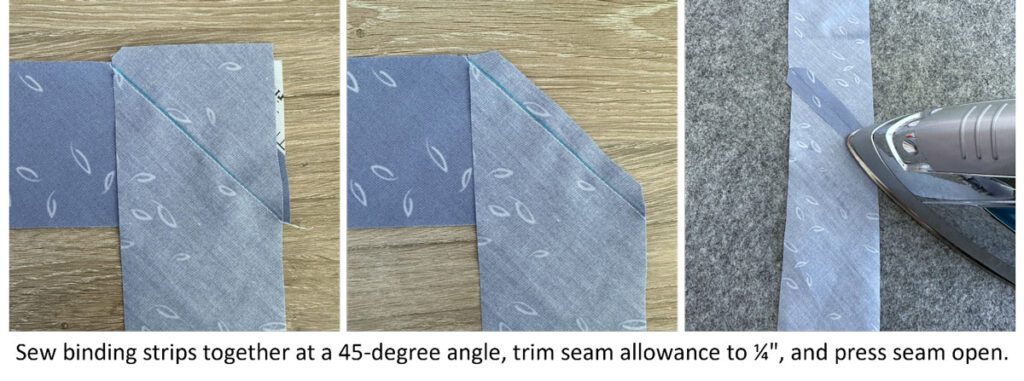
2. Using a fabric marker, draw a 45° line across the short end of one of your binding strips. Place (2) strips RST perpendicular to each other, overlapping short ends, and sew across drawn line. Trim seam allowance to ¼”. Press seam open.

binding construction
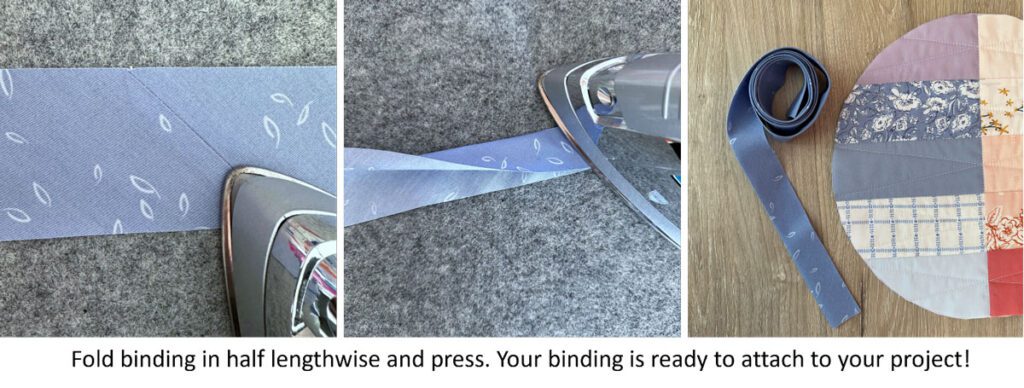
  1. Fold binding in half lengthwise and press. Your bias binding is ready!
bias binding

Binding Instructions

  1. Leaving a 6″ tail, place your bias binding along the edge of your trivet, aligning raw edges. Sew your bias binding to the top of your trivet, stopping about 8″ from where you started attaching the binding.
  1. Lay the (2) binding tails over the unbound edge of your trivet, following the curve of the circle. Fold the binding tails in half where they meet and make a deep crease or mark with a fabric pen.

3. Lay your binding tails across one another RST and make a cross shape with the two creased seams. Draw a diagonal line across the intersection of the creased seams. Make sure both binding tails are on the same side of the diagonal line (mine are off to the right in the second photo below).

finishing the binding
  1. Note: I find it easiest to use a basting stitch length of 4.0 mm or 5.0 mm for this step. Once I’m happy with the seam, I go back and sew over the basting stitch using a 2.2 mm stitch length. Sew along the
    diagonal line. Fold the binding in half lengthwise and check the fit. If it’s too loose or too tight, rip the seam and repeat steps 2 and 3 until the binding has a good fit. 

5. Once you’re happy with the fit of the binding, trim off the tails, leaving a ¼” seam allowance and finger press the seam open. Then, re-fold the binding in half lengthwise, press, and pin or clip into place along the raw edge of your trivet.

  1. Sew the remaining binding to the trivet. 

  2. Flip the binding over to the back of the trivet. Hold in place with pins or clips. Hand stitch the binding to the back of the trivet using a thread that matches your binding fabric.
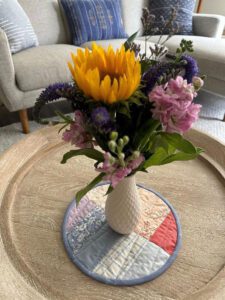
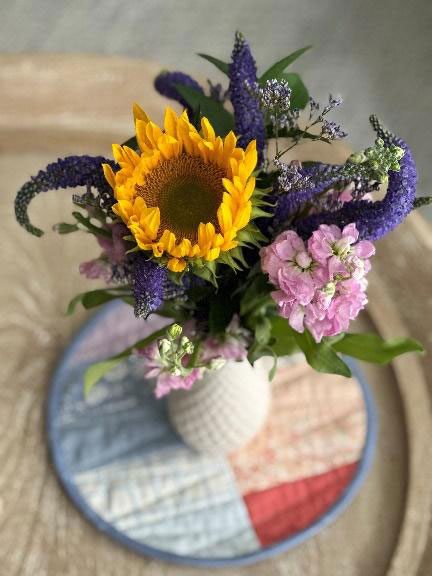
  1. Gather some flowers from your garden or treat yourself to a bouquet and display them on your new trivet!

    Share your make on social media with hashtags #AlpineTrivet and #DuePinoli and tag @DuePinoli. If you want more practice working with bias-cut fabric, try making my Alpenglow Quilt!
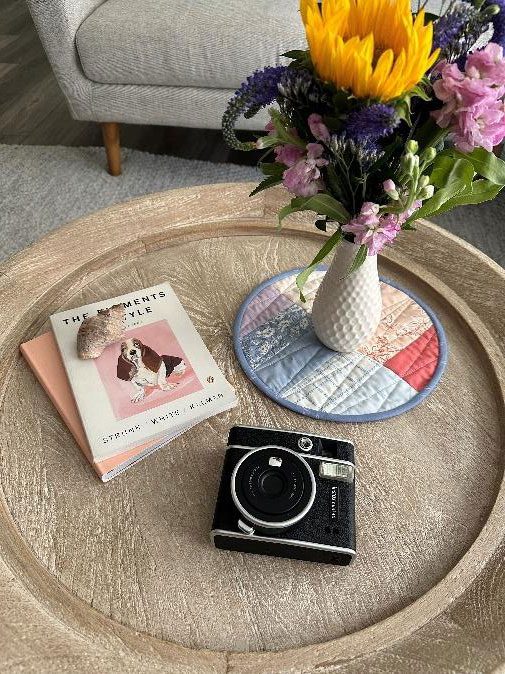
flowers on trivet

I’m a Texas mama who lives in Colorado and loves the incredible wildflowers in summer and tolerates the snow in winter. Quilting is my escape from daily life and raising my two little pine nuts (“due pinoli”). I created Due Pinoli to help others find joy from quilting with fun and easy projects. Follow me on Instagram at @DuePinoli and visit www.DuePinoli.com!

MORE BLOG POSTS LIKE THIS ONE

Did you enjoy this tutorial? Be sure to check out these free tutorials: 

Fabric Ghost Pillows

Quilting with Partial Seams

Fabric Pottery Bowl

or SEARCH THESE

Popular categories

Craft to Career
Digital Downloads
Patterns
Podcast
Quilt Alongs
Quilt Questions
Tutorials
back to the top

Copyright 2024 Quilters Candy  |  Terms & Conditions