Fabric Cards

August 16, 2022

blog banner

Hi, I’m Emma Jane of Dream It Quilt It, and I’m so excited to share with you my fabric card pattern and process. This Fabric Cards project can easily be done in a day. All of the little bits and pieces are available as a free download here.

PS – BE SURE TO GRAB MY FREE QUILT JOURNAL PROMPTS HERE!

Fabric Cards

Fabric cards are a quick and easy way to use up little bits and pieces of scraps leftover from other projects. The recipients will ohh and ahh over your talent for making a unique and artistic card, just for them.

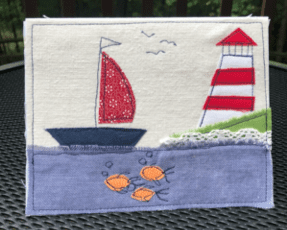
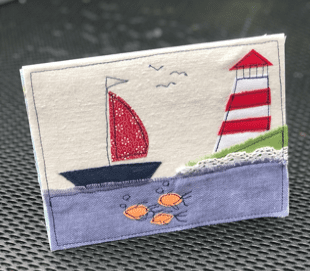
sailboat card

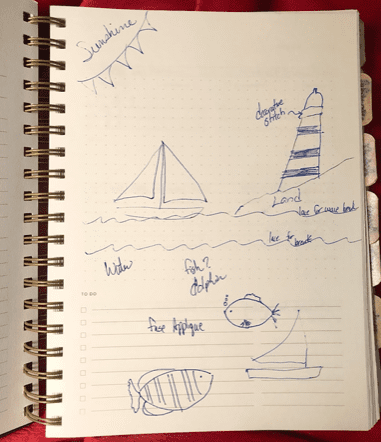
In the midst of a blazing hot summer, and being from a coastal state, I’ve created an ocean themed design. I sketched out my ideas in a notebook while watching tv one evening. This is really the preamble to the process of making the card. Once I did this, I was ready to work with fabric and build out my card.

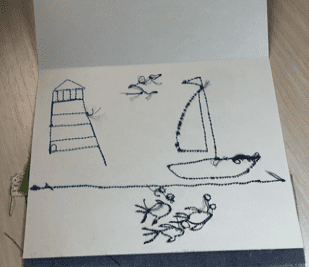
sketch

Here’s what you’ll need to make your own version:


One sheet of card stock

One envelope to fit a 5″ x 7″ card

One 5″ x 7″ scrap of fabric as the “canvas”

One 5″ x 7″ scrap of fabric as the backing on the inside of the card

Lots of little scraps for the card design

Dark color thread for outlining

Steam a Seam fusible webbing for applique (one sheet)

Fabric glue stick

Print the project template

  1. Prep the card by trimming the card stock to a 5″ x 14″ piece of paper to be folded in half to make a 5″ x 7″ card. Set aside for now. 
  1. Get the 5″ x 7″ canvas scrap of fabric you’ve chosen, which will serve as the background of your ocean scene. You will be building the design on this fabric.
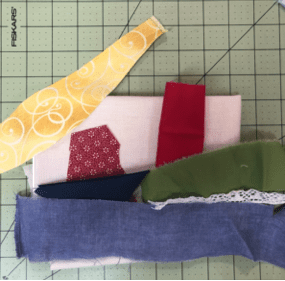
  1. Audition fabrics on the background fabric, before adhering Steam a Seam or cutting anything out. After deciding on which fabrics to use, move along to the next step.
fabric scraps
  1. Trace the applique designs onto one sheet of the Steam a Seam fusible webbing. 
  2. Cut out each design, leaving ample space around each design for cutting out the fabric pieces later.
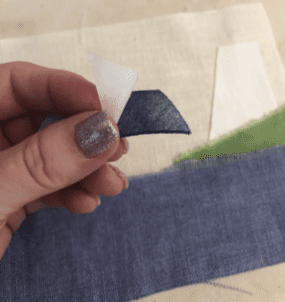
  3. Place the design onto the wrong side of the fabric you have chosen for each piece. One side of the fusible webbing is meant to peel off easily, leaving a “sticky” side to place on the fabric.
  4. Now, cut out the designs on the line, creating an exact size piece to begin placing on the card background fabric.
  5. Peel off the paper side of the Steam a Seam, and place on the background fabric.


fabric pieces
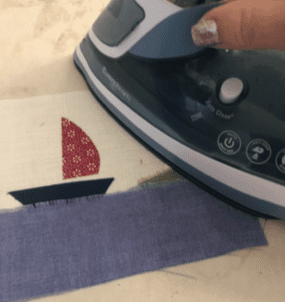
  1. Iron into place to heat set it as you go.
ironing fabric
  1. After all of the design has been placed on the background fabric and ironed in place, apply the glue stick to the front side of the card stock. Place the background fabric with all of the pieces ironed onto it on the card stock.  

Now for the fun part, defining the design by outlining all of the pieces at the sewing machine! Choose a dark color thread which makes sense for your color palette. I chose navy.

  1. At the sewing machine, outline each fabric piece. This can be done by dropping the feed dogs and using a free motion quilting foot, or leave the feed dogs up and use your preferred foot for straight stitching. I did both. Note, using the feed dogs and a straight stitching foot may render a more precise result, but is a bit more time consuming. 
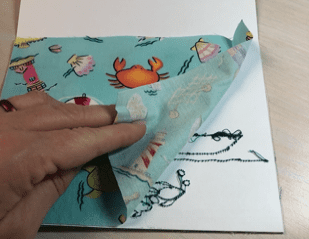
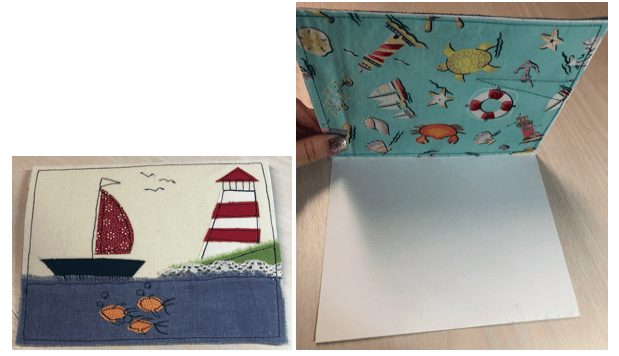
  1. Once you are satisfied with outlining, turn the card over on the wrong side. Apply glue stick to the stitched half of the card. Place the fabric piece you have chosen for the inside of the card over the stitched side of the card to cover the stitching.


sketch
fabric over sketch
  1. Turn the card back over and straight stitch about a quarter inch from the edge as a permanent hold for both sides of the fabric card.
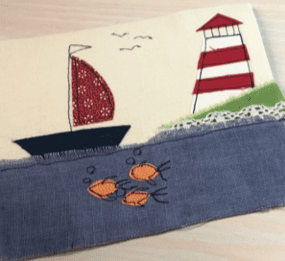
card
  1. Snap a photo of your work of art before signing and mailing it off.
finished card
  1. Receive a message from the recipient gushing over how talented, crafty, and creative you are!

I hope you are proud of your card! To make your own design, begin like I did with roughly sketching out your idea on paper. Then, use the card stock to make size appropriate pieces drawn onto the fusible webbing. Follow my process, outlined above for creating your original fabric card.  

I always feel good about myself when I can reduce textile waste by repurposing my fabric scraps into a project that was not the original intention for the chosen fabric. Fabric cards are perfect for just that!

The recipient will surely hold onto this handmade card as a keepsake from you. 

See more of my work on Instagram @emmaquiltsalot and on my website www.dreamitiquiltit.com.

Emma Jane

PAST BLOG POSTS

Did you enjoy this post? Check out these past blog posts:
 

or SEARCH THESE

Popular categories

Craft to Career
Digital Downloads
Patterns
Podcast
Quilt Alongs
Quilt Questions
Tutorials
back to the top

Copyright 2023 Quilters Candy  |  Terms & Conditions