
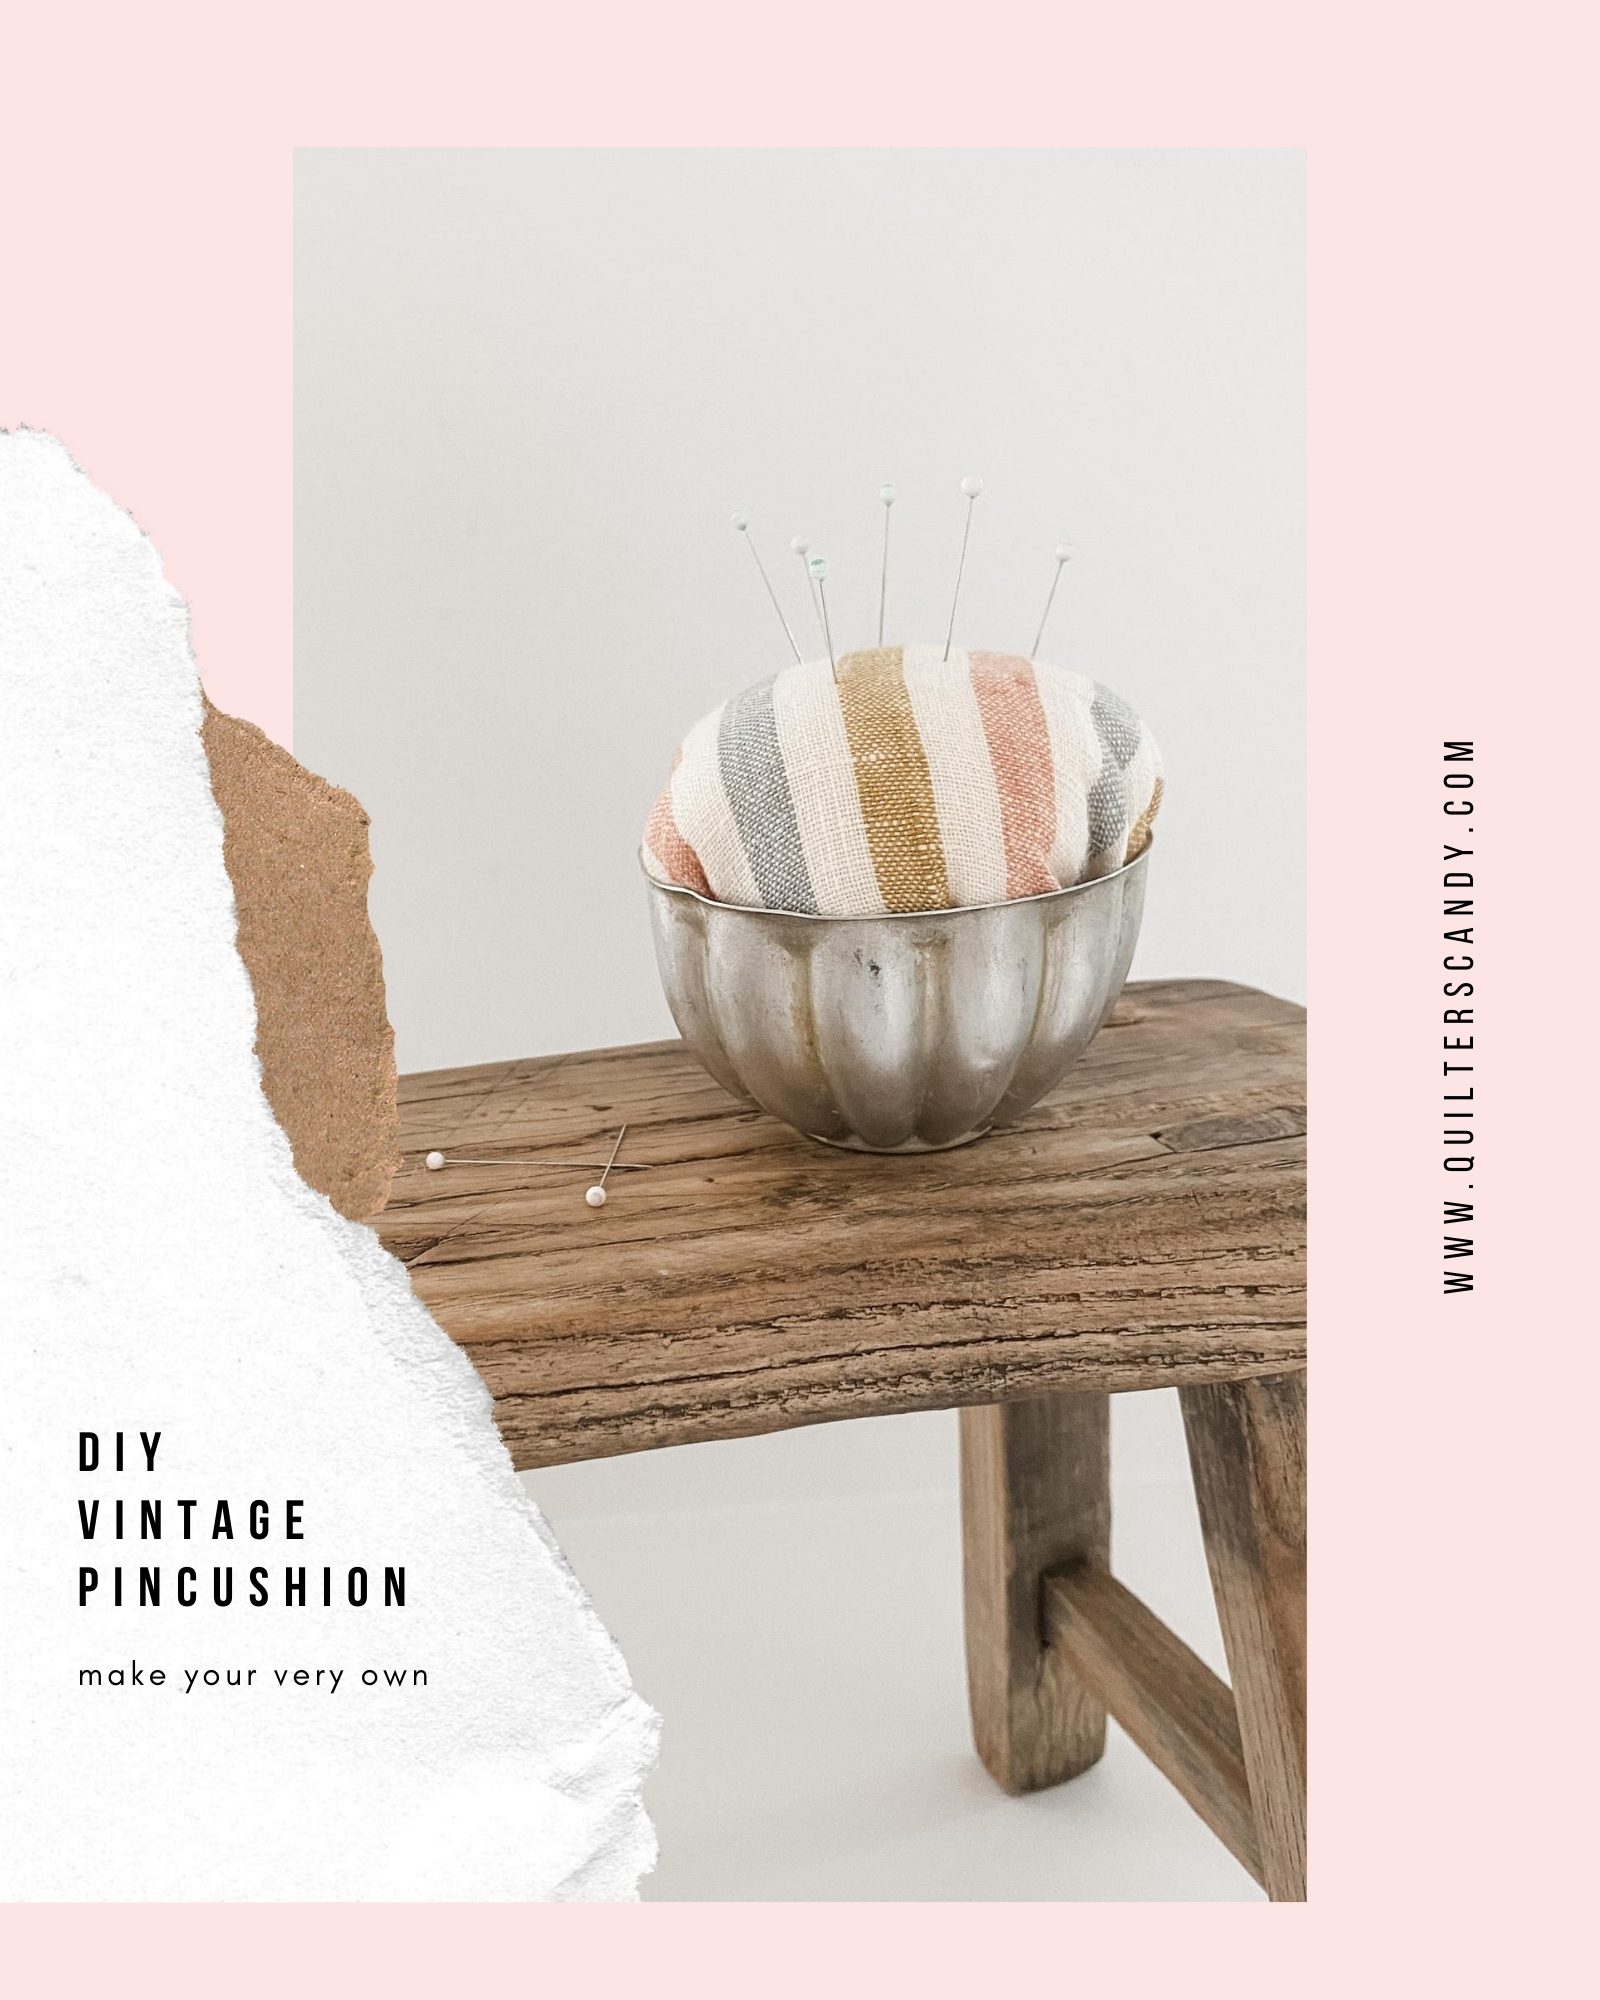
DIY Vintage Pincushion
Learn how to make a DIY Vintage Pincushion with Elizabeth Chappell of Quilters Candy. Elizabeth is a quilt pattern writer, host of an online quilt guild, and teacher of how to write and sell your own quilt patterns.
Learn to Make a DIY Vintage Pincushion
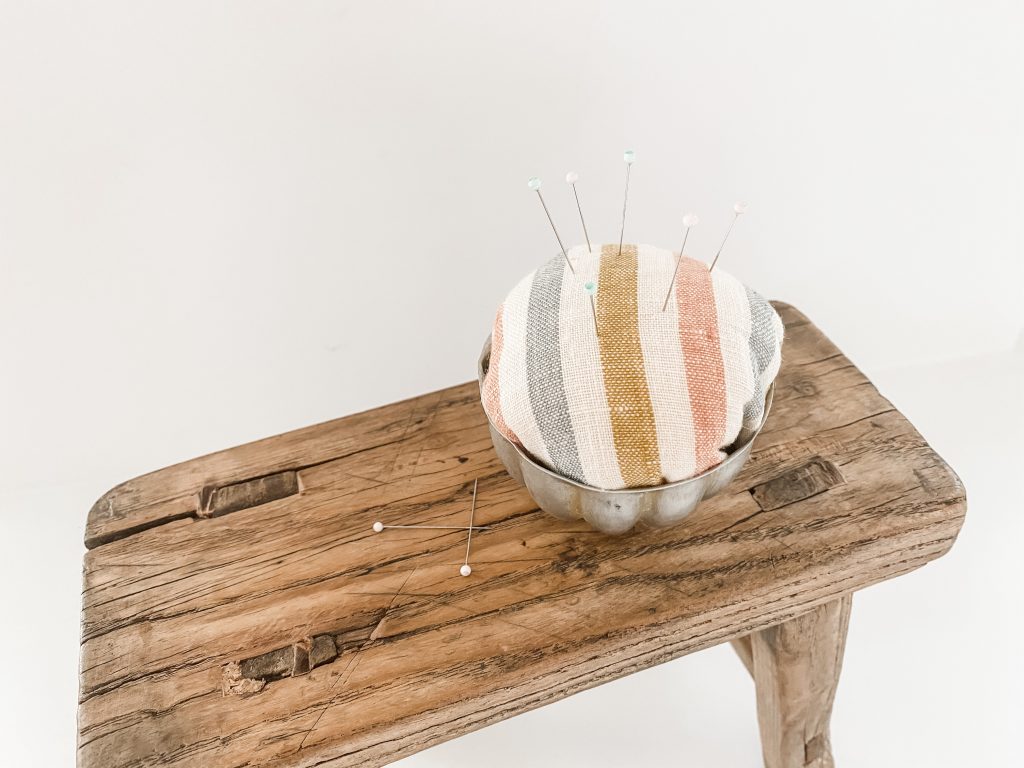
With just a few tools, you can make your very own vintage-inspired pin cushion. I got this idea from Farm Down The Lane. She took a vintage quilt top and a jello mold to make a pincushion. When she posted about this on Instagram, I asked if she would write a blog post about how to make one. She didn’t know how to begin making a tutorial, but she shared with me how she made it and gave me her blessing to share that with y’all. Thank you, Tami!
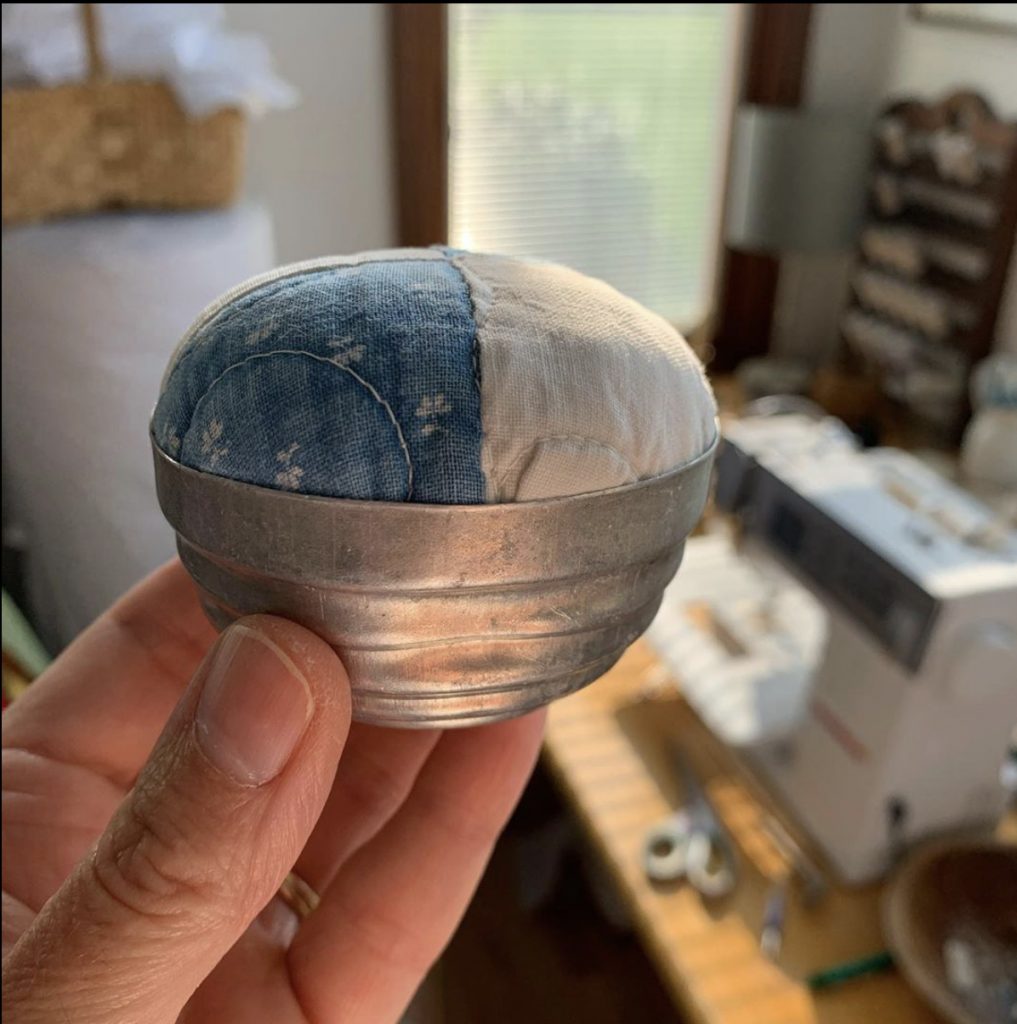
Farm Down The Lane’s pincushion that inspired this tutorial.
Supplies to make a DIY Vintage Pincushion
- Vintage Jell-O Mold. I googled them and found a shop on Etsy that was selling some.
- Batting. You can use any type. I tried with both wool and cotton batting. I preferred the wool batting personally, but it is just what you have on hand and what you like.
- Fabric – a 12″ x 12″ square.
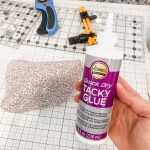
- Glue. I used Quick Dry Tacky Glue
- Scissors
- Needle and Thread
Steps to make a DIY Vintage Pincushion
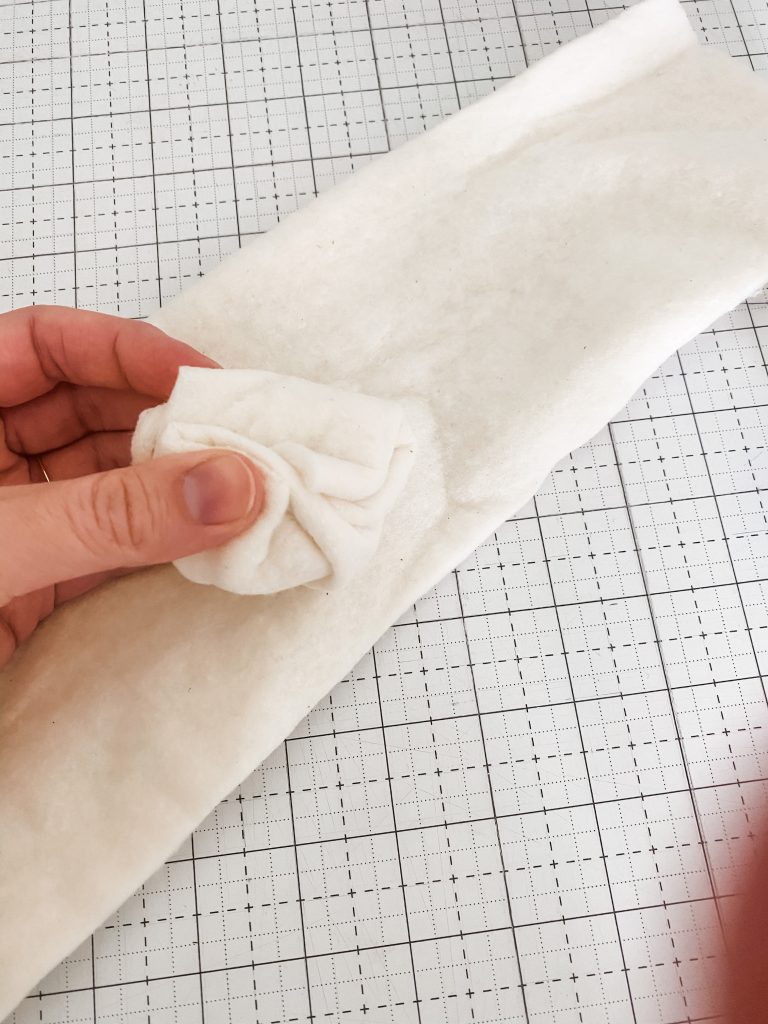
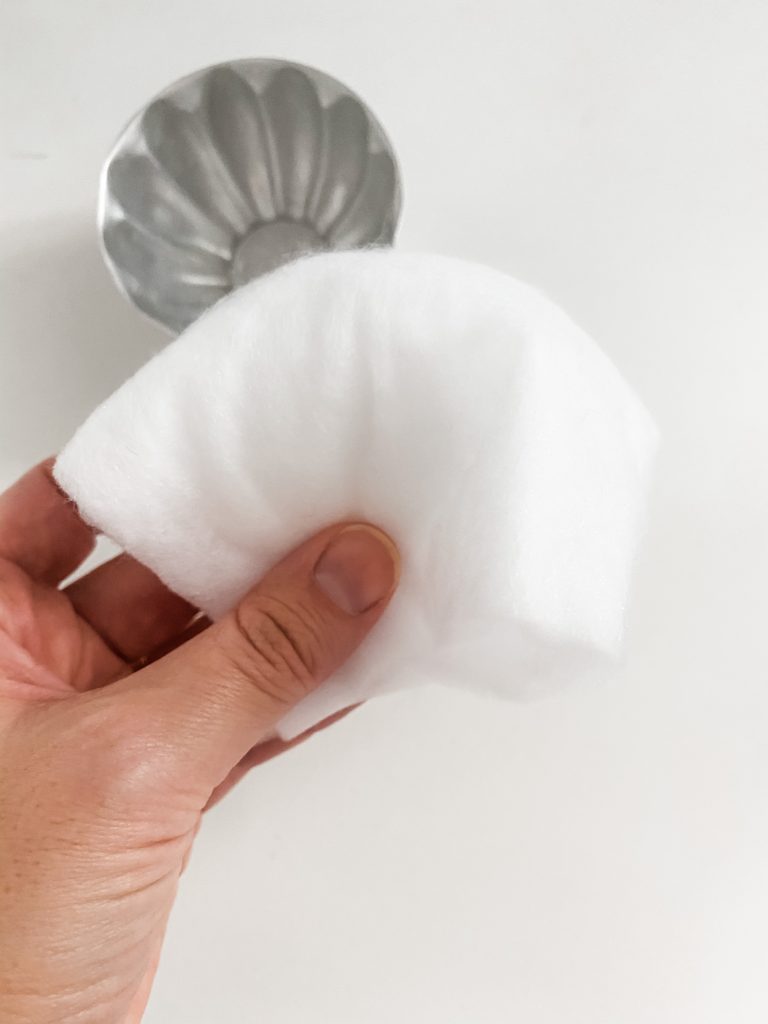
- Cut a strip of batting. I cut mine to be about 4″ x 18″. Roll it onto a ball. Then with a smaller piece of batting, cover your longer strip to make it look smooth on the top.
-
- With your needle and thread, sew the bottom of the batting together, so it stays in place. This does NOT need to look pretty, as you can see with mine. 😉

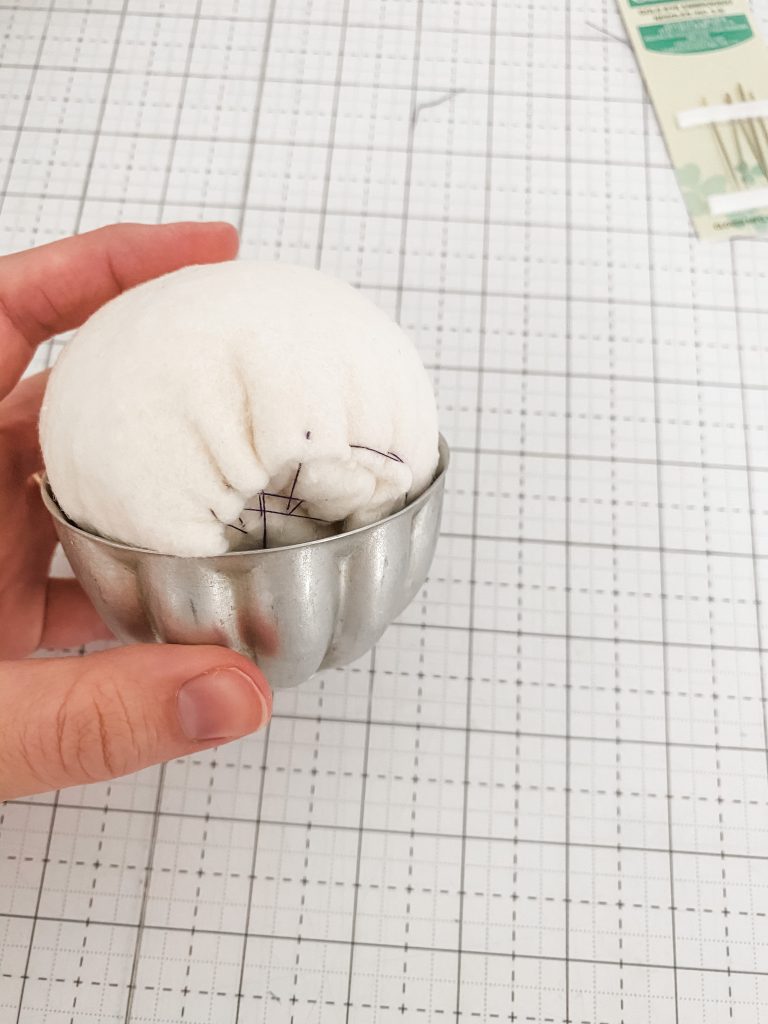
- Take your sewn batting ball and place it in your Jell-O mold. Make sure you like the shape and how it fits before moving on to the next step. If you don’t like the shape of your batting ball, keep sewing or undo your sewing to make it a shape you are happy with.
-
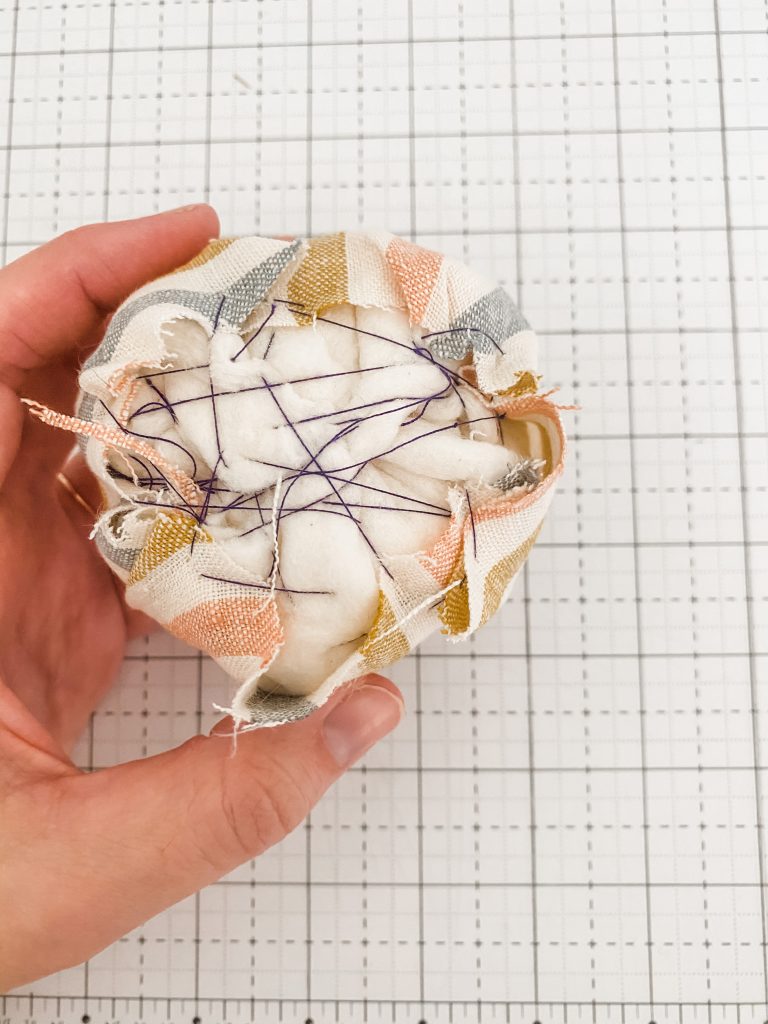
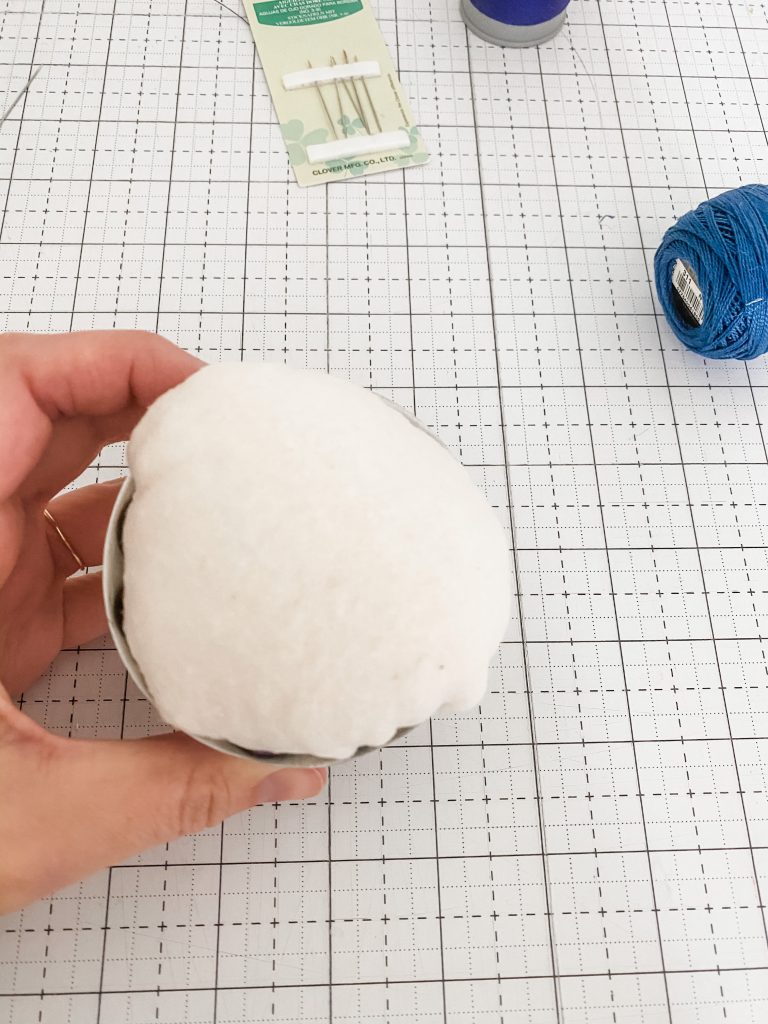
- Using your 12″ x 12″ piece of fabric, cut it into a circle. It actually doesn’t need to be a perfect circle, since you are going to put it around your batting ball.
- Place your batting ball on your piece of fabric.
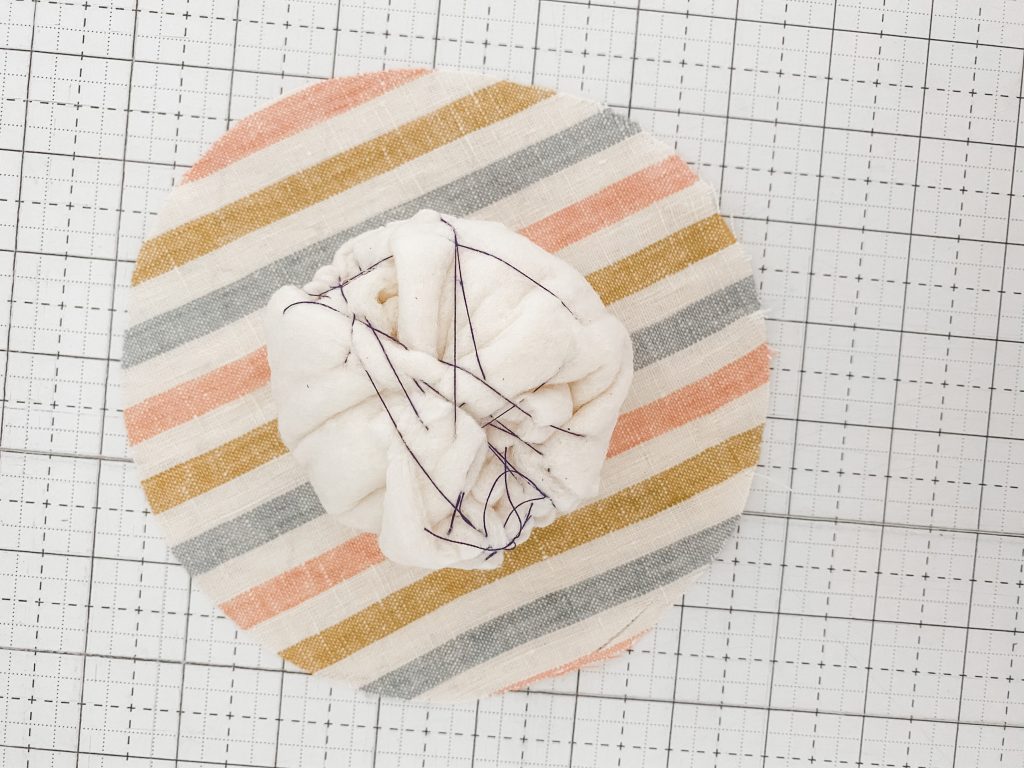
- Using your needle and thread, sew 4 sides of your fabric together, as shown.
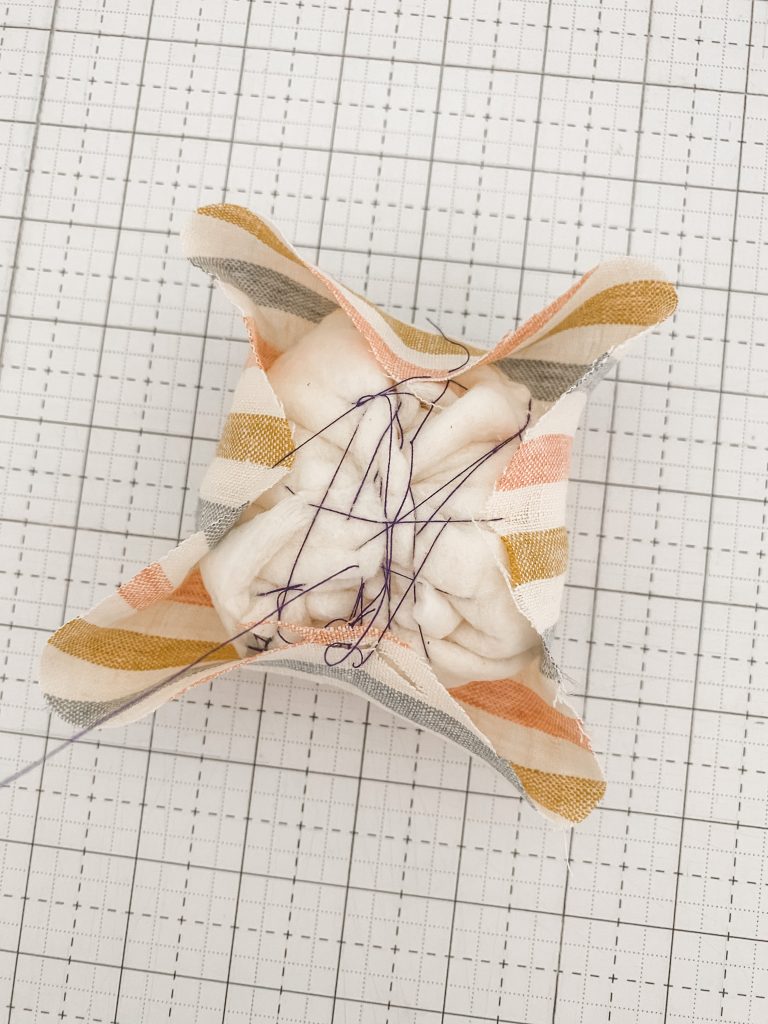
- Then sew the 4 sides sticking out together.
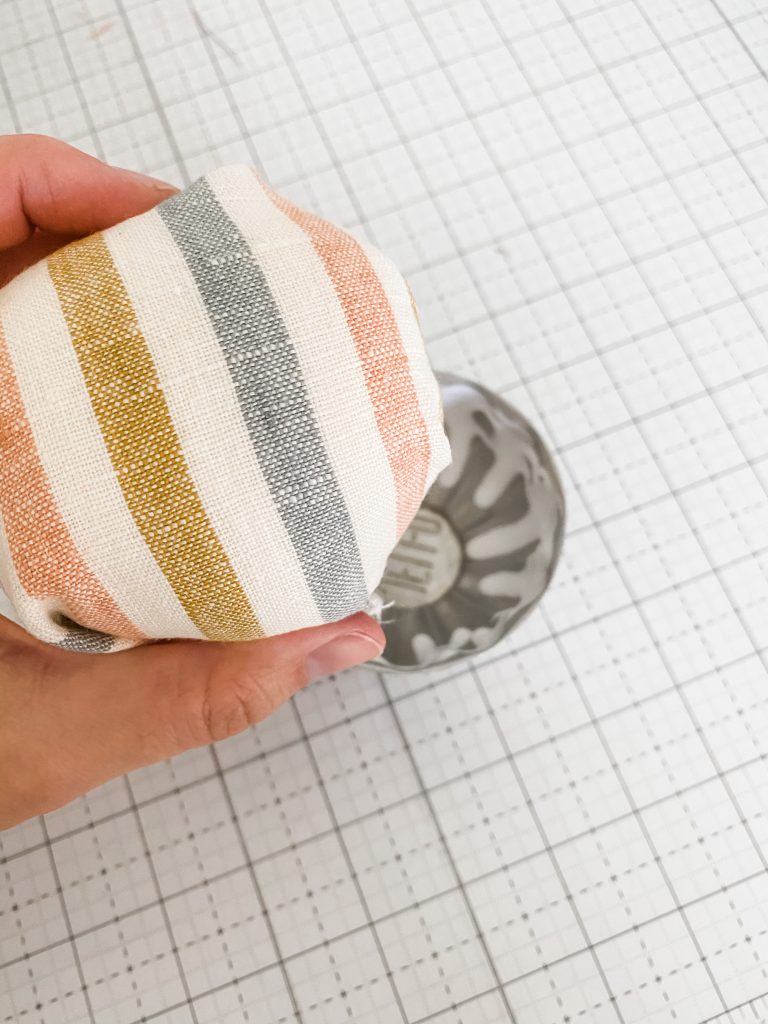
- Grab your Quick Dry Tacky Glue and put a line of glue around the inner top of your Jell-O mold.
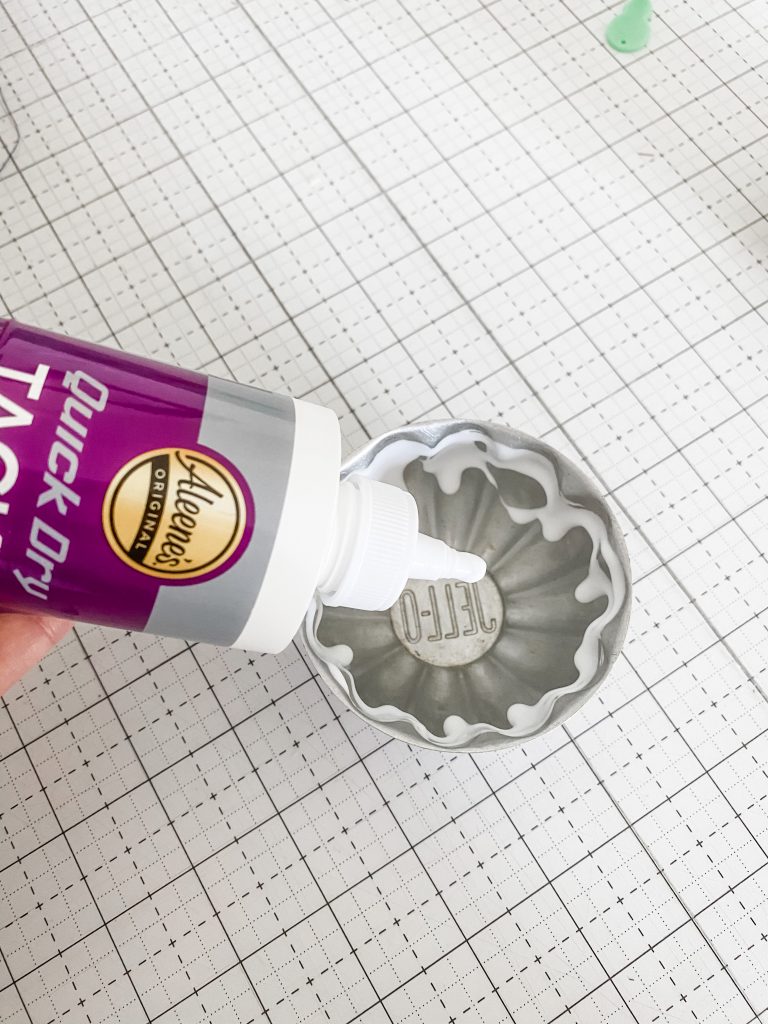
- Place your fabric covered batting ball inside your Jell-O mold.
-

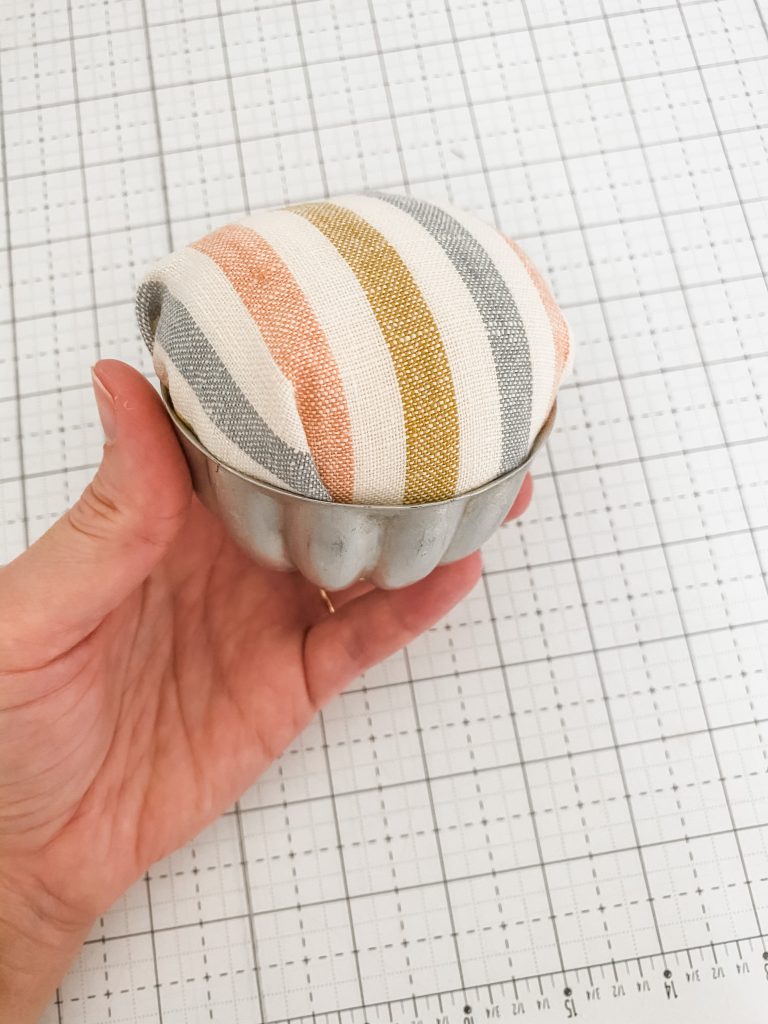
Enjoying your DIY Vintage Pin Cushion
Give it a few minutes to let the glue dry, and you are set. Voila! You have a beautiful, vintage inspired pin cushion.
Other Tutorials
If you enjoyed this tutorial, be sure to check out other free Quilters Candy Tutorials:
RECENT BLOG entries
DIY Vintage Pincushion
DIY Vintage Pincushion
DIY Vintage Pincushion
DIY Vintage Pincushion
DIY Vintage Pincushion
DIY Vintage Pincushion
the latest
June 26, 2025
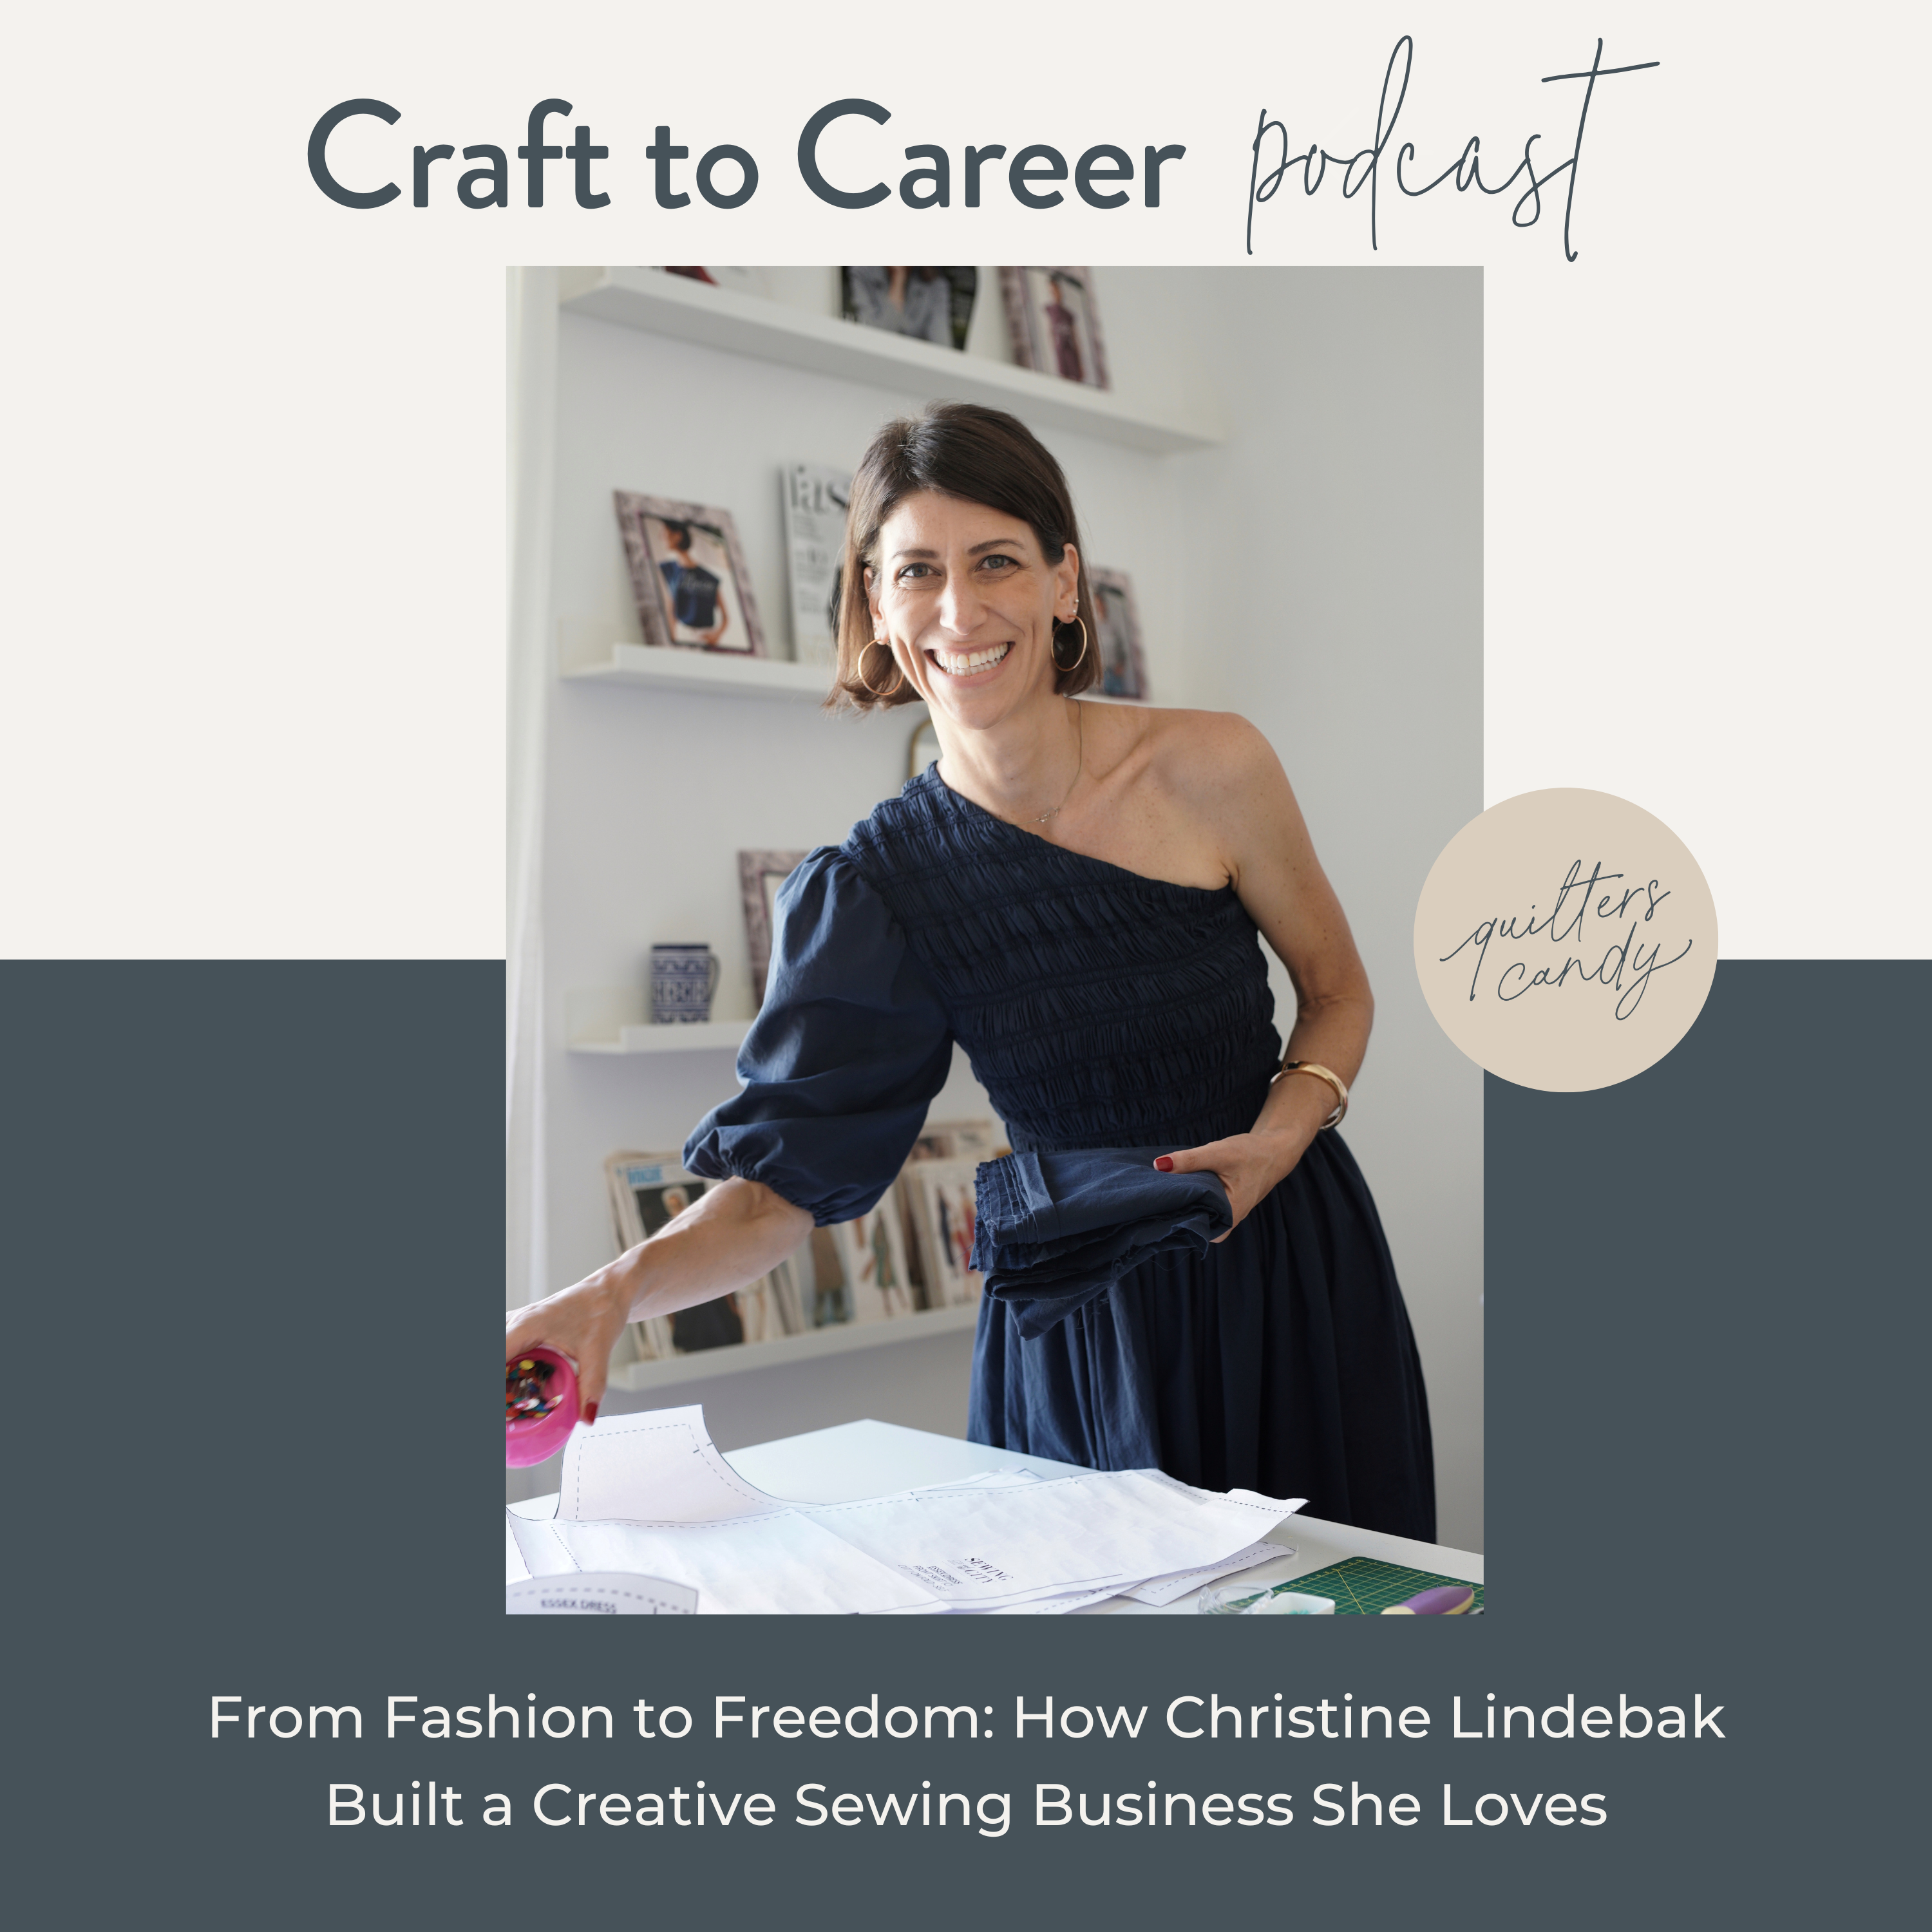
From Fashion to Freedom: How Christine Lindebak Built a Creative Sewing Business She Loves What happens when you leave a high-powered fashion career behind for a slower, more intentional life built around sewing, creativity, and freedom? In this episode of the Craft to Career podcast, I’m joined by Christine Lindebak, an inspiring garment sewist, pattern […]
tune into the
Craft to Career
Podcast
Each week get insights on how to turn your craft into a successful career. With both guest speakers and tips from myself, you get valuable, free education on the Craft to Career podcast!


