• Home
  • Membership
    • Login
    • Learn More
  • Courses
    • Pattern Writing Course
    • Craft To Career Club
    • FREE Mini Course: Canva
    • Login
  • Shop
    • Book
    • Quilt Patterns
    • Templates for Quilt Patterns
    • Weekly Planner
    • Wholesale
    • Pattern Corrections
  • Blog
  • Podcast

Quilters Candy

Travel Art Carrier Tutorial
Patterns, Tutorials
/
February 8, 2022

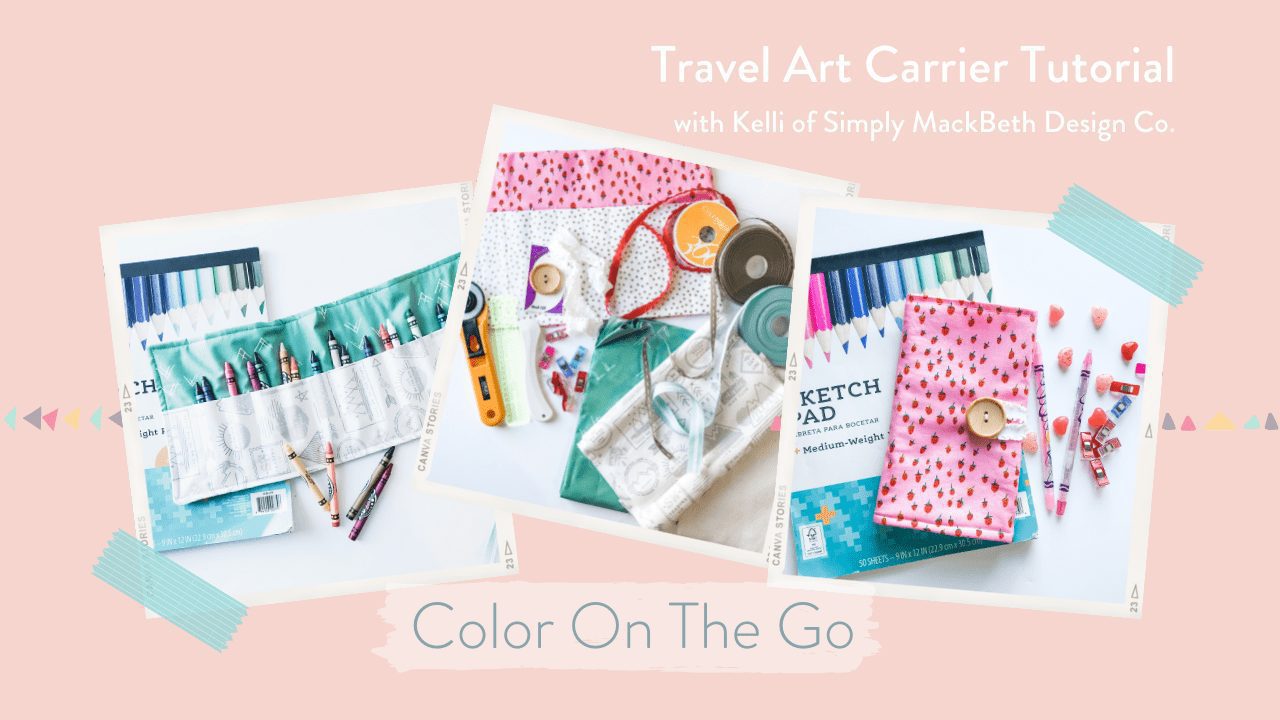
Color on the go Travel Carrier TuTorial
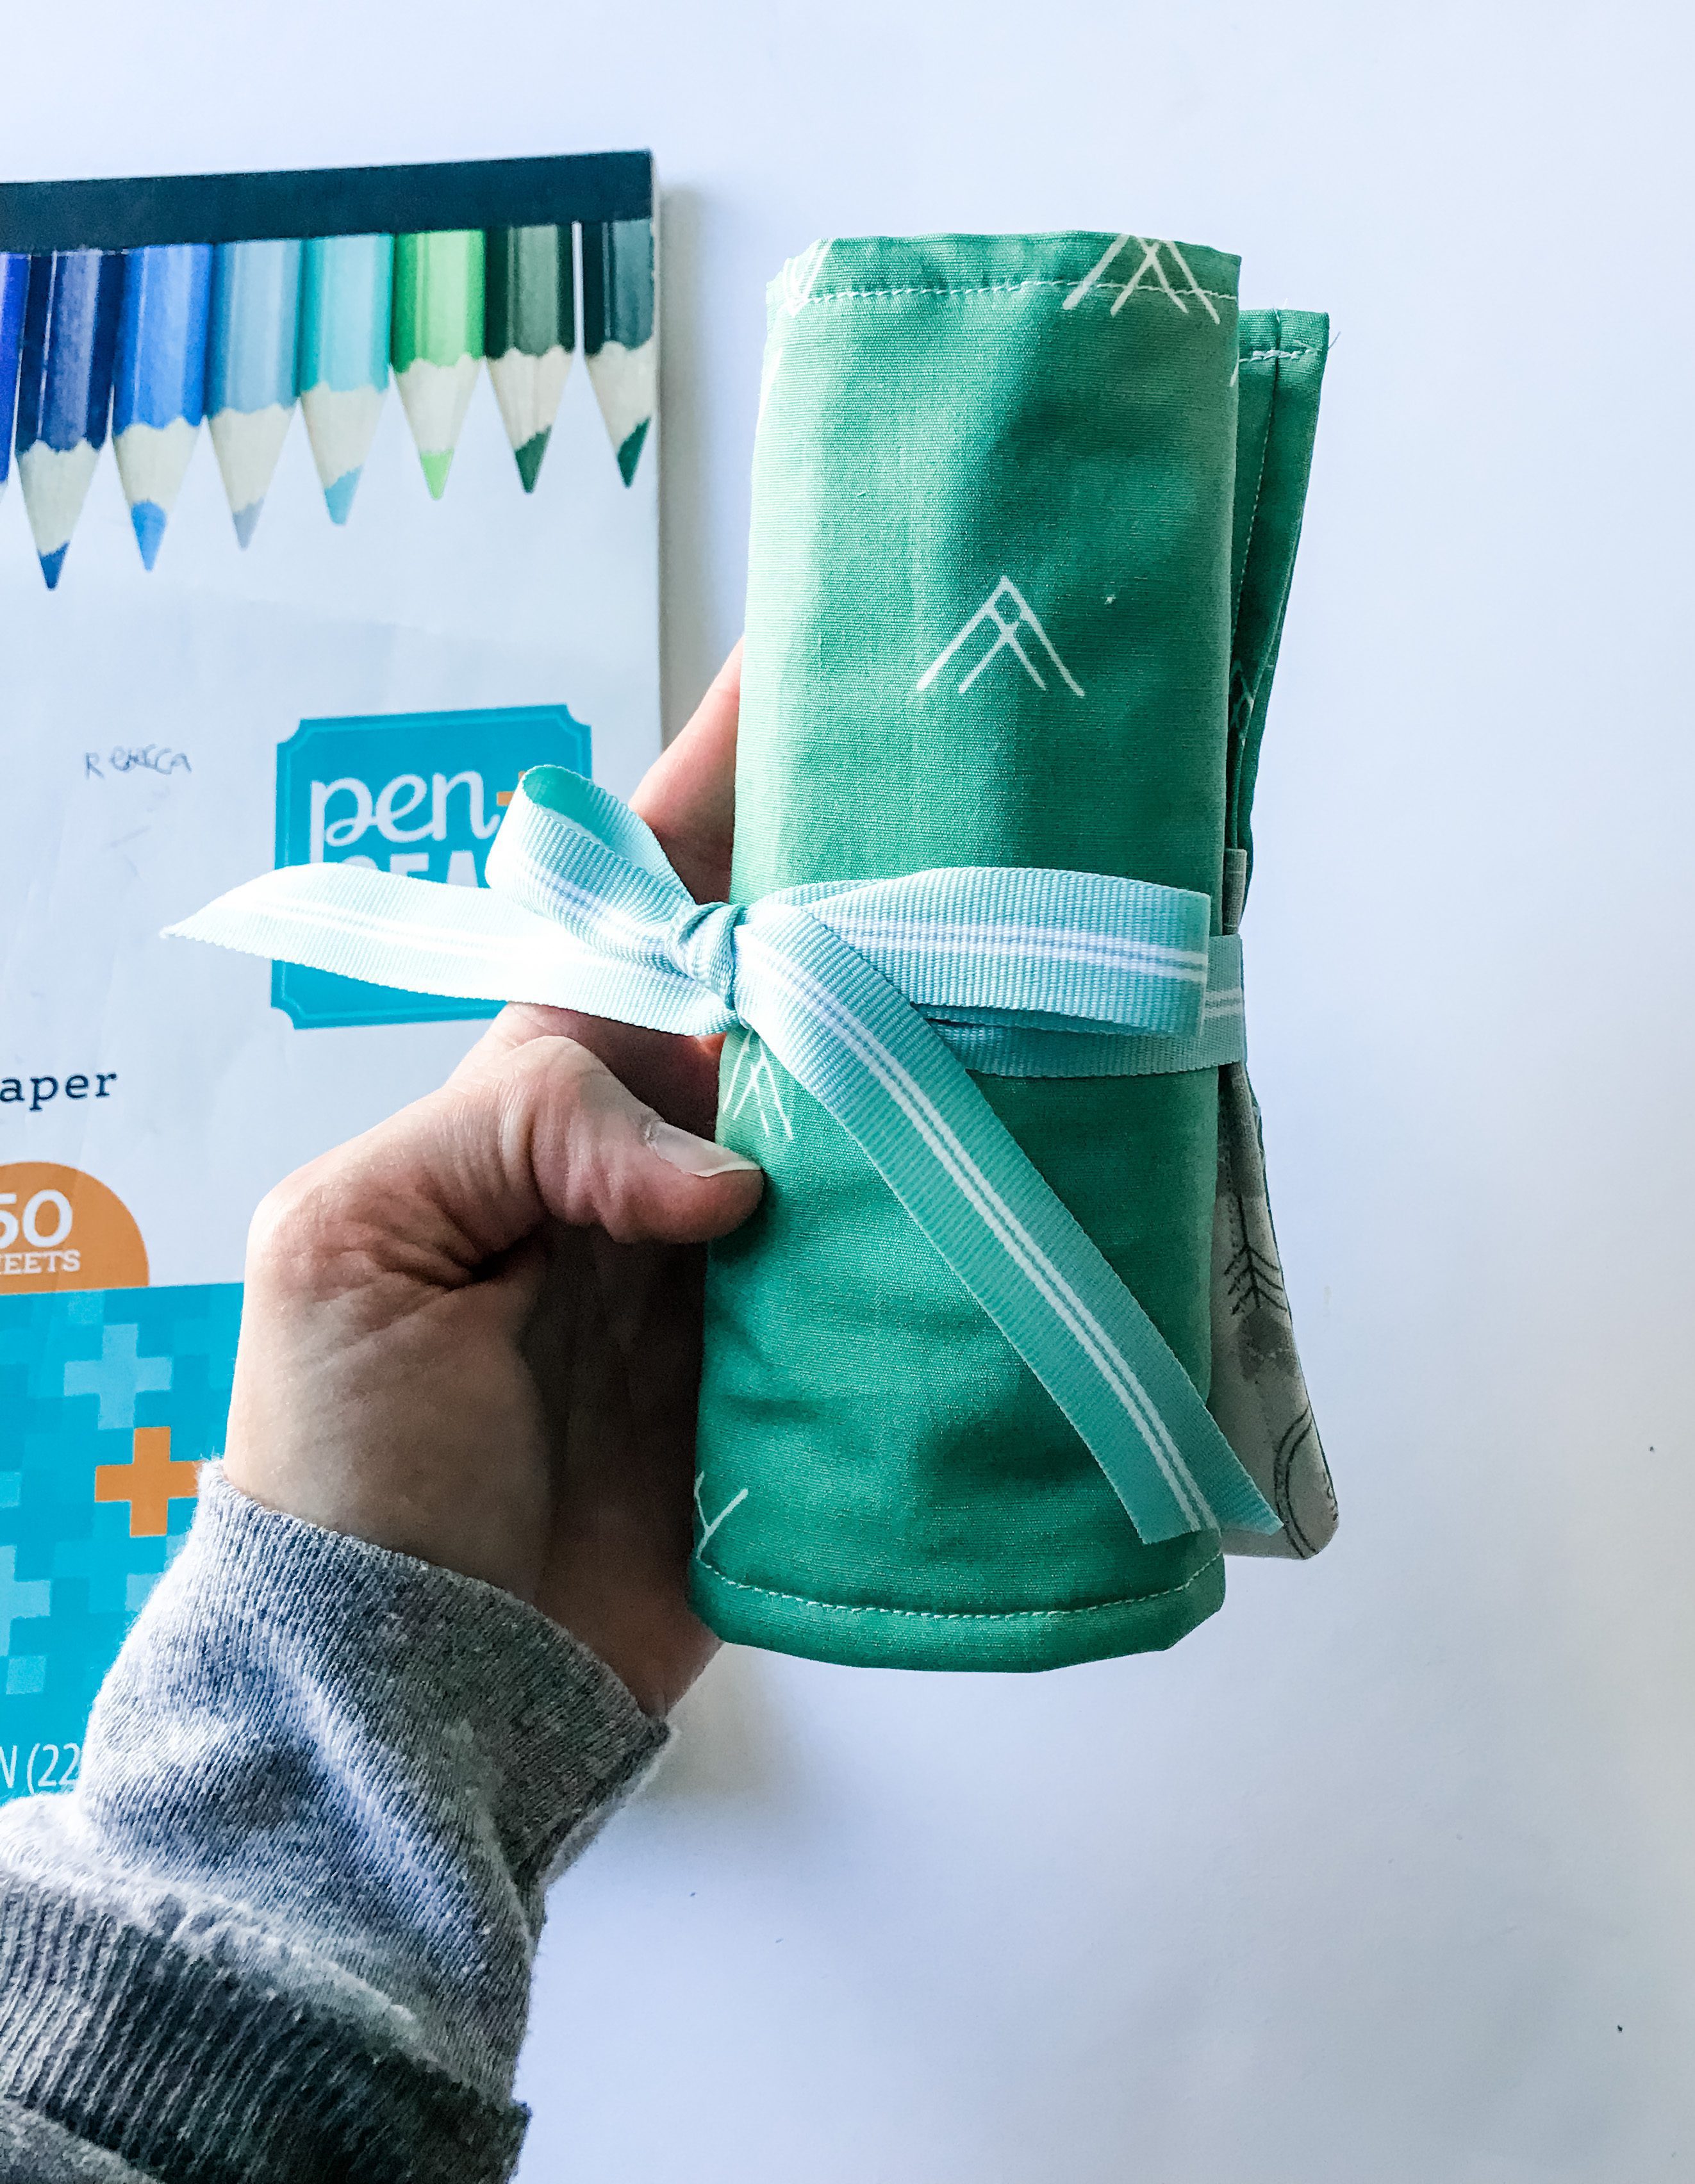
Hey ya’ll!  I’m Kelli from Simply MackBeth Design Co.  I am a pattern designer, premade binding maker and fabric shop owner.  More importantly, I’m a mama to 5 young kids who love to do art projects.

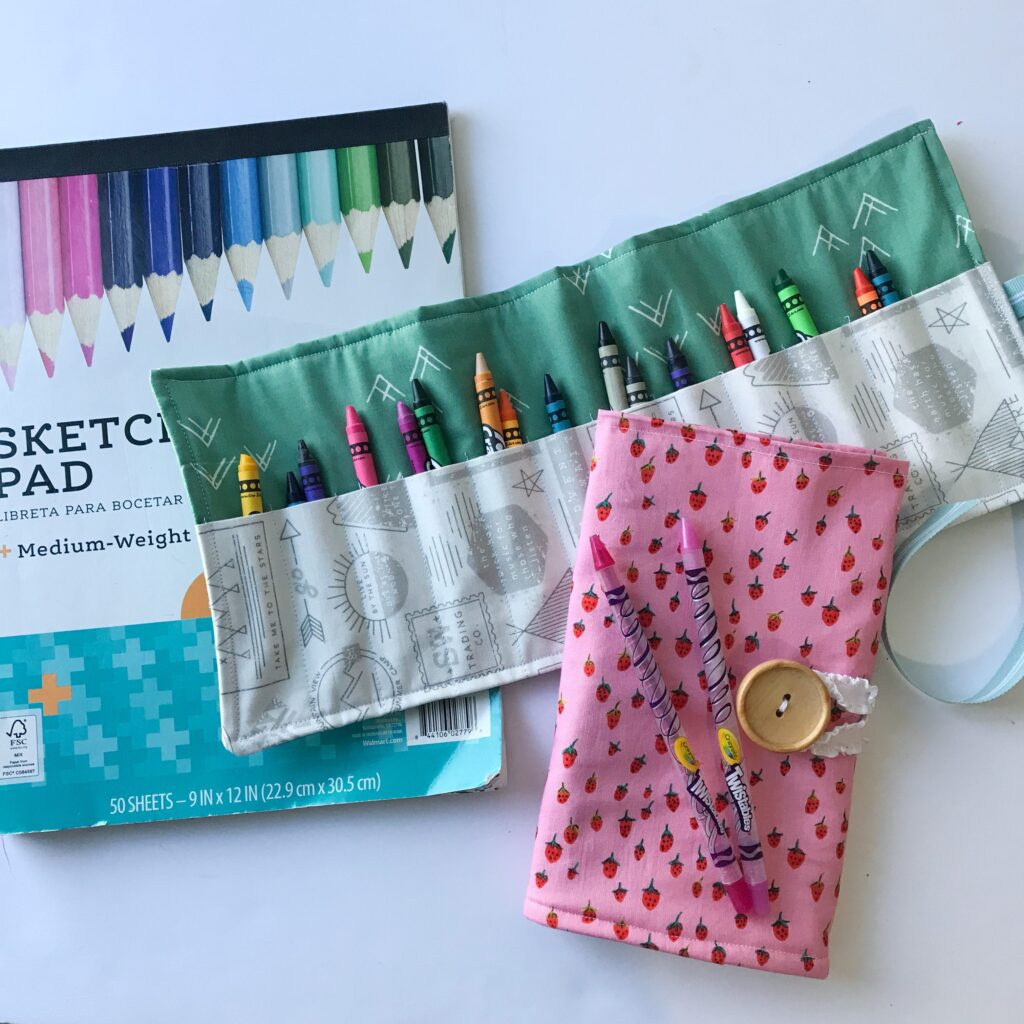
My house is filled with all sorts of supplies – mainly crayons, colored pencils + markers to last a lifetime!  I wanted a better way to take these items on the go – a way that could help them not end up melted or lost in my car or bag, so today I wanted to share with you my Color-On-The-Go travel carrier pattern.

Color On the go travel carrier Tutorial

photo 1-2

COLOR ON THE GO – Travel Art Supply Carrier

This tutorial will go over two different sizes – one perfect for crayons + one perfect for colored pencils (or even markers).

There are also two different options for closures for the carriers.T

Want to take this tutorial on the go, I’ve made a quick 5 step guide to making your own Color-On-The-Go travel carrier.

DOWNLOAD THE QUICK REFERENCE GUIDE HERE

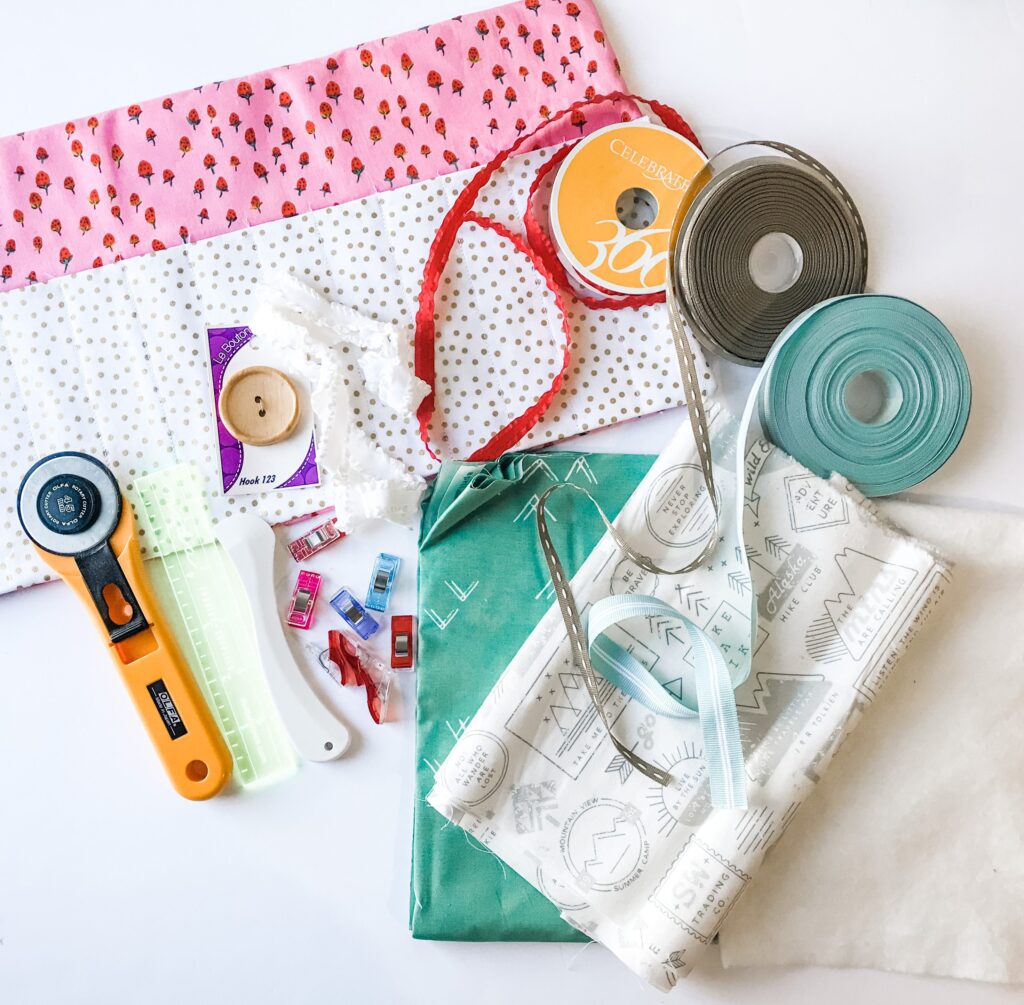
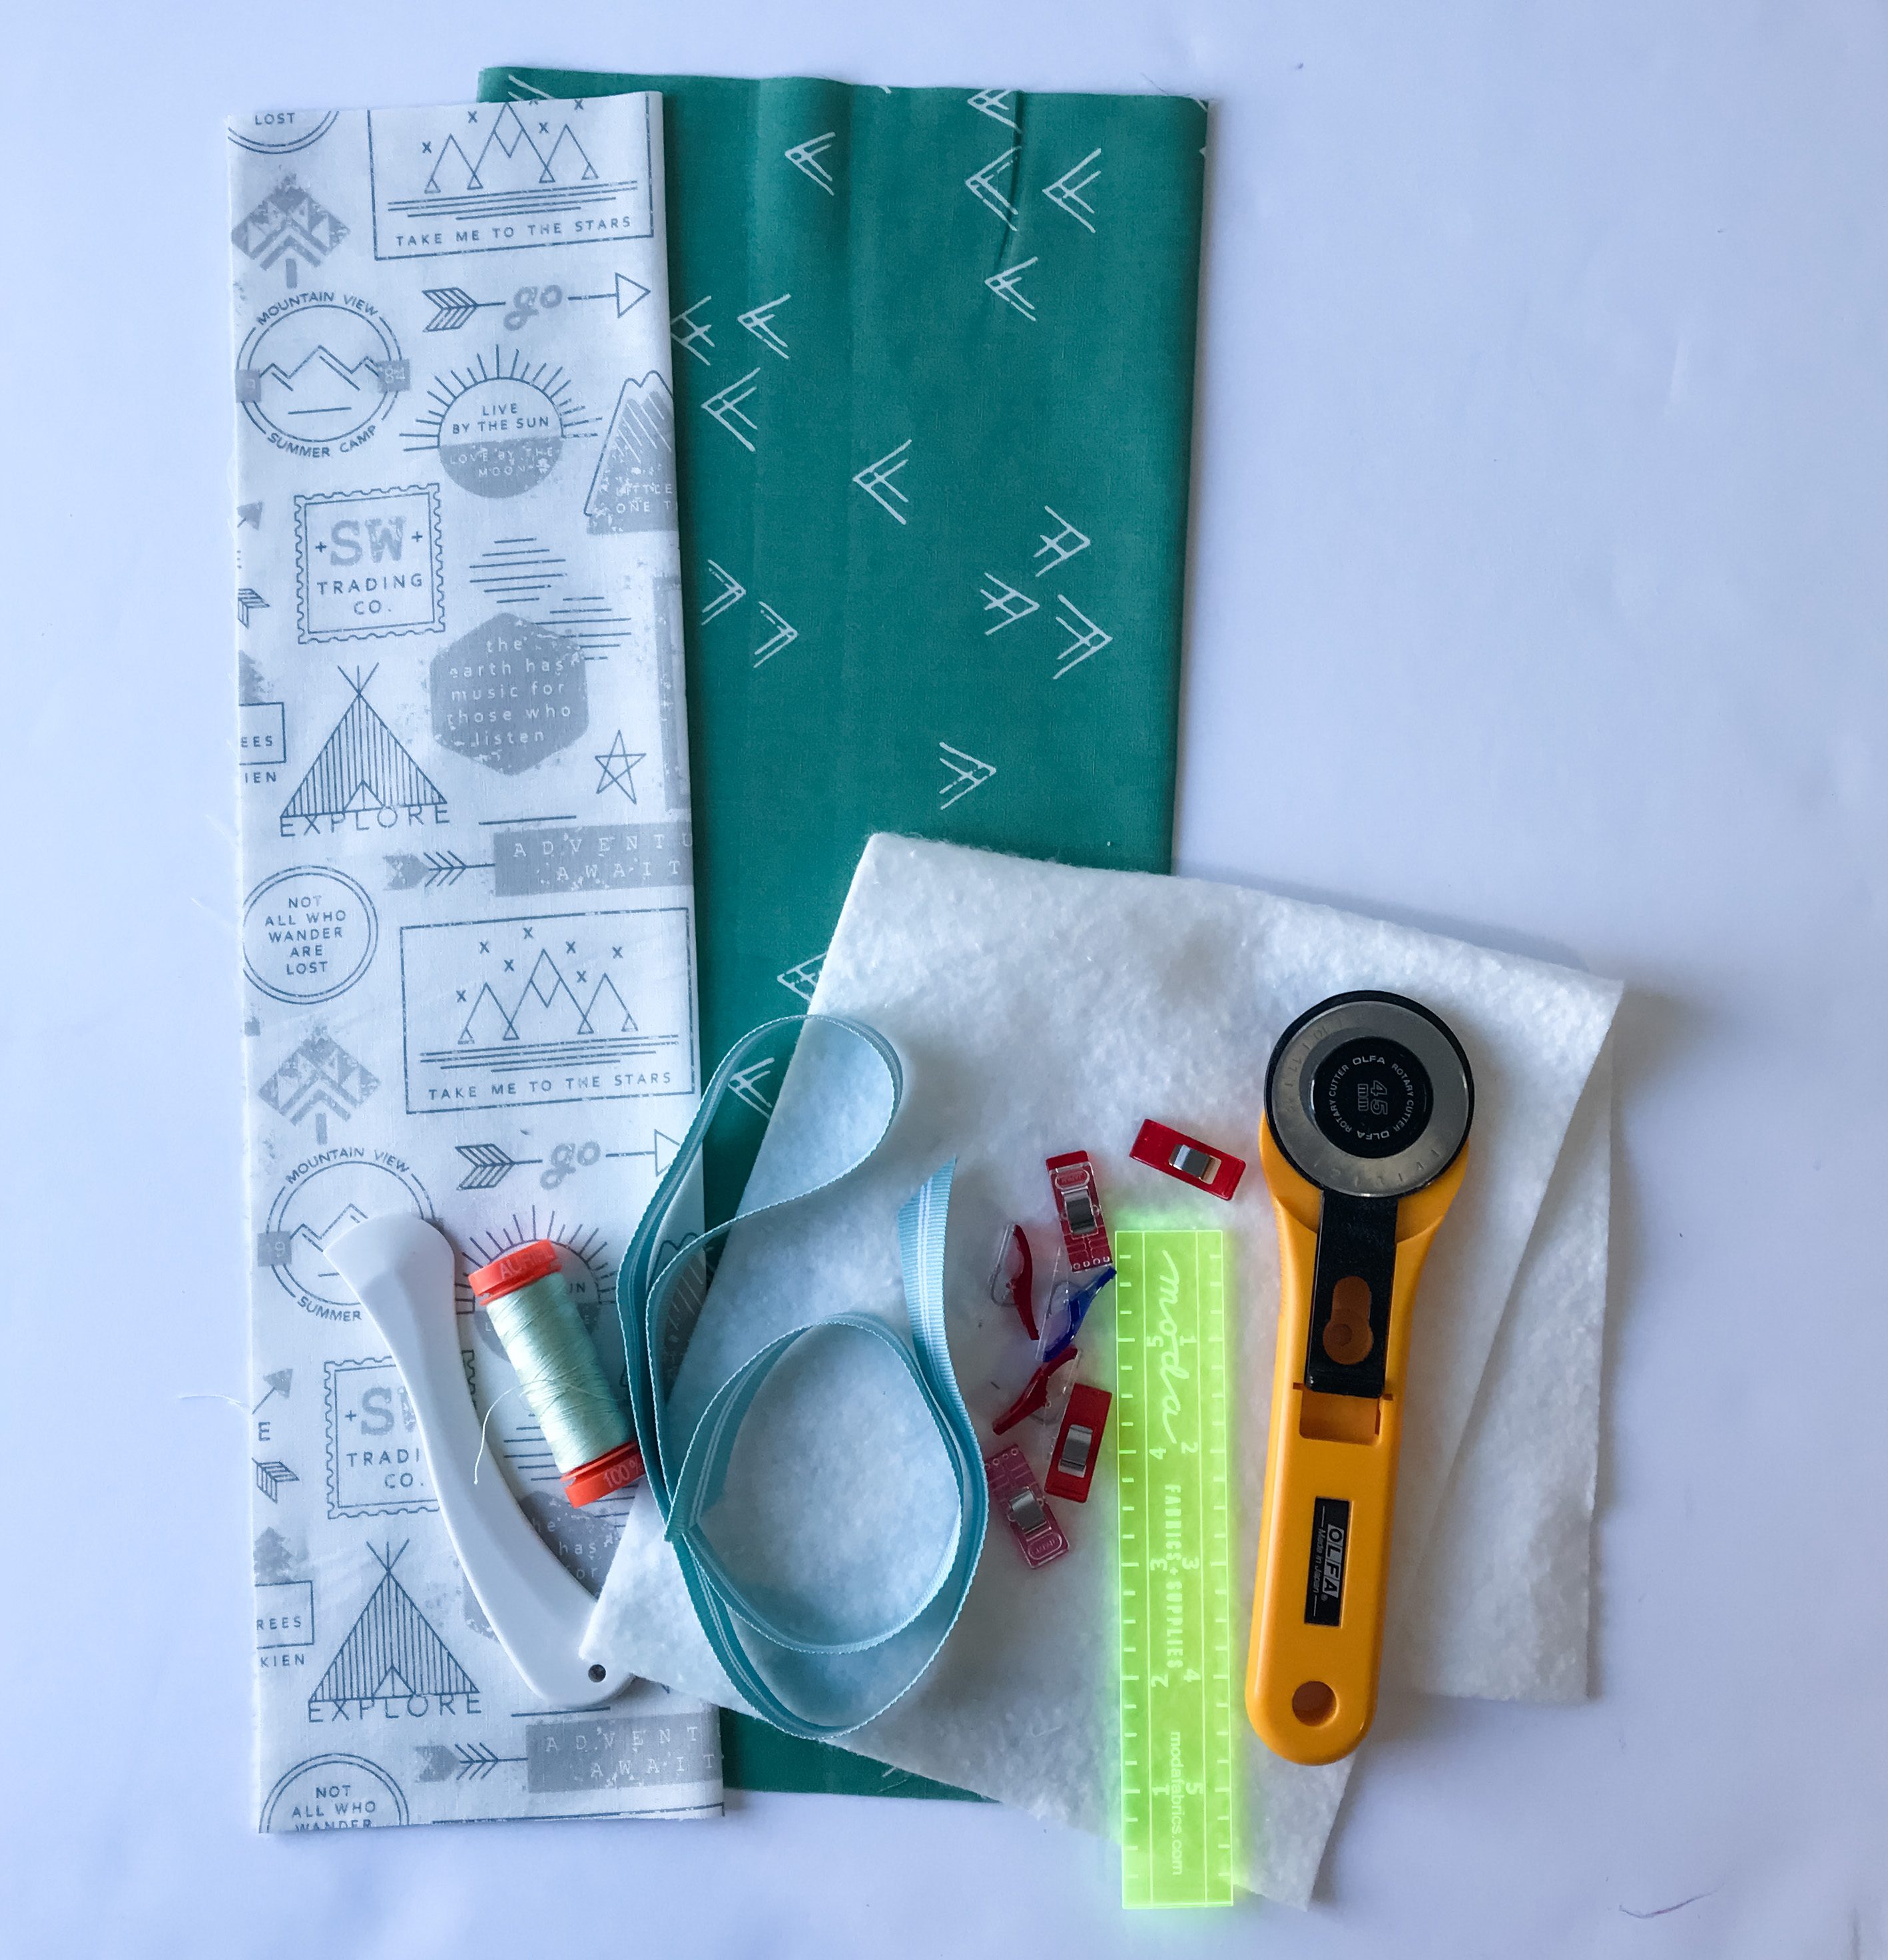
Basic Supplies Needed for Color On tHe Go

*For exact sizes of fabric + batting needed, choose crayon or colored pencil options below*

  • 2 Coordinating Fat Quarters
  • Piece of batting
  • Button + elastic or Ribbon
  • Sewing machine, thread, rotary cutter, ruler, pins (or binding clips) + marking pen/tool
  • Iron Supplies

How to make a color on the go Colored pencil CARRIER

Approx. 9in x 16in finished

CUT out the carrier

From 2 Fat Quarters (FQs) choose a main fabric and a pocket fabric and cut the following:

Main – 18in x 16in

Pocket – 12in x 16in

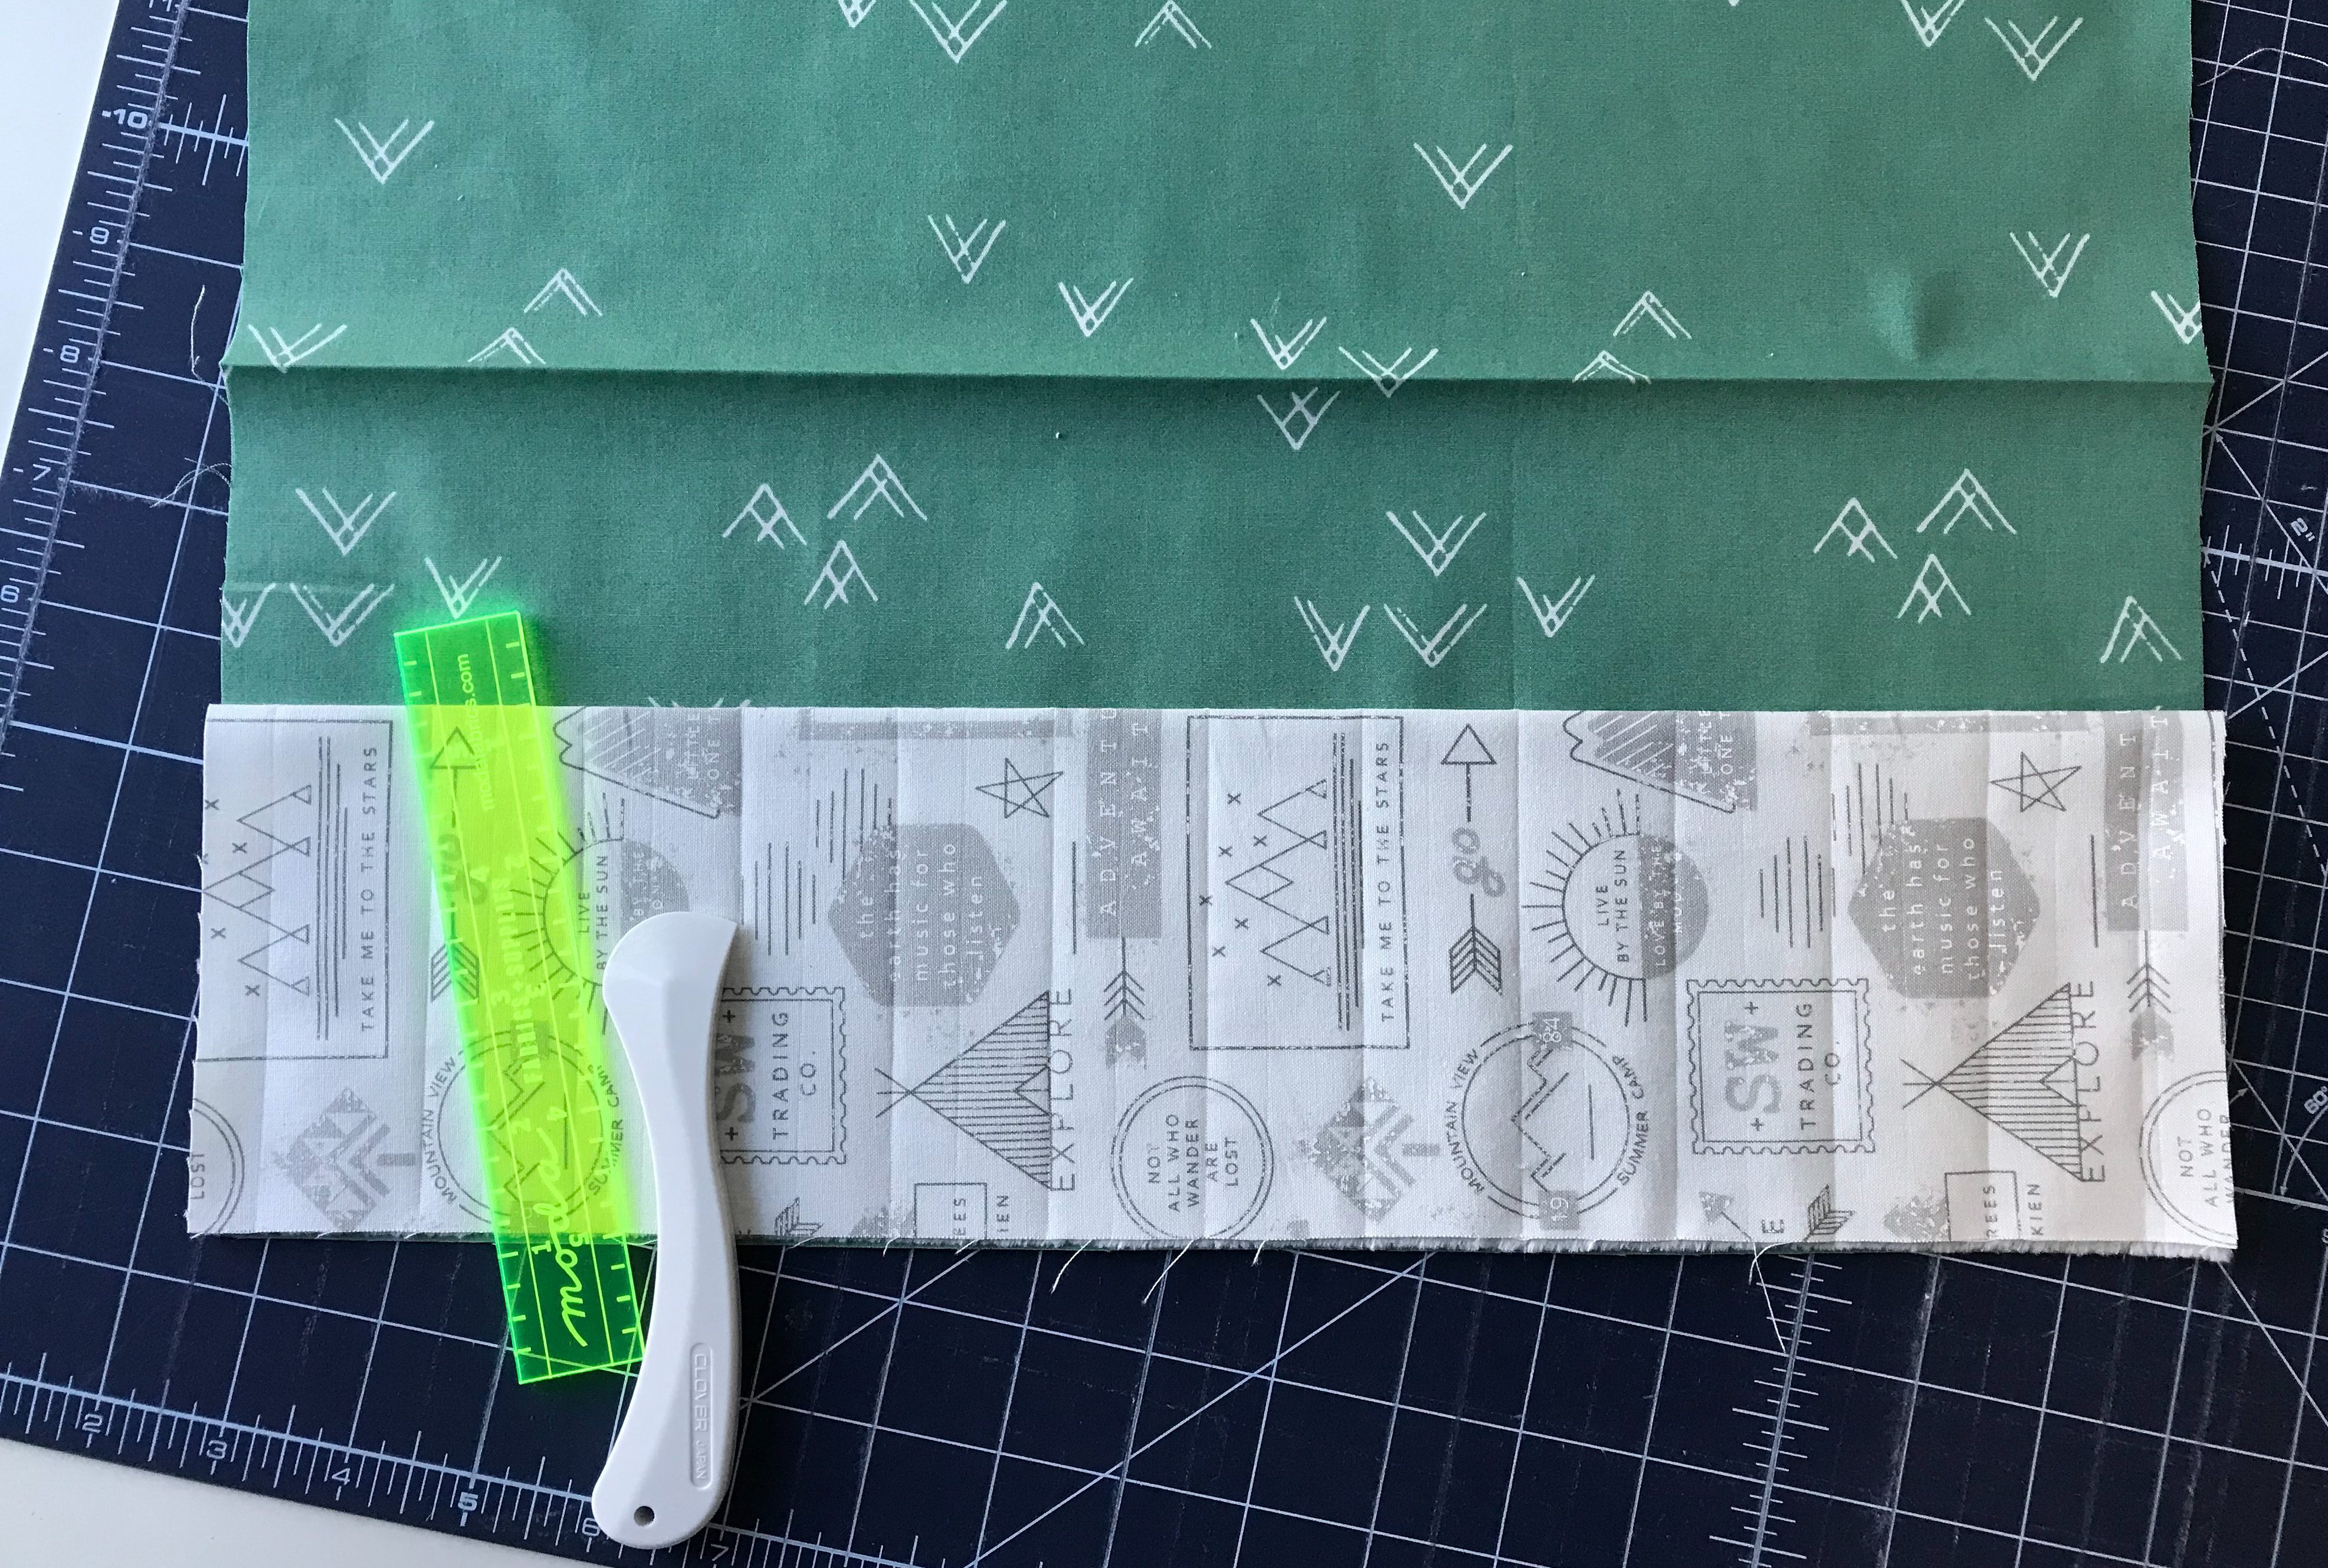
Take the pocket fabric and fold in half, with wrong sides together (right side facing out).  Iron seam to make it nice and flat.  Pocket should measure approx 6in x 16in now.

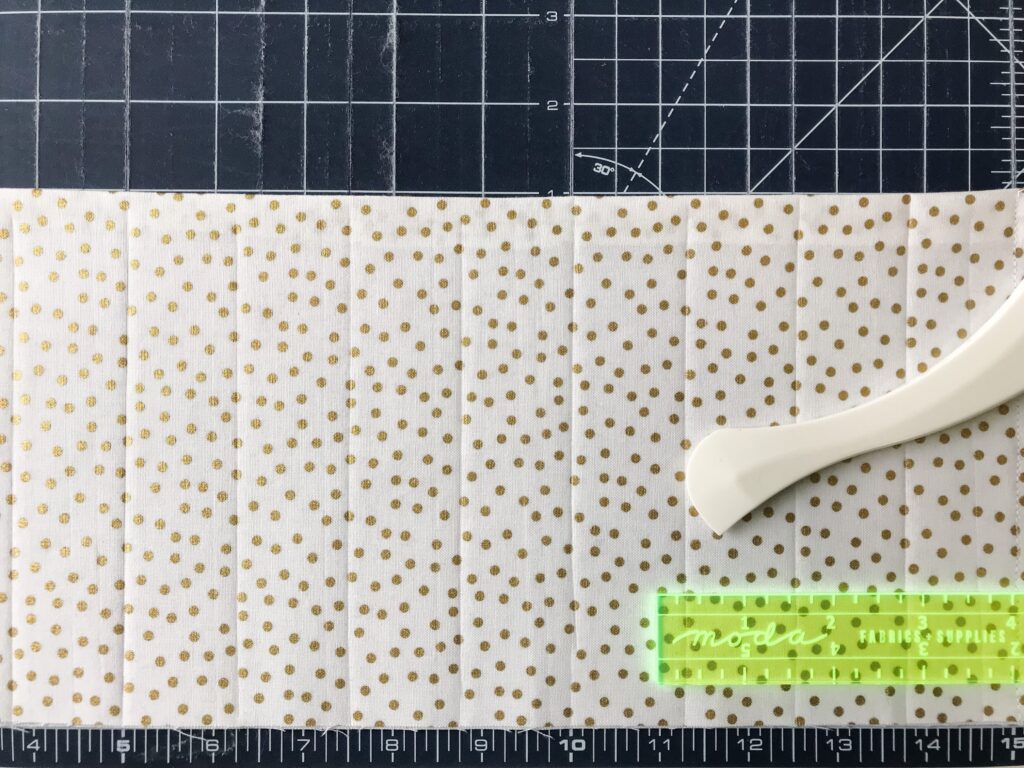
Mark your pencil slots

Next, you are going to mark your lines for the colored pencil slots.  You can use a fabric marking pen, I prefer using a hera marker. 

First, mark 1/2in line in from each short edge. 

Then start marking a line about 1 1/4in apart from each other – this will make 12 slots.

Attach your pocket

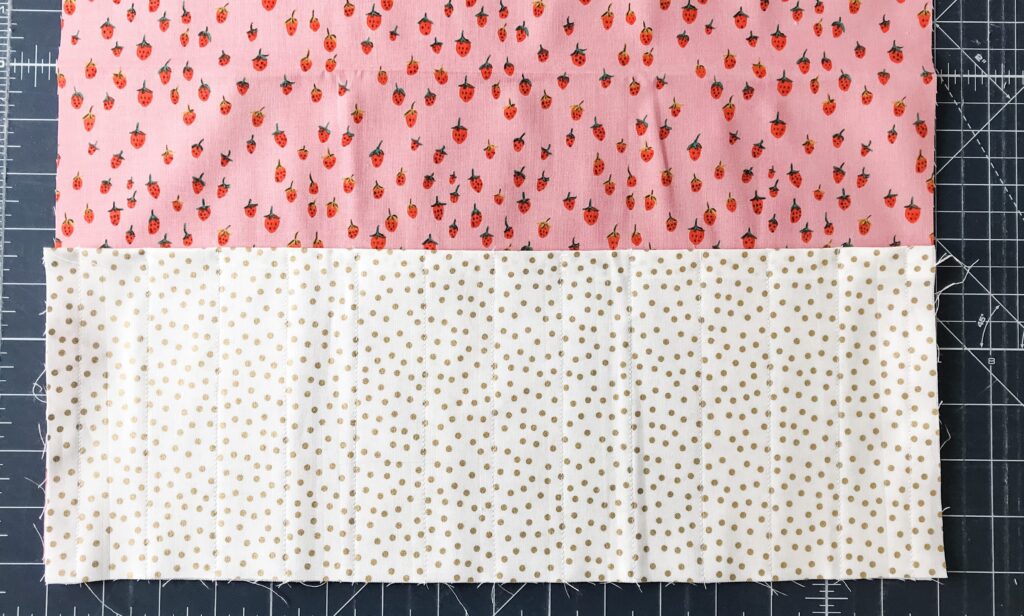
Take the marked pocket piece and line up the raw edge to the bottom right side of the main fabric.  Pin in place.

Starting up on the folded edge of the pocket, sew on each line to attach the pocket to the main fabric.  Trim threads.

Add the Batting and Flip

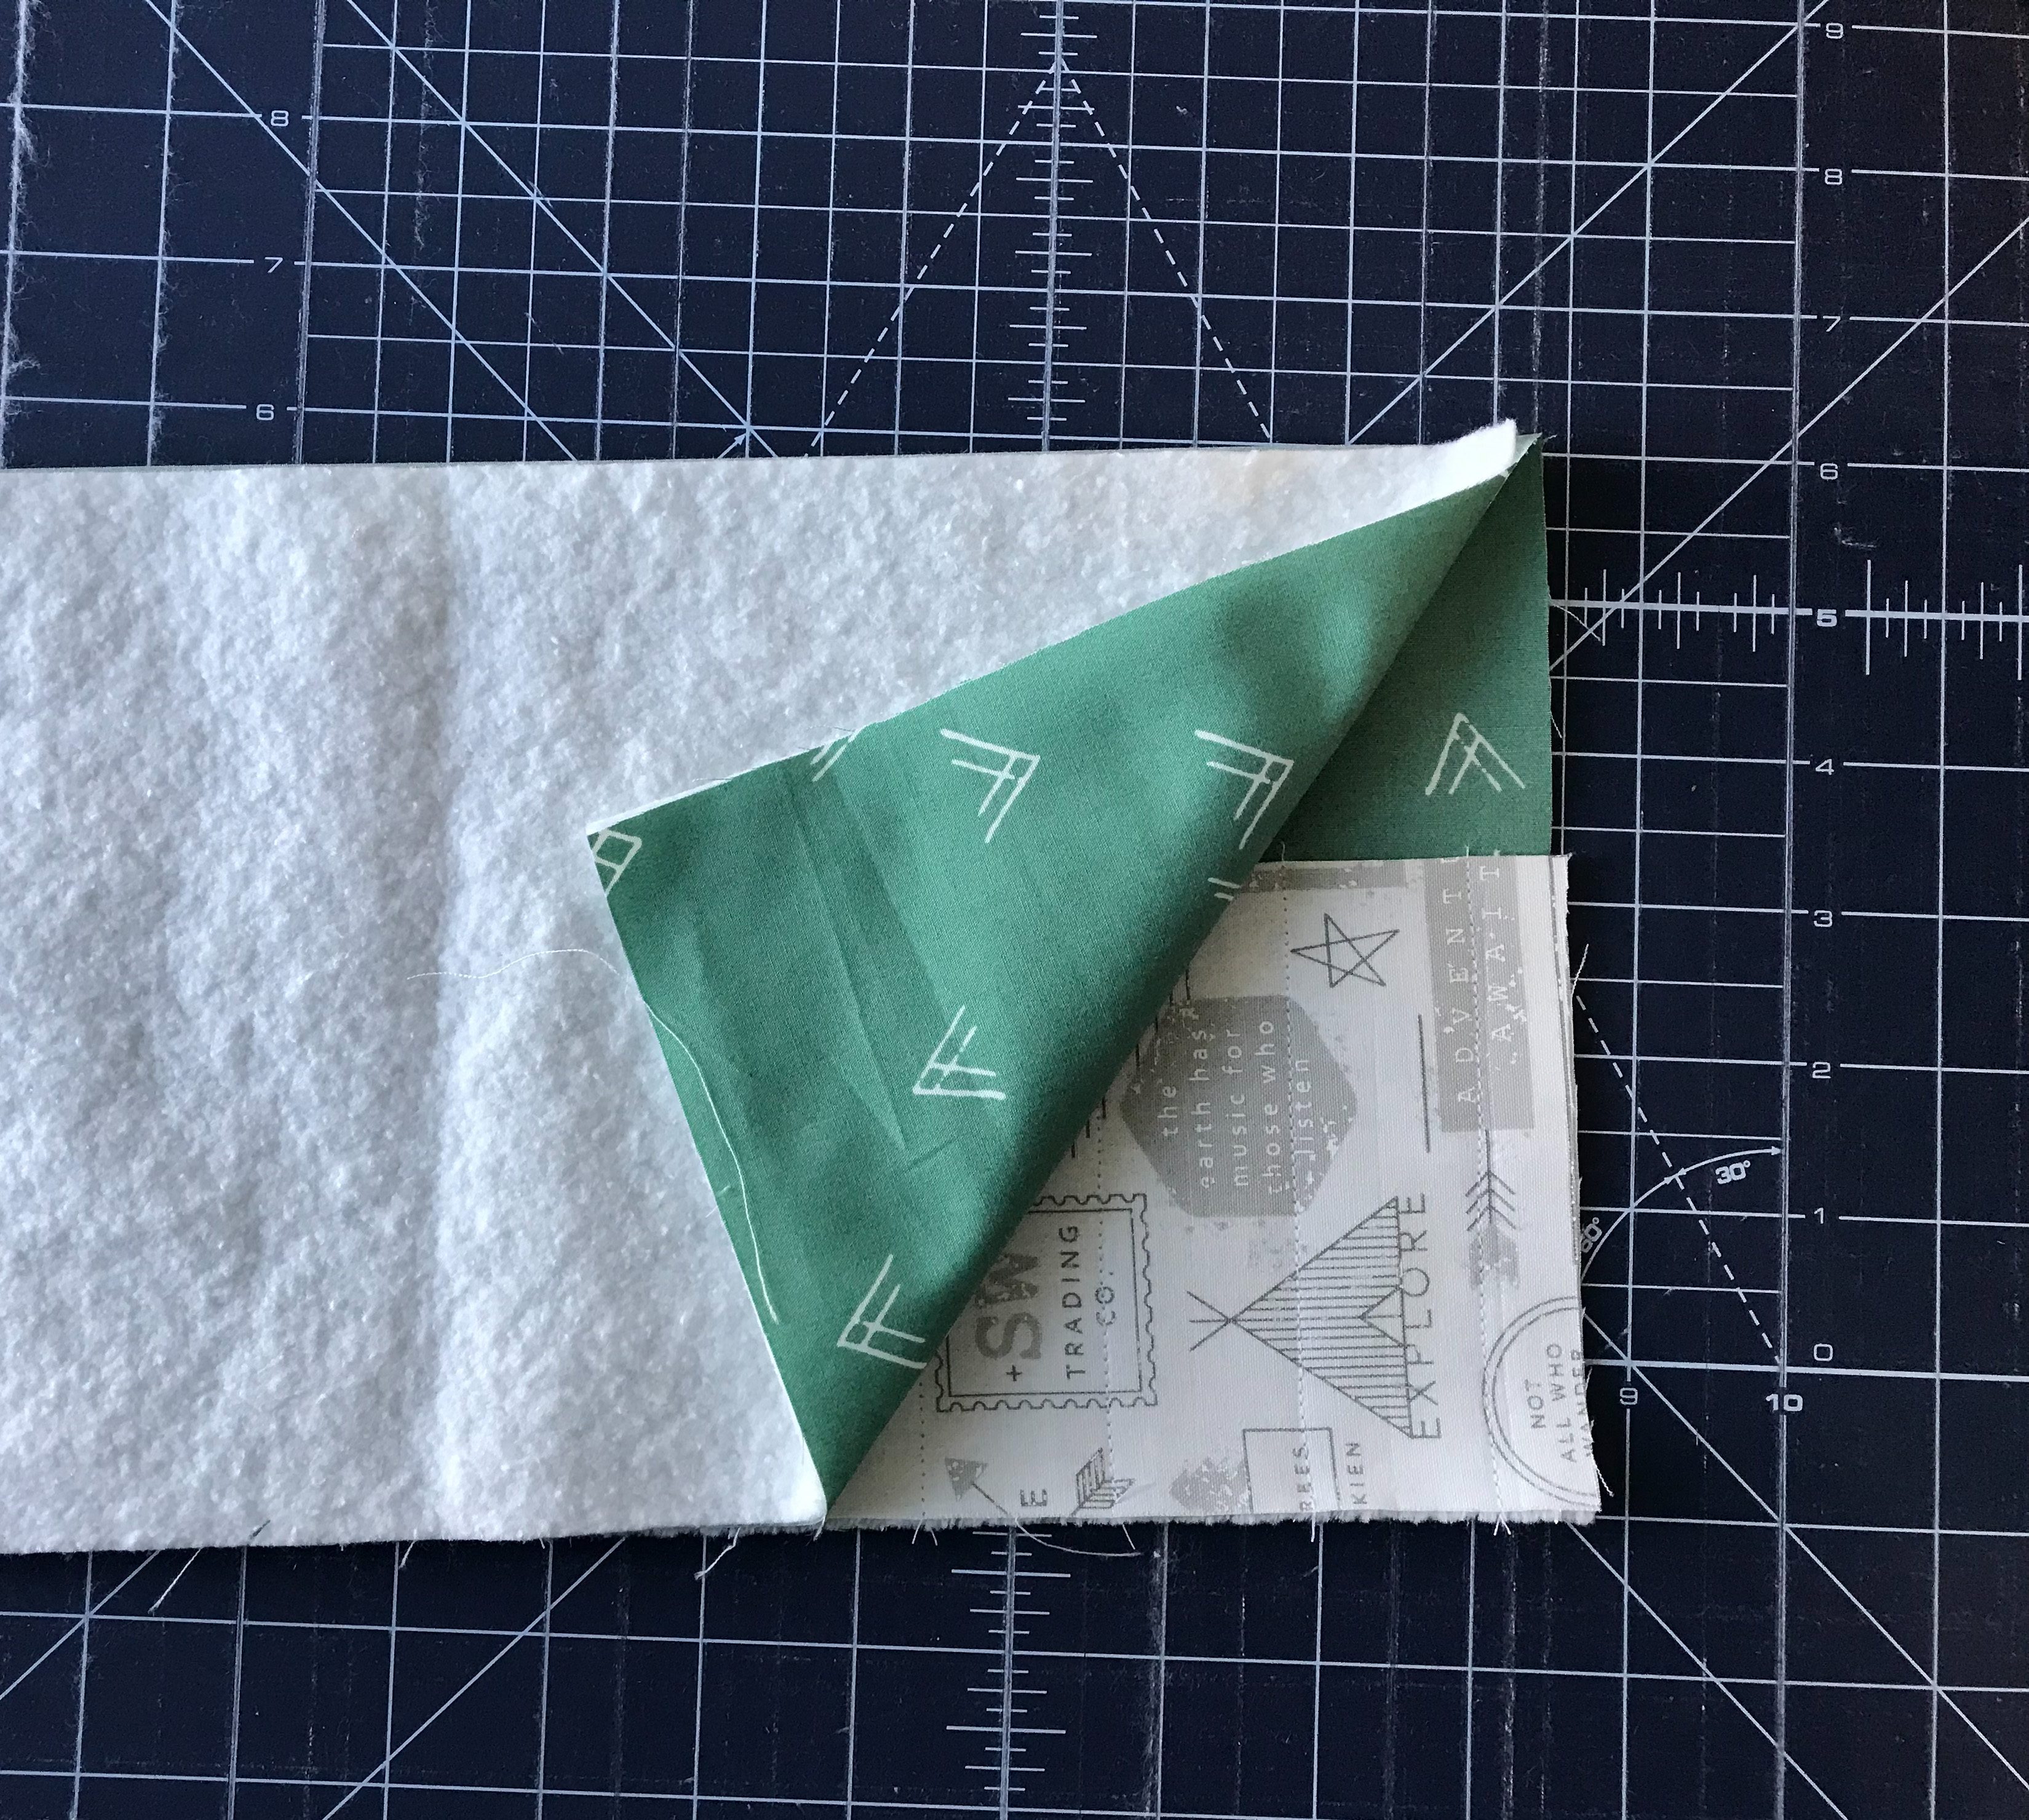
Fold main fabric, right sides together, over the pocket.

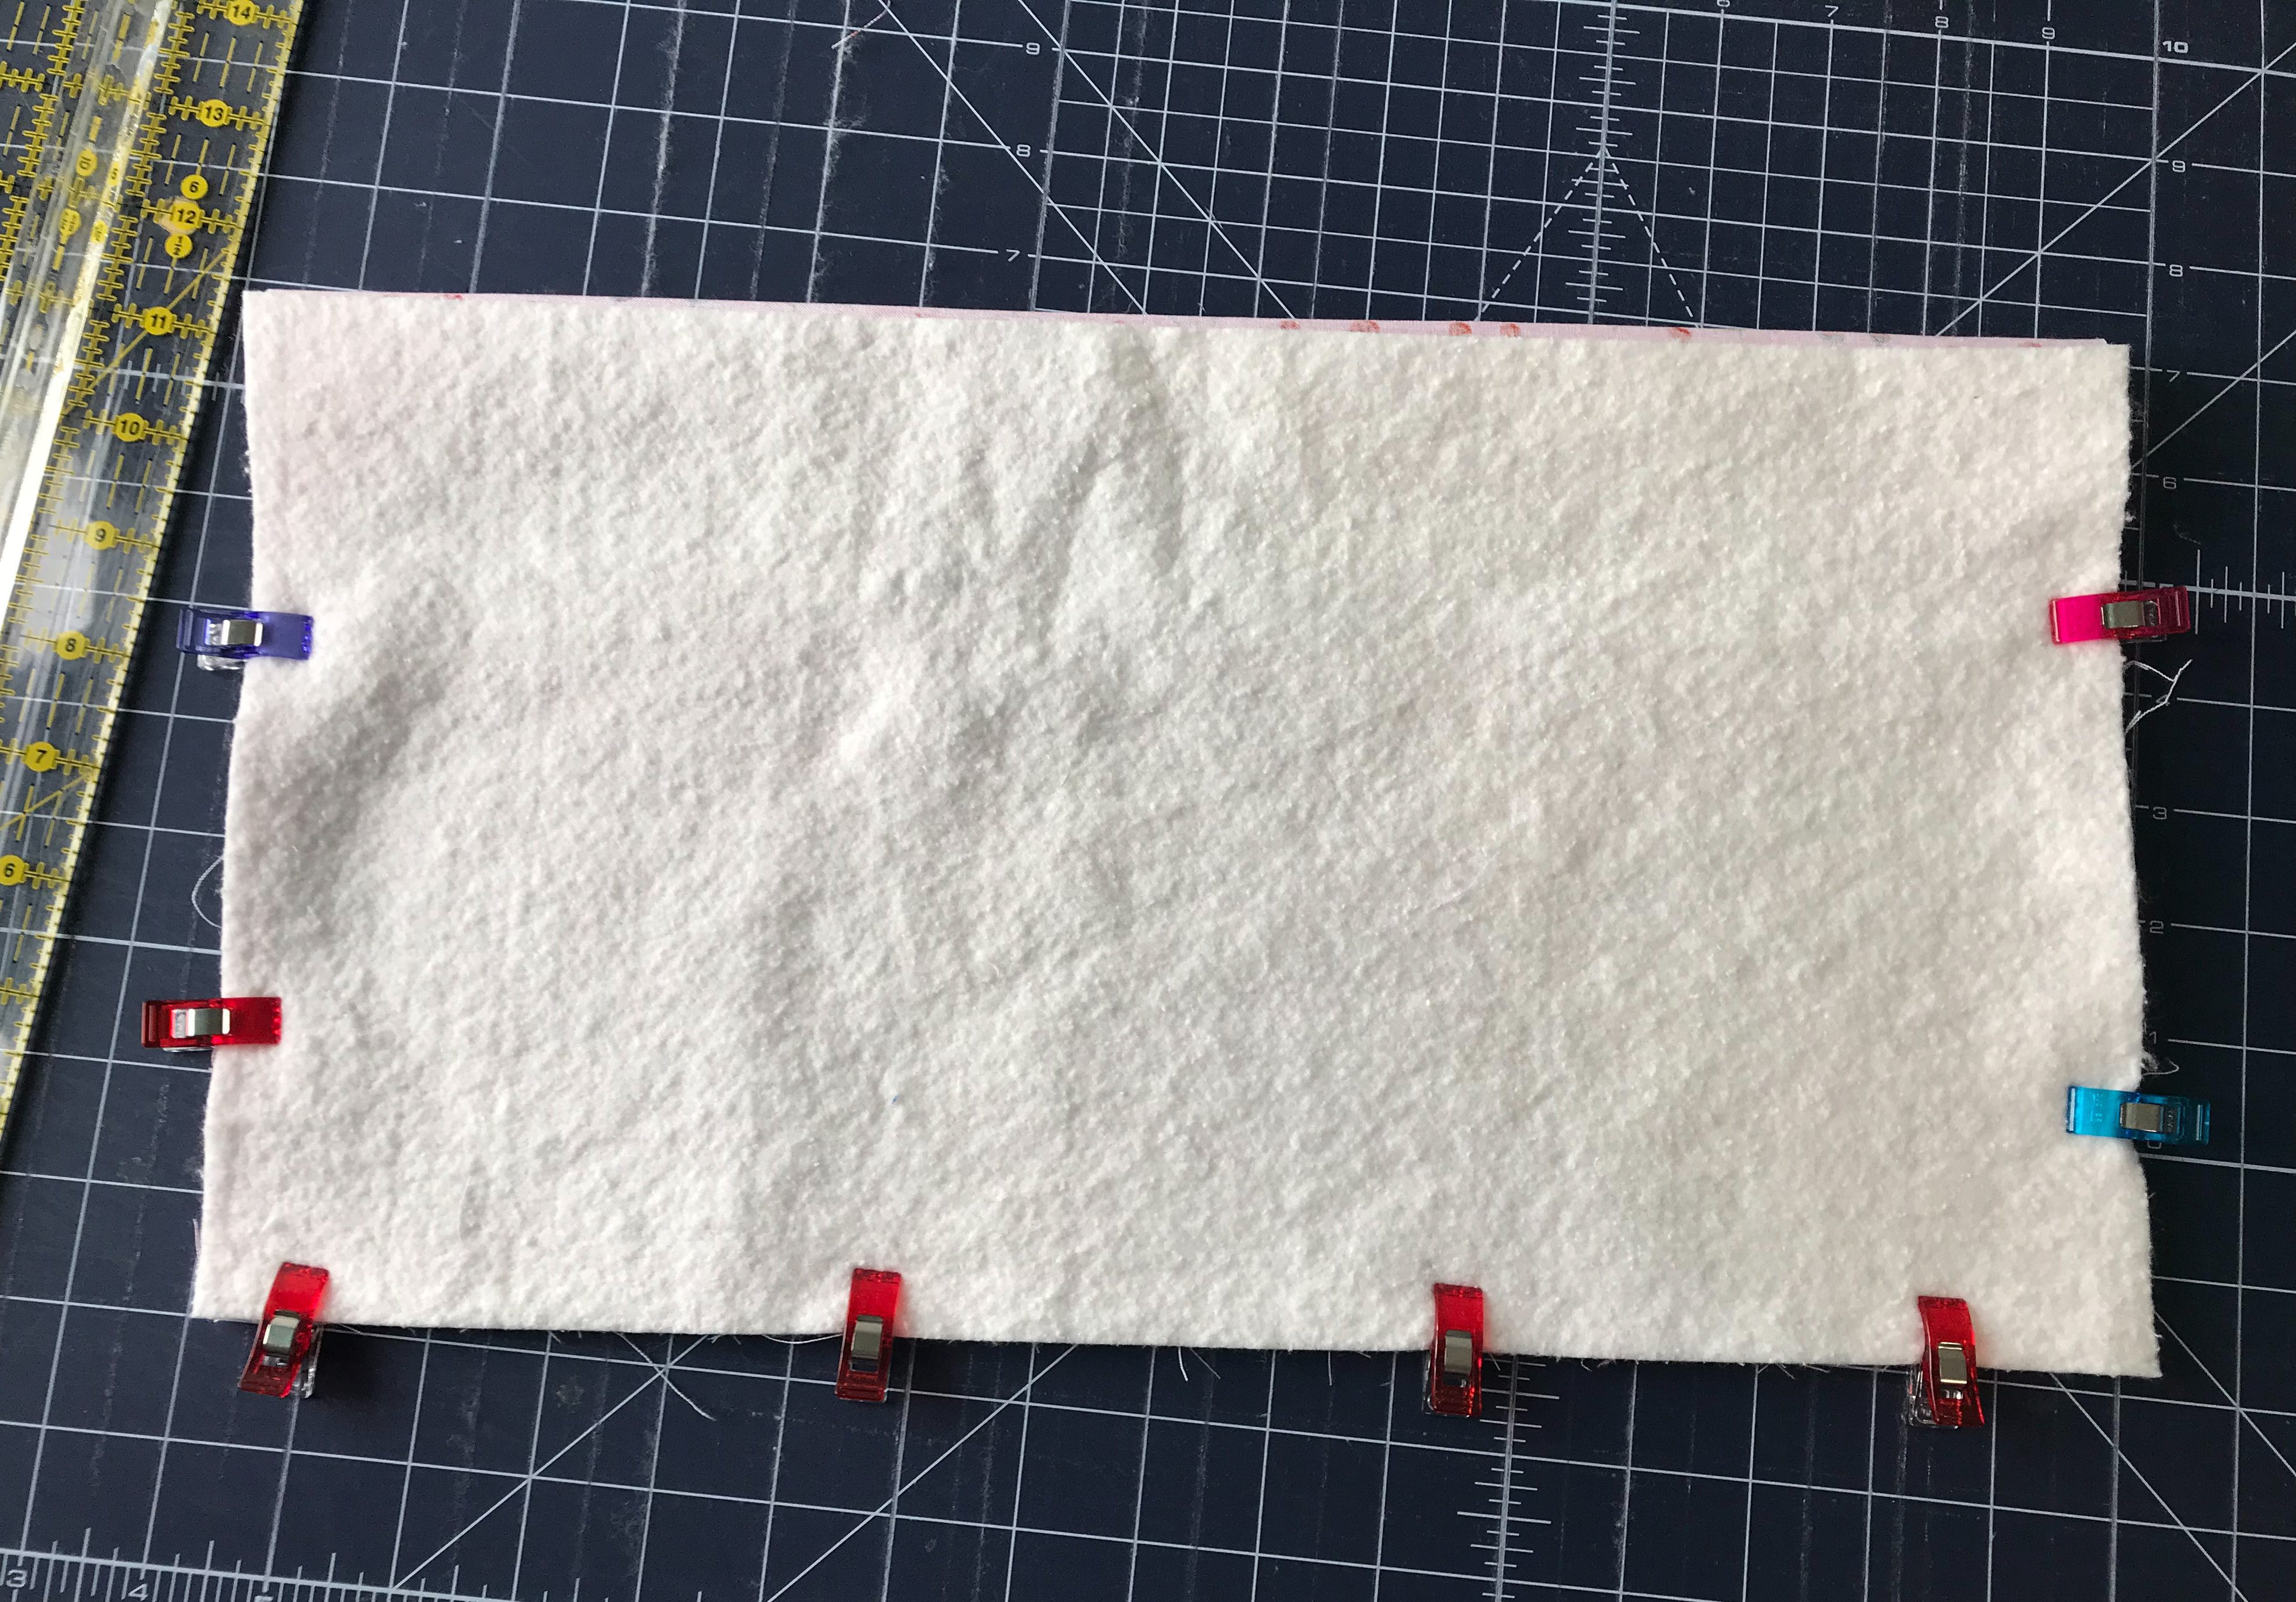
Take an 9in x 16in piece of batting and place in on top of the carrier (it should be on the wrong side of the main fabric that you just folded over).  Pin in place (* I like using binding clips over pins – no pokes and faster)

Photo 7-2

Sew a 1/4in seam around the 3 raw edges of the carrier, leaving about a 3in gap in the middle of one short side to allow you to flip the carrier.

photo 8-3

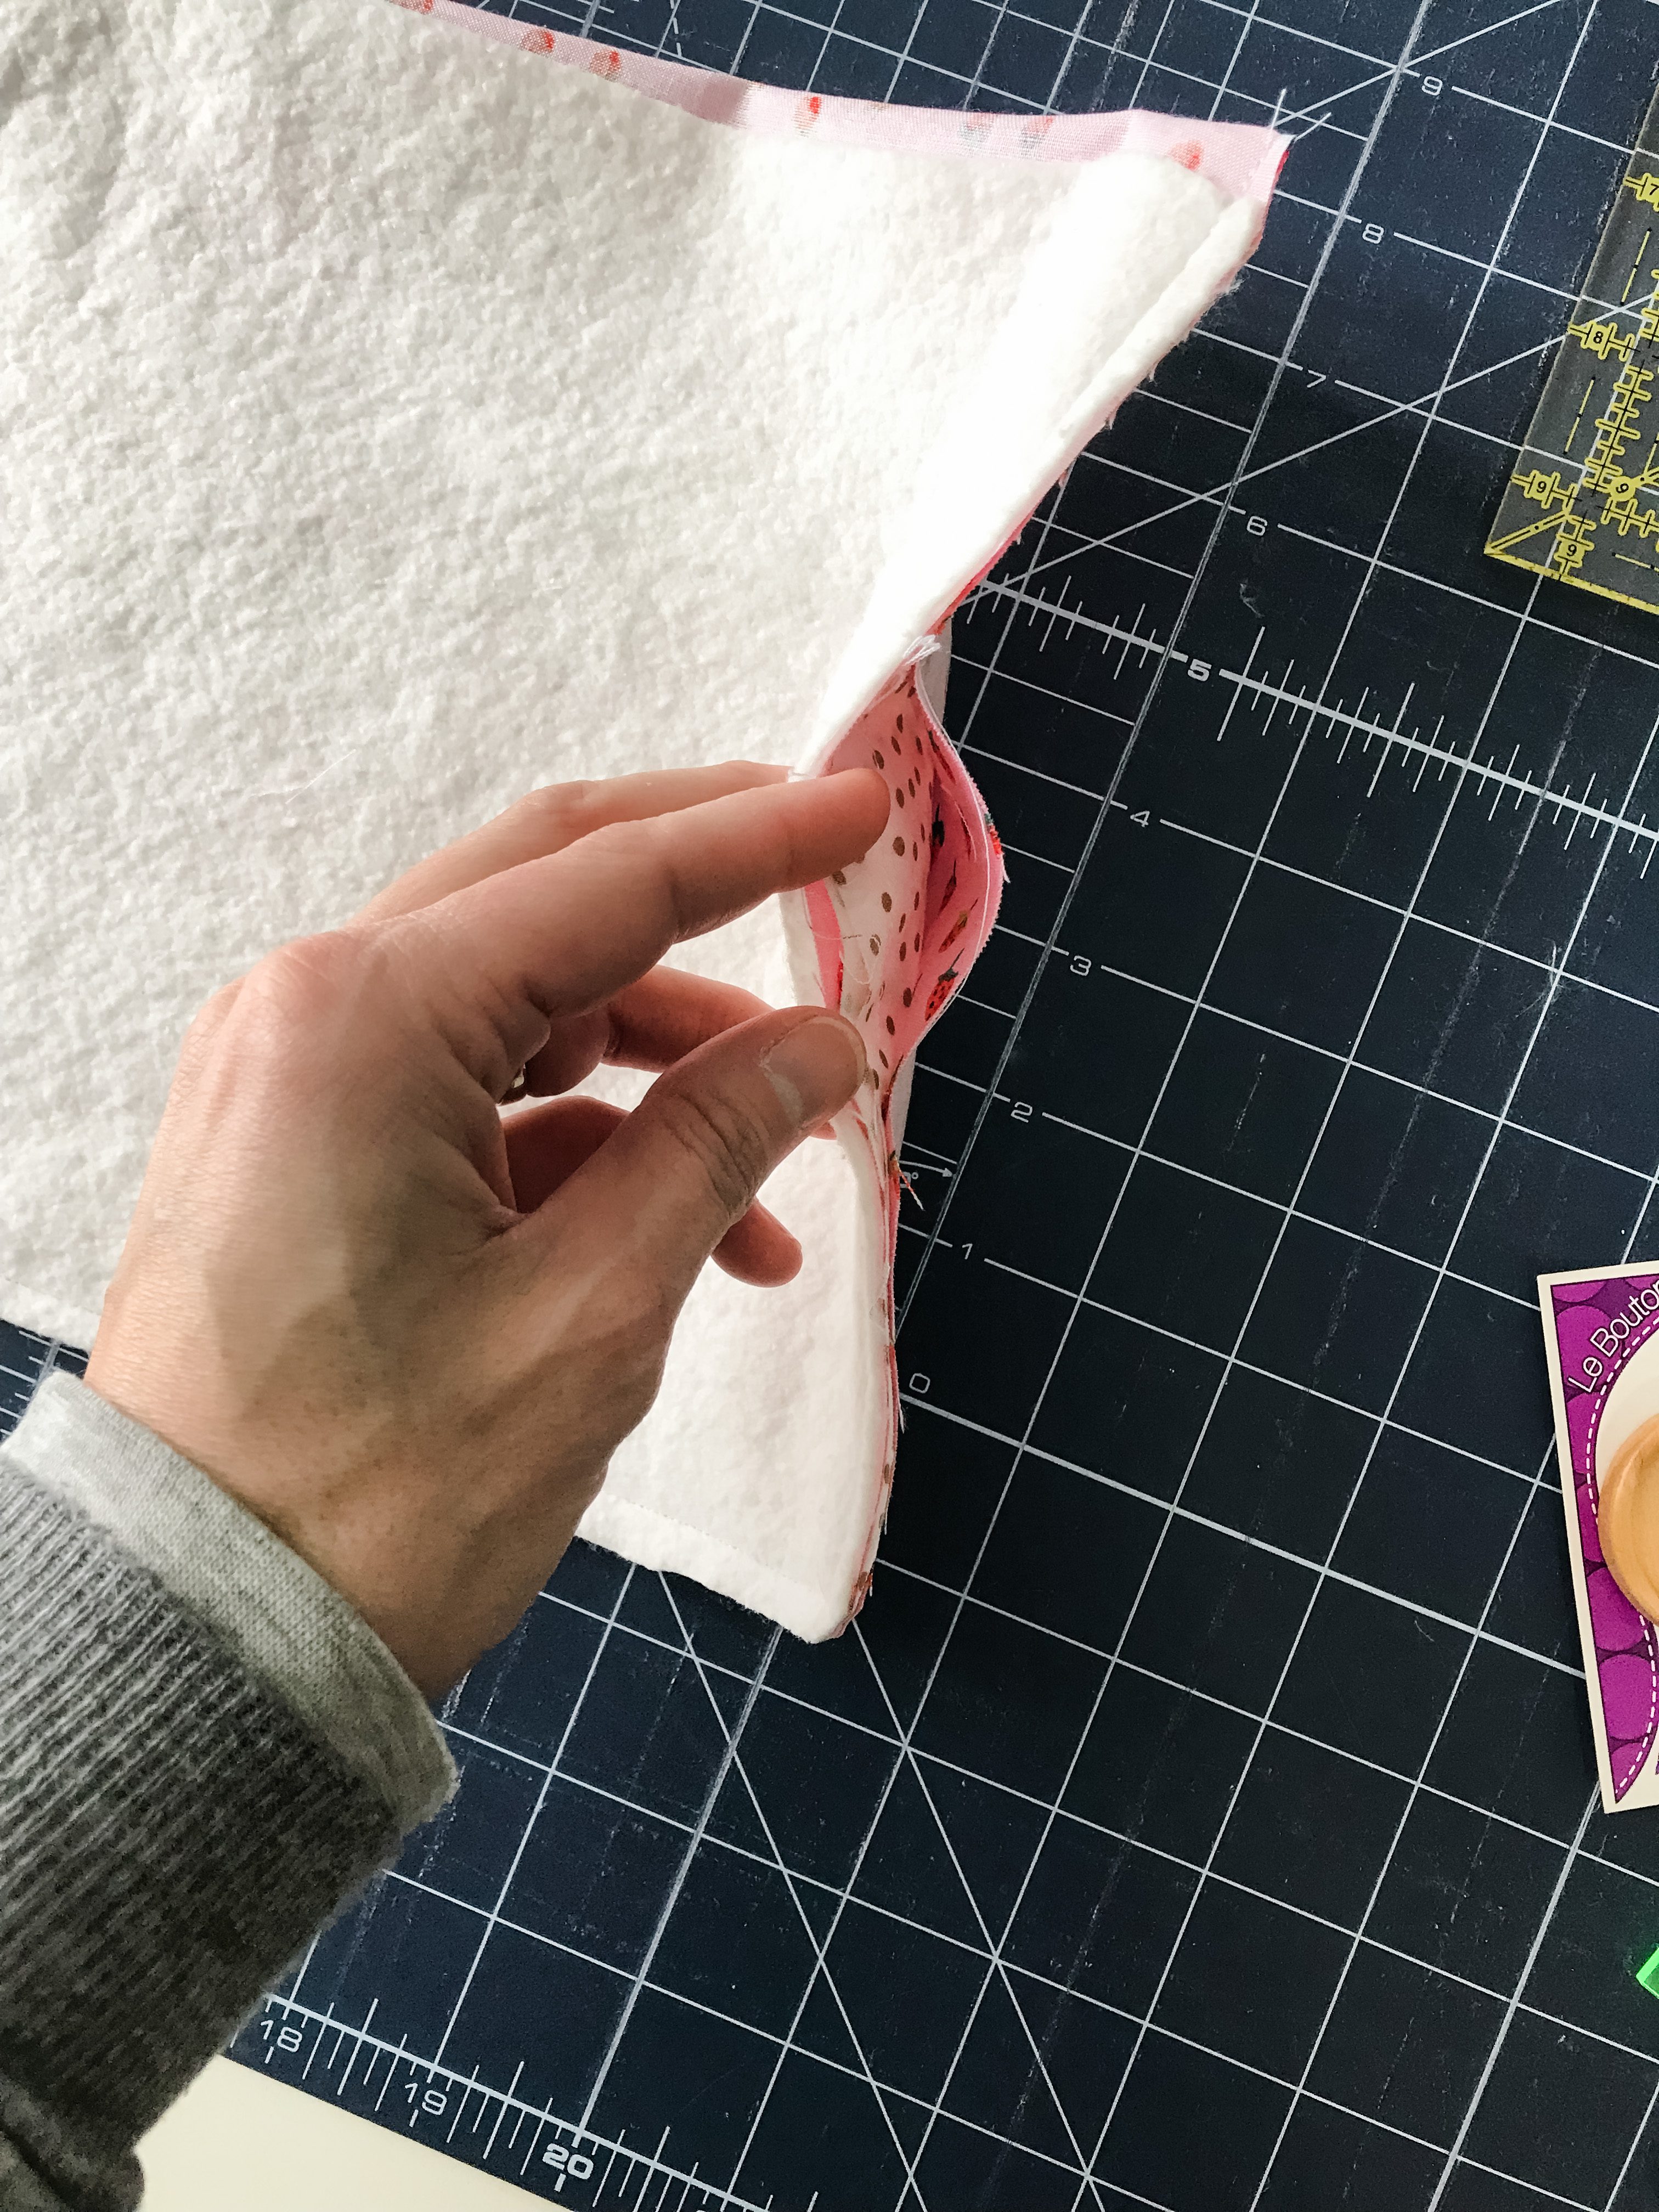
Flip the carrier right side out.  Make sure you get the corners poked out as flat as you can.  I suggest a quick pressing of the carrier once it is turned right side out.

Finishing the carrier

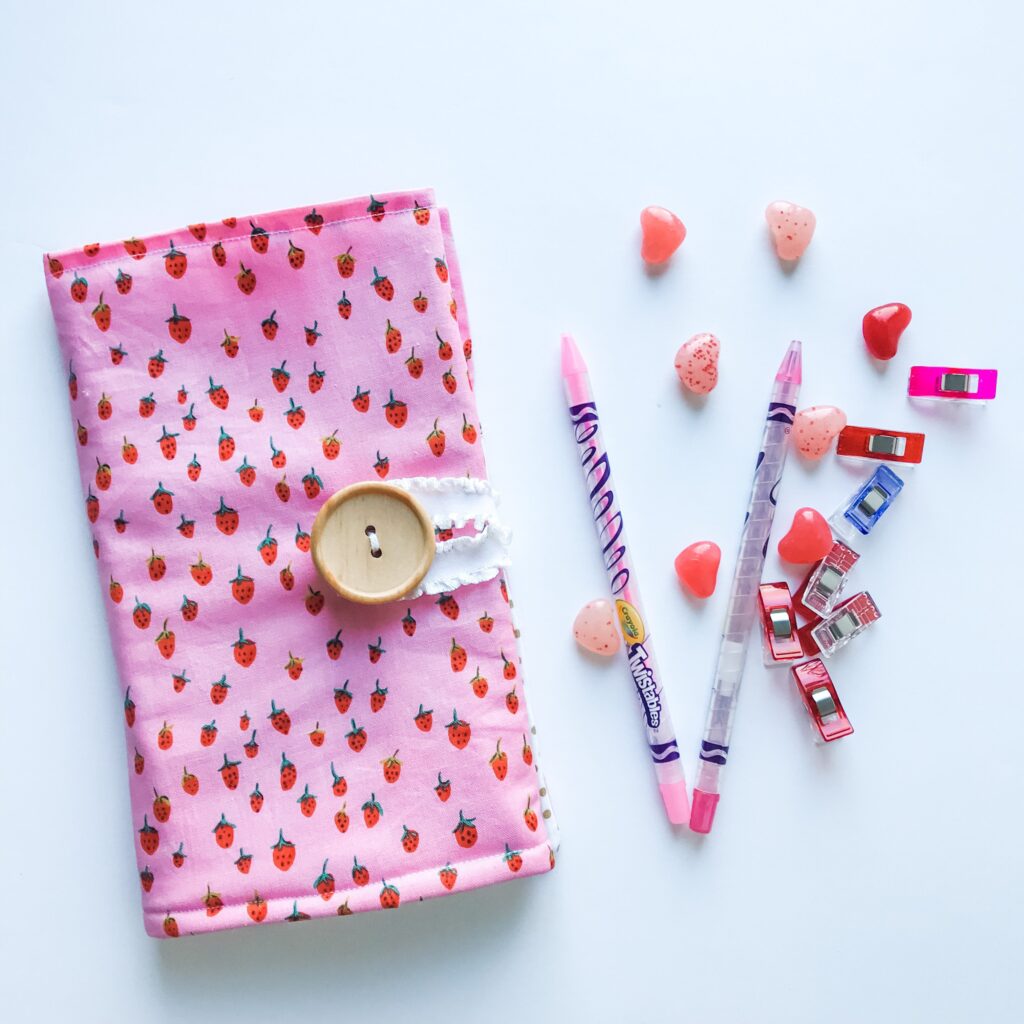
Choose your type of closure.  I used the fold closure option for colored pencils.

Cut approx. 6in of elastic and fold in half.

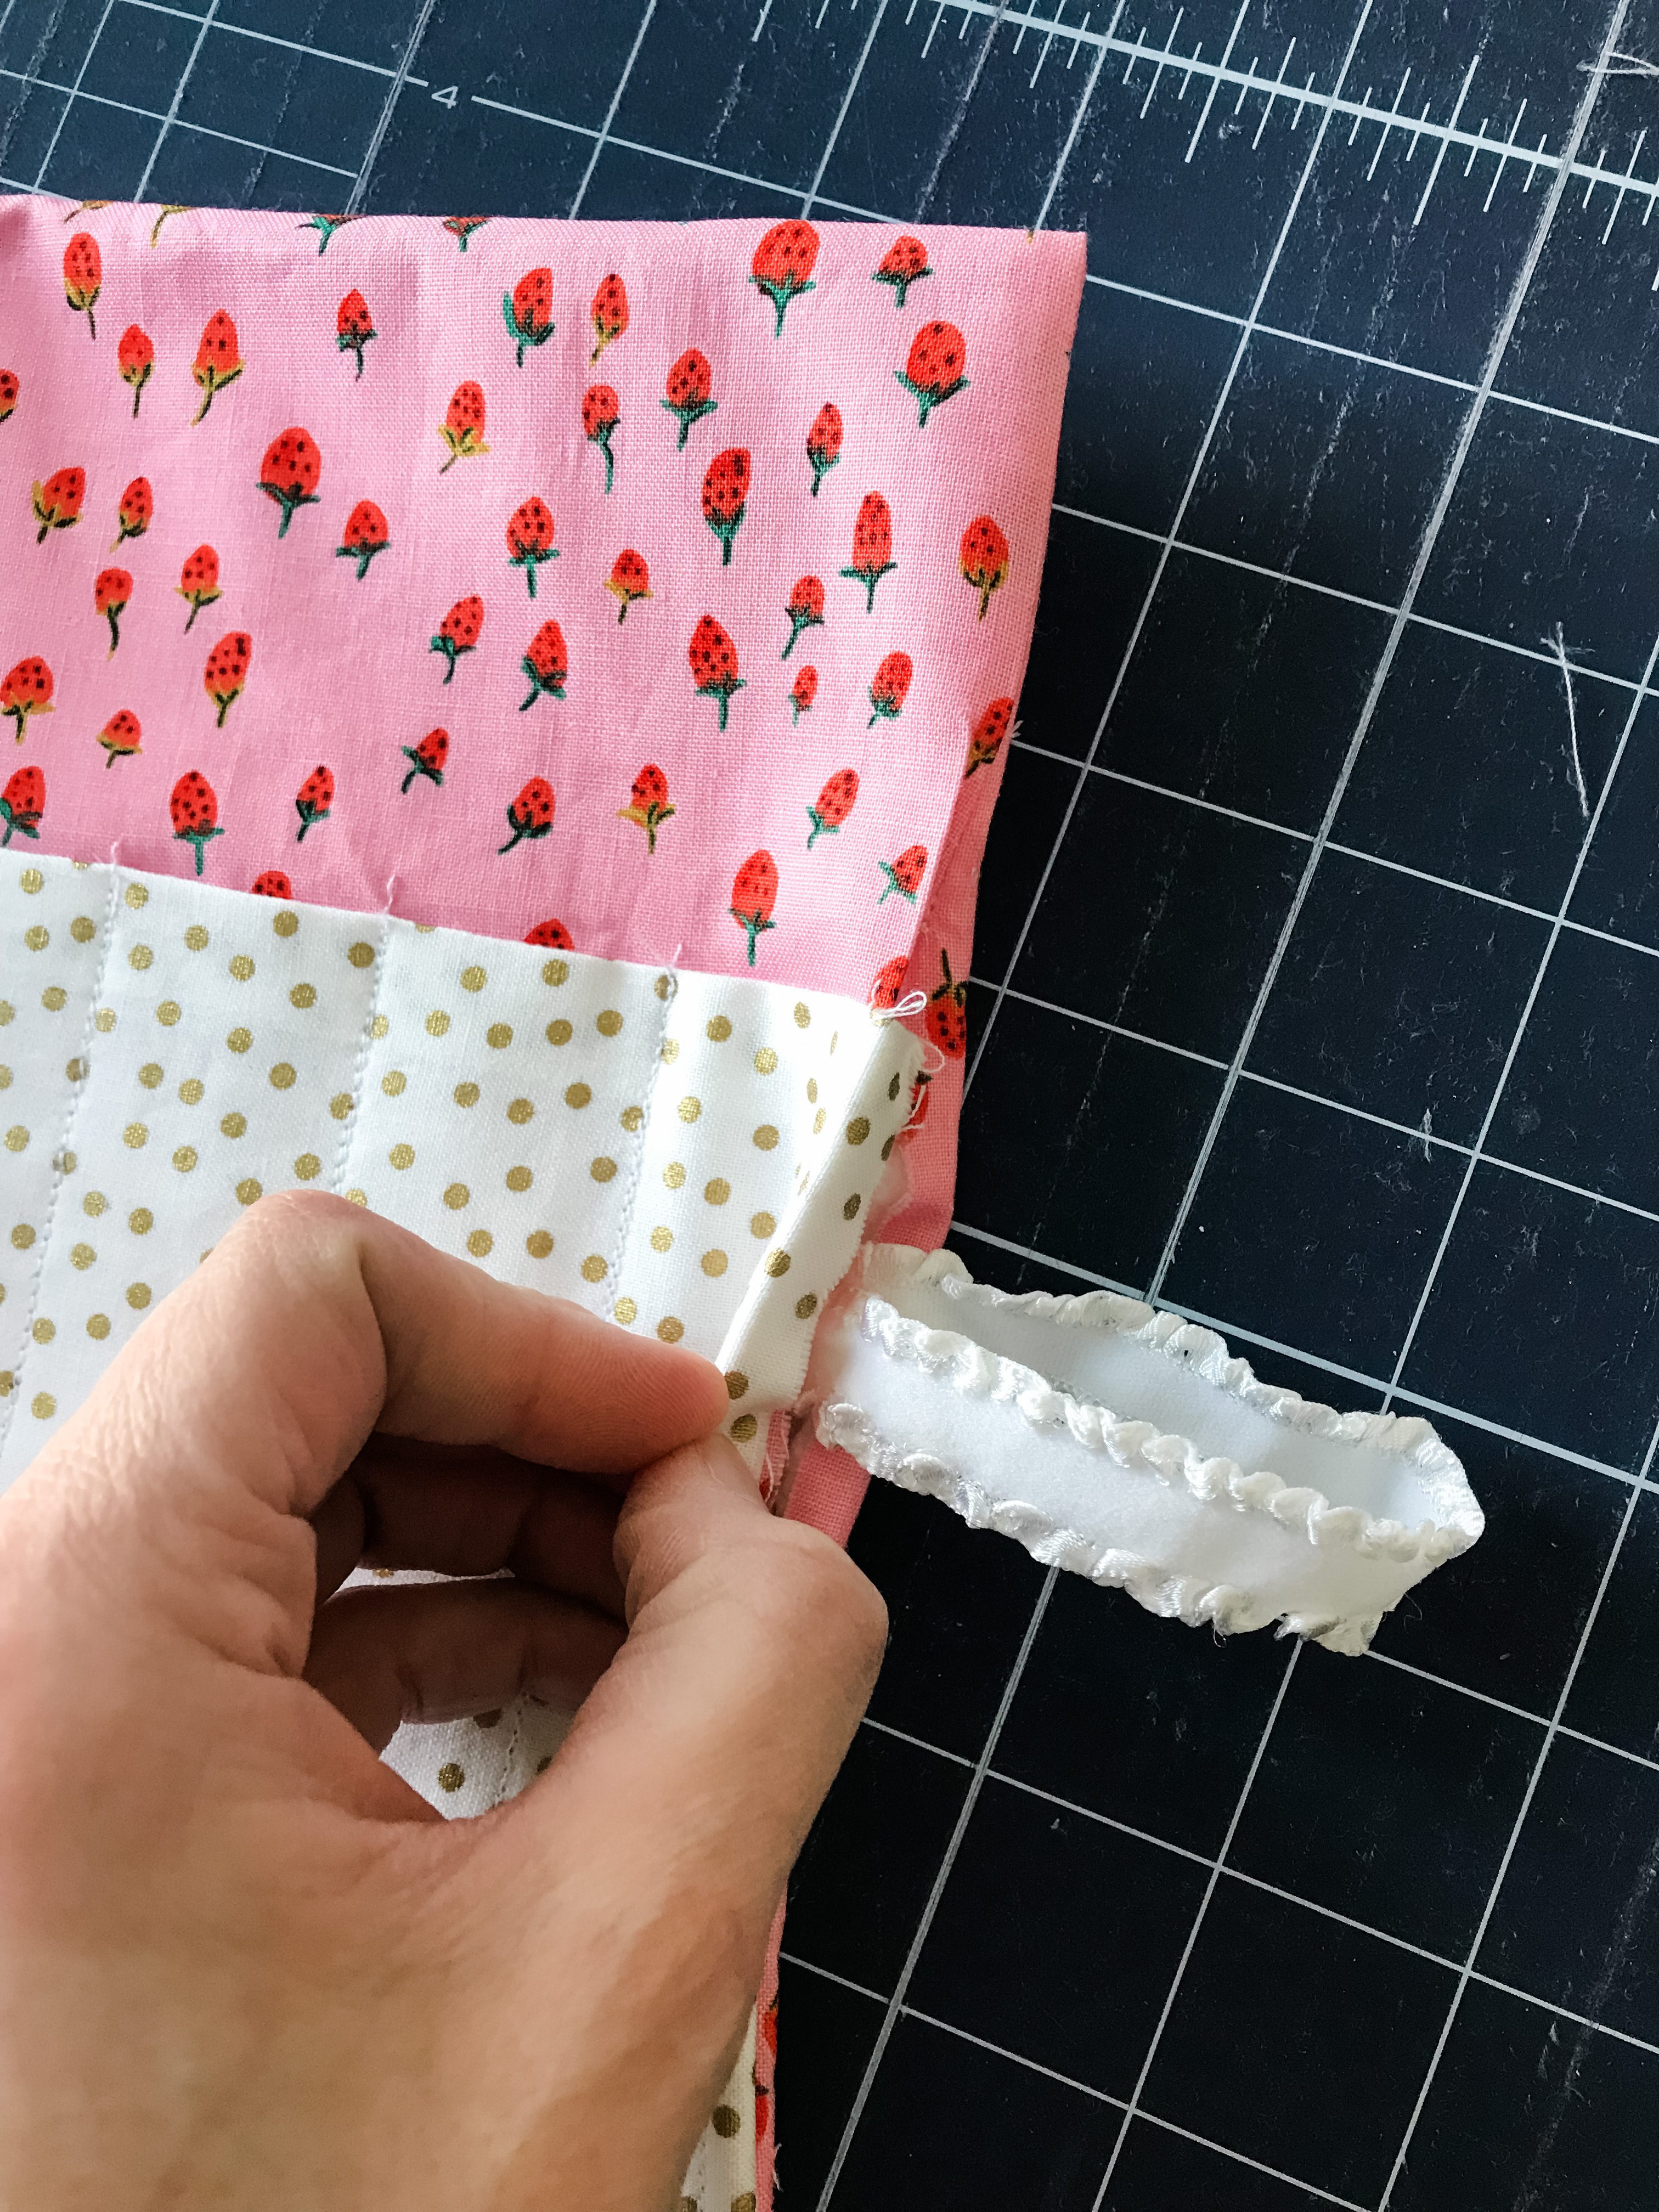
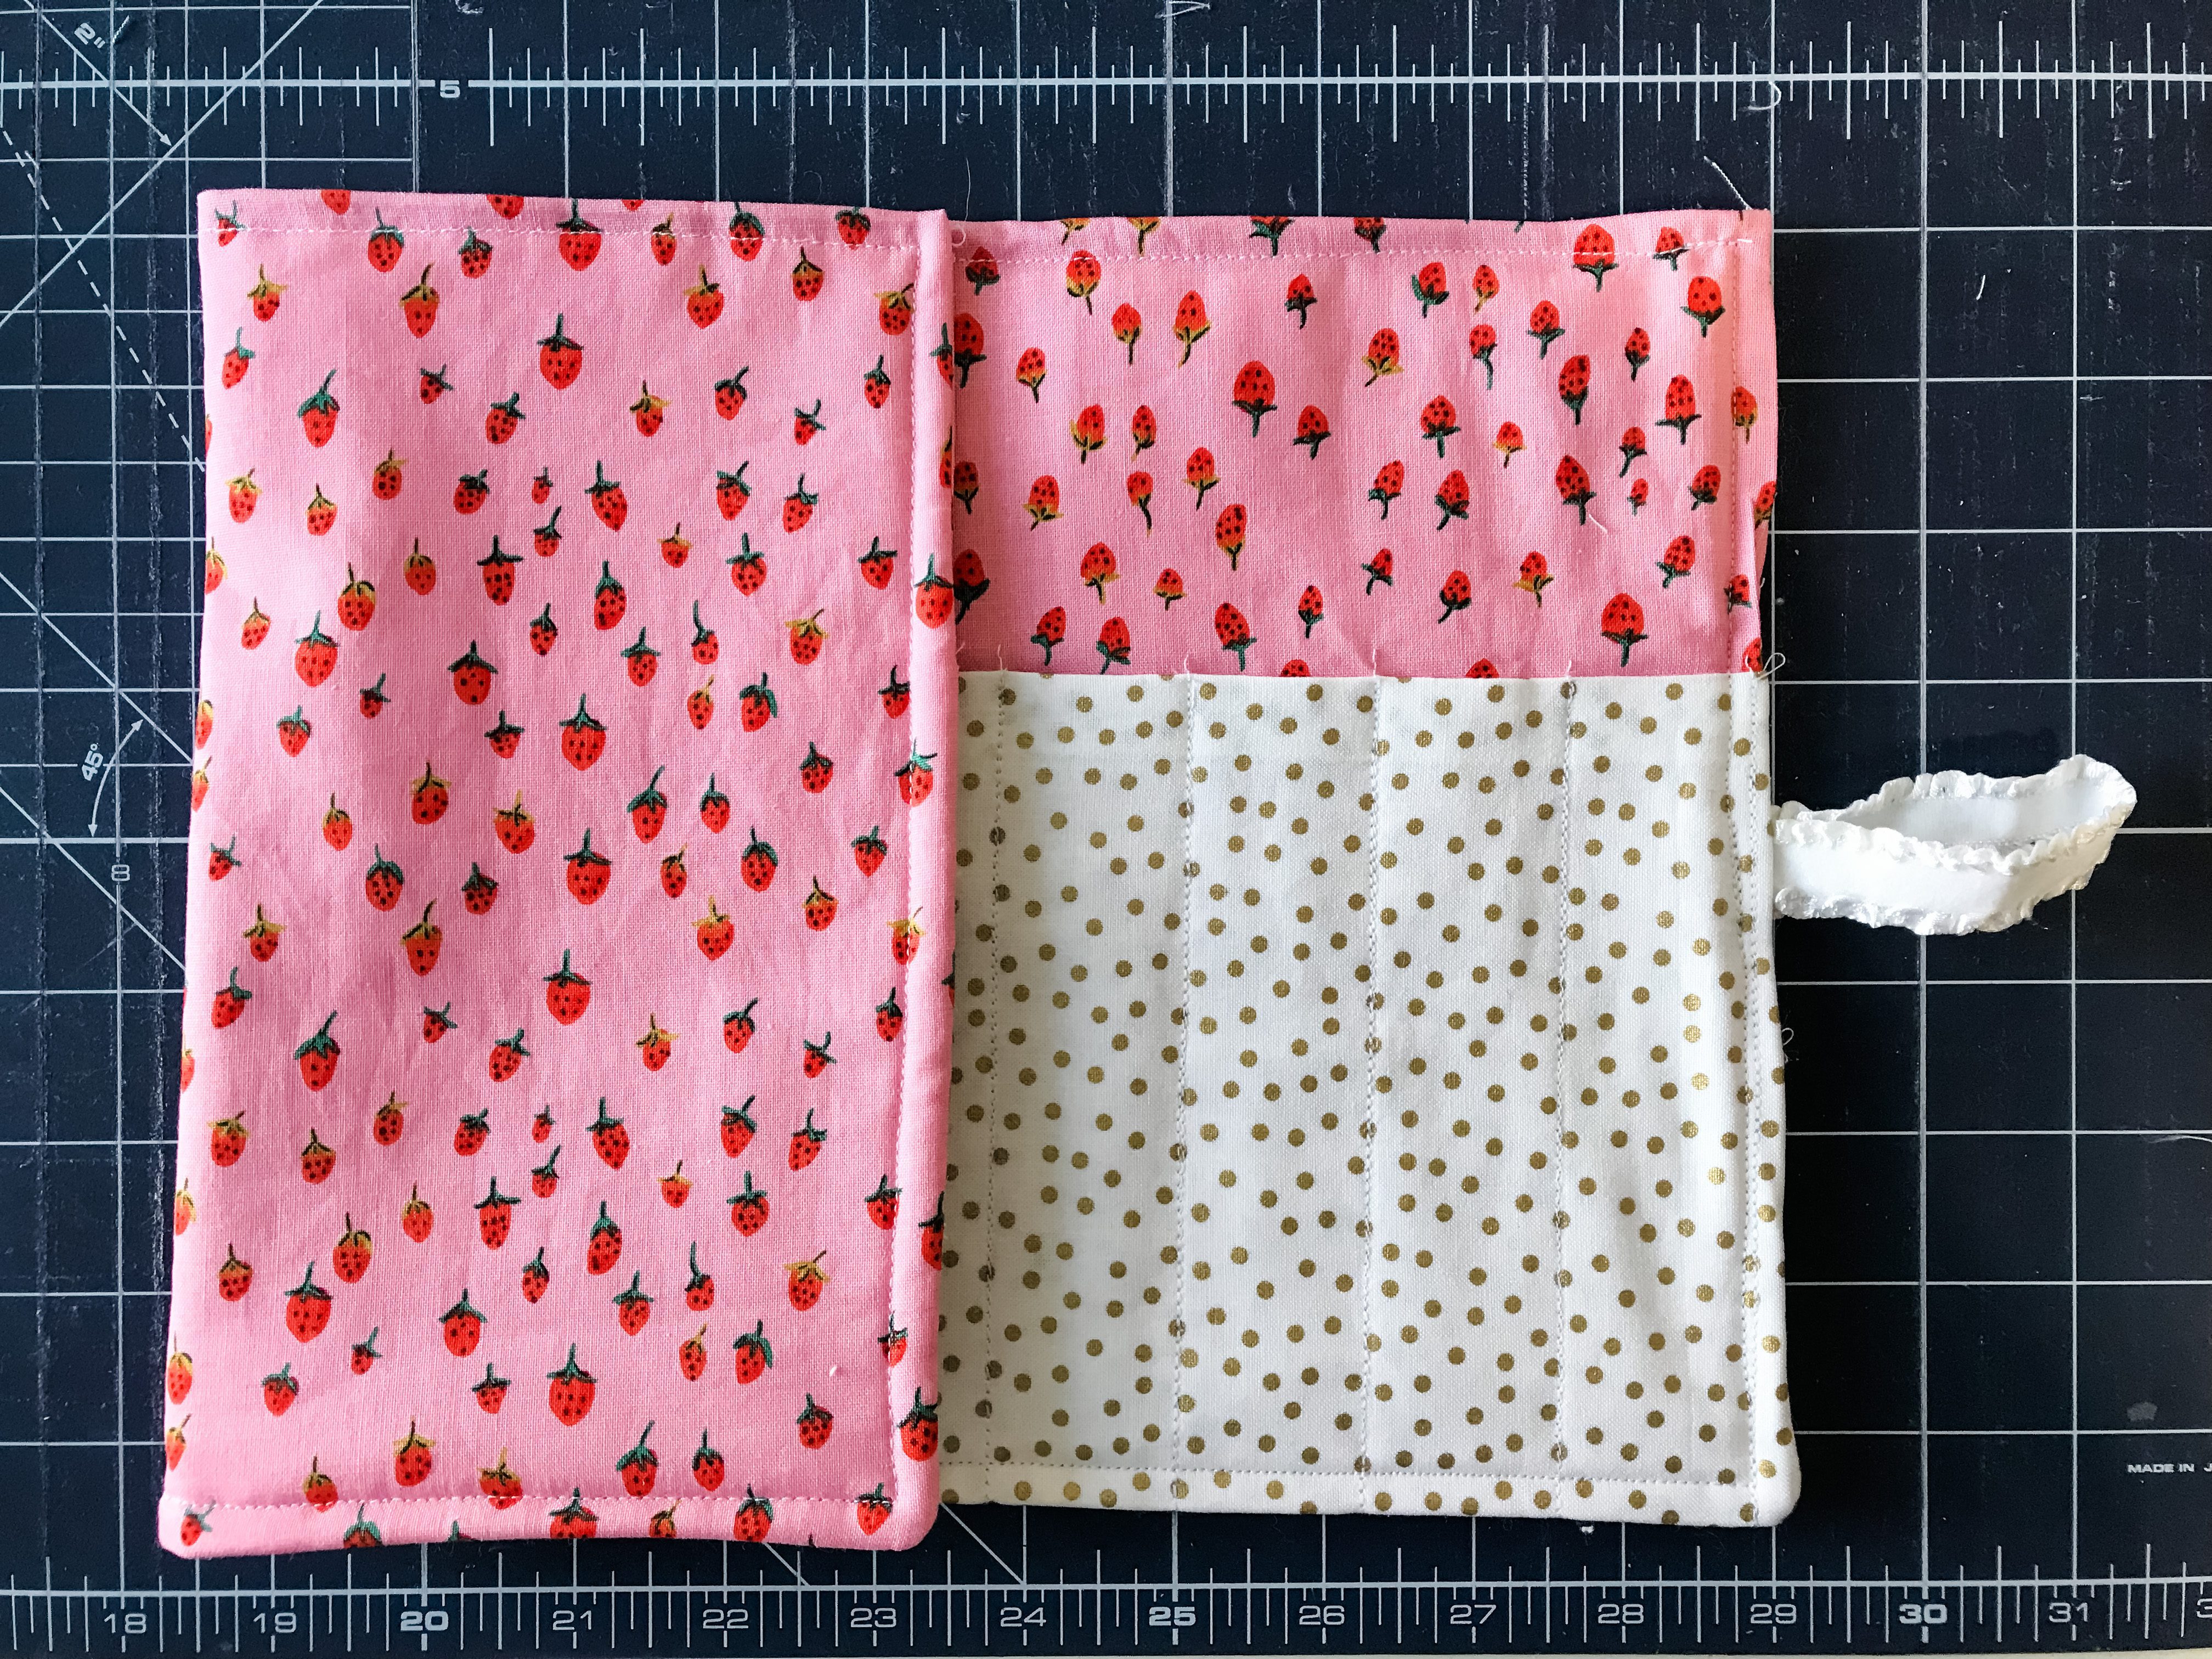
Fold in the raw edges of your carrier opening 1/4in.  Slide the raw ends of the elastic into the opening at least 3/8in, making a loop and pin in place. 

photo 9-2

Sew 1/4in top stitch around all 4 edges of the carrier.

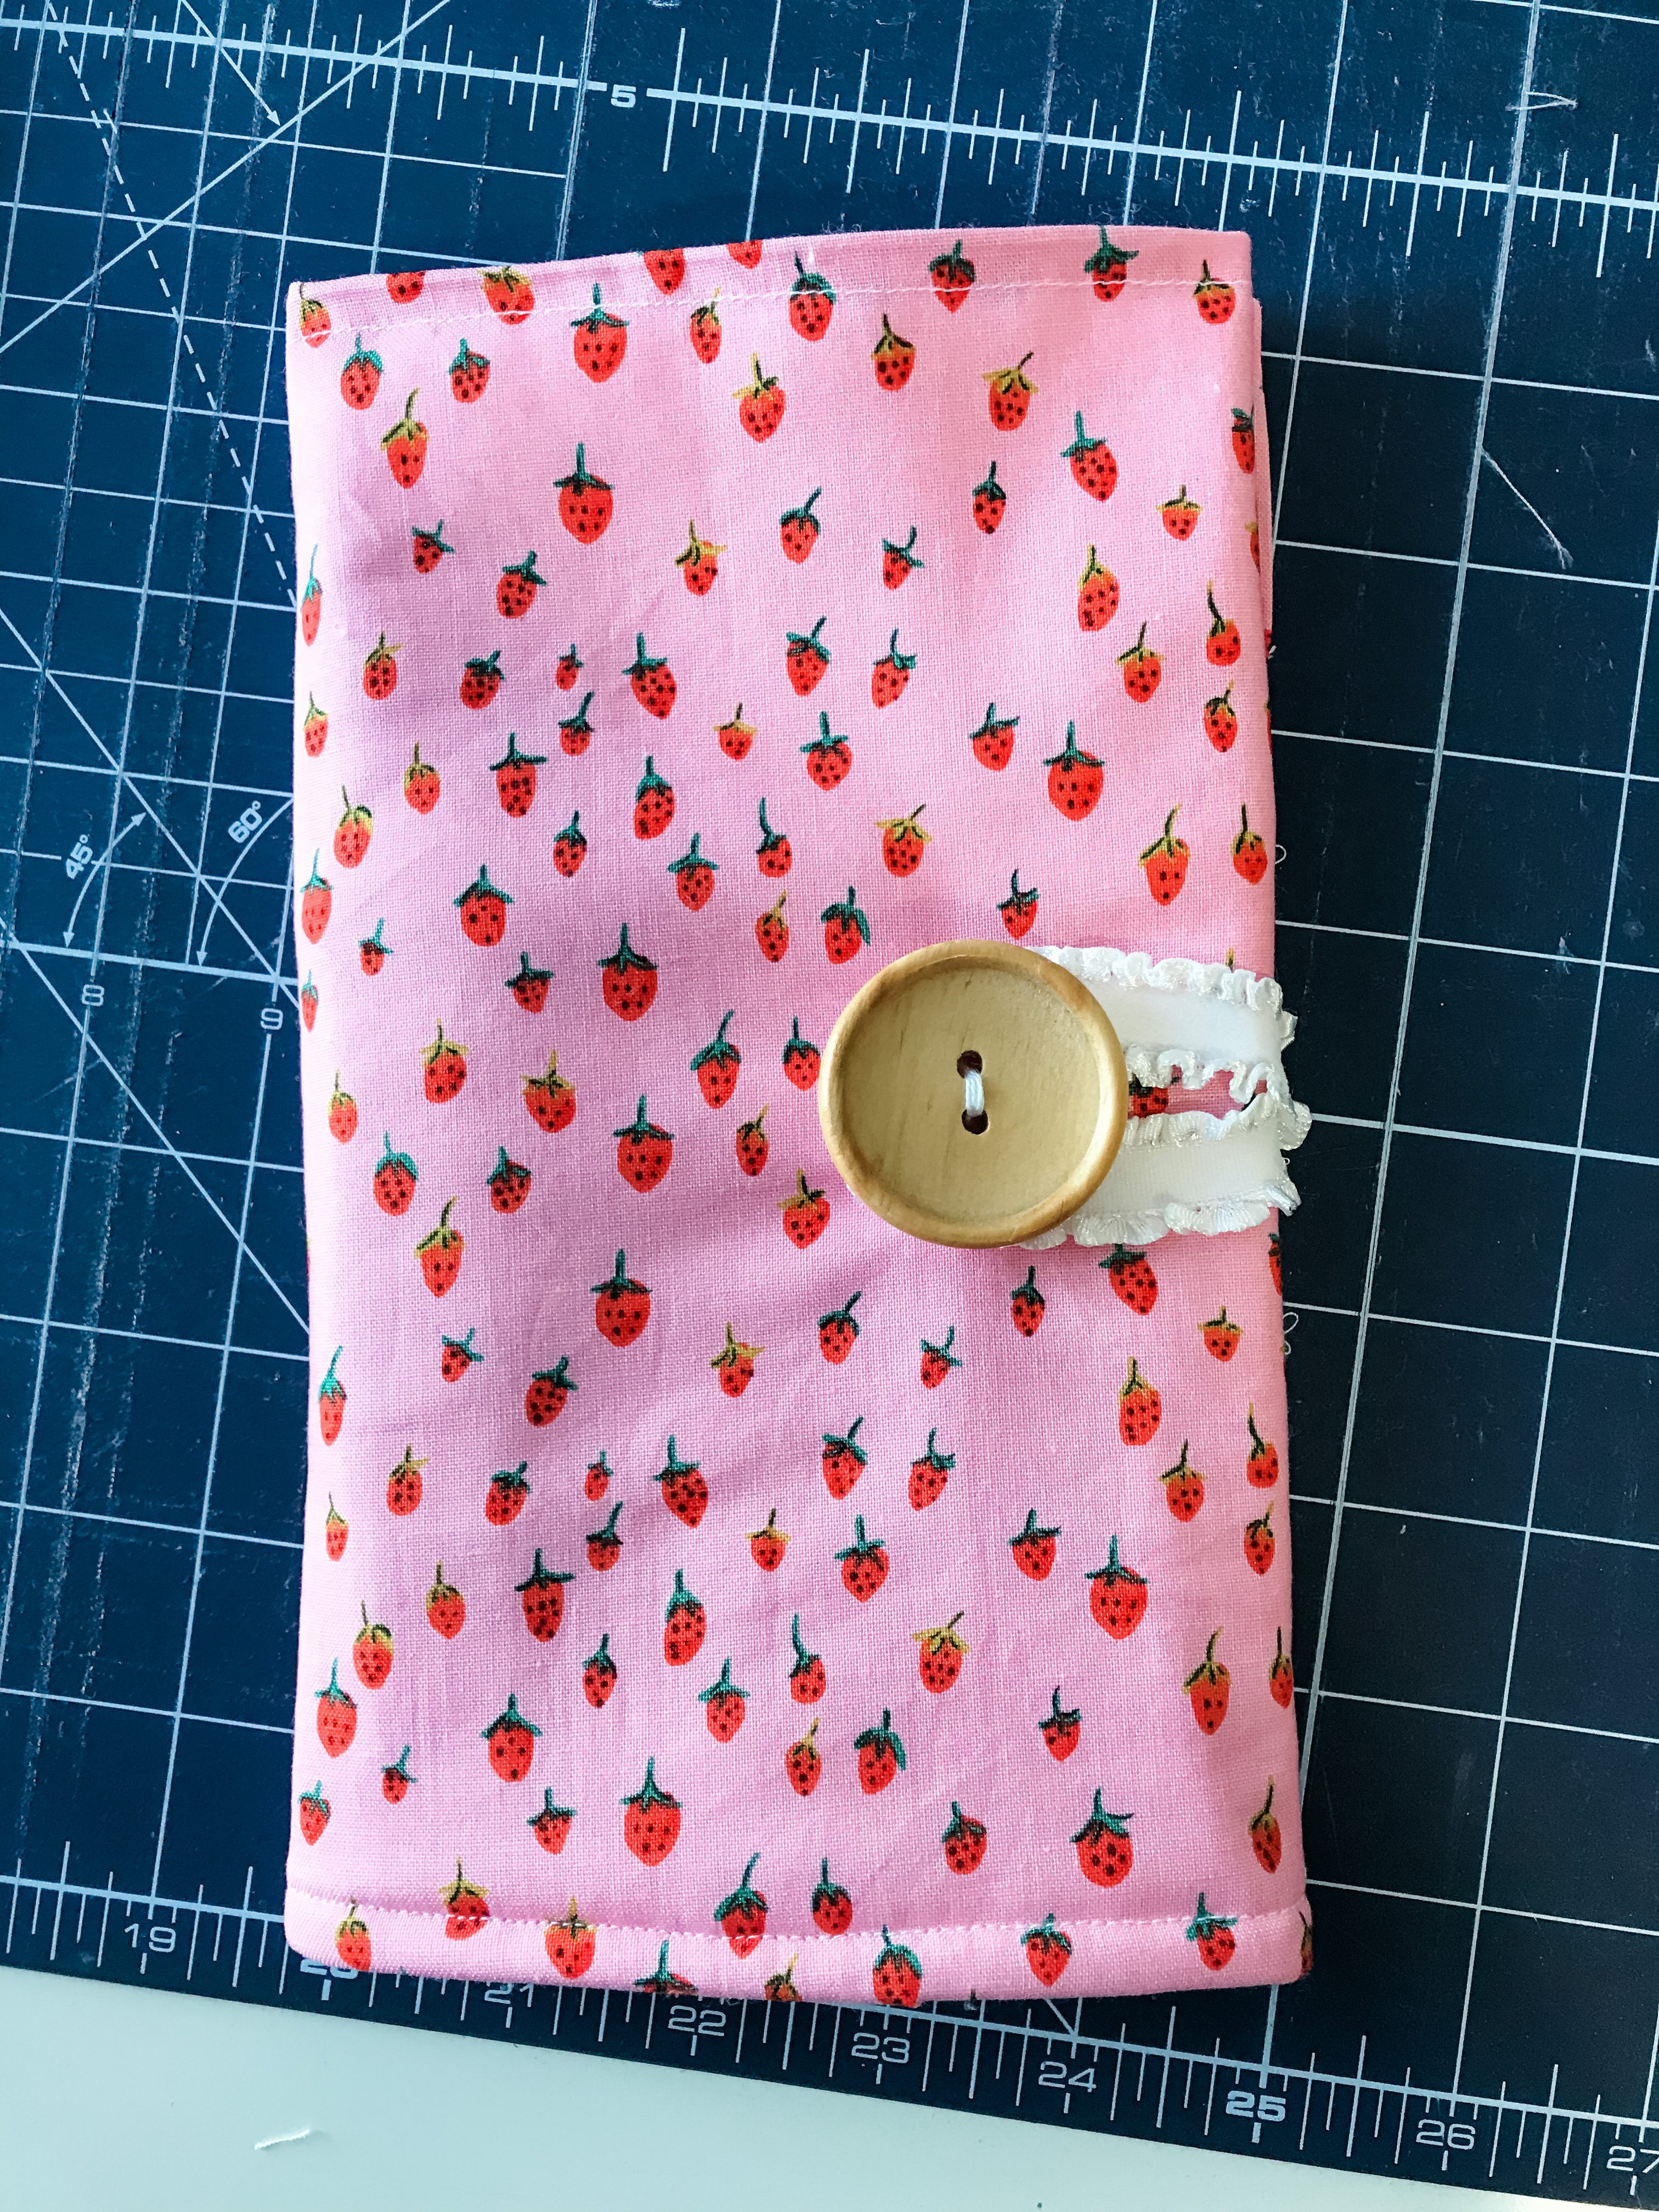
Fold the carrier into thirds. 

Place your button where the elastic loop will reach it snuggly.  Sew on the button.

photo 11-2

Pack up and go!

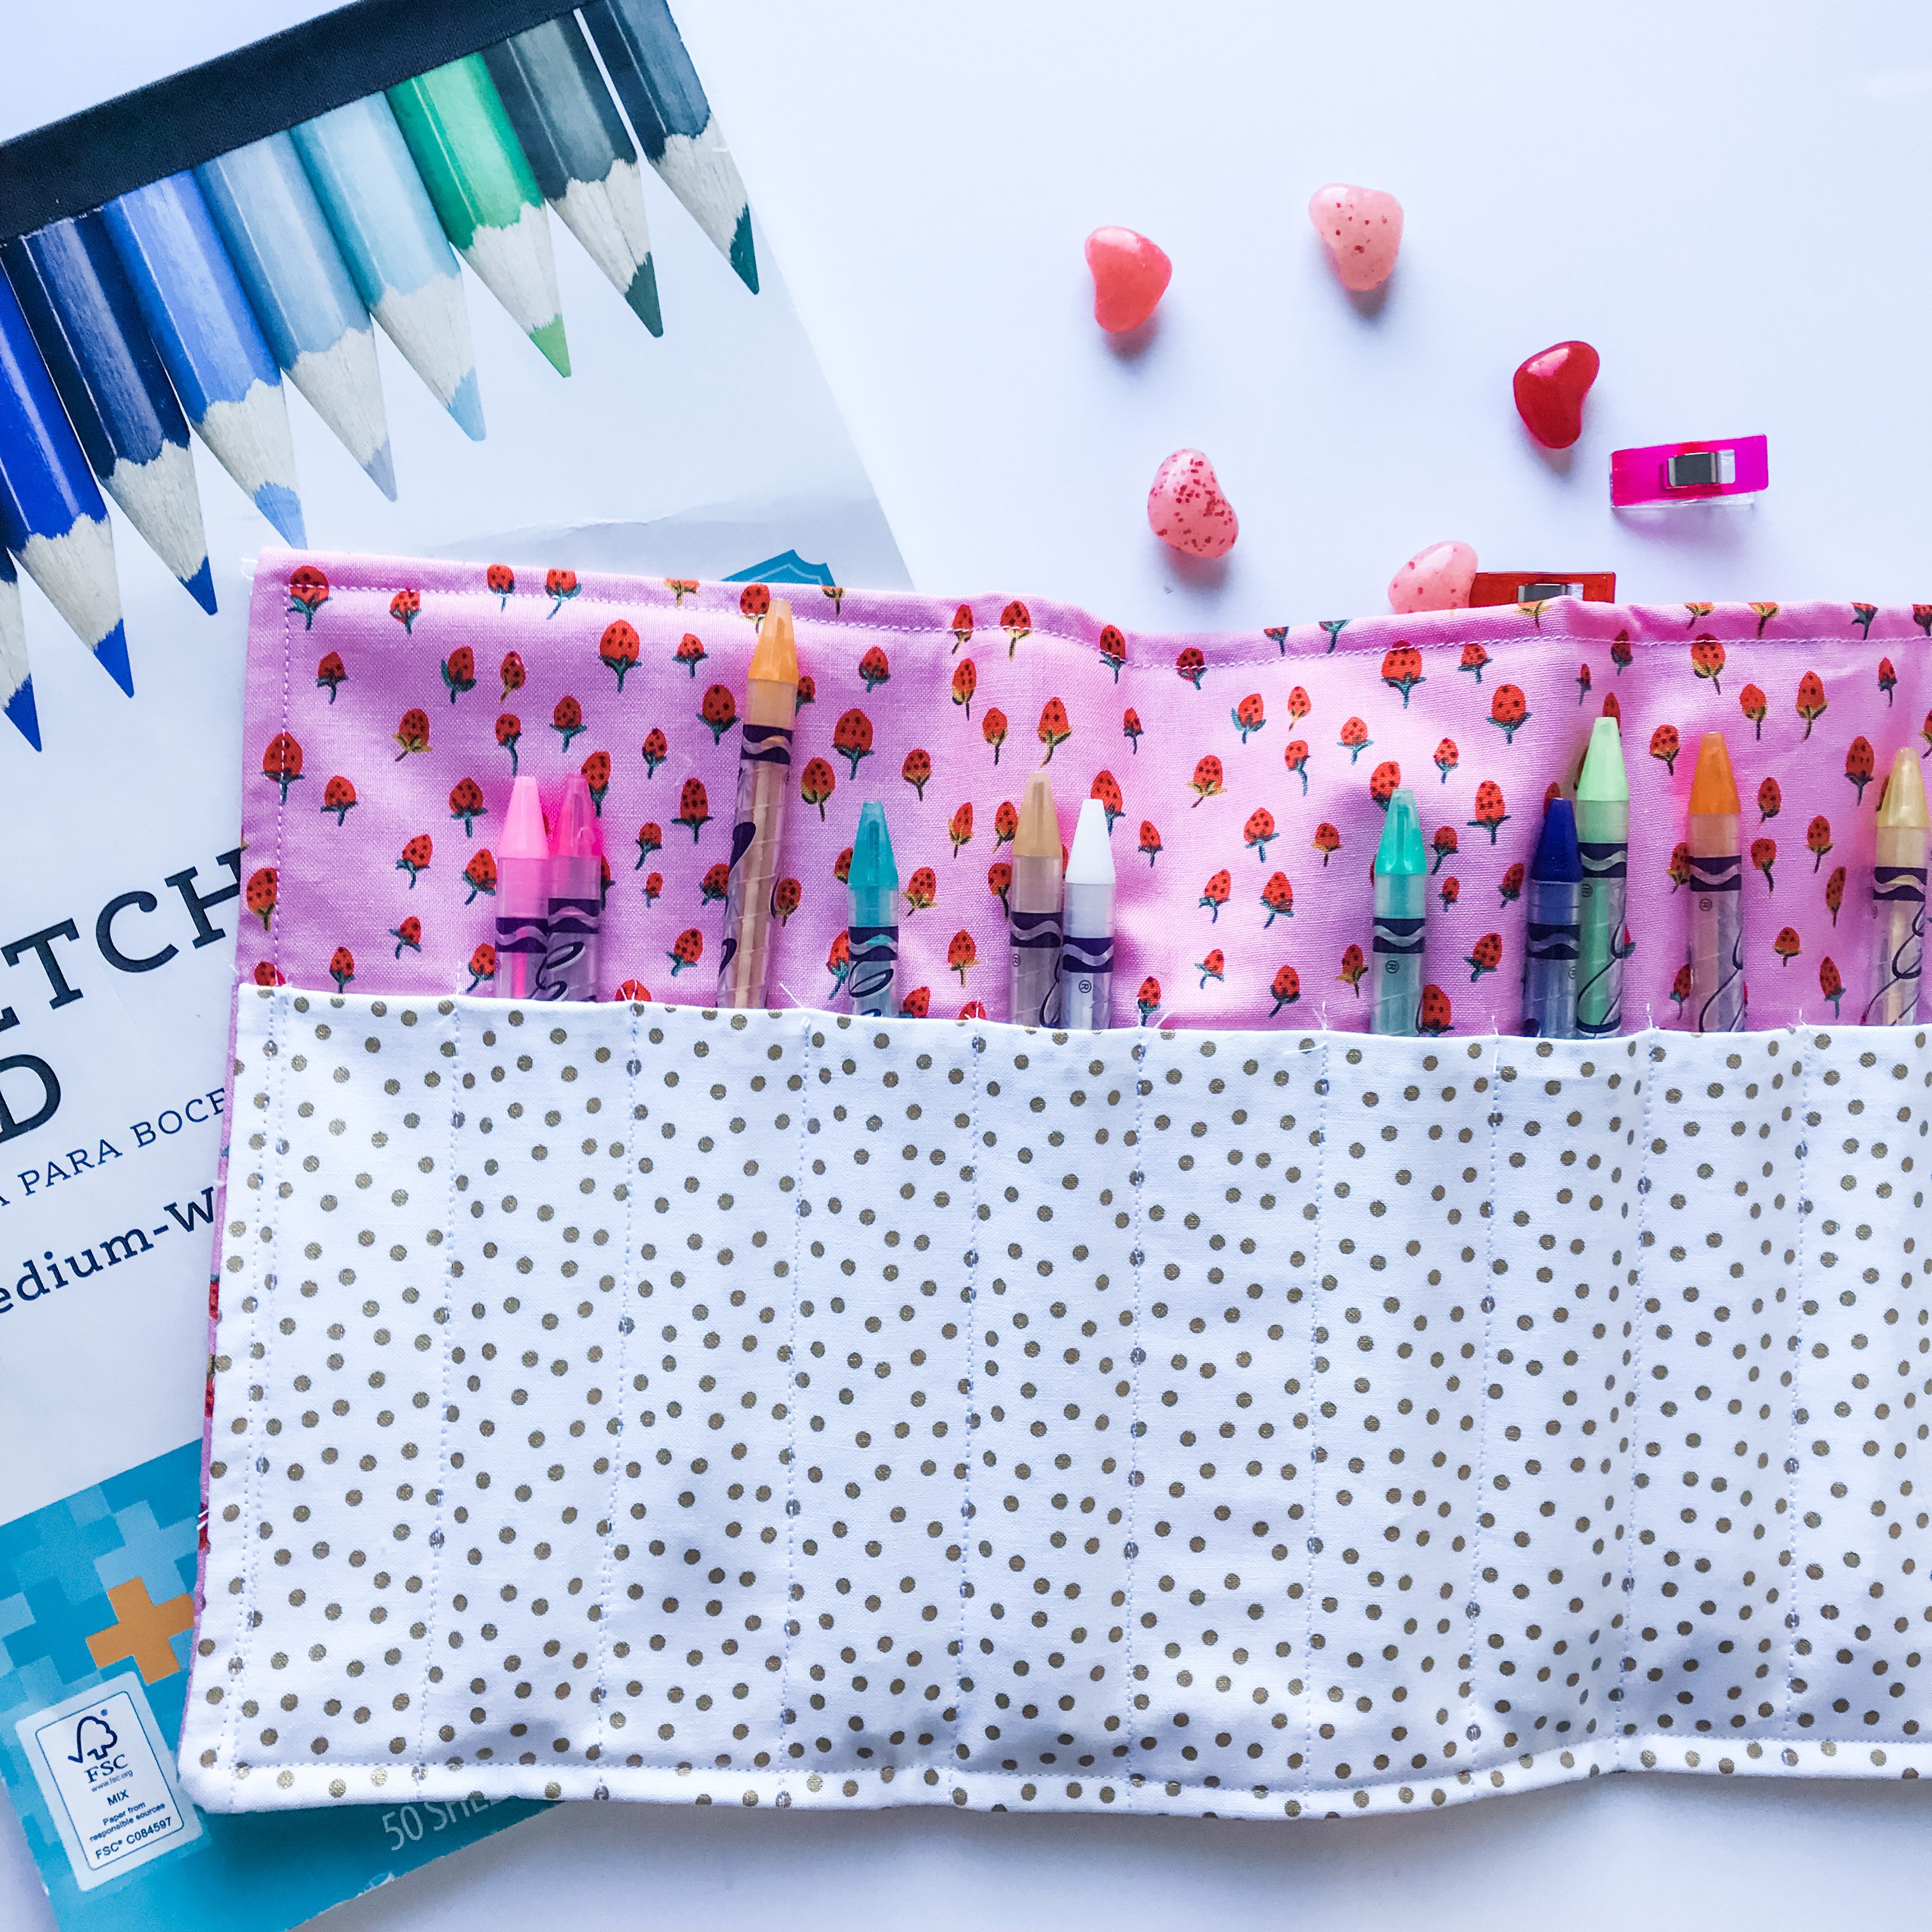
Fill your slots with colored pencils, fold, clasp + go!

DOWNLOAD THE QUICK REFERENCE GUIDE HERE

How to Make Color on The Go Crayon Carrier

Approx: 7in x 16in finished

Cut out the carrier

photo 15-2

From 2 Fat Quarters (FQs) choose a main fabric and a pocket fabric and cut the following:

Main – 14in x 16in

Pocket – 8in x 16in

Take the pocket fabric and fold in half, with wrong sides together (right side facing out).  Iron seam to make it nice and flat.  Pocket should measure approx 4in x 16in now.

Mark Your Crayon SLots

Next, you are going to mark your lines for the crayon slots.  You can use a fabric marking pen, I prefer using a hera marker. 

First, mark 1/2in line in from each short edge. 

Then start marking a line about 1 1/4in apart from each other – this will make 12 slots.

Attach your pocket

Take the marked pocket piece and line up the raw edge to the bottom right side of the main fabric.  Pin in place.

photo 16-2

Starting up on the folded edge of the pocket, sew on each line to attach the pocket to the main fabric.  Trim threads.

Add the batting and Flip

Fold main fabric, right sides together, over the pocket.

Take an 7in x 16in piece of batting and place in on top of the carrier (it should be on the wrong side of the main fabric that you just folded over).  Pin in place (* I like using binding clips over pins – no pokes and faster)

Sew a 1/4in seam around the 3 raw edges of the carrier, leaving about a 3in gap in the middle of one short side to allow you to flip the carrier.

Flip the carrier right side out.  Make sure you get the corners poked out as flat as you can.  I suggest a quick pressing of the carrier once it is turned right side out. 

Finishing The Carrier

Choose your type of closure.  I used the roll closure option for crayons.

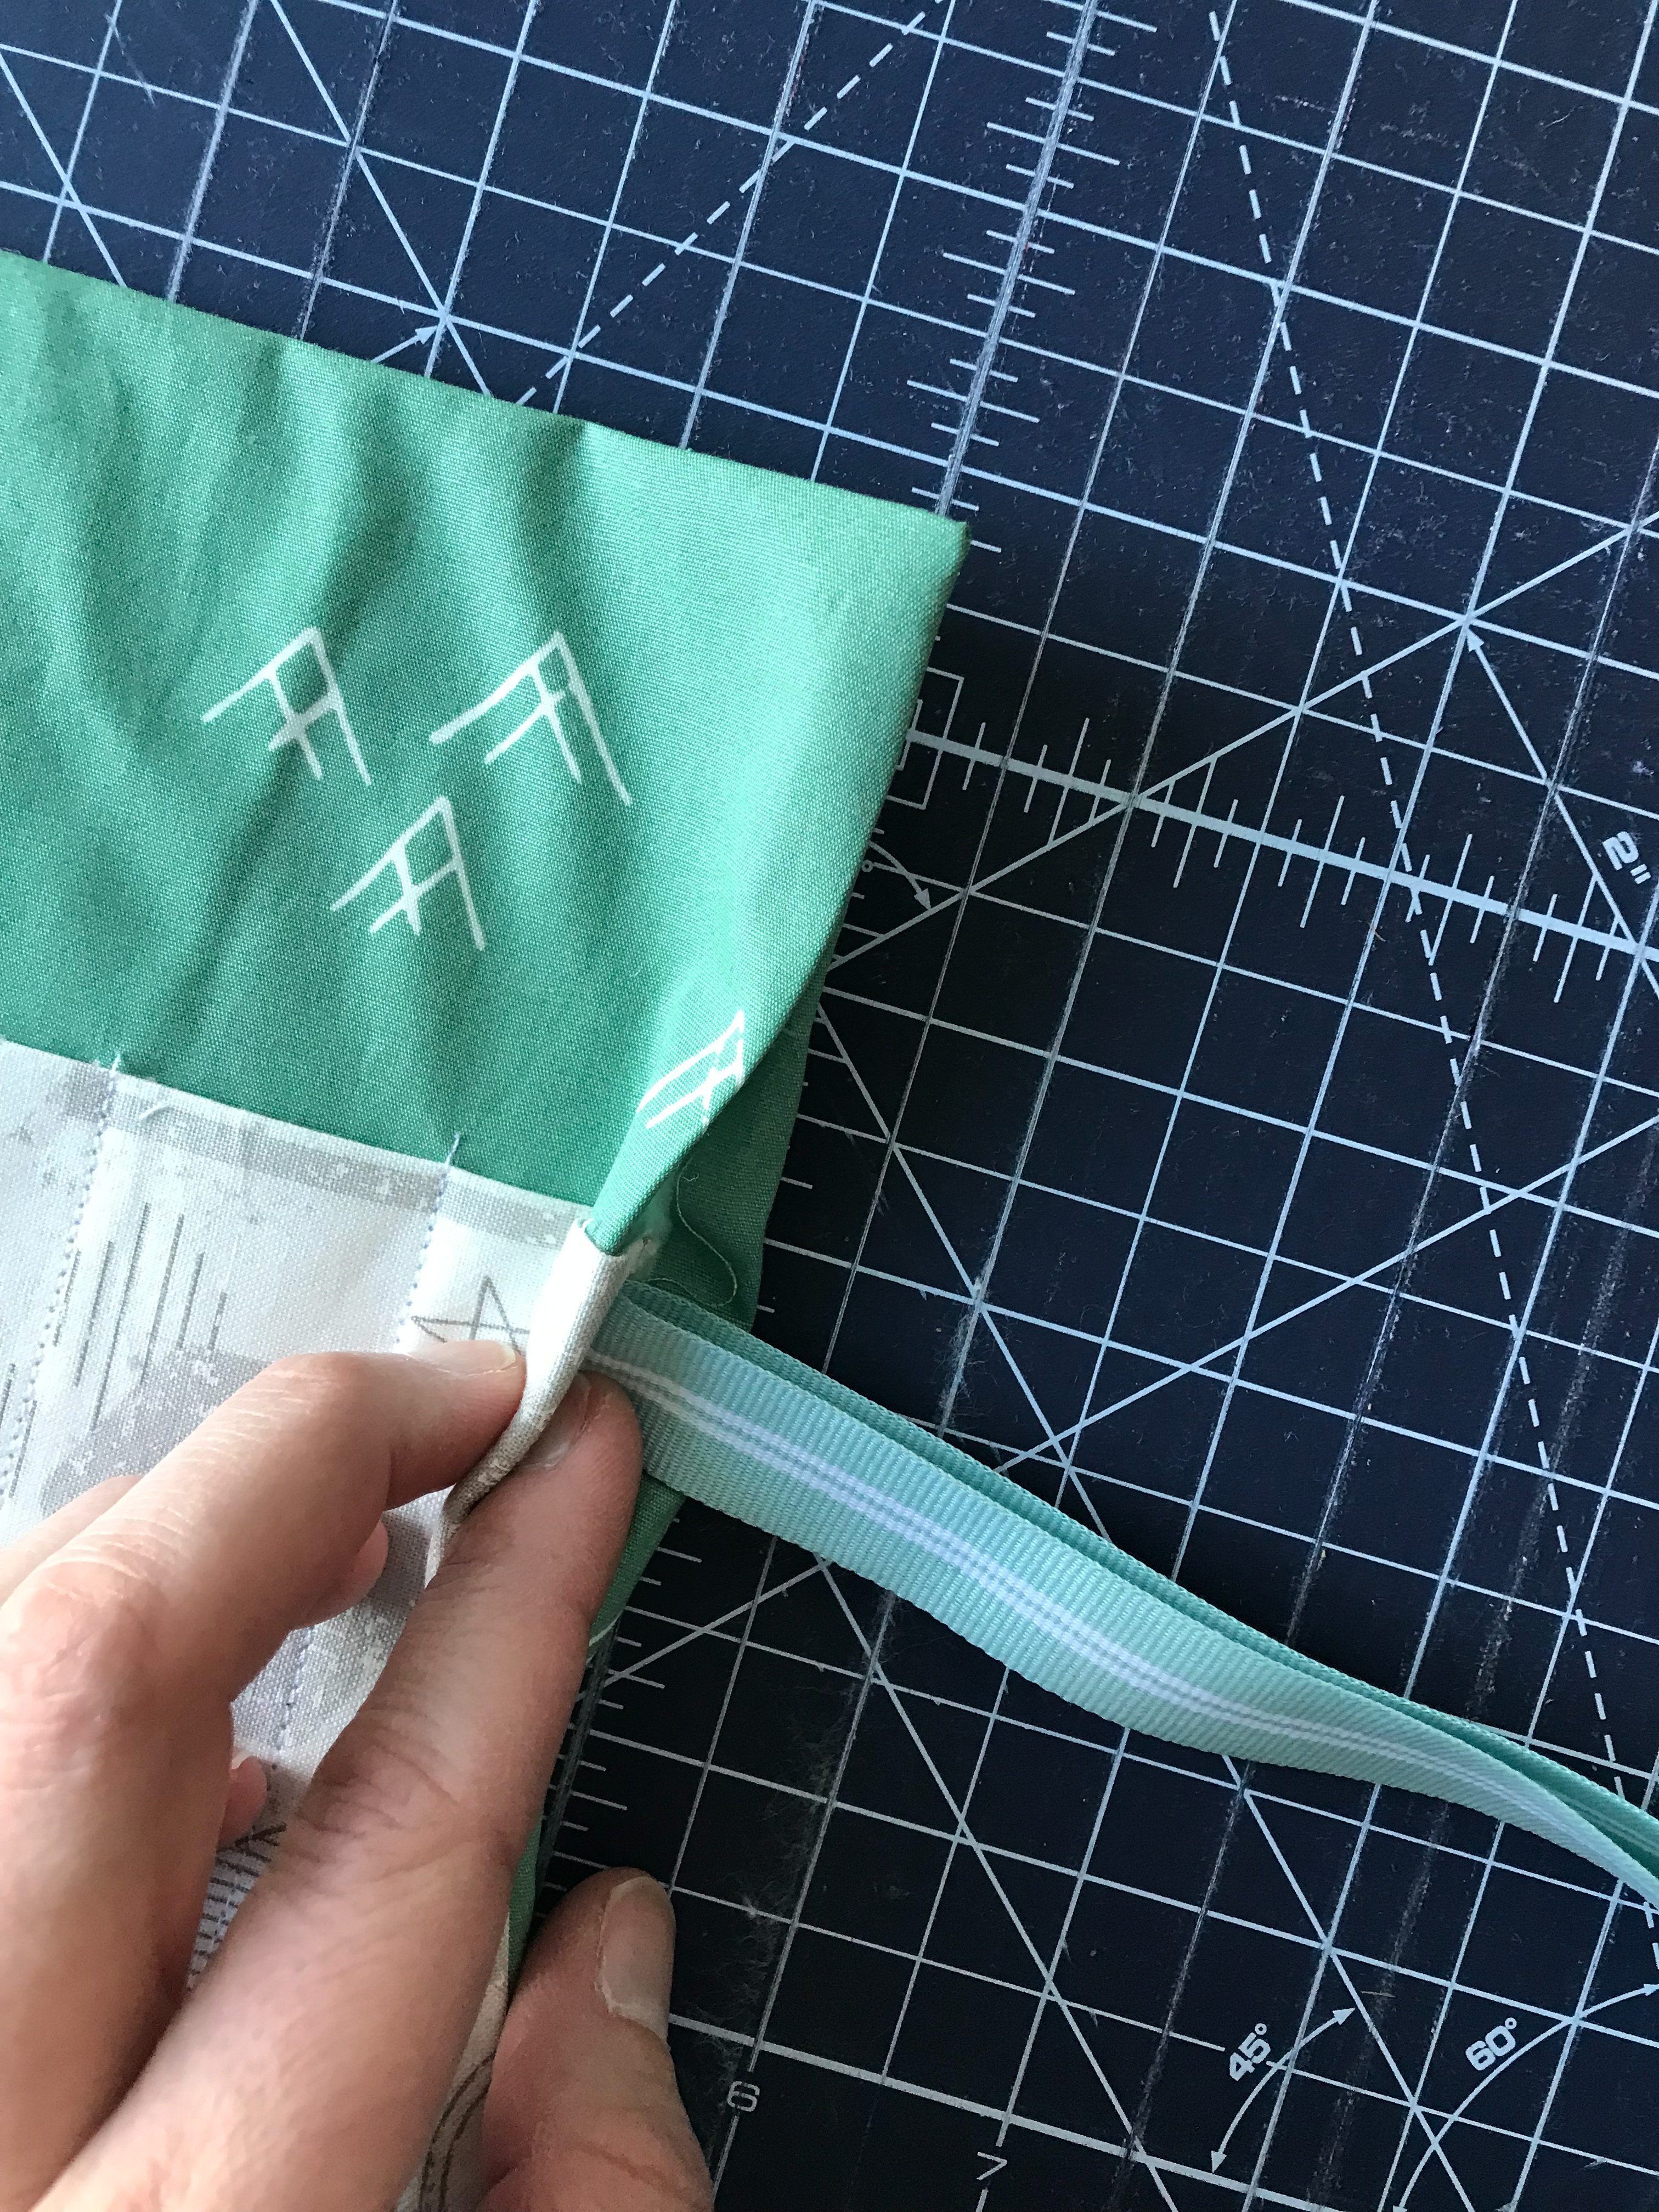
Cut approx. 28in of ribbon and fold in half.

Fold in the raw edges of your carrier opening 1/4in.  Slide the folded end of the ribbon into the opening at least 3/8in and pin in place.

photo 18

Sew 1/4in top stitch around all 4 edges of the carrier.

PACK UP AND GO!

Fill your slots with crayons, roll, tie + go!

Have fun staying organized and helping that little artist continue on the go!

DOWNLOAD THE QUICK REFERENCE GUIDE HERE

Let’s stay in touch!  Sign up to get new pattern updates, sales, freebies + more. 

SIGN ME UP

0 Comments
Share

You May Also Like

July 6, 2020

3 Ways to Finish a Quilt by Hand

January 22, 2020

‘Cafe Tiles’ Quilt Pattern Testers

September 24, 2020

Making a Whole Cloth Quilt with 4 Layer Gauze

Leave a Reply Cancel reply

This site uses Akismet to reduce spam. Learn how your comment data is processed.

Previous Post
Mary Davis of mary go Rounds Quilts
Next Post
When you Are In A Rut
Hi there, I’m

Hi there, I’m

elizabeth

I am a Minnesota born girl living in Texas with my husband and 3 kids. If I could tell my 13 year old self I was a quilter, I would have laughed in disbelief.  However, a few years ago I discovered how cool quilting really is!  I want to share how cool quilting is with others.  Join me in my online modern Quilters Candy Membership, or check out my quilt patterns.  I even offer a course once a year teaching you how to write and sell your own quilt patterns. I am excited to be quilty friends!

Join the Membership

Shop Quilt Patterns

Check out the Courses

Quilting Tutorial Videos

Categories

  • Craft to Career
  • Digital Downloads
  • Patterns
  • Podcast
  • Quilt Alongs
  • Quilt Questions
  • Tutorials
  • Uncategorized

Recent Posts

  • Wide Quilt Binding photo blog banner

    How to MAke Wide Quilt Binding

    May 17, 2022
  • Photo of hands with seeds forming a flower ontop of a green and tan floral quilt

    5 Steps to Harnessing Your Creativity

    May 10, 2022
  • After The Rain Quilter Candy, Rainbow Quilt

    After The Rain QAL – FINAL WEEK

    May 9, 2022

Latest Video

Latest Video Latest Video

Subscribe to My Channel

Follow Quilters Candy on Instagram

Branding. It’s is an essential part of your busi Branding. It’s is an essential part of your business, but if you don’t know where to start it can be overwhelming! Today on @crafttocareer we have @sarahann_design, who shares her best branding advice. Click the link in my bio to listen to today’s episode.
.
.
.
.
#crafttocareer #crafttocareerpodcast #branding #brandinghelp
🎉 FREE FABRIC FRIDAY @fieldstone.fabric opene 🎉 FREE FABRIC FRIDAY 

@fieldstone.fabric opened a new online shop, and to celebrate we are giving away a fat quarter bundle of fabric! The winner gets to choose one of the two bundles posted (see 2nd bundle @fieldstone.fabric post). 

Simply follow these steps:

➡️ Follow BOTH @fieldstone.fabric and @quilters_candy. 
➡️ LIKE this post.
➡️ Tag a friend. Each rage counts as an entry. 
➡️ Share your sewing plans for the fabric.

Giveaway closes Sunday May 22 at 8:30pm EST, and winner will be announced here Sunday night.

Open to U.S. shipping addresses only.

Giveaway is not sponsored, endorsed, or affiliated with Instagram. Be aware of fake accounts, we will never ask for personal or payment information to enter.

Stay creative!
Grand Prize Winner for #afterthetrainqal - congrat Grand Prize Winner for #afterthetrainqal - congratulations to @quiltsbycritter. She wins FREE edge to edge long arm quilting from @browneyedquilter. Thank you to everyone who joined the quilt along. I love seeing your beautiful quilt tops and sewing along together! Until next time ❤️
.
.
.
.
#quilterscandy #rainbowquilt #longarmquilting
So many tips from @quiltdstudios on the @crafttoca So many tips from @quiltdstudios on the @crafttocareer - how to grow your following, tips for making reels, and hearing how she’s grown her business by crazy amounts in under a year! Click the link in my bio to listen to episode 57.
Reels can leave you feeling 😩. But Jessica of @ Reels can leave you feeling 😩. But Jessica of @quiltdstudios removes the curtain to make reels possible AND successful for you! Listen to this week’s episode of the @crafttocareer podcast, link in my bio!
.
.
.
.
.
#crafttocareer #crafttocareerpodcast #quilterscandy #reelsuccess
🥳 It’s a great day for a GIVEAWAY, don’t yo 🥳 It’s a great day for a GIVEAWAY, don’t you agree?!
 @fancythatdesignhouse and I are teaming up to give one lucky winner this quilt block star tee from her shop!
So perfect for you talented, crafty, quilters!

Entering is easy, simply follow all steps:

1️⃣ Follow BOTH @fancythatdesignhouse and @quilters_candy and like this post
2️⃣ Tag a friend and leave them an encouraging comment. Each tag WITH comment counts as an entry, so enter as many times as you’d like.

Giveaway closes midnight Friday 5/13 and winner will be announced here on Saturday.
Open to US shipping addresses only. 

Giveaway is not sponsored, endorsed or affiliated with Instagram. Be aware of fake accounts, we will never ask for personal or payment information to enter.

Good luck!
  • About
  • Contact
  • Pattern Corrections
  • Terms And Conditions

Copyright © 2022 | Quilters Candy Site Powered by Pix & Hue.