Scrappy Star Pin Banner

November 21, 2023

Scrappy Star Pin Banner

Hello friends! It’s Abby Luchsinger of Abby Maed here. I am a quilter, pattern designer, and Art Gallery Fabrics Sewcialite based outside of Madison, Wisconsin. I strive to both honor the rich legacy of quilting passed down through generations and also reimagine it for today with modern heirloom quilts and designs that are simultaneously fresh, cozy, and timeless. You can find me on Instagram @abbymaed and online at www.abbymaed.com.

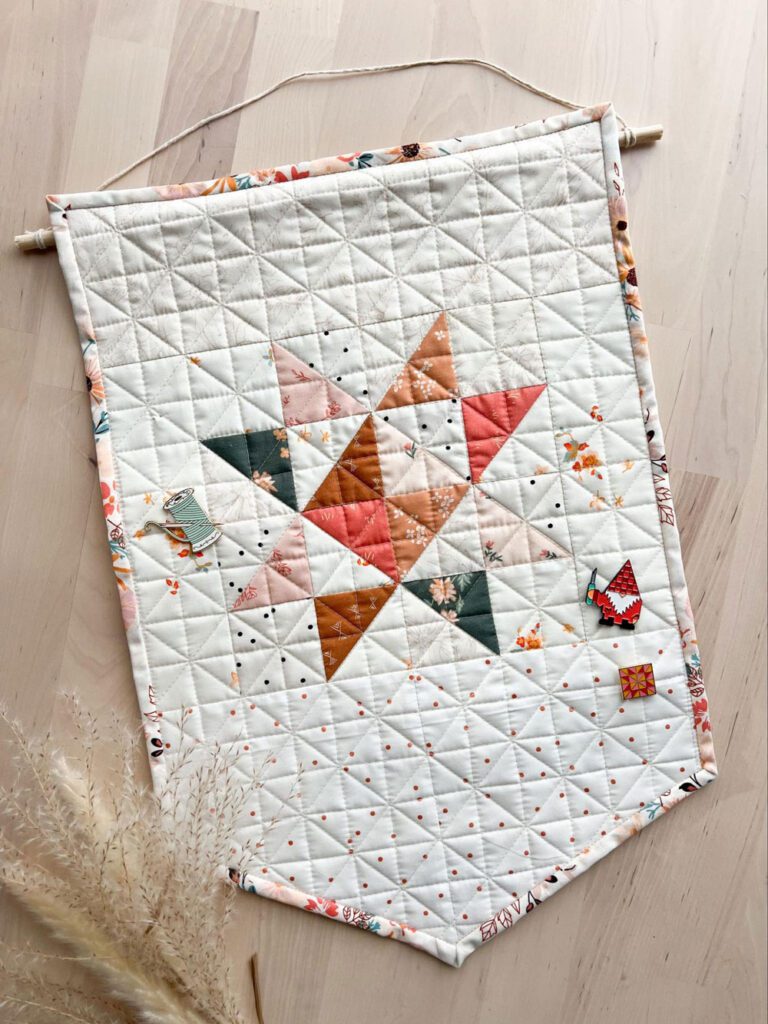
This time of year, I am always on the lookout for small projects that can use up some scraps and make thoughtful handmade gifts too. This scrappy star pin banner checks all the boxes. It’s a quick make, a really thoughtful gift for the pin collectors in your life (my mom and my kids are getting these for Christmas this year!), and a great scrap buster. 

Ready to get started? Let’s go! Get your FREE Scrappy Star Pin Banner:

Next, gather the needed supplies listed below. Note that while I only list two fabrics for the banner front, to get the scrappy look as shown in my version you can use different colored scraps for the Star Fabric cuts and use different low volume scraps for the Background cuts. You can piece the backing from scraps too, if desired. I made my backing from strips of varying widths that were 16” long sewn together to make the equivalent of the backing size. And if you want to make a banner just like the one shown, all of my scraps came from my Art Gallery Fabrics Roseglow Fat Quarter Bundle.

Supplies:

  • Star Fabric: (6) 3” x 3” squares (A1)
  • Background Fabric: 
    • (6) 3” x 3” squares (BG1)
    • (4) 2 ½” x 2 ½” squares (BG2)
    • (2) 2 ½” x 8 ½” rectangles (BG3)
    • (1) 4” x 12 ½” rectangle (BG4)
    • (1) 7” x 12 ½” rectangle (BG5) 
  • Backing Fabric: (1) 16” x 22” rectangle (or one fat quarter)
  • Binding: (2) 2 ¼” x WOF strips
  • Batting: (1) 16” x 22” rectangle 
  • Optional:  
    • 14 ½” length of a 5/16” wood dowel
    • 24” length of string or cording (cotton string, yarn, twine, leather cord, or even a thin strip of fabric are all options that would work)

Instructions: 

Note, you can substitute any 8” (8 ½” unfinished) quilt block for the sawtooth star block. If you choose to substitute a block of your choice, skip ahead to the Banner Top Assembly instructions.

Two-At-A-Time Half Square Triangles

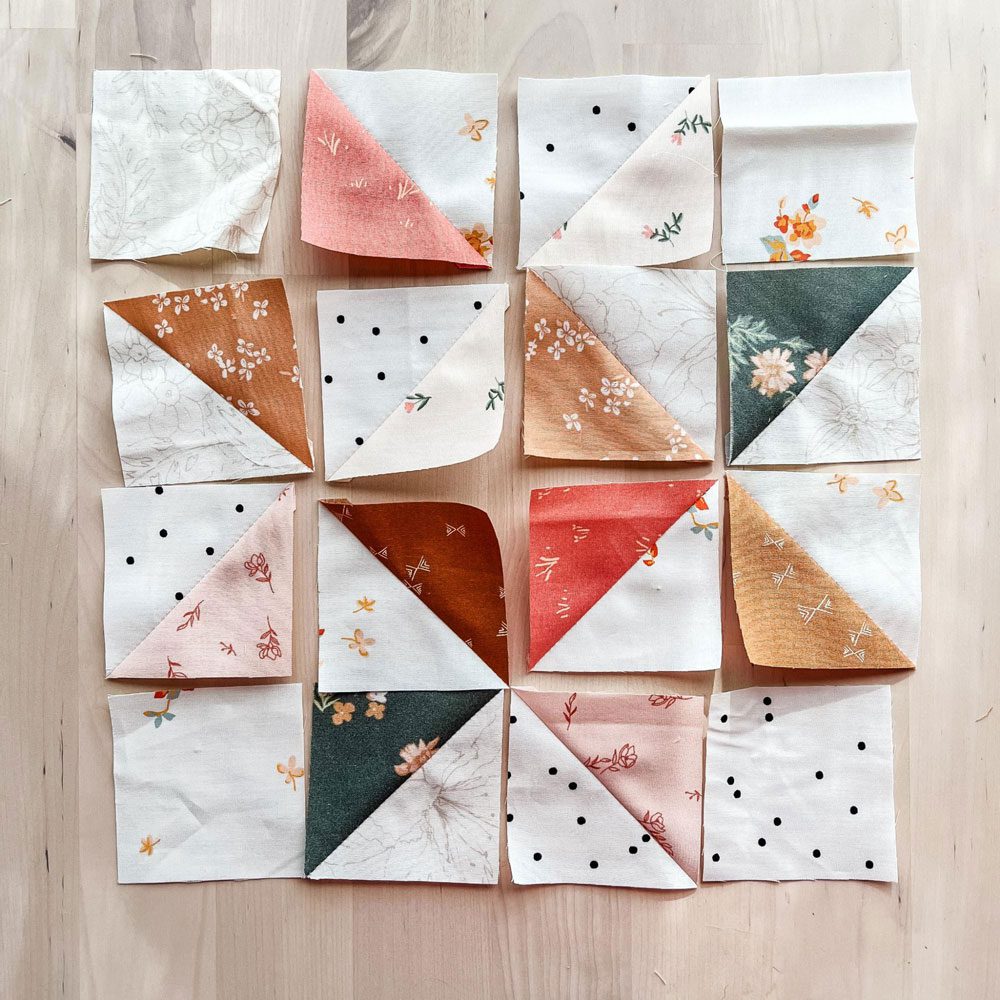
Start by marking a diagonal line across the wrong side of a BG1 square and place the BG1 square right sides together on an A1 square. Pin in place and sew ¼” away from both sides of the marked line. Then cut ON the marked line and press each HST open. Trim to 2 ½” x 2 ½” square to make (2) HSTs and repeat instructions with all (6) BG1 squares paired with (6) A1 squares to make (12) HSTs.

HST Diagram

Sawtooth Star Block

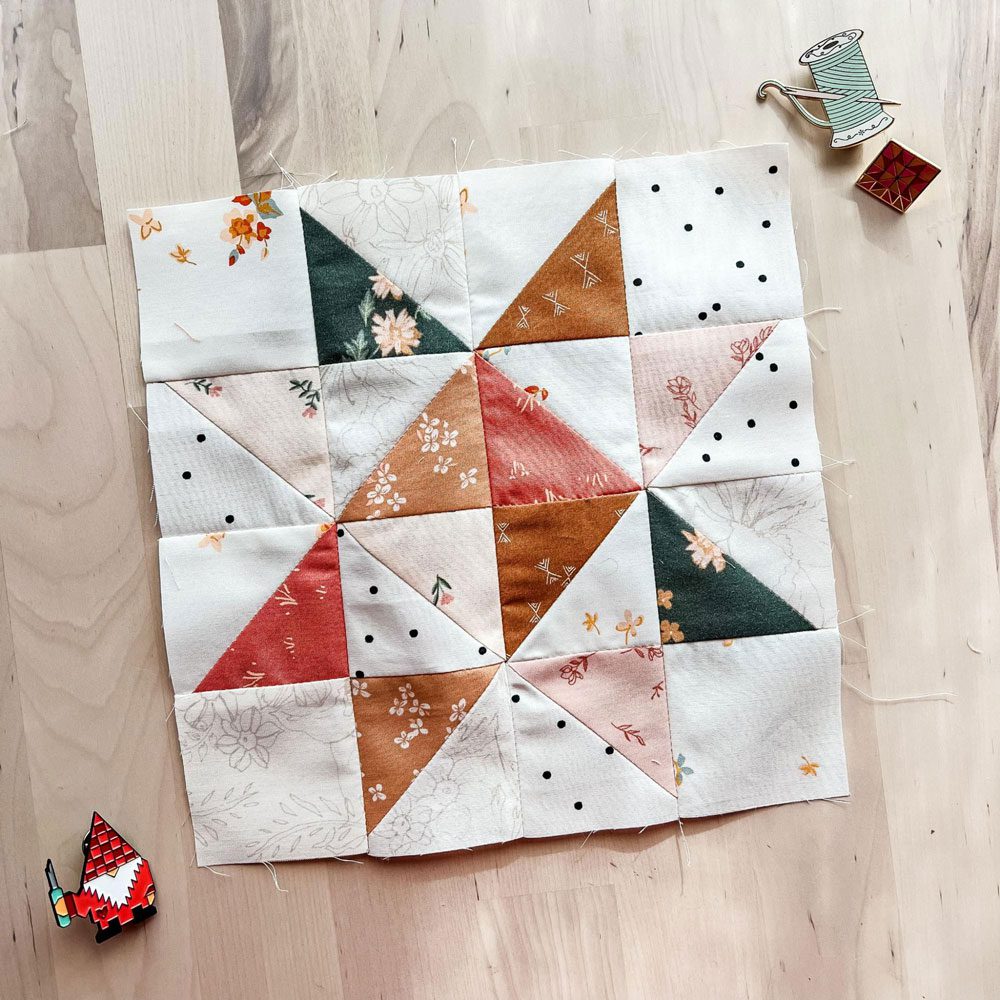
Gather the (12) HSTs and (4) BG2 squares and arrange as shown in the photo below. Sew pieces into rows and press the rows in alternating directions to allow the seams to nest. Then sew the rows together and press seams open to complete the sawtooth star block.

half square triangles
Sawtooth Block

Banner Top Assembly

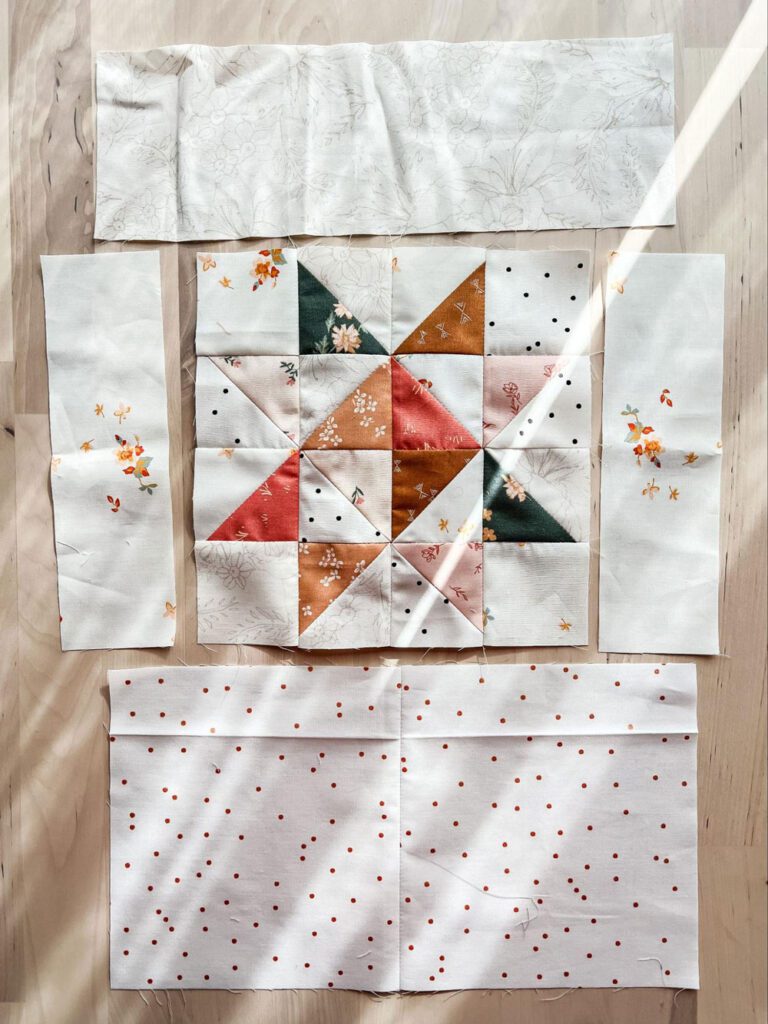
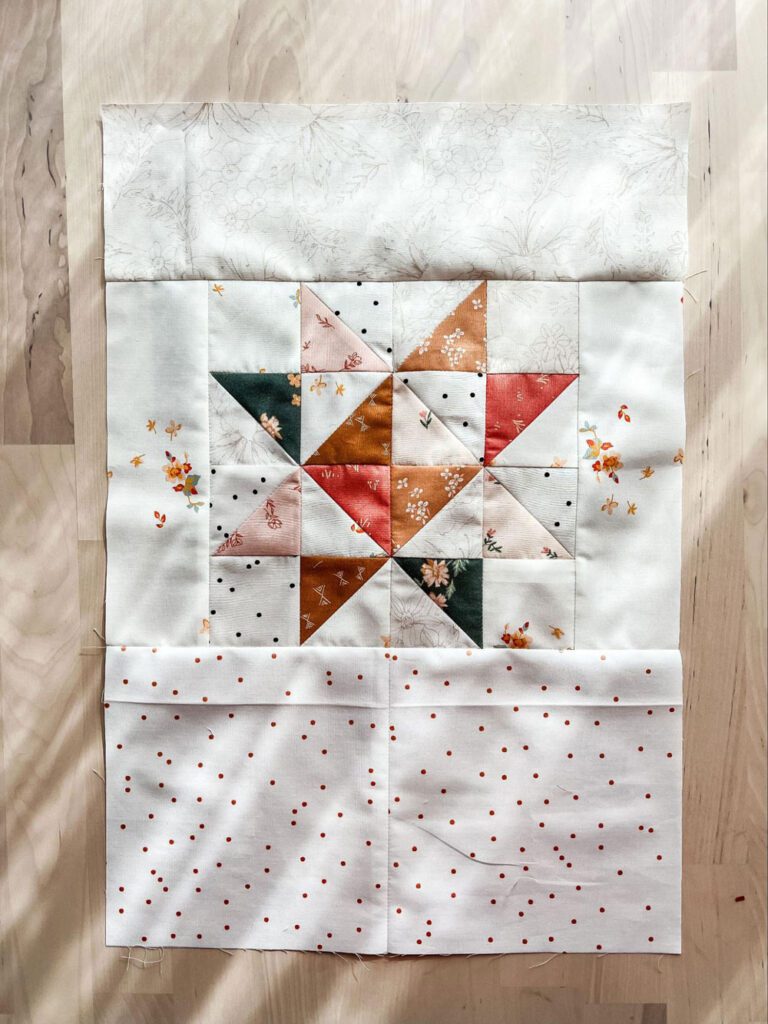
Gather the sawtooth star block, (2) BG3 rectangles, the BG4 rectangle and the BG5 rectangle. Arrange as shown in the photo below. Then sew (1) BG3 rectangle to either side of the sawtooth star block and press seams towards the BG3 rectangles. Finally, sew the BG4 rectangle to the top of the sawtooth star block and the BG5 rectangle to the bottom of the sawtooth star block. Press seams towards BG4 and BG5 to complete the banner top.

assemble the pieces
pieced banner

Quilt & Shape Banner

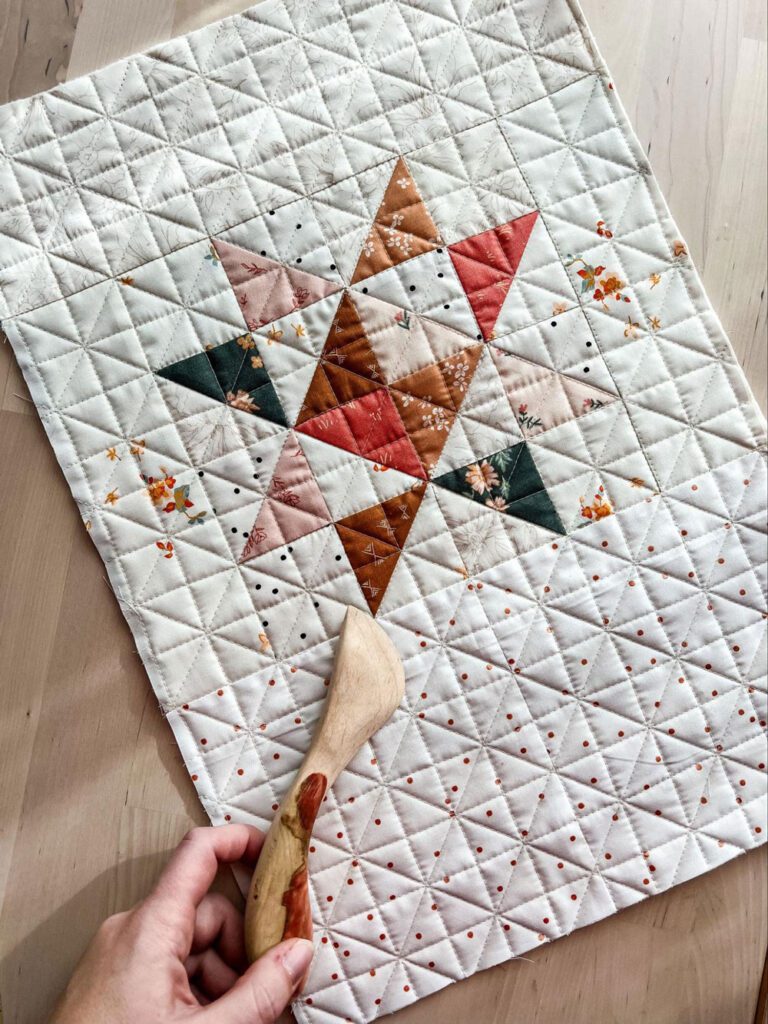
Now that the banner top is assembled, it’s time to quilt it!  Start by layering your backing wrong side up, then your batting, and finally your banner top right side up. Baste with basting spray or pins to hold in place and quilt as desired. Small projects like this one are a great place to try new quilting patterns or work on your free motion quilting.

quilted banner

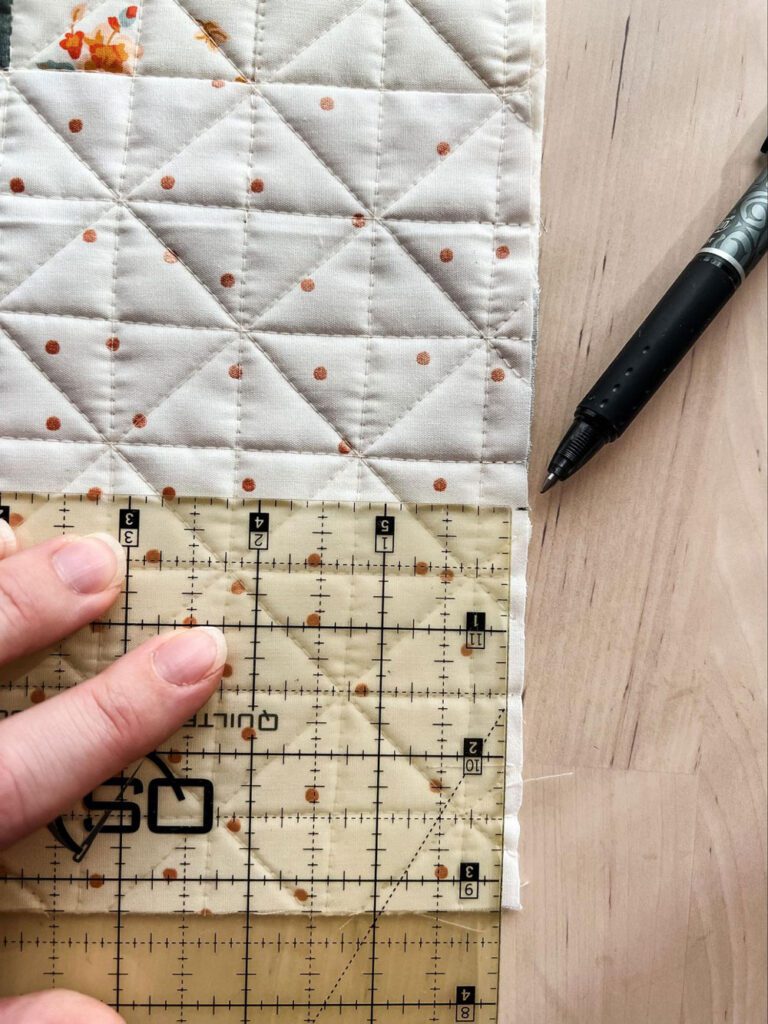
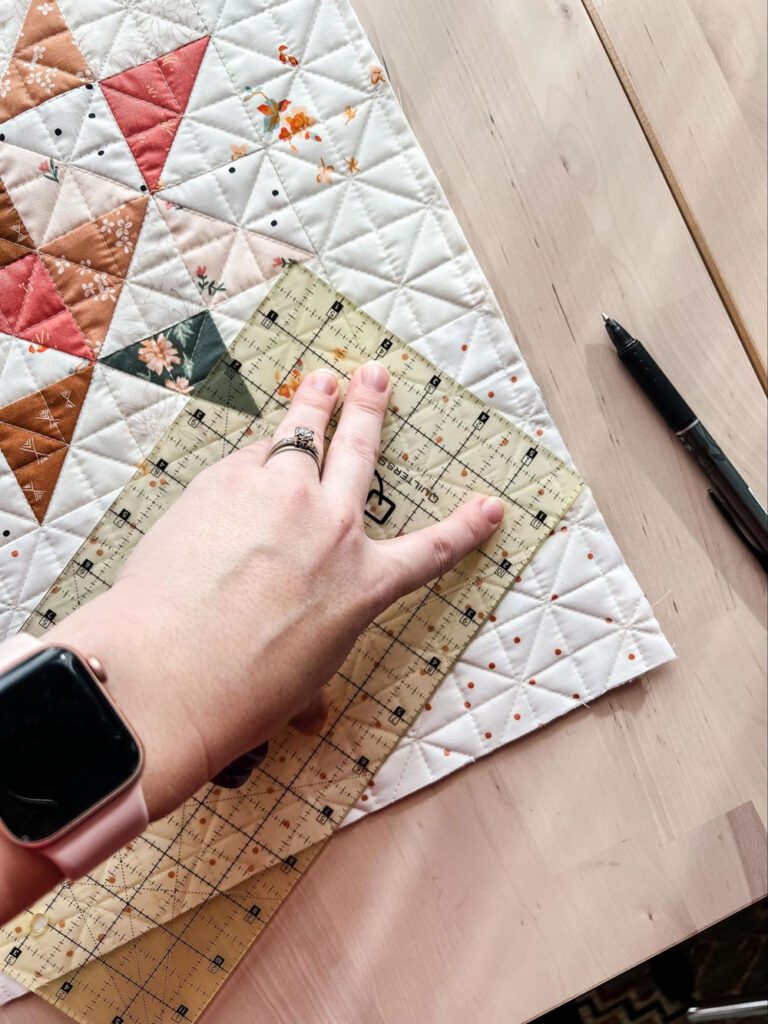
Once quilted, trim excess batting and backing. Then measure 3 ¼” up from the bottom on each side of the banner and mark. Next measure 6 ¼” from one side (to the center) of the bottom edge and mark that point too. Use a quilting ruler, draw a line to connect the point on one side of the banner with the point on the bottom edge. Repeat on the opposite side of the banner and then cut ON both lines to create a point at the bottom of the banner.

marking the fabric
corner ruler

Binding Preparation

Start by taking the (2) 2 ¼” x WOF binding strips and place the ends right sides together on a right angle as shown below. Pin in place and sew on the diagonal from the top left corner of the top piece to the bottom right corner of the bottom piece. Then cut the excess corner fabric ¼” from the seam and press the seam open to create a continuous length of binding.

corners diagram

Optional: Dowel Hanging Sleeve

The next step is to create a sleeve for your pin holder that you can slide a dowel through to hang on the wall. 

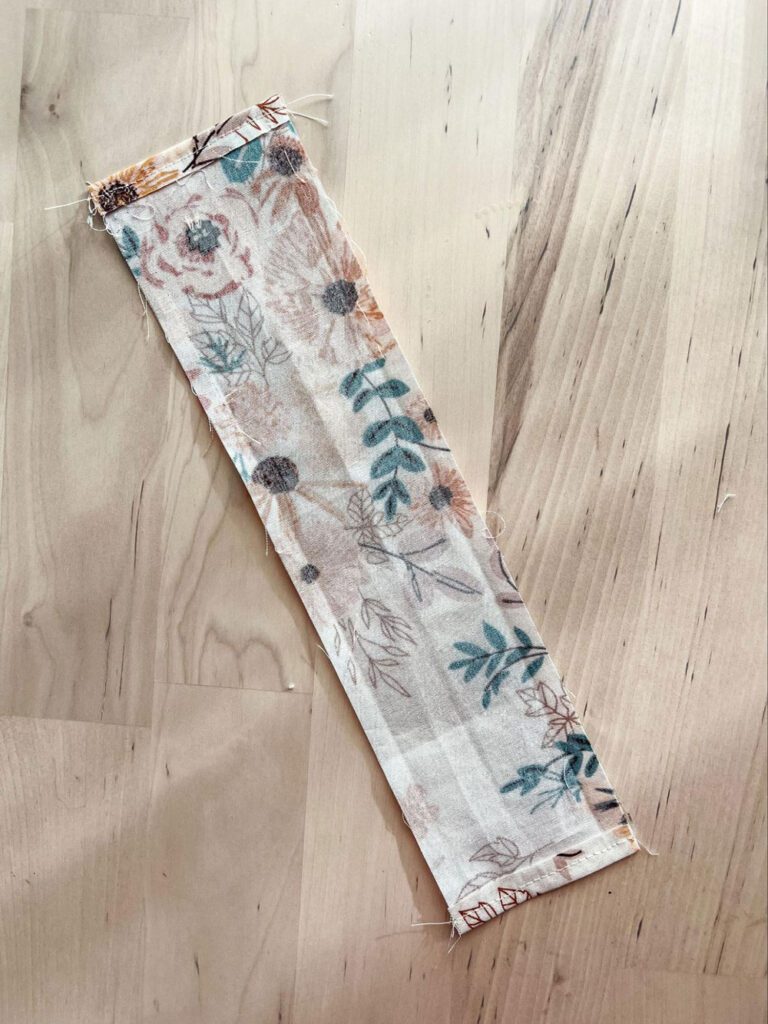
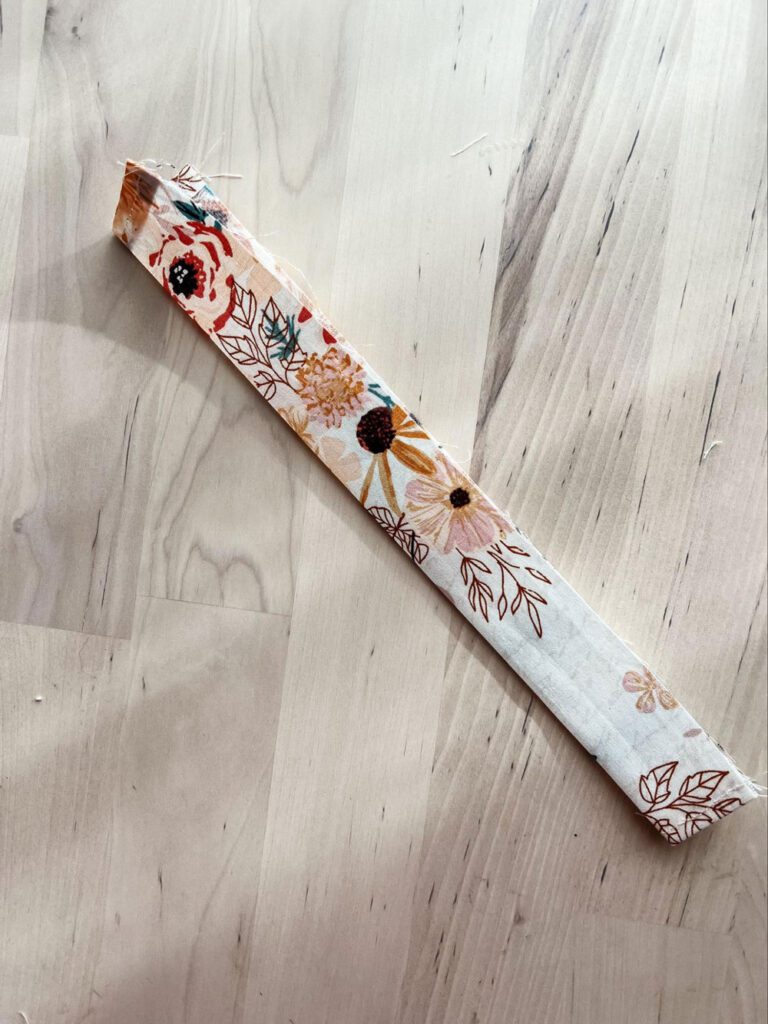
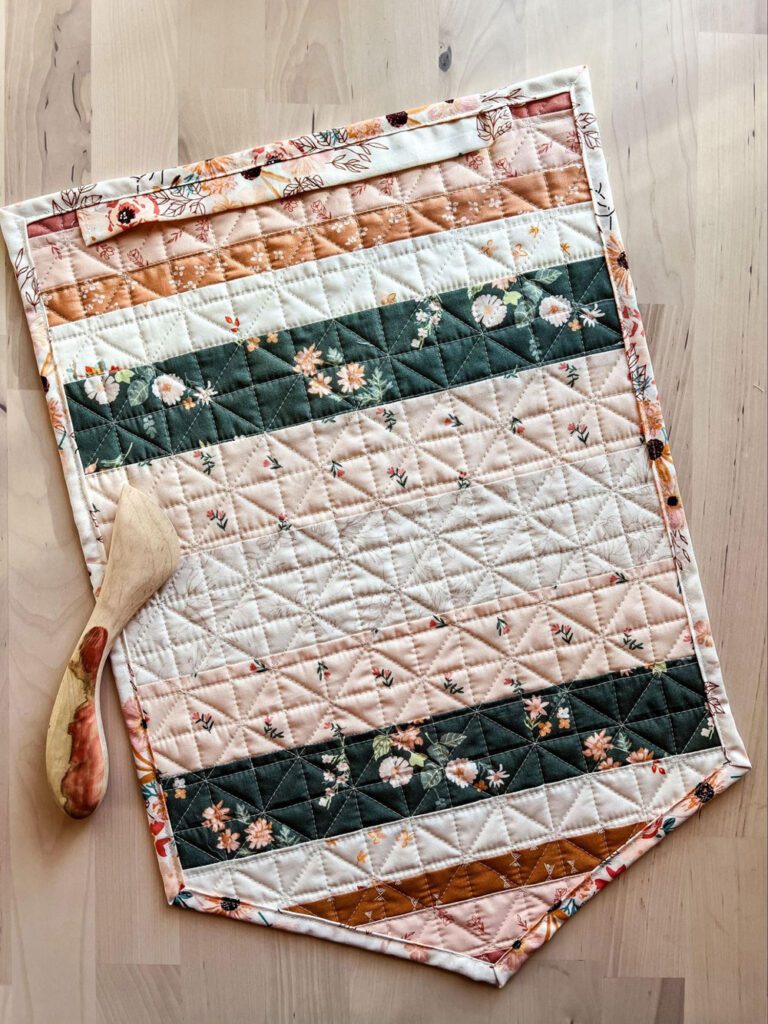
Start by cutting one 10 ½” piece from the end of the binding strip. Press each end over ¼” wrong sides together, and top stitch in place. Then fold the piece in half lengthwise wrong sides together and press. 

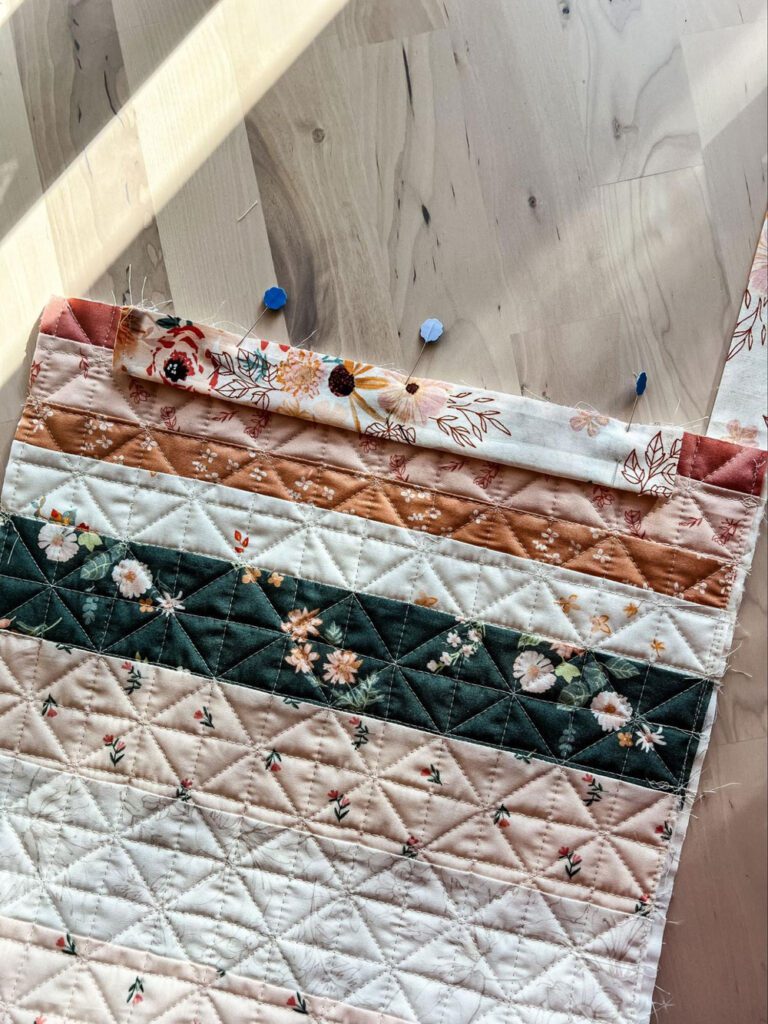
Align the raw edges of the hanging sleeve with the top raw edge of the banner back, center it, and pin in place. 

Pin the dowel in place

Binding

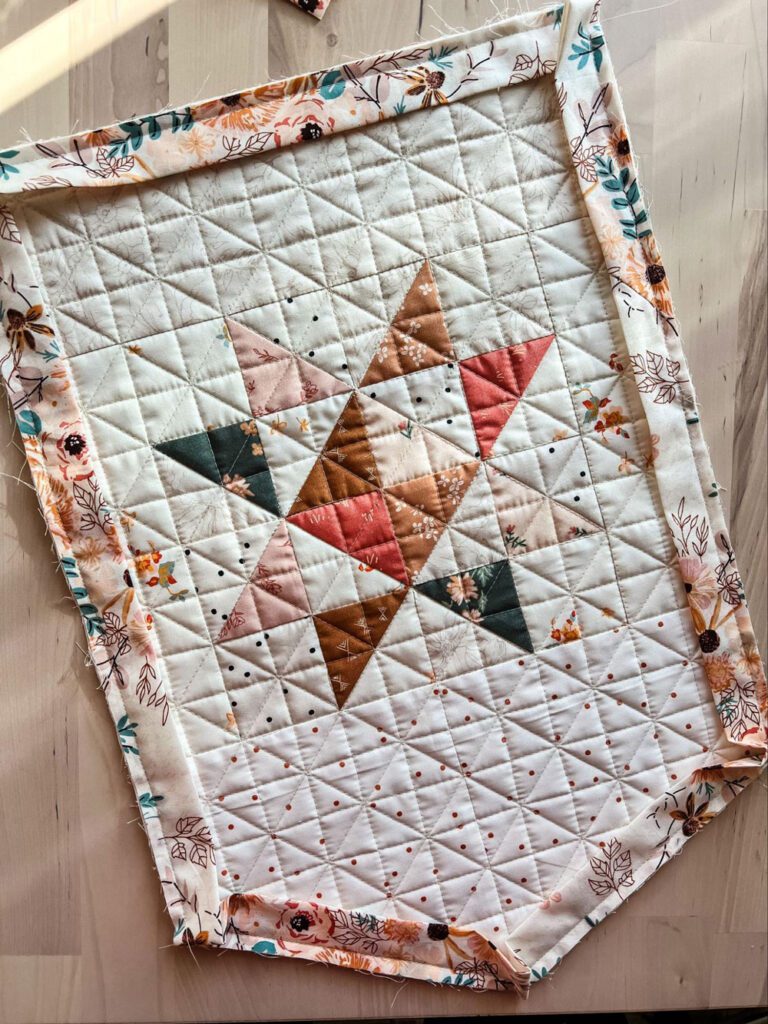
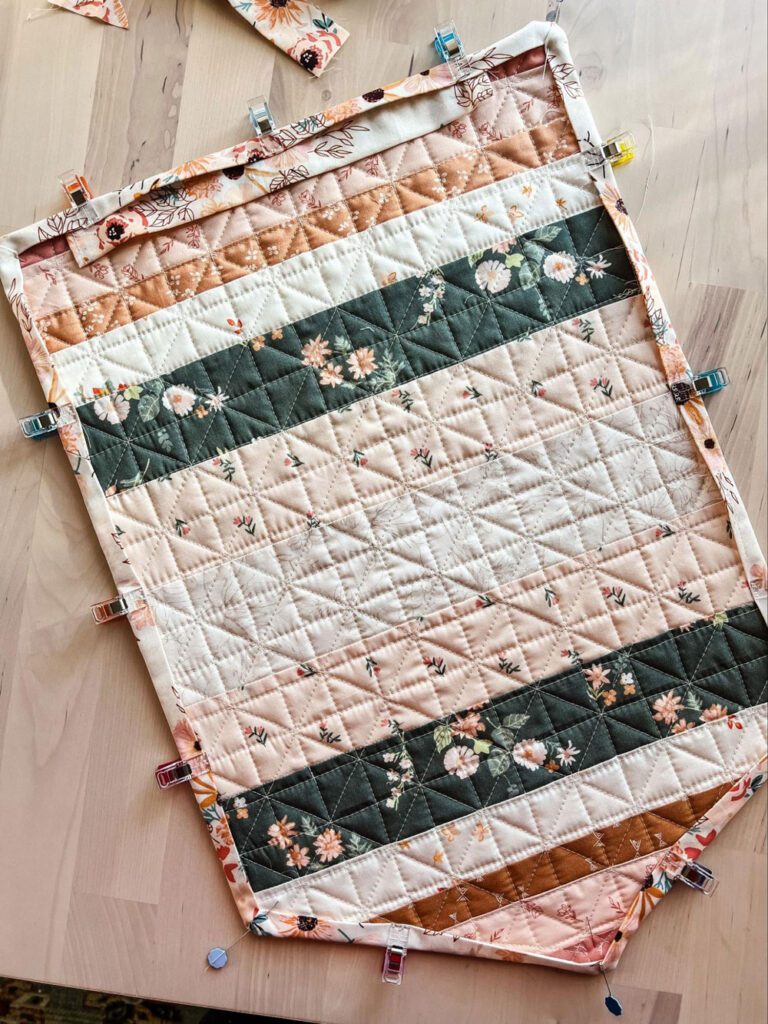
The last step is binding the banner. Start by pressing the binding strip in half lengthwise wrong sides together. Then bind the quilt with the binding strip using your preferred method and make sure to secure the hanging sleeve edges in the binding stitching. In the banner pictured, I started by sewing the binding onto the front of the quilt, joined the ends, and then pressed the binding away from the quilt for a crisper finish. Then I clipped the edge of the binding in place on the back of the banner. Finally, I stitched in the ditch on the front side of the banner catching the edge of the binding on the back side as I went for a nice clean finish. 

Optional: You can choose to hand sew a blind stitch along the bottom edge of the dowel sleeve to secure it to the back of the banner.

sewing the binding
back binding
quilted back banner

Finishing

Once the binding is all secured in place, slide the dowel through the hanging sleeve on the back of the banner. Then securely tie the ends of the cords to the ends of the dowel. 

At this point, your scrappy star pin banner is officially complete! I hope you enjoyed making this project. 

Don’t forget to snag the pdf pattern for this project here to keep on hand for your next pin banner. And if you share your completed Scrappy Star Pin Banner on Instagram, be sure to tag me @abbymaed and use the hashtag #scrappystarpinbanner so I can see what you make. I can’t wait!

Take Care!

Abby

Scrappy Star Pin Banner

MORE BLOG POSTS LIKE THIS ONE

Did you enjoy this tutorial? Be sure to check out these free tutorials: 

Quilt Tool Pouch

Blustery Day Wall Hanging

Quilt Satchel

or SEARCH THESE

Popular categories

Craft to Career
Digital Downloads
Patterns
Podcast
Quilt Alongs
Quilt Questions
Tutorials
back to the top

Copyright 2024 Quilters Candy  |  Terms & Conditions