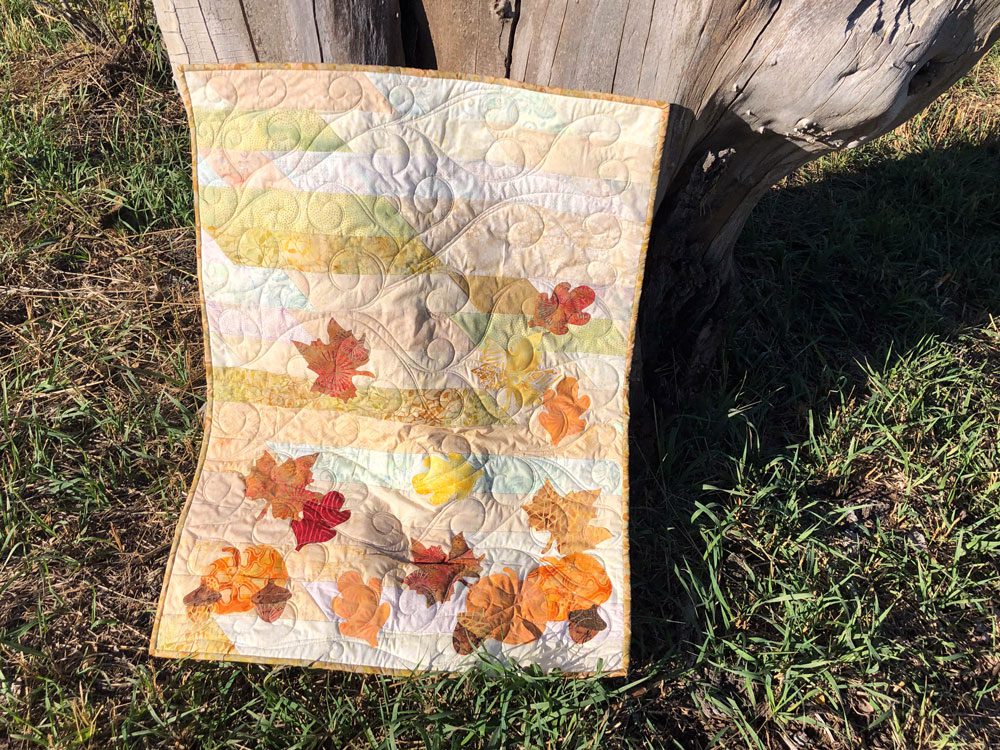
Blustery Days Wall Hanging

October 31, 2023

Blustery Day Wall Hanging

Amanda Bauer, owner and creator of ALeeB Creative and Quilt It List shares how to make her FREE quilt wall hanging, Blustery Days.

After a lifetime of all things arts and crafts, my mom dragged me, kicking and screaming, into quilting. Wouldn’t you know that was exactly what I needed? In quilting, I was finally able to merge my creativity with business – and I am having an amazing time sharing my visions and perspectives with the quilty world! One of those perspectives is that we are happiest when we create vs just consume.

So in the midst of all the “have to’s” of life, let’s set aside some time to pursue more creative endeavors. For we quilters, that can mean all kinds of things – finding a new pattern or fabric, learning a new technique or sifting through our stash to rediscover old treasures! Anything to kindle that inspiration and desire to create. After all, creativity breeds more creativity – so grab your stash and scraps and lets create something! 

This is a project I threw together awhile ago to give myself something quick to do that allowed me to play around with some raw edge appliqué. I had just gotten an AccuQuilt die cutter (the smallest one) and I wanted to something with the fall leaves die. 

Don’t have a die cut machine? No biggie- just dust off your pencil case and trace or be super adventurous and draw your own leaves! I was going to do the latter this time, however my brain wasn’t working in that direction, so here we are…

Blustery Day Fabric

Supplies

Supplies needed for this project (this project is not a precise science, so go with whatever you heart desires):

Background –

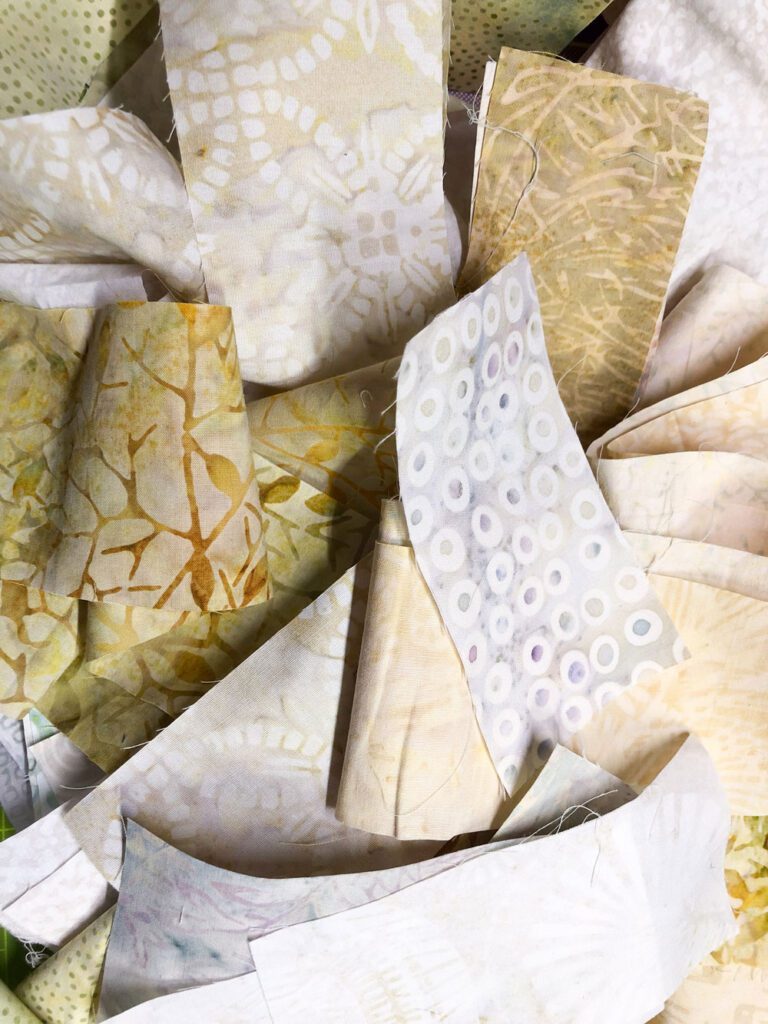
2.5” strips of fabric – approximately 400 inches total length in desired colors. (I went low volume here, but whatever you want would be fabulous.)

Leaves/Pumpkins/Acorns – 

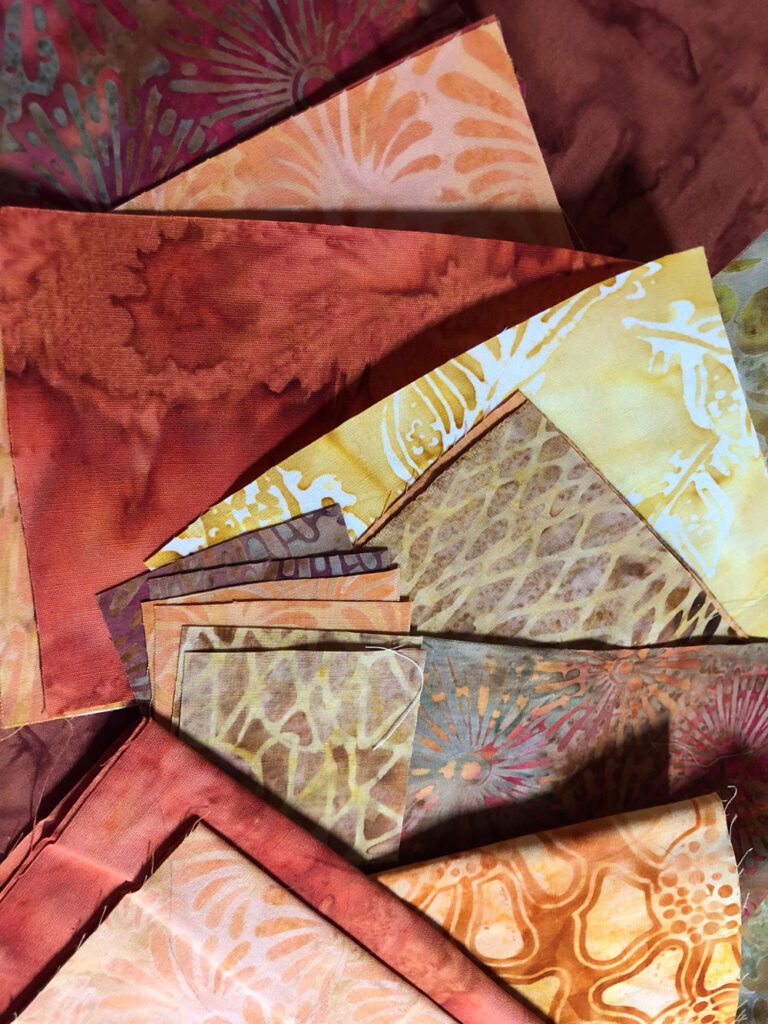
Fall color fabric scraps in varying sizes

Transweb, or fusible of your choice for the scraps

Backing, batting and binding – depends on your final size! I was able to use up scraps for all of these items.

Blustery Day Fabric

Instructions

Background

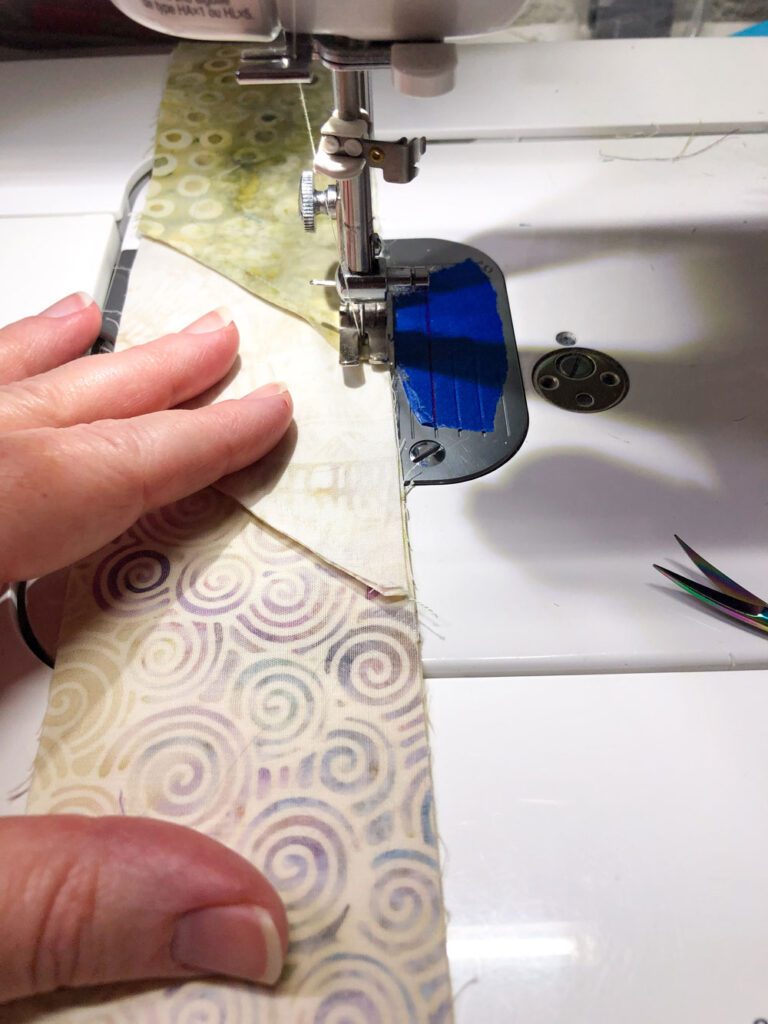
Using your 2.5” strips: Piece the strips, jelly roll race style, end to end. Choose your style – you can miter the strips or sew them straight, whichever you prefer. 

A note – if you go with mitered seams, you are going to lose a slightly different amount of overall length than with a straight seam. I mitered and the ~400” still got me to the overall size I wanted.

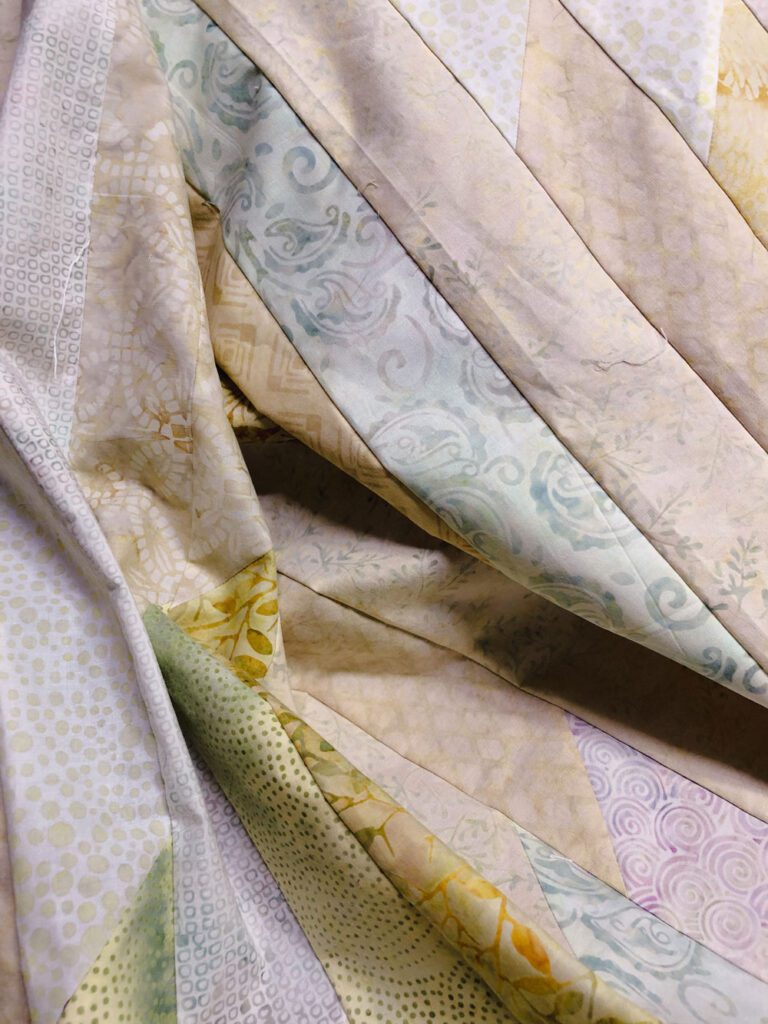
Once the entire 400” or so is pieced together and seams pressed, fold in half, right sides together and stitch along one long seam. Cut the end fold, press open and repeat until the desired dimensions are achieved. My end background size is around 25 x 32”.

Sewing Blustery Day

Leaves, other fall items

Using your scrap fall colors, adhere the fabric to your desired fusible. I used Transweb, however anything would work – just be aware of the specifics on what you are using.

Whether you are using a die cut machine or your pencil, cut as many (or as few) of the items as you want. This is your piece, so go forth and have fun! Mine consists of a couple of different leaves, pumpkins and acorns.

I removed the paper backing prior to the next step – as it makes temporarily pinning in place much easier.

Once you have the pieces you want, lay out your background and play around with the layout. This wall hanging is meant to be more artistic in nature, so be free with your placement. 

After you are happy with your placement, press to fuse those suckers in place! This is raw edge appliqué, which means there won’t be a “finished” look to the edges – no stitching around, no turning under the seams. As this is a wall hanging it should stay put just fine, but we will cover the insurance policy (ie, quilting) next.

Blustery Day Complete

Quilting

If you are inspired and want to have fun with some free motion, consider quilting spines in your leaves and grooves on your pumpkins. For the background, I quilted a swirly breeze over the whole thing to give the impression of a windy, blustery day. As I used raw edge appliqué, there is not stitching around the leaves, etc – and so to ensure they stay put over time in the dry Colorado air – I quilted over each one. I’m not too concerned with edges lifting, as with the leaves if they do it will just give it a bit of dimension. If I had been having a better day, I would have quilted spines and grooves – and only quilted the swirly breeze around the leaves. Such is life!

Binding 

I typically use 2.25” strips to bind and for this I chose a fabric I’m not thrilled to have in my stash. Colorwise it works great here, but it isn’t something I use a lot of in general – so this was a nice way to use it. Minimally seen!

Blustery Day Wall Hanging

Other possibilities

This is definitely a simple project that can be tweaked for whatever occasion you want – think of blues (dark or light) and snowflakes/snow people for winter, soft pastels with flowers and spring motifs, summer options – the sky is the limit here, and it is all making use of stash and scraps! 

If you make this project for fall, or another season or occasion, I would love to see it on IG – tag me!

Follow me

Drop me your email and snag a free scrap/stash friendly pattern – or check out what else I have going on at www.quiltitlist.com and on IG @quilt_it_list! I can’t wait to share more quilty projects with you!

MORE BLOG POSTS LIKE THIS ONE

Did you enjoy this tutorial? Be sure to check out these free tutorials: 

Quilts as Decorative Wall Hangings

Framing Your Quilts

My First Sashiko Project

or SEARCH THESE

Popular categories

Craft to Career
Digital Downloads
Patterns
Podcast
Quilt Alongs
Quilt Questions
Tutorials
back to the top

Copyright 2024 Quilters Candy  |  Terms & Conditions