
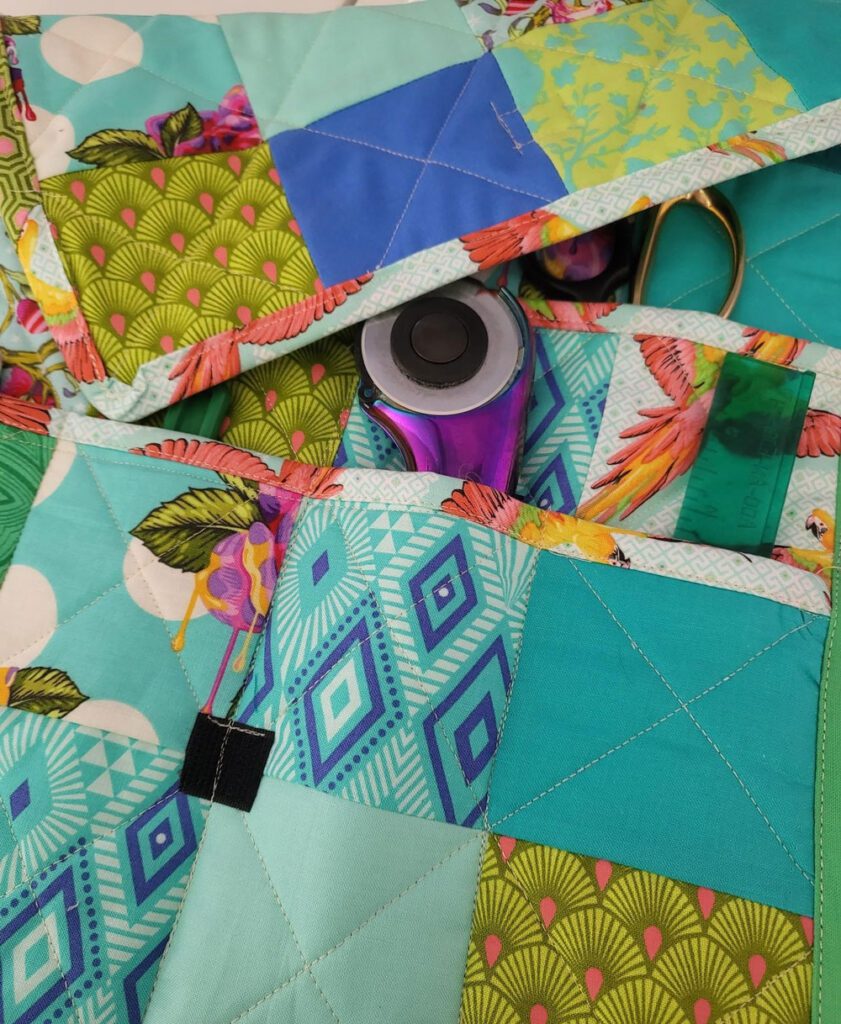
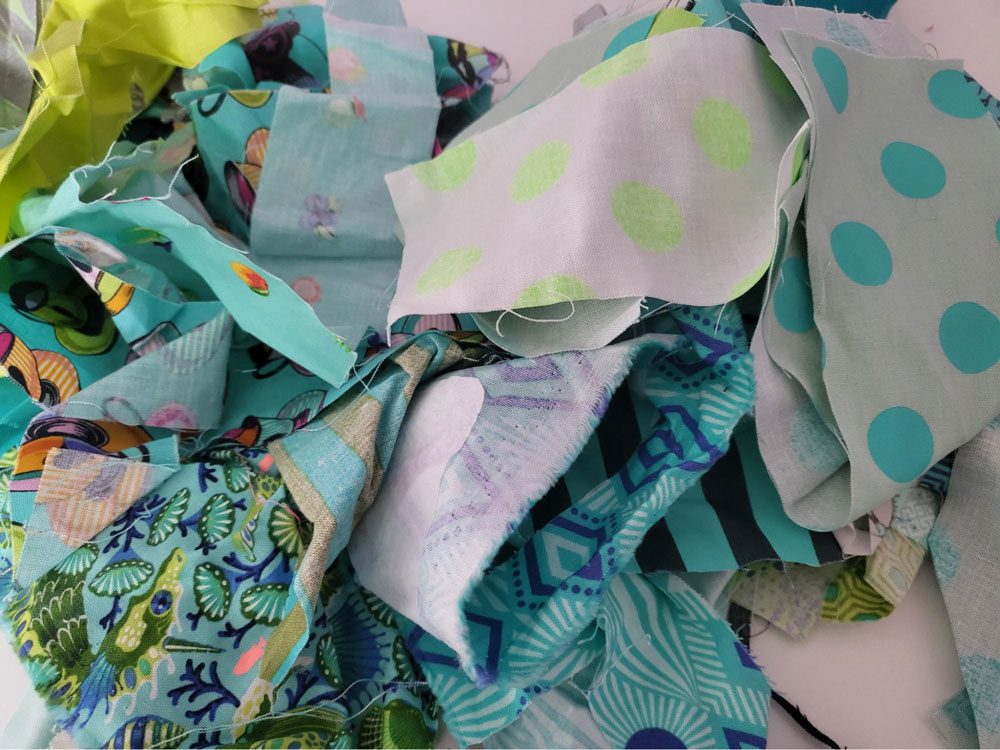
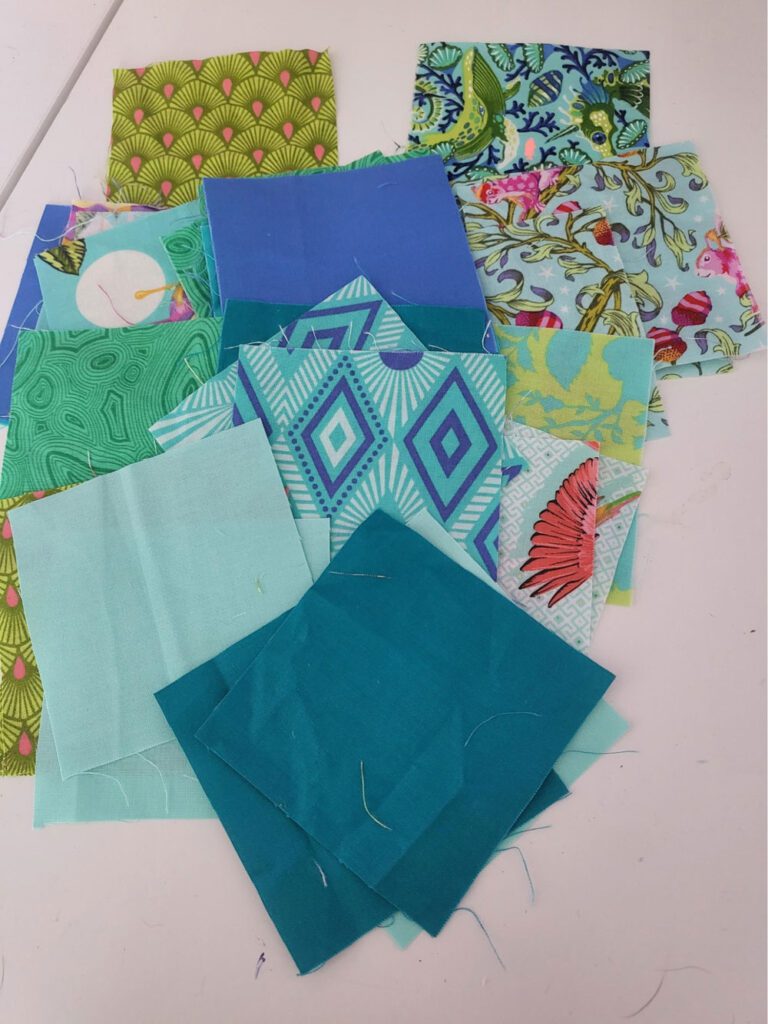
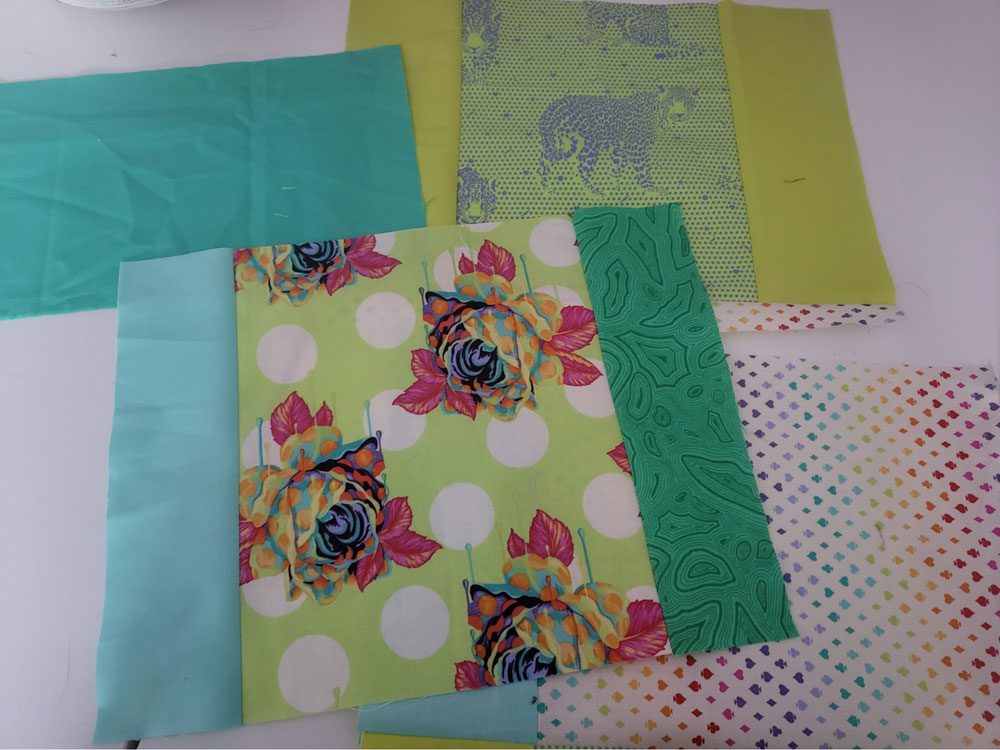
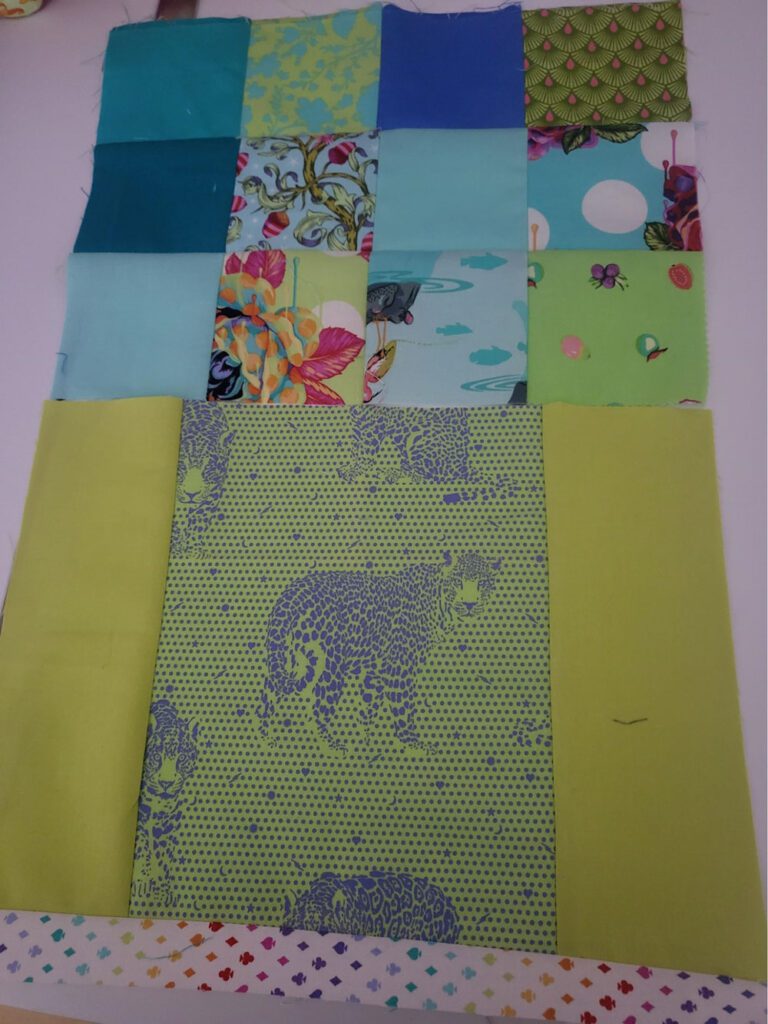
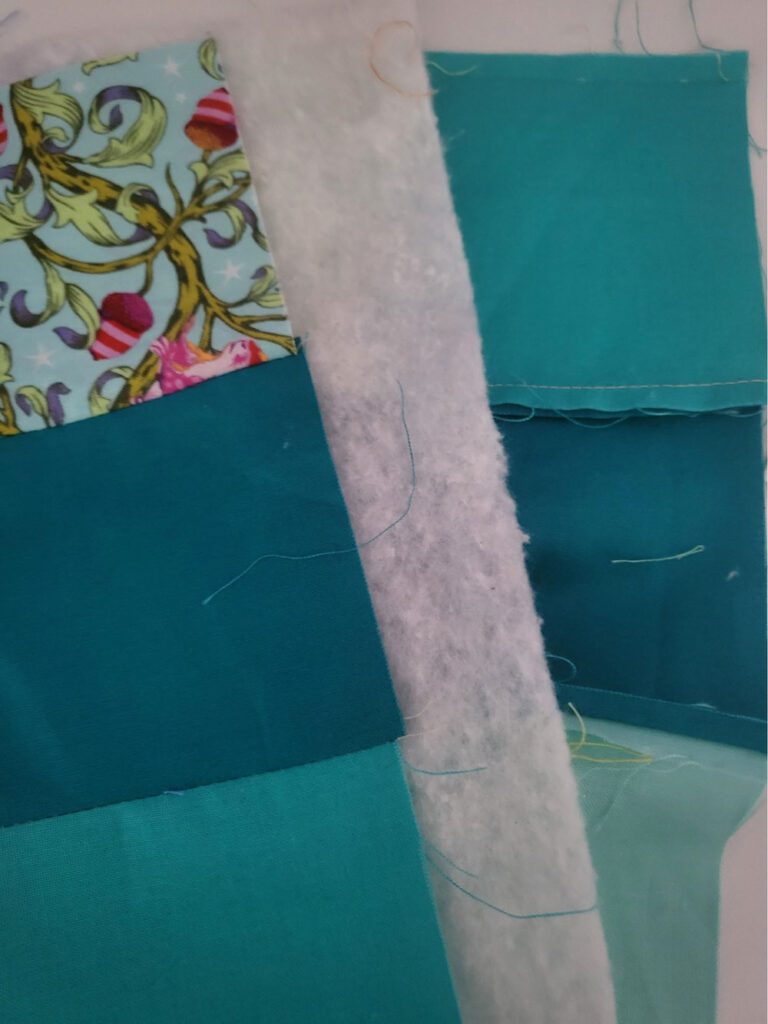
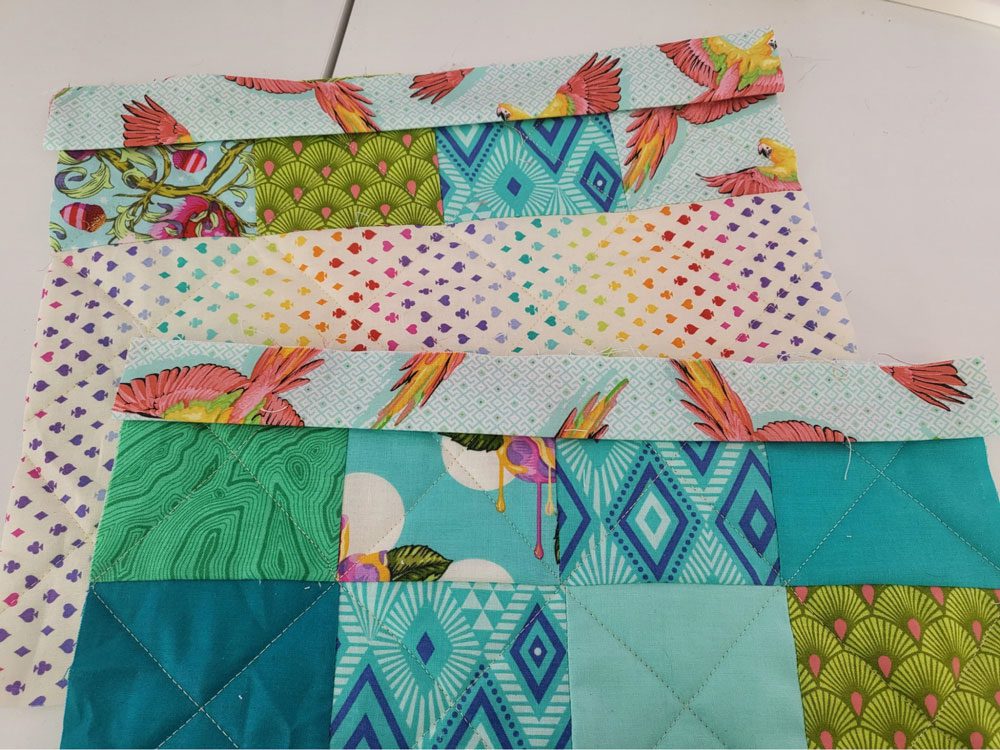
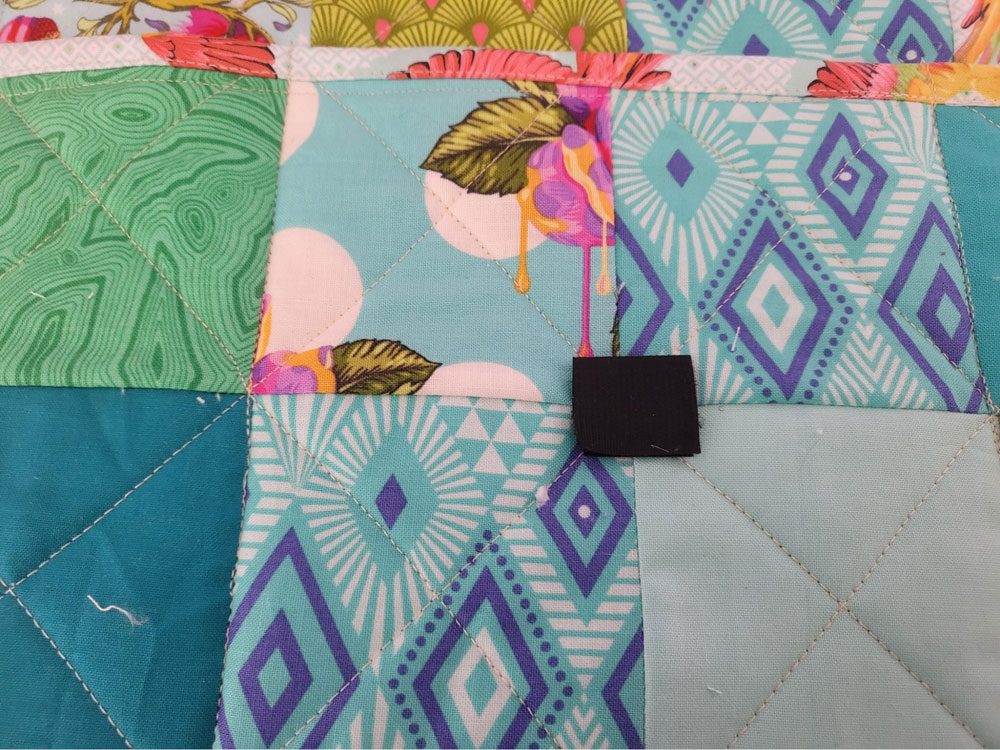
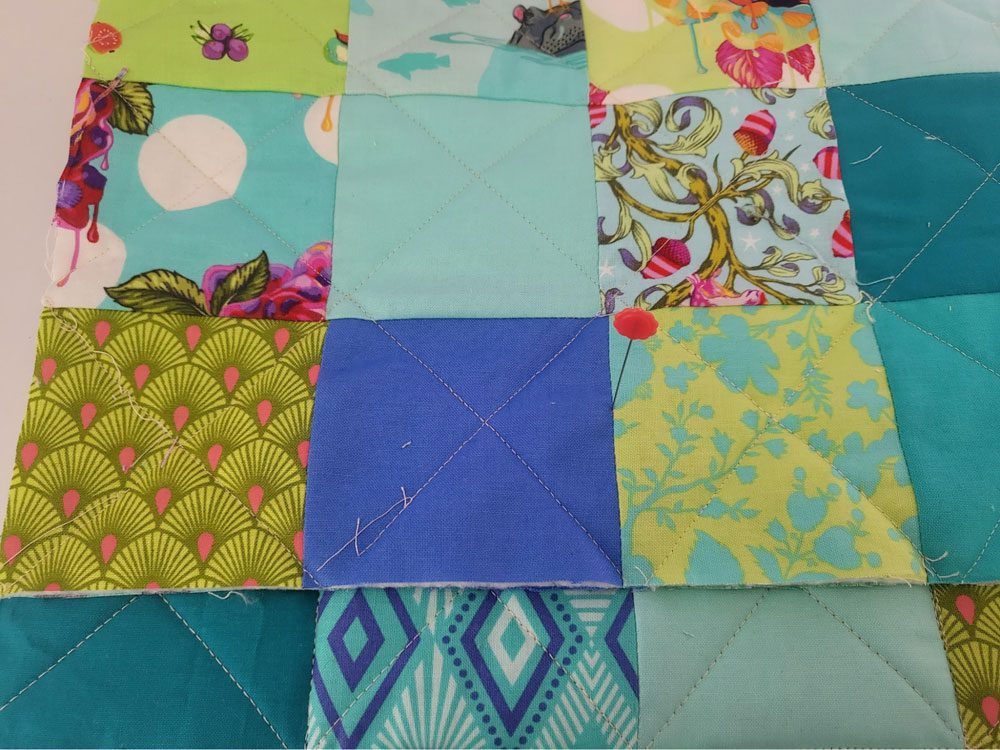
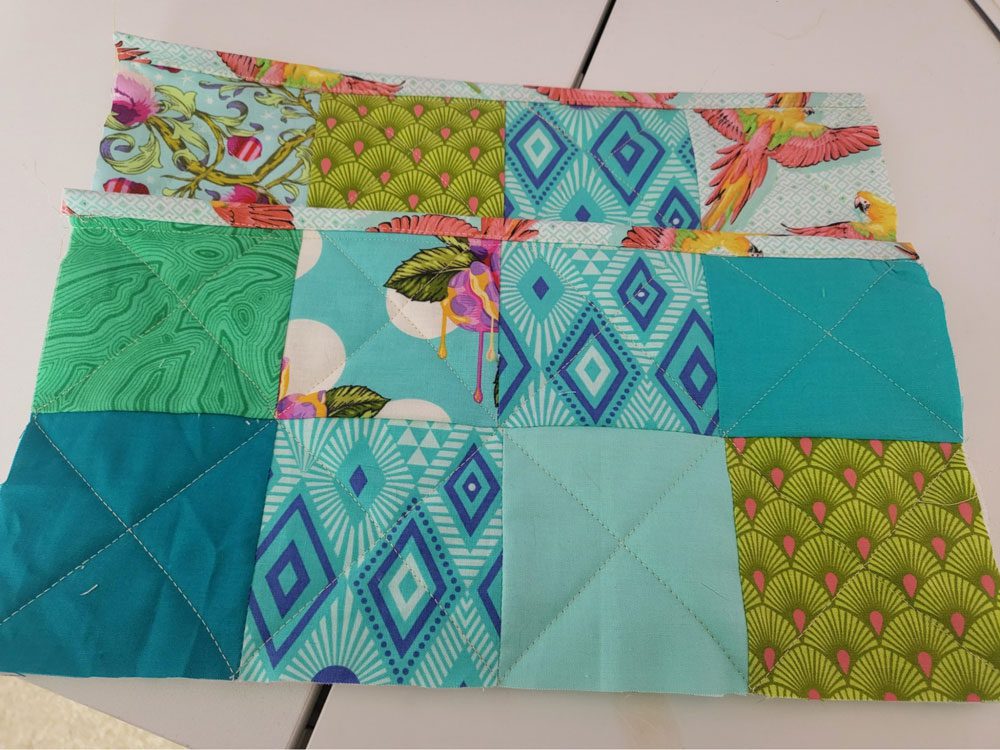
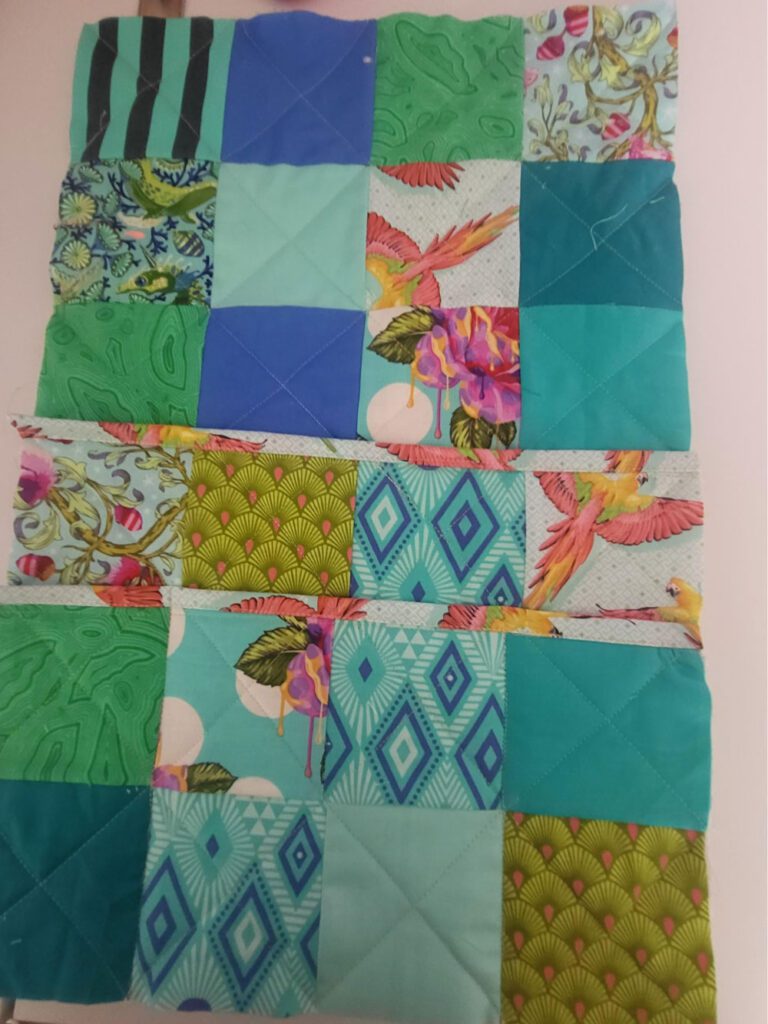
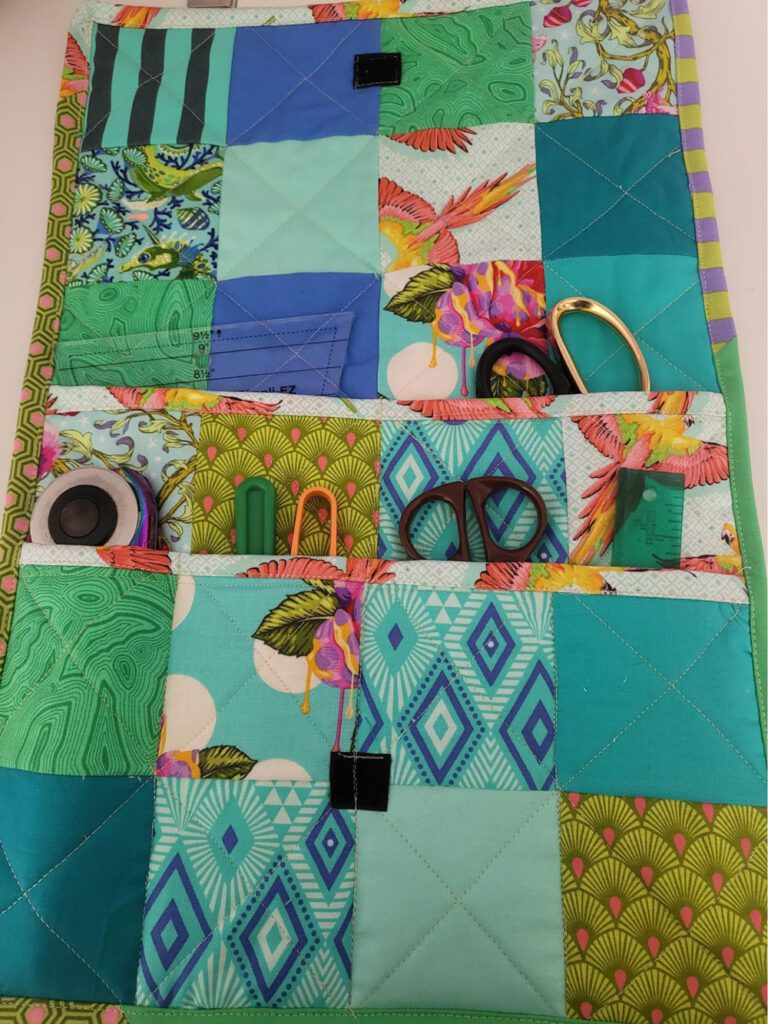
Quilt Tool Pouch Tutorial


RECENT BLOG entries
Quilt Tool Pouch Tutorial
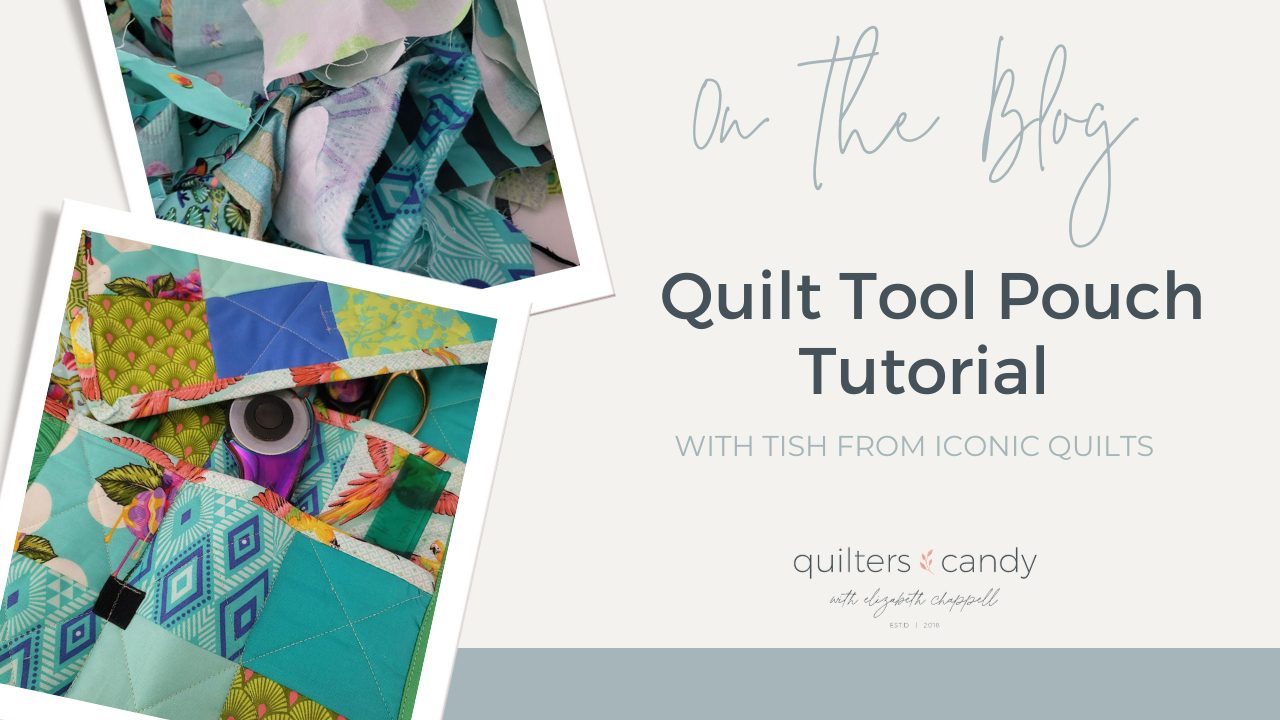
Quilt Tool Pouch Tutorial
Quilt Tool Pouch Tutorial
Quilt Tool Pouch Tutorial
Quilt Tool Pouch Tutorial
Quilt Tool Pouch Tutorial
the latest
June 26, 2025
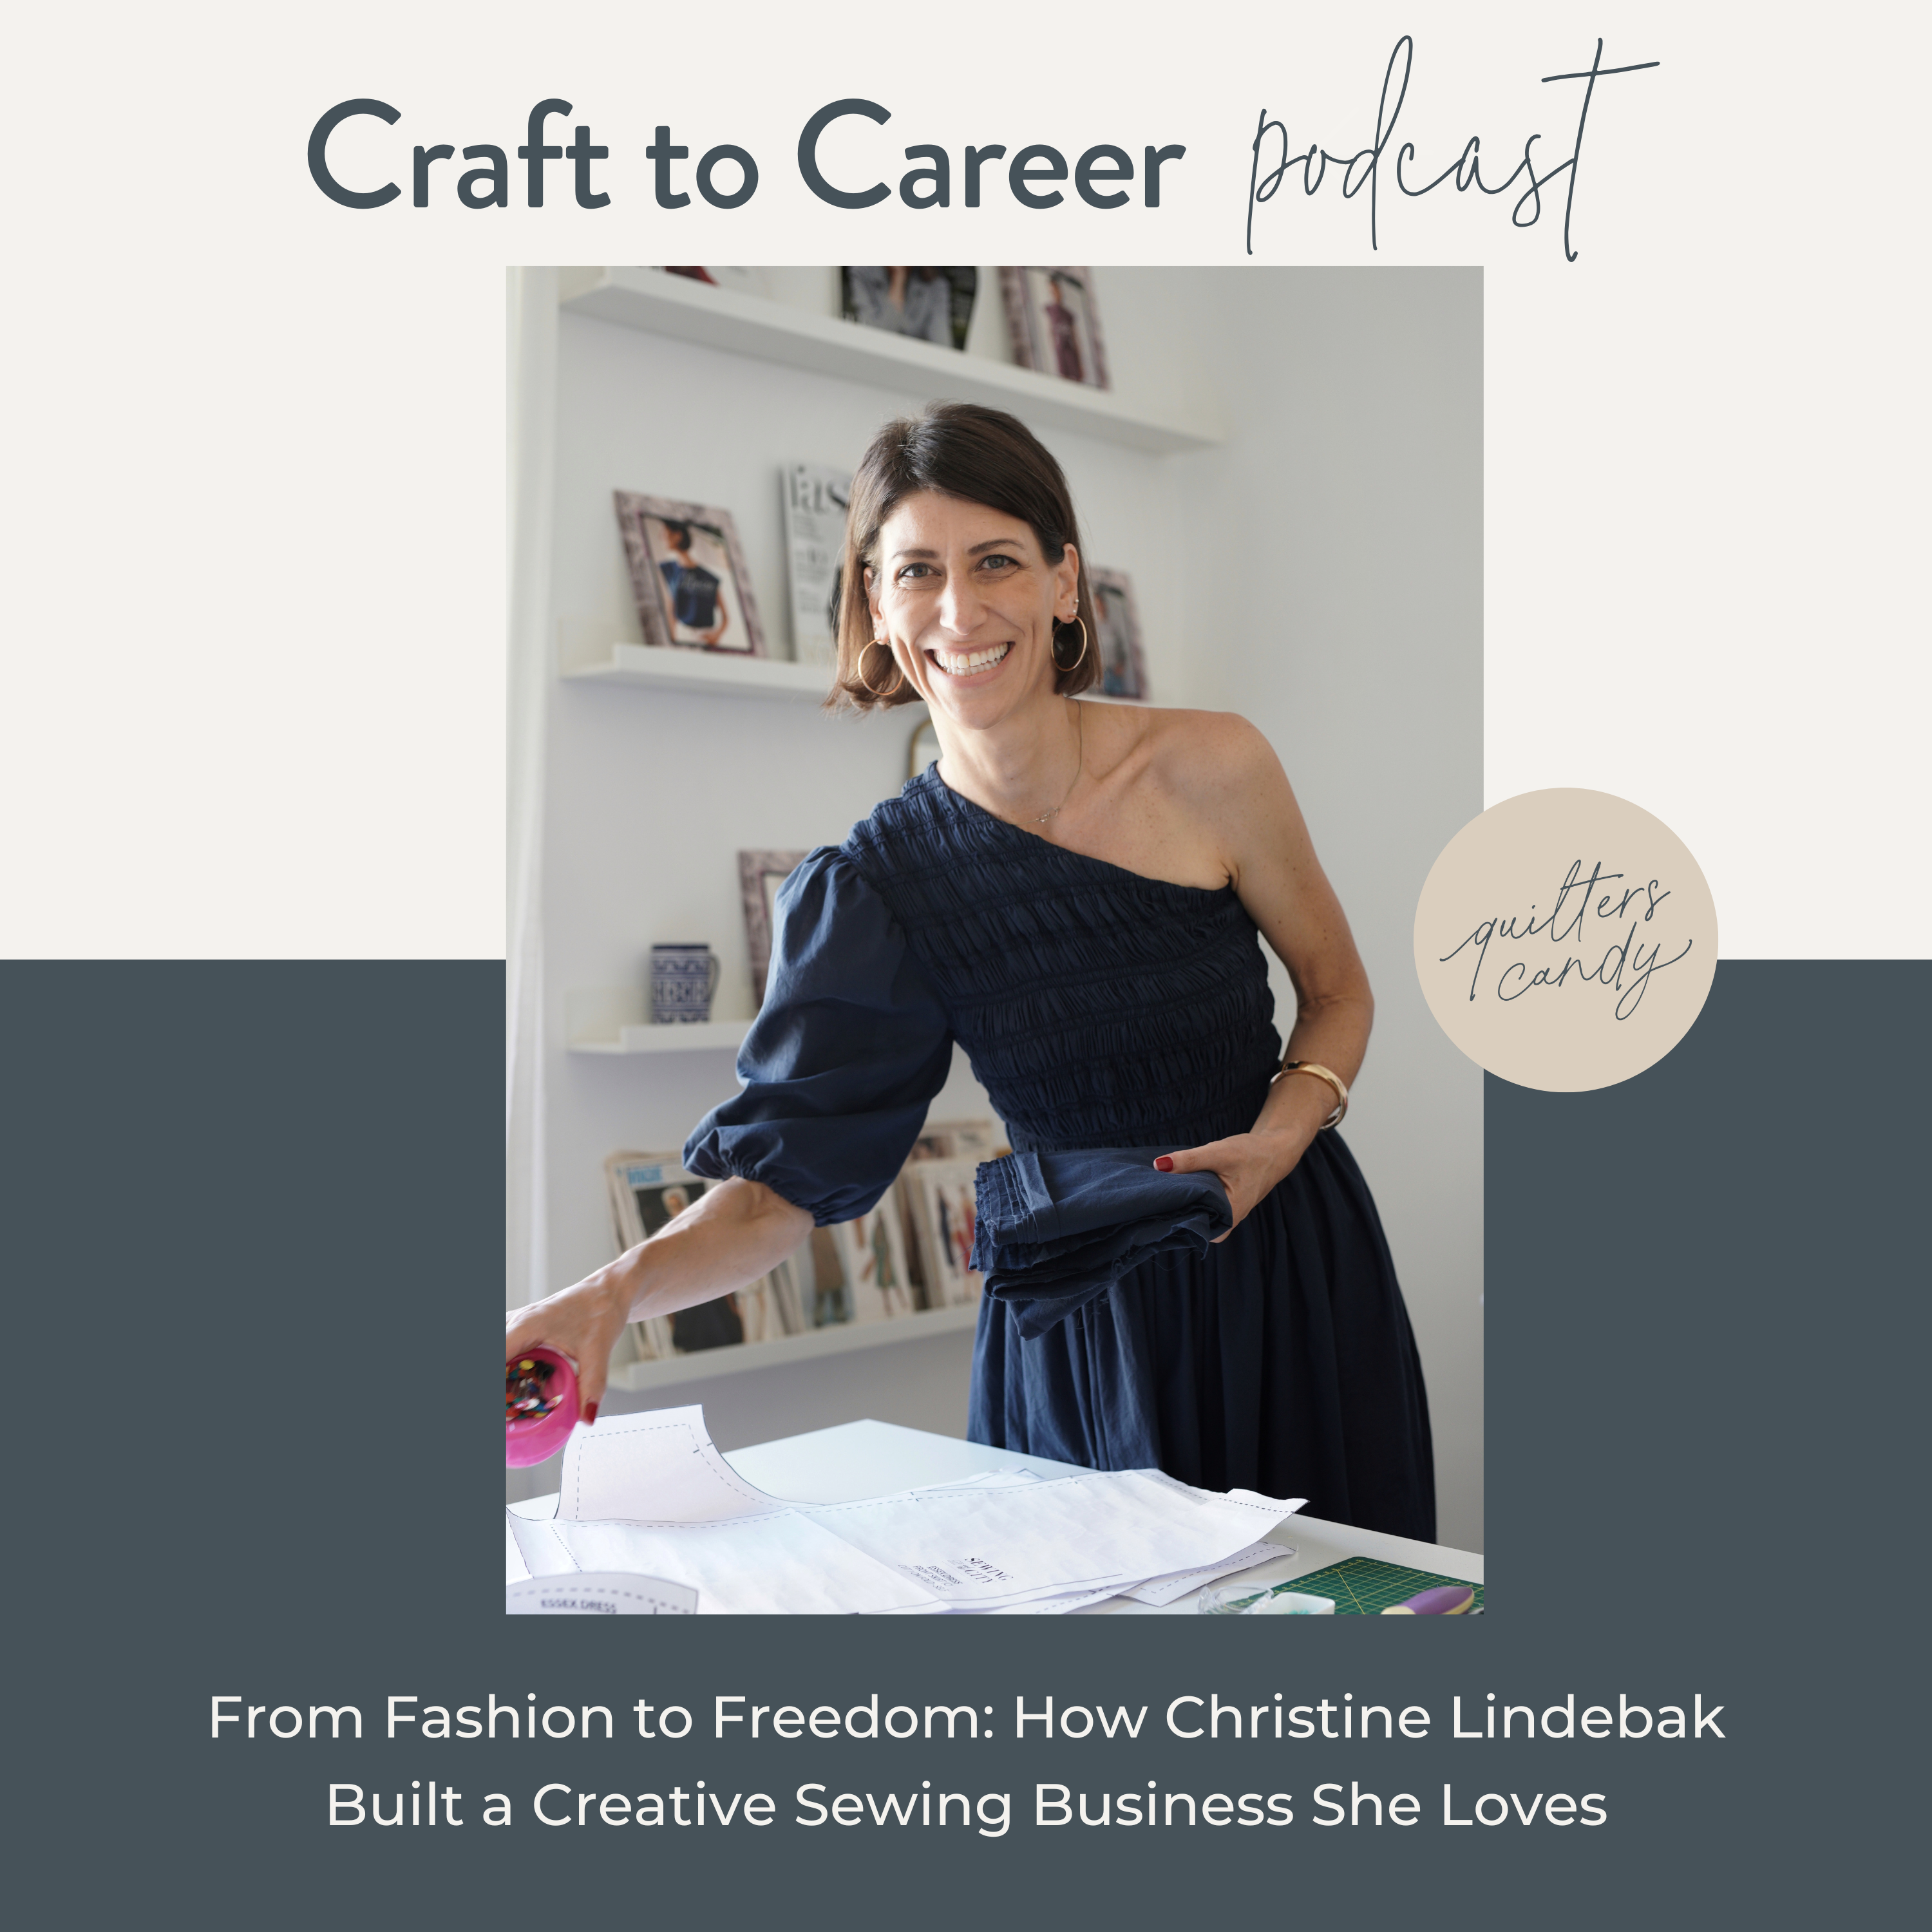
From Fashion to Freedom: How Christine Lindebak Built a Creative Sewing Business She Loves What happens when you leave a high-powered fashion career behind for a slower, more intentional life built around sewing, creativity, and freedom? In this episode of the Craft to Career podcast, I’m joined by Christine Lindebak, an inspiring garment sewist, pattern […]
tune in
tune into the
Craft to Career
Podcast
Each week get insights on how to turn your craft into a successful career. With both guest speakers and tips from myself, you get valuable, free education on the Craft to Career podcast!
or SEARCH THESE
Popular categories
Craft to Career
Digital Downloads
Patterns
Podcast
Quilt Alongs
Quilt Questions
Tutorials


