How To Deal With Quilt Project Overwhelm
May 3, 2022

How to Deal With Quilt Project Overwhelm

Hi!  I’m Hillary Cooper, the pattern designer behind Quiltberry Hill Designs.  While I am new to pattern writing, I am by no means new to quilting.  I started my quilt journey almost 25 years ago when I moved to a new city where I didn’t know anyone and I was looking for something to help me make a connection.   Quilt classes were a wonderful way to meet new people and develop new skills.  I am a recent alumni of Elizabeth’s Pattern writing course and Craft to Career course and I’m thrilled to be guest blogger for this week’s blog.

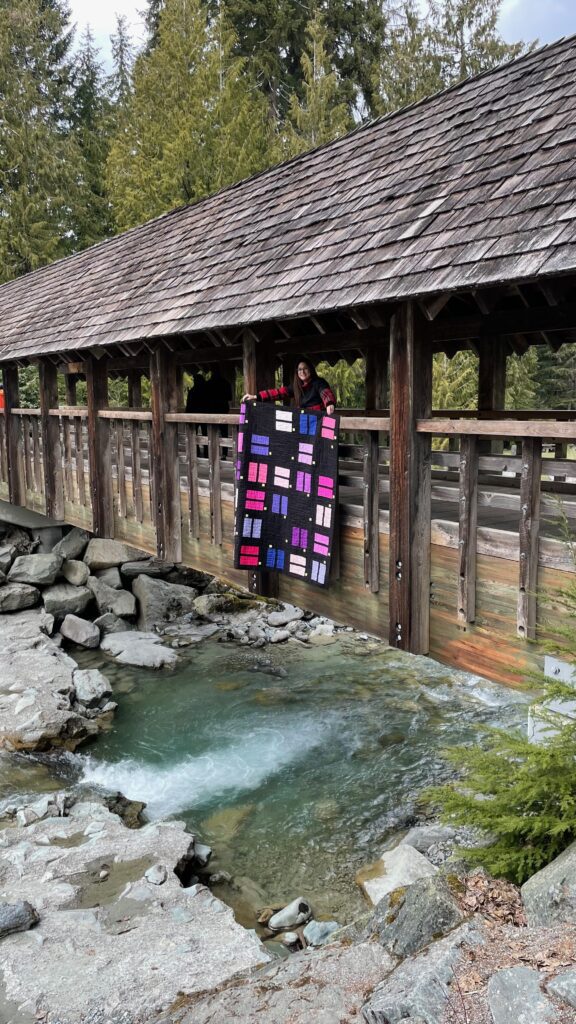
Night Life Quilt
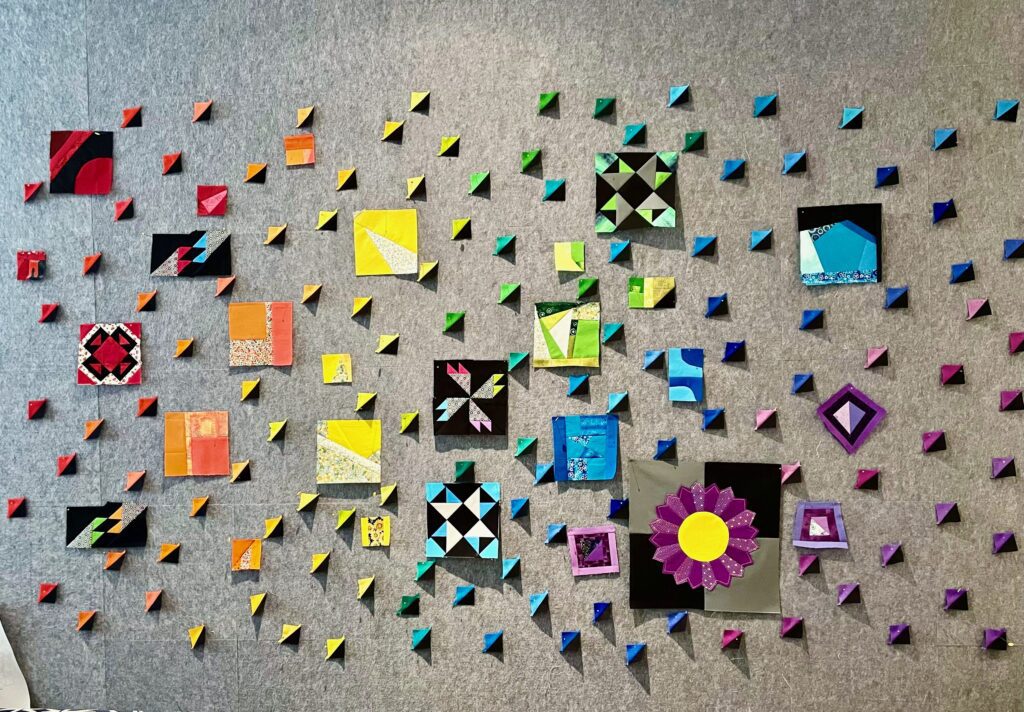
Colorful Collage

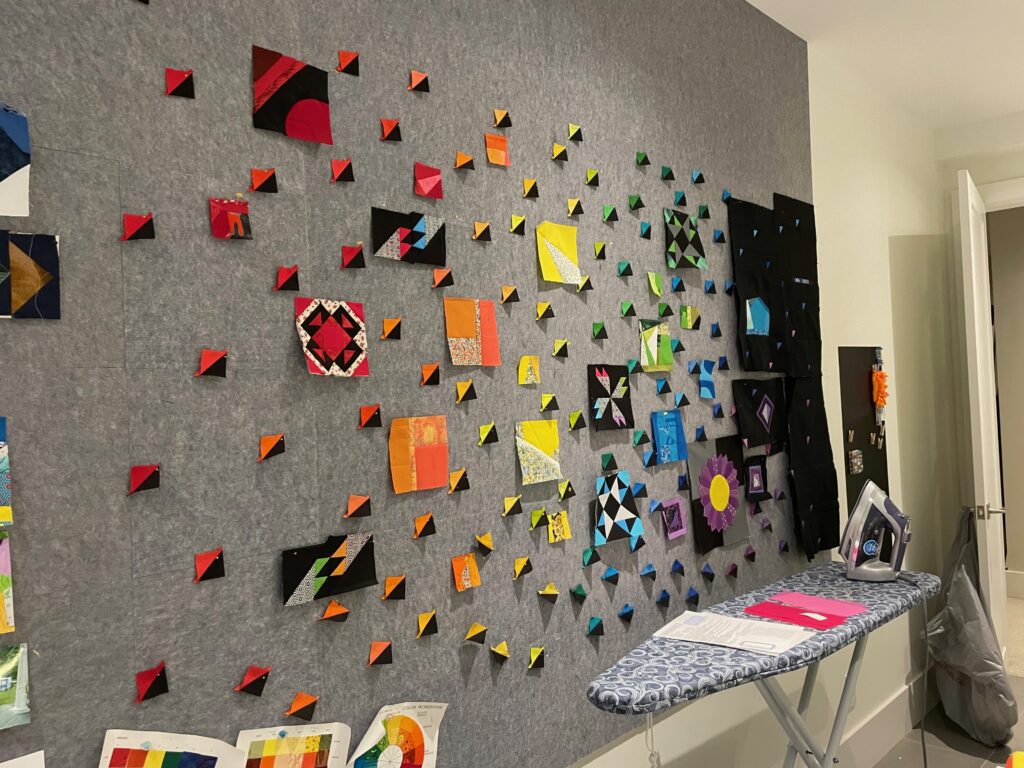
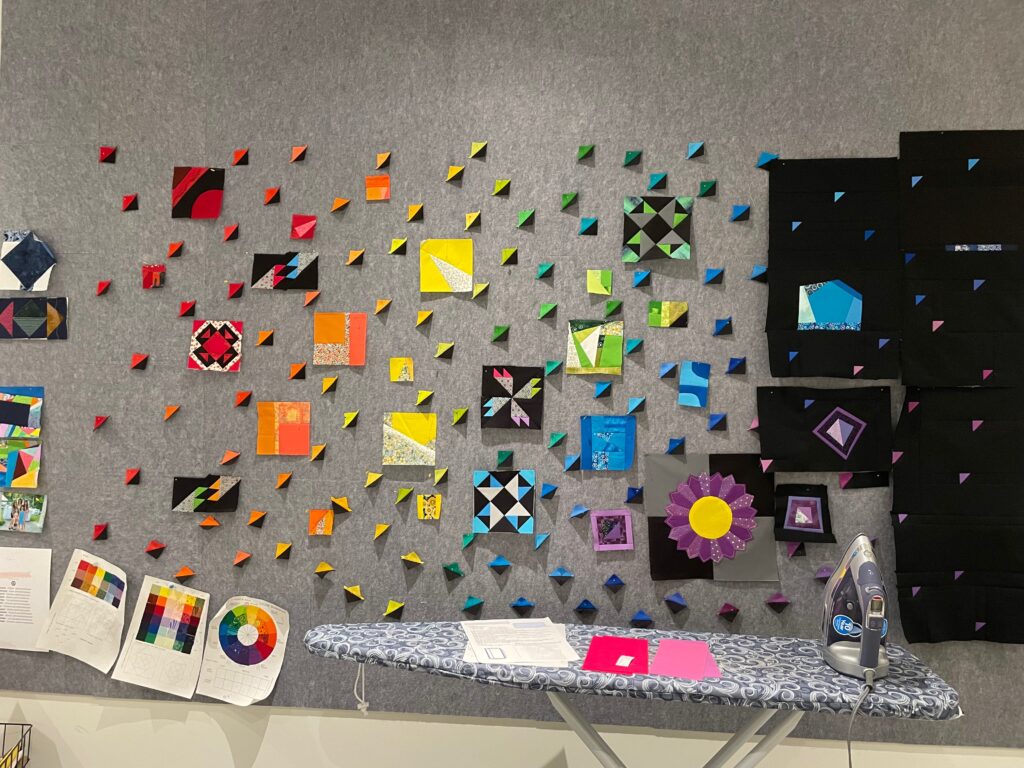
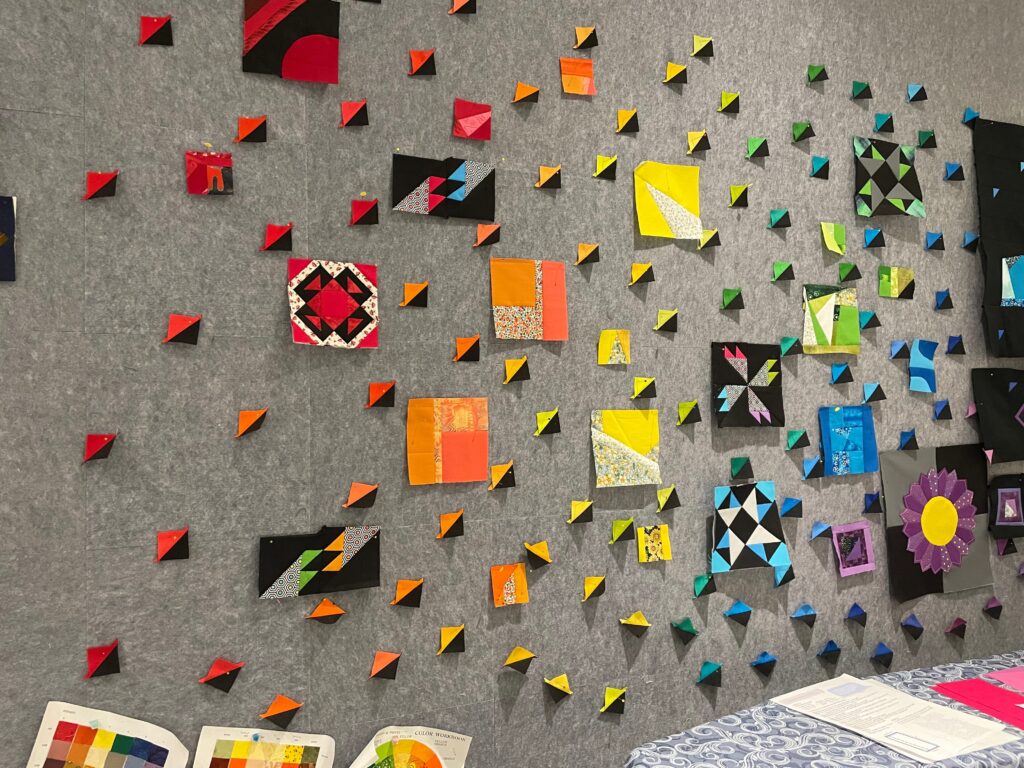
What words come to you when you look at this photo?  Bright!  Colourful!  Fun!  Creative!  All great inspirational images but what if that isn’t what you see? Maybe instead what comes to mind is chaos, overwhelm, exhaustion.  That is not inspirational at all.

The 100 Day Project

This collage of images on my design wall is the culmination of my 100 day project from 2021.  Now you might be asking, what is the 100 Day Project?   I have found two different histories of the project. First, it was the brainchild of Yale graphic design professor, Michael Beirut.  From 2006-2011 he assigned his students a project where they had to repeat a design operation every day for 100 days and document their progress.  The medium was open and the purpose was practice.  Results of the students’ works were said to be amazing.  The second iteration that I found was a group of artists meeting at an artist retreat in Michigan in 2008.  This retreat was co-lead by New Mexico artist, Louisa Barkalow, and Michigan ceramicist, Ann Russ.  They had a daily practice at the retreat that planted the seeds for using this to spark creativity and bring breakthroughs in their work.  The collective ended up extending their project to 100 days. They found this to be an optimal time span between challenge and actually having the ability to complete the project.  Whomever started the practice, we can thank them for the hundreds of artists today who use this practice and post on social media to the hashtag #The100DayProject.  

Have You taken the 100 day Challenge?

As we wind down the month of April, many of you will have taken on the 100 day challenge.  You might have set some parameters for yourself and how you would be creative and sew each day for 100 days.  Some of you will feel very accomplished and feel like you have re-invigorated yourself to be even more creative this year. It’s just what you were hoping for.  But for some people, you will have stalled. Maybe it happened on day 15, or maybe you made it to day 46, or 62 but something got in the way that didn’t allow you to finish.  It could have been life, getting busy, helping a loved one, getting ill. Whatever the reason, your unfinished project now has you overwhelmed.  

How to Deal with Quilt Project Overwhelm

This is what happened to me when I did last year’s 100 Day Project.  Filled with so many good intentions, I decided it did not matter what I did, I would be creative for 15 minutes everyday.  I wanted to explore colour, new techniques and be more intentional with the skills I already had.  Doing this, I had the best time and I made it to about day 52.  That’s when I decided I had enough on my design wall to work with and that now I had to make it into a quilt top.  Maybe some of you are really good at knowing the end of a story and might see where I’m going…. I found that as I built my blocks, it got boring. It was taking me longer than I anticipated and I stalled.

Now, the good news is, I had made a new habit and I was still being creative and learning everyday. I just wasn’t working on the one from my design wall.  At the beginning, I loved looking at it, and all the pretty colours inspired me to want to make more and more quilts.  If I was on a zoom call, at least one person would comment on what was behind me on the design wall.  But days turned into months and I had not come any closer to finishing the quilt top.  To make matters worse, I loved the layout and I didn’t want to take it down for fear of losing my arrangement.  What to do?

The Plan

A few weeks ago when I realized I absolutely needed my design wall back and that I needed to take control, I sat down and came up with a plan.  

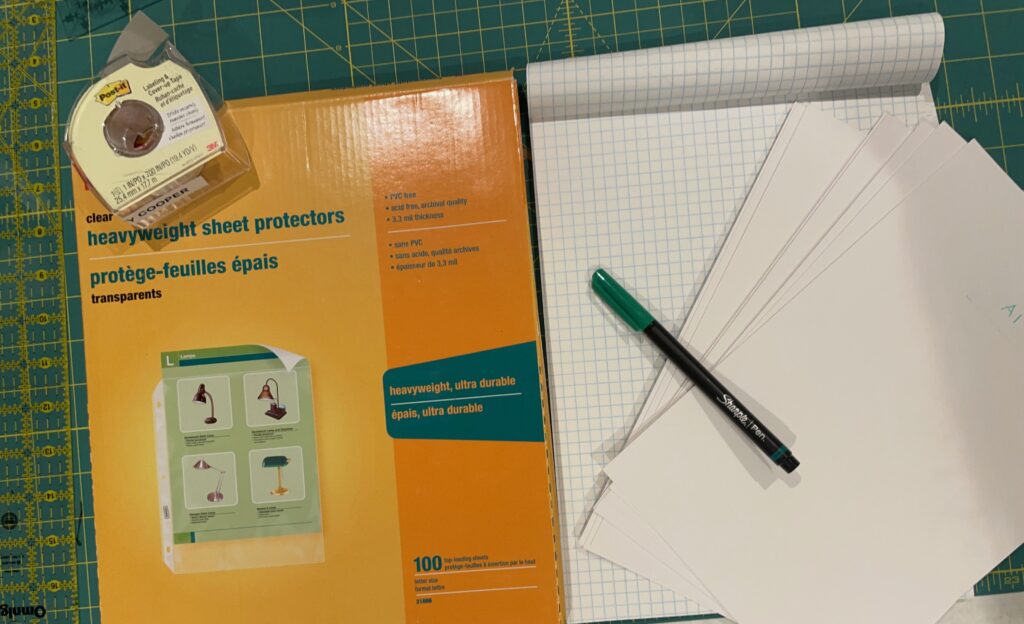
Here are the supplies I gathered:

  1. My camera on my phone
  2. Plastic sleeves that go in three ring binders
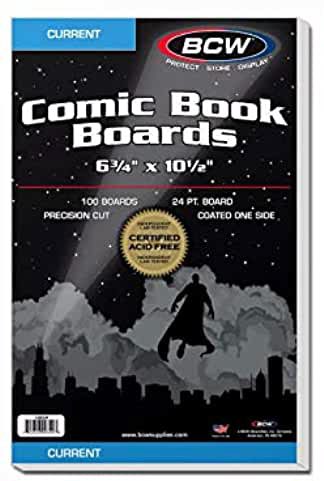
  3. Comic book cardboard that I use also for storing my fabrics
  4. Graph paper
  5. 12” or 18” ruler
  6. Sharp pencil
  7. Post it tape or paper (either would work)
sketch paper for quilt project
Comic Book Boards

I took several photos of the entire wall to ensure I had a good sense of where things might lie in the big picture.

project wall
project wall 2
quilt project wall

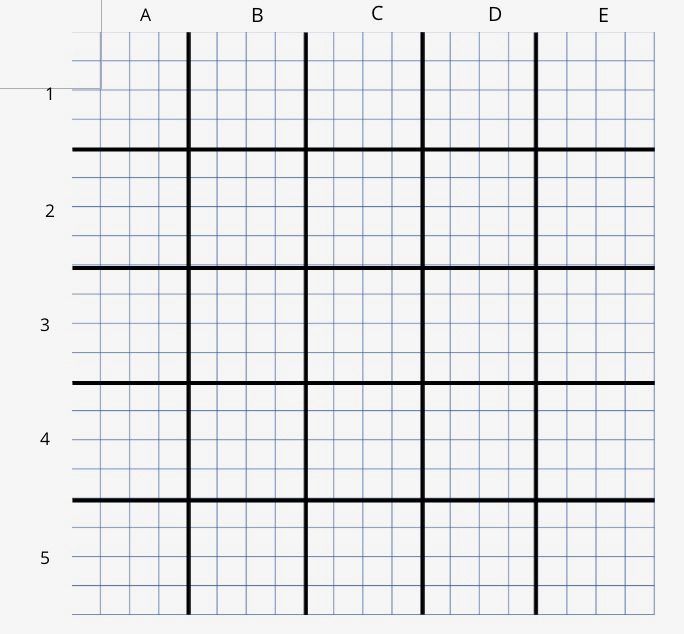
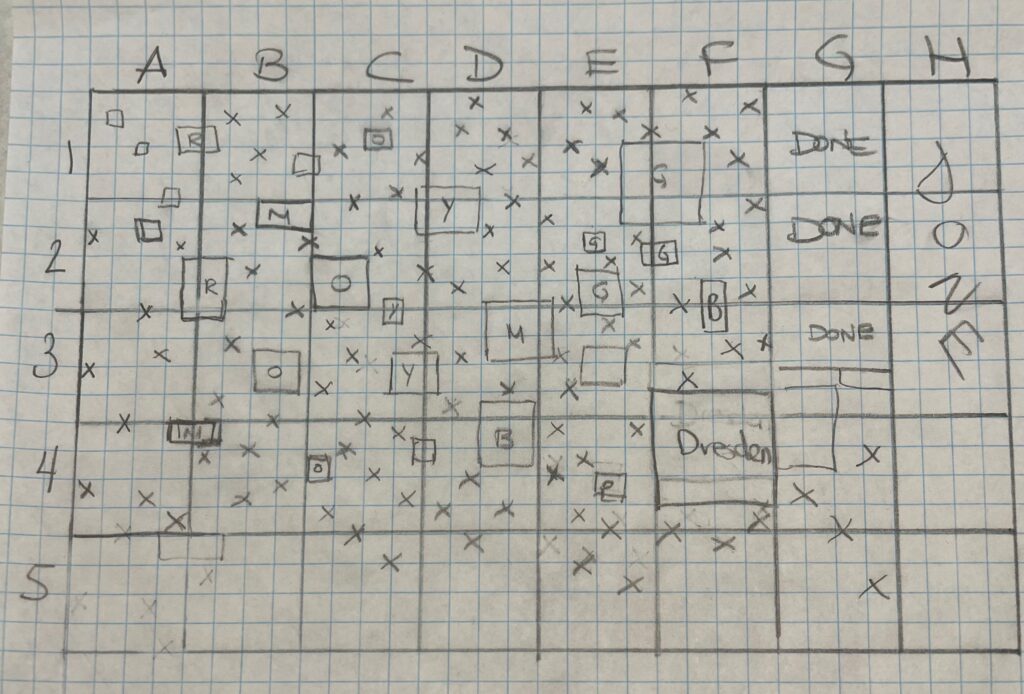
I decided to map a grid on graph paper that would be a 12” square block on my wall reduced down to a (4 x4 grid) . This depends on how big your quilt is.

Next, I labeled each square along the top alphabetically and then each square moving down the wall numerically.

black and white grid for project overwhelm

GET THE GRID

I then made piles of the comic strip cardboard so that I could label them for organizing.  Each pile was alphabetized for the columns and then numbered for the rows.   I kept all the As together, all the Bs together, etc., with the boards numbered A1, A2, A3, A4 for each grid on my map.

Now comes the fun part. I picked one corner to work from, and I photographed each square so that I would know where each piece went relative to the next.  

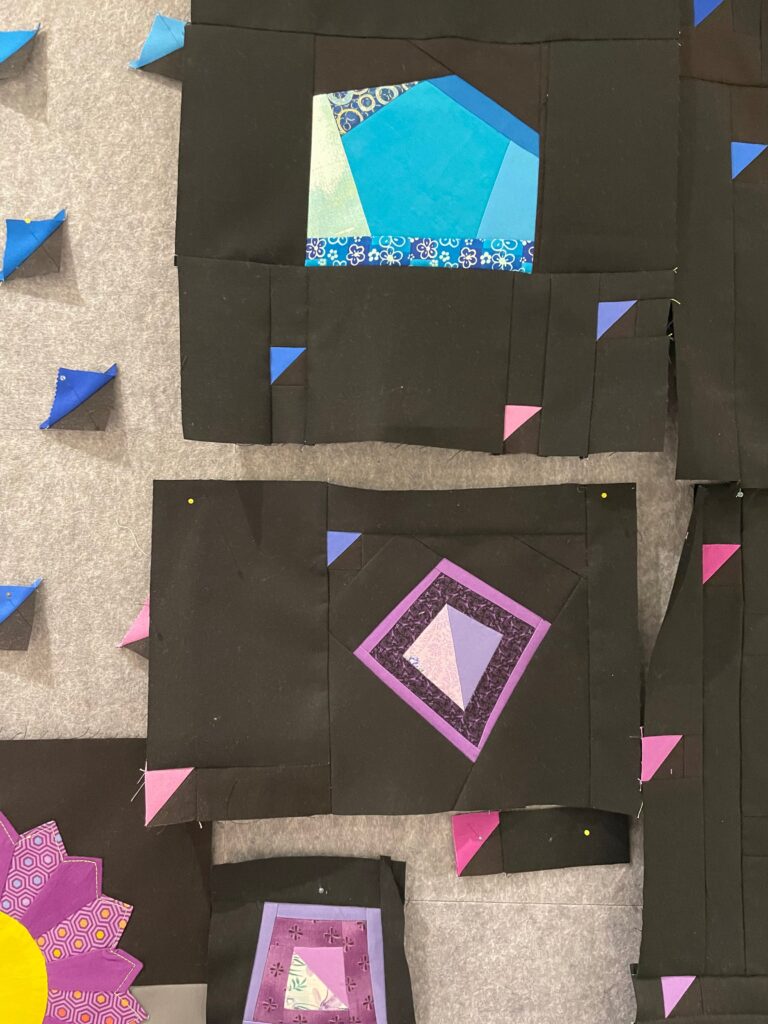
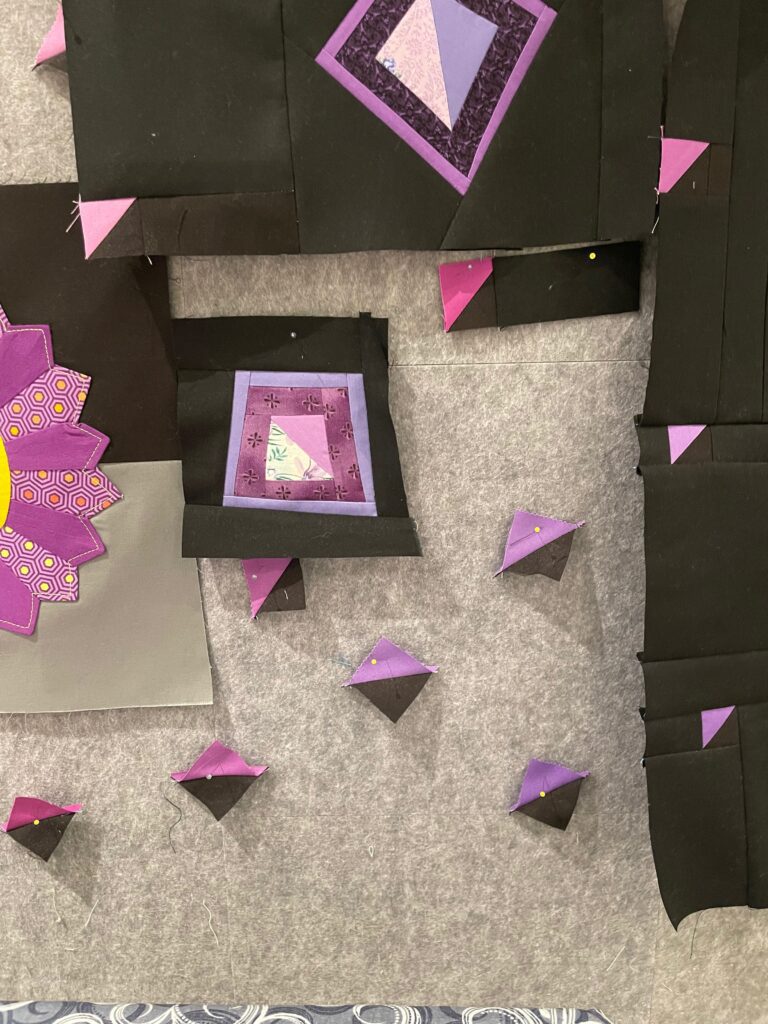
black quilt blocks
black quilt blocks on design wall
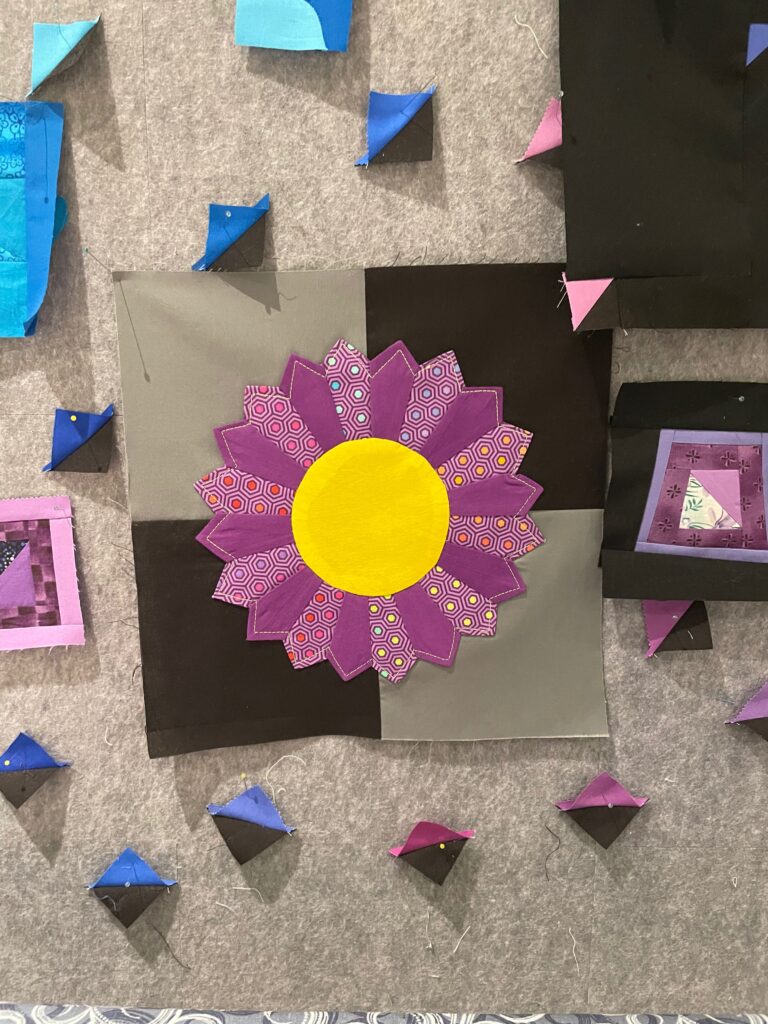
flower quilt block

This next step is very important!  Before you remove any pieces from the wall, you will want to label them and graph them on your grid.

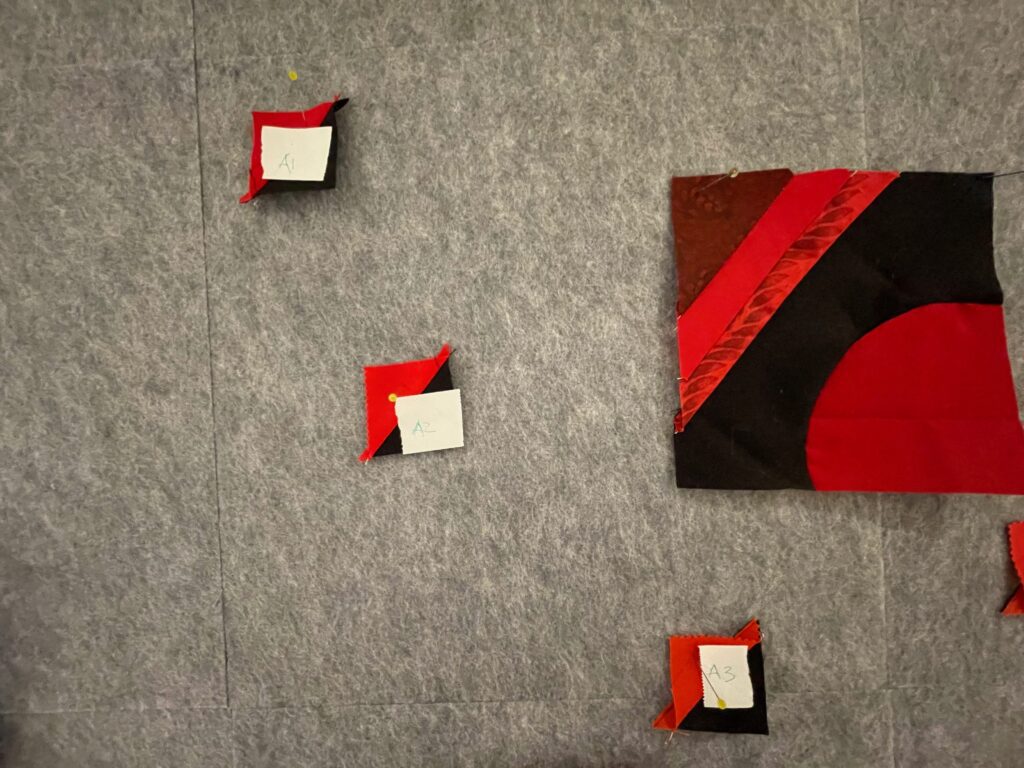
red quilt blocks
hand drawn quilt square grid for project

(Photo shows all the pieces from block A1 on the left.)

Now the way I labeled mine was A1-1, A1-2, A1-3, etc.  A for the column, 1 for the row, and then the second number for where it lies in the grid as it makes sense to you.  I’m left handed so for me it made sense to number from left to right and then moving down the grid.  You need to label yours as it makes sense to you.  I can’t stress enough how important photos will be for later in your process.  (I love Post-its dispensable tape and used this sparingly to label and place on each piece. This won’t ruin the fabric, but sticks long enough for you to know which piece is which.)

Now, I didn’t actually remove any pieces from the wall until I had mapped out every bordering grid.  This way I knew how each piece lay relative to the grid next to it.

grid

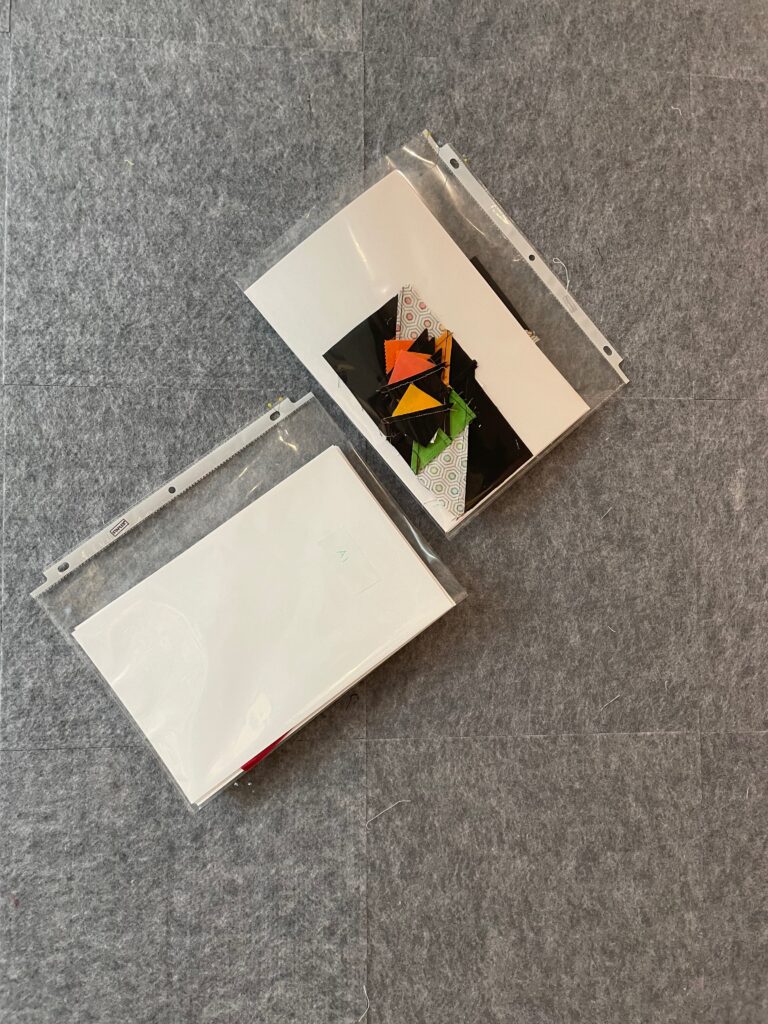
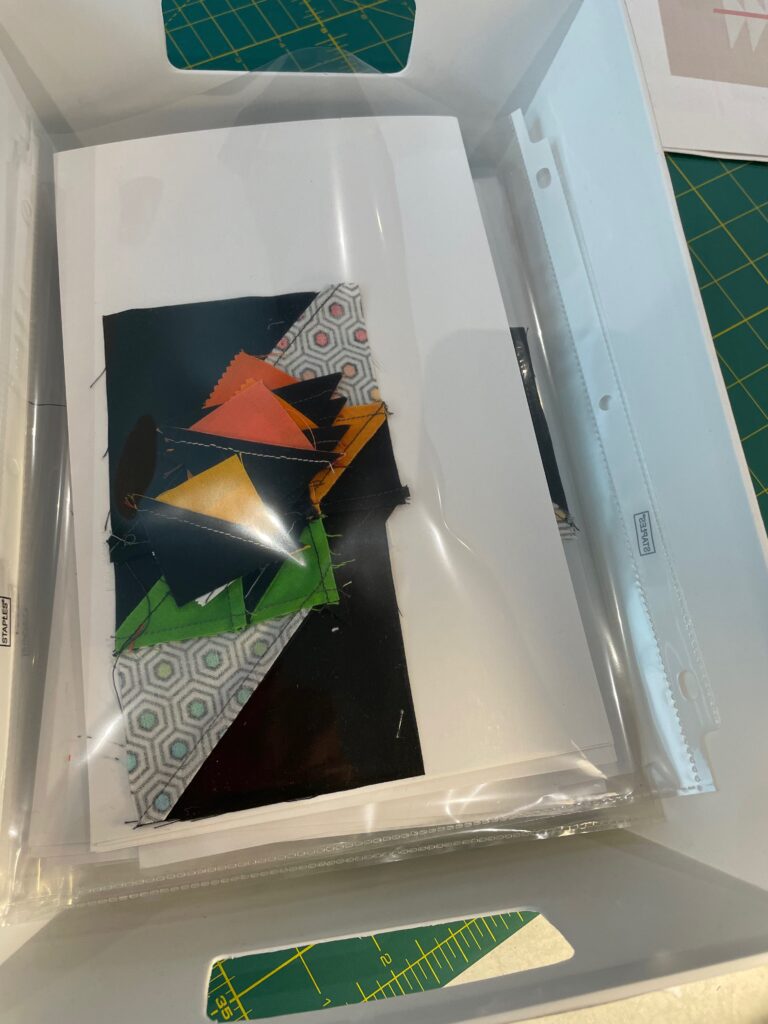
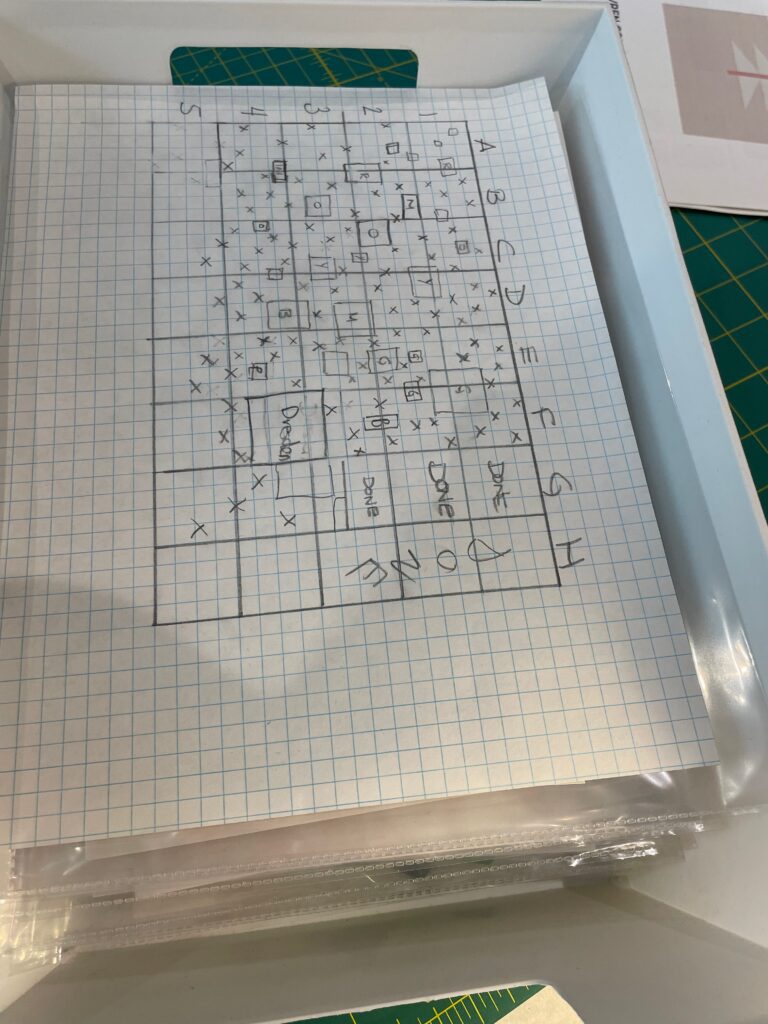
I lay my comic boards down with the labels up so that I knew where to put my pieces.  As I took the pieces from the design wall, I would place them on the boards.  Once I had all the pieces from one column, for instance column A, I would take each board with all the appropriate pieces and carefully place them in a plastic sleeve.  I then placed the sleeves in a bucket that I was going to store with my WIPS for a future date when I have time to work on it.  You could easily store these in a binder instead.  

project bags
project sleeves
project grid

My plan is to book a small amount of time each week just for this project.  I will be able to pull out one block at a time and put it back on the design wall to work from.  I’m hoping with this method I can stay organized and finish the project. Bonus- I got my design wall back!

If this feels like something that would help you, click below for a print out guide and grid sheets that you can use to organize your own project.  Also, if you are looking for a few ideas to start your own 100 day project, I’ve got some ideas for that too.

GET YOUR FREE GUIDE HERE

“If creativity is a habit, then the best creativity is the result of good work habits.

They are the nuts and bolts of dreaming.”

— Twyla Tharp, The Creative Habit

Past Blog Posts

Did you enjoy this post? Check out these past blog posts:
 

or SEARCH THESE

Popular categories

Craft to Career
Digital Downloads
Patterns
Podcast
Quilt Alongs
Quilt Questions
Tutorials
back to the top

Copyright 2024 Quilters Candy  |  Terms & Conditions