Glue Basting Tutorial
February 18, 2022

Glue Basting tutorial

I am excited to share this Glue Basting Tutorial with you! I found myself last winter basting a lot of quilts and at some point I found myself frustrated with pinning. Sometimes I wasn’t going through all the layers, sometimes I pinned it to my carpet, sometimes I pricked myself. Even if all things went well, it still took a lot of time. I must say I do love spray basting, but in the winter months I found myself without a well ventilated space to baste my heaping pile of quilt tops.

So what other options were there? This is when I found glue basting. 

I had all the questions: Would it work? Would it become stiff? And of course the big one: Would it ruin my quilt?

My curiosity got the best of me so I decided to try it out.

Glue Basting Tutorial

First thing was first- go to Google. To my surprise, there wasn’t much information on glue basting, so I experimented with some quilt sandwiches. Don’t worry! No quilts were harmed in these experiments!

After trying a number of methods, I discovered the best way of glue basting. And no, it won’t ruin your quilt, or be stiff, but it does work.

The only glue I recommend is Elmer’s Washable School Glue. I tried different brands of glues, and other ones by Elmer’s, but since we’re using washable glue, we won’t have stiffness, and the glue will break down in the wash similar to a basting spray. 

unnamed -5

I did find that if you just squirt the glue onto your fabric or batting, you will be able to see those squiggle lines. So to combat this issue, I picked up some sponge brushes from the dollar store. The only supplies you need for glue basting are the Elmer’s Washable School Glue, and a sponge brush. That’s it!

unnamed-6

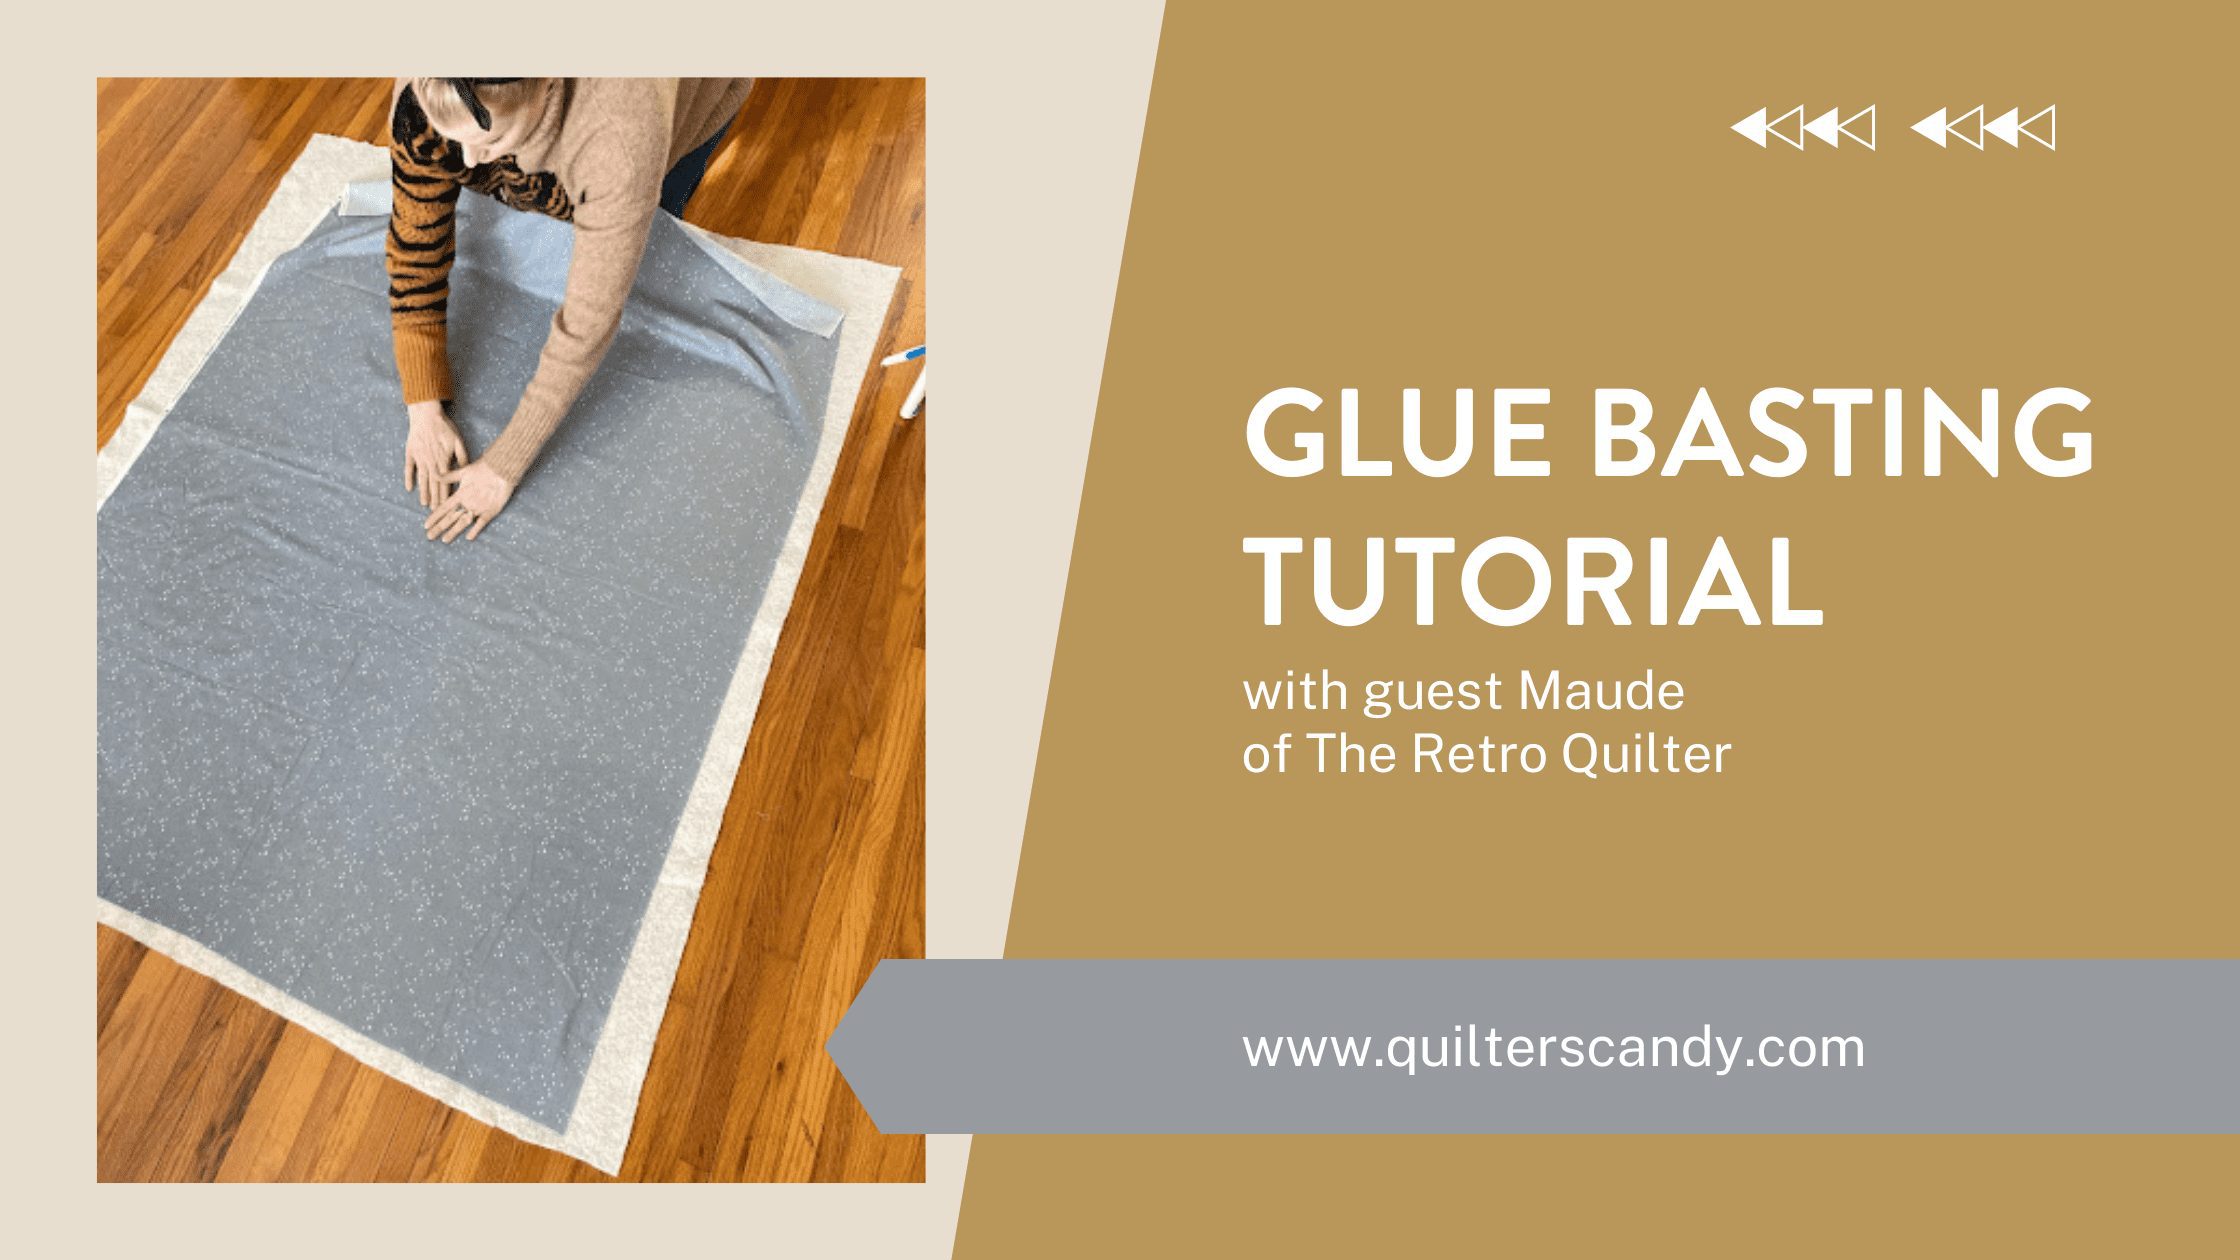
Start by laying your backing fabric on top of your batting. I like to smooth it out first from the middle towards the sides. On one side of the fabric, lift it and lay it back so the batting is exposed. Now get your glue and make those squiggles! Squiggles is the technical term you know.

unnamed-7

Only do your glue squiggles about six inches or so long, and move horizontally making glue squiggles until you reach the other side of the batting.

Now take your sponge brush and spread those squiggles! You don’t want clumps or lumps, you shouldn’t be able to see the glue, it should be more or less blended in with your batting. You really don’t need a lot of glue either.

unnamed-8

Once your squiggles are smoothed, lay the fabric over the batting and smooth out the fabric from middle to sides. Repeat this process until the backing is completely glue basted.

Flip your backing over so you’re only seeing the batting and position your quilt top where you want it. Repeat the same process for the quilt top as the backing.

unnamed

When both the backing fabric and quilt top have been glue basted, iron both sides of the quilt.

unnamed-4

That’s it! You are now ready to quilt! 

Want a free guide to glue basting? Go to https://theretroquilter.com/glue-basting-guide/  or on Instagram @theretroquilter and click on Glue Basting Guide.

Stay Golden quilty friends!

Maude

or SEARCH THESE

Popular categories

Craft to Career
Digital Downloads
Patterns
Podcast
Quilt Alongs
Quilt Questions
Tutorials
back to the top

Copyright 2023 Quilters Candy  |  Terms & Conditions