Fabric Ghost Pillows
August 21, 2023

fabric ghost pillows

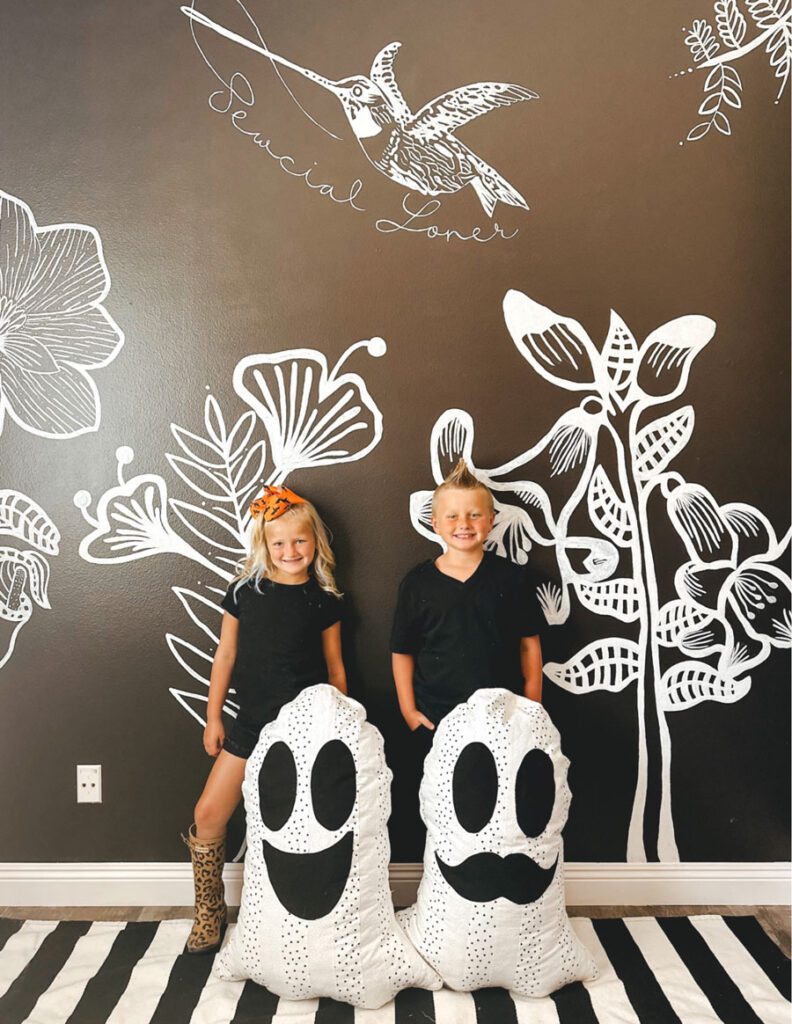
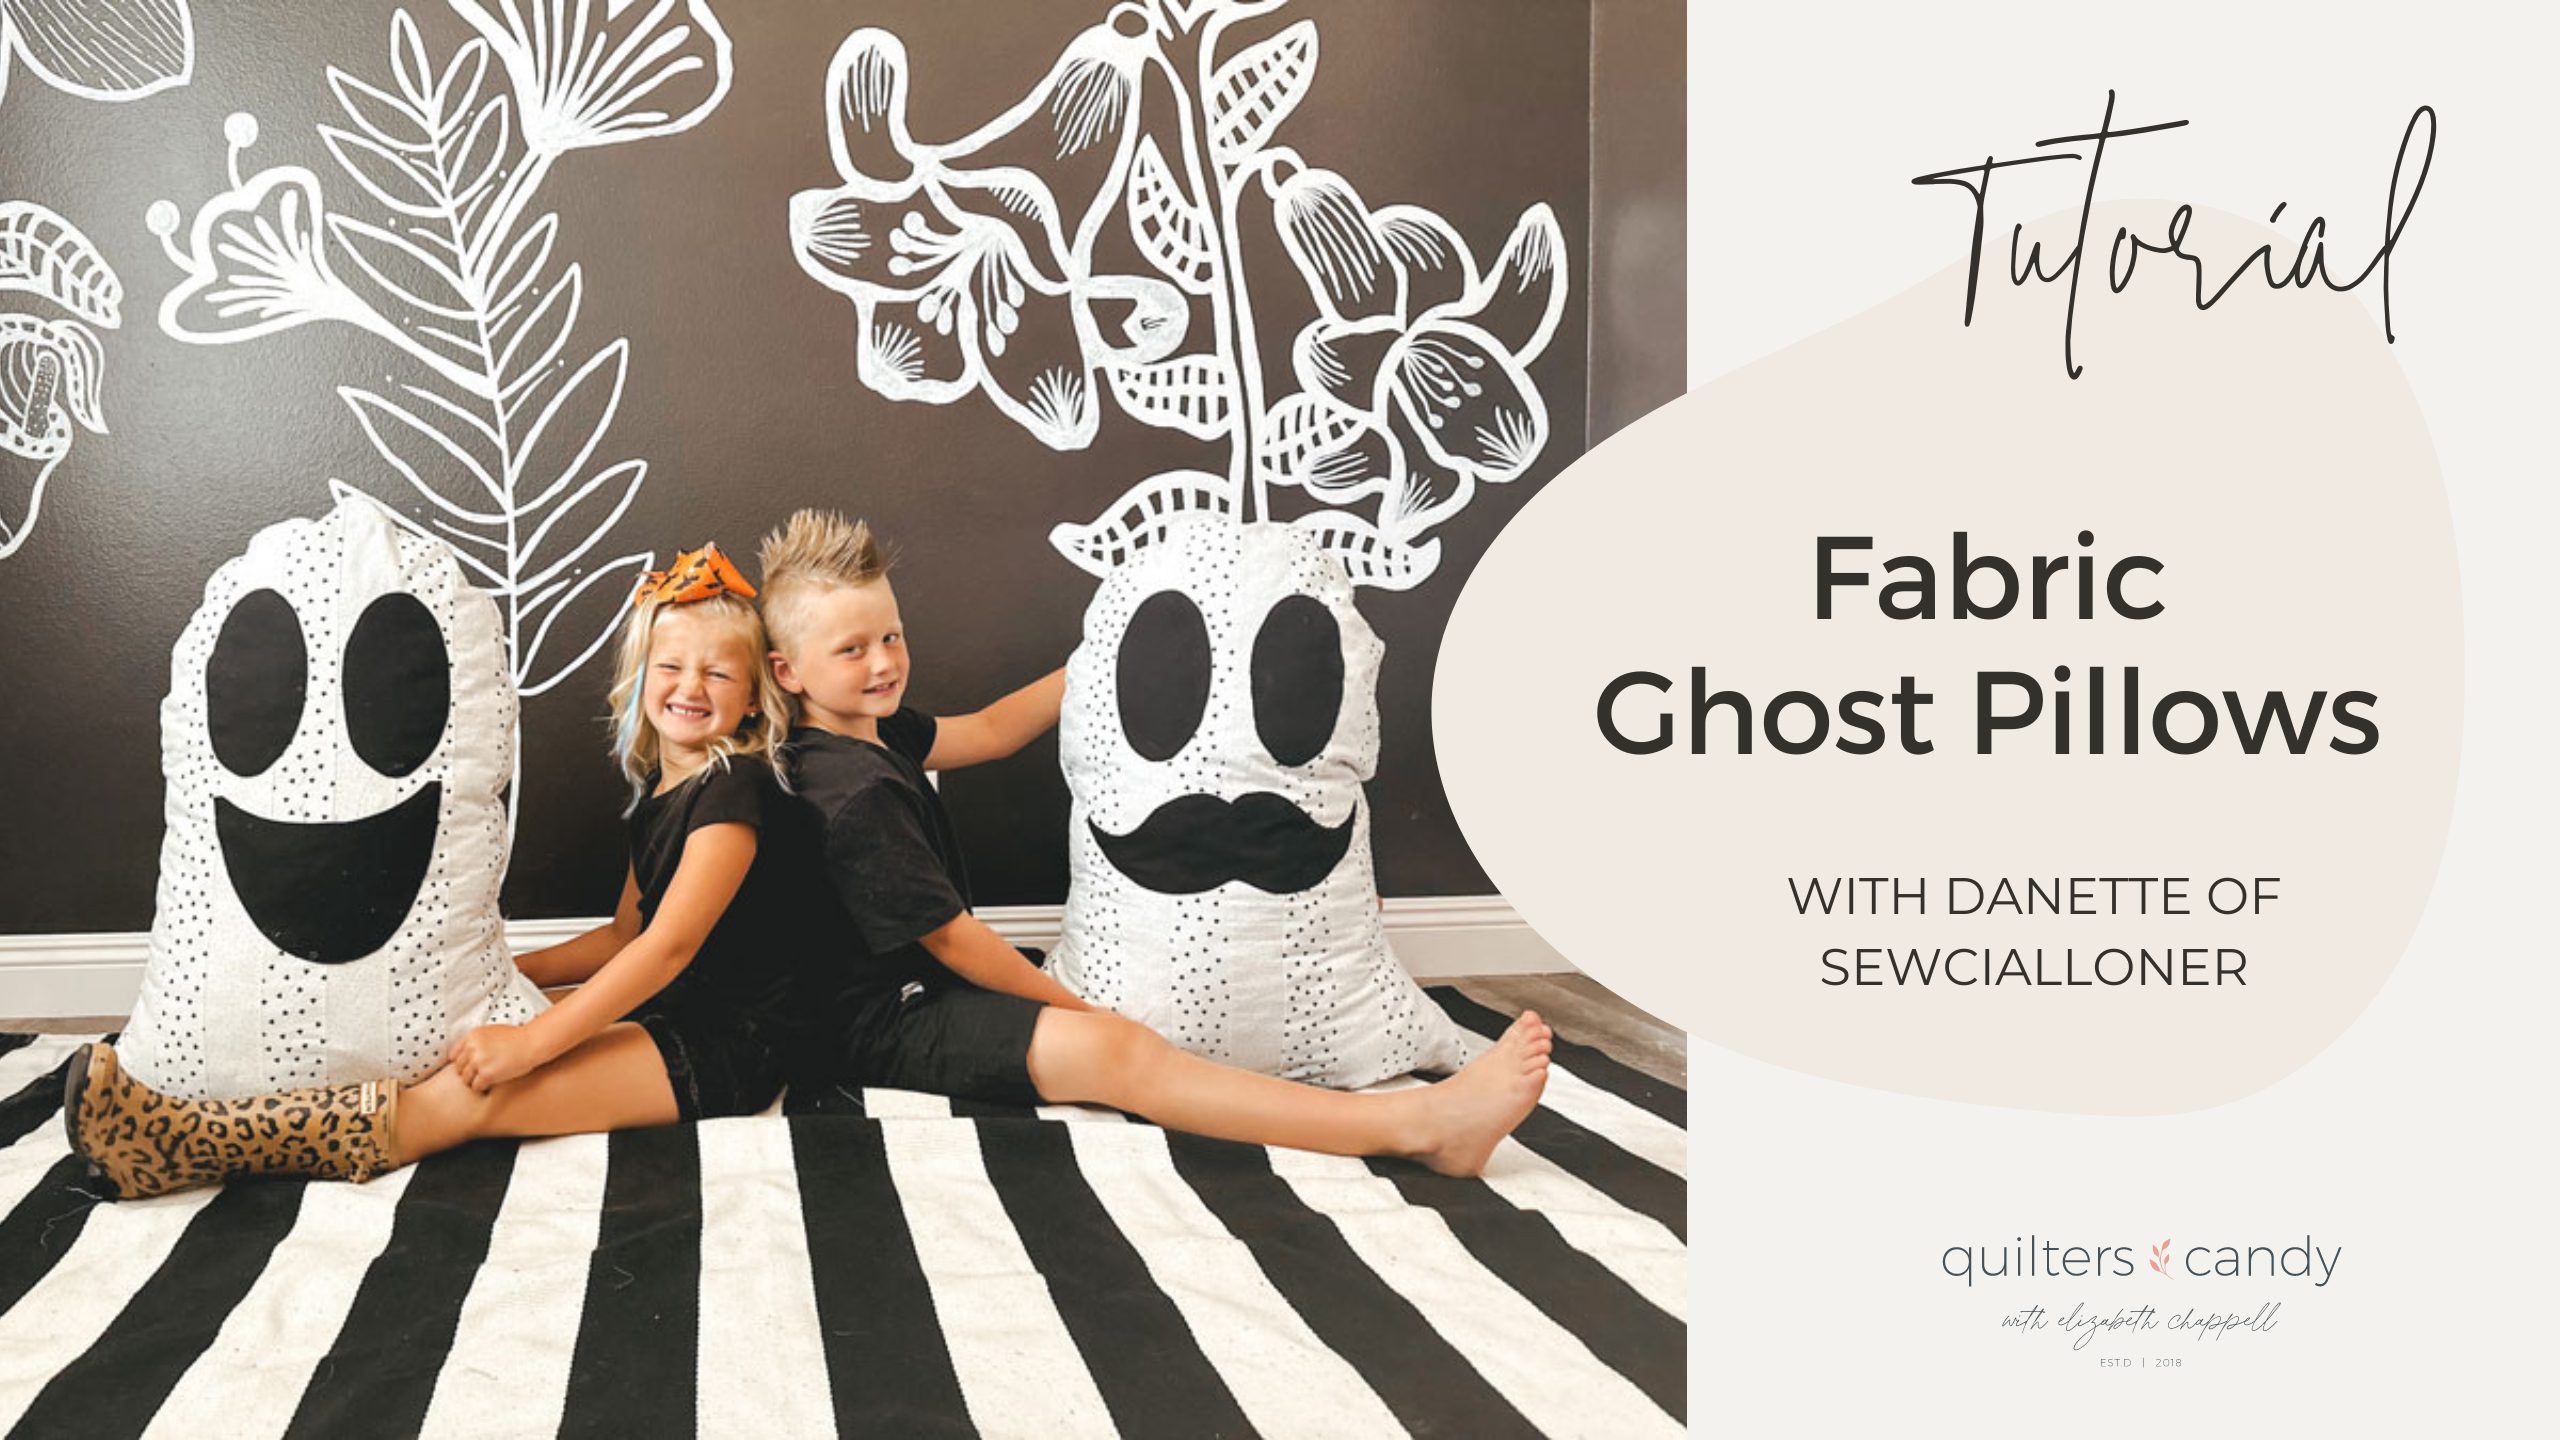
Danette Bess of Sewcial Loner shares how to make fabric Spook Ghost Pillows.

When you have too many quilts, the only reasonable solution is to make quilted pillows, right? Just imagine…your house is decorated with spider webs and pumpkins. You may just be missing a few oversized ghost pillows. If you’re looking for some fun and quick Halloween decor, stop what you’re doing and take a look at these cute quilted ghost pillows. These pillows are massive, cozy and fun for all ages. This pattern is beginner friendly. 

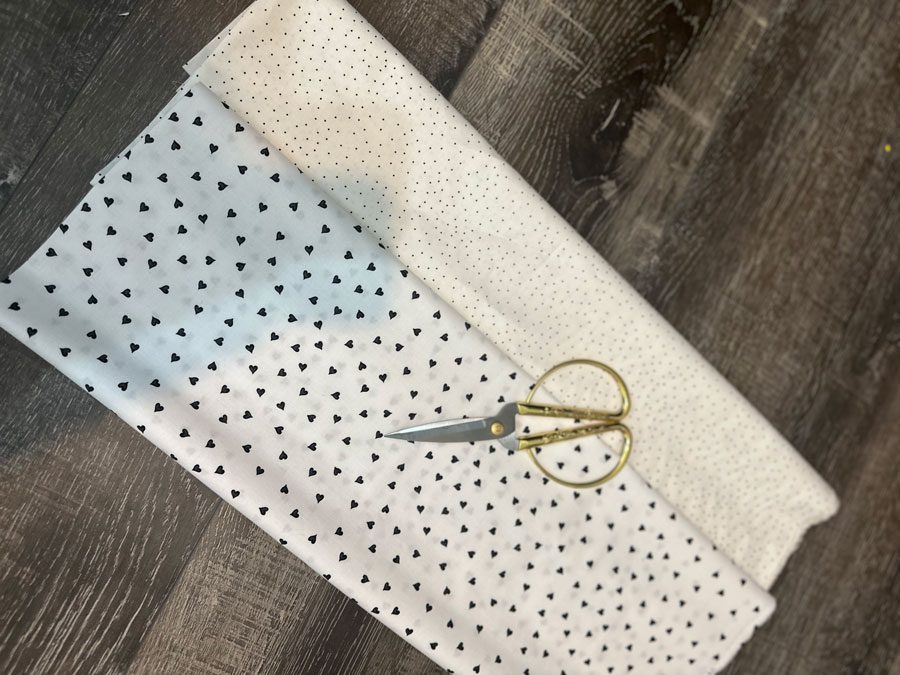
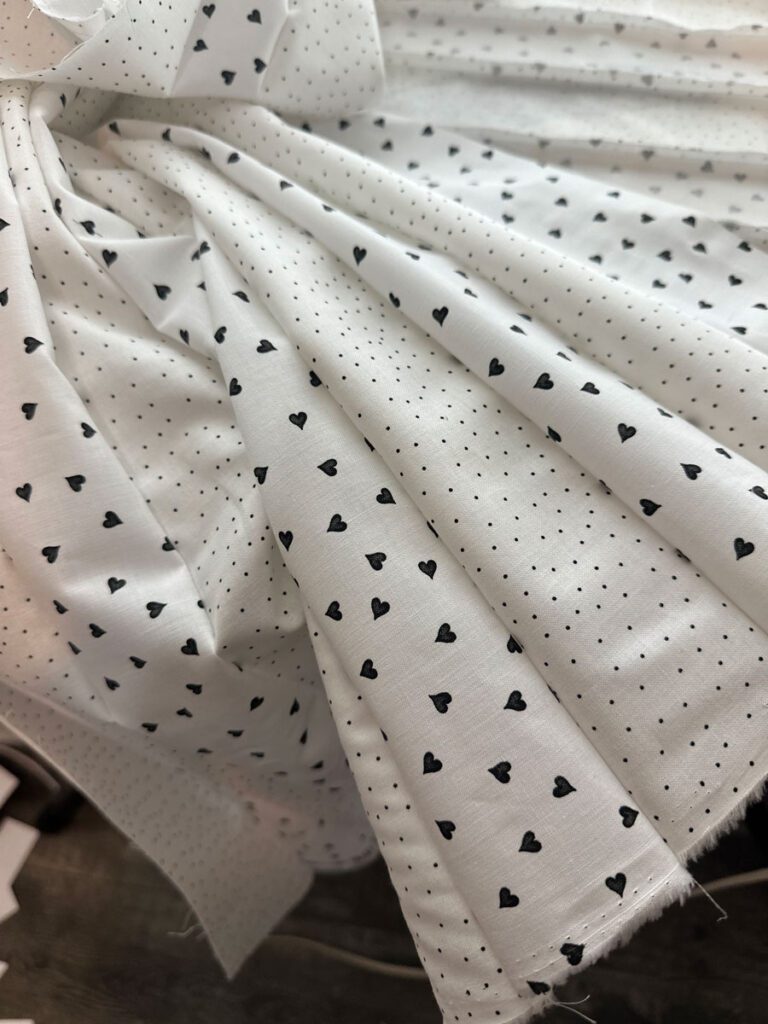
For these pillows, I used Be Mine by Riley Blake and Essential Dots by Moda. I love the dimension these fabrics give. 

Before getting started

  1. Please read through the entire pattern before starting.

  2. Starch and press your fabric before cutting.

  3. All seams are 1/4″ unless specified. 

  4. I prefer to press my seams open to avoid bulk.

  5. WOF = Width Of Fabric.

  6. RST = Right Sides of the fabric Together. 

Supplies

  1. 2 types of white fabric
  2. Minky fabric for the back
  3. Black fabric scraps for the eyes and mouth/mustache
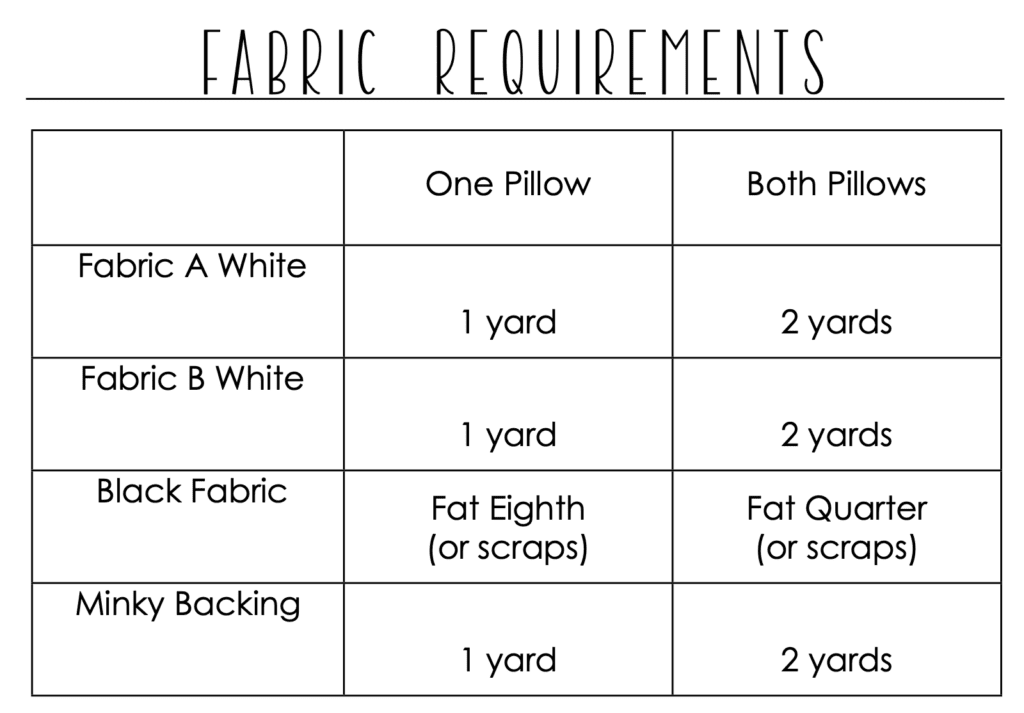
  4. Ghost template provided (Fabric Requirements are for ONE of the ghosts. If you are choosing to make both, you need to double the fabric. 
  5. 1 yards of batting (I used scraps)
  6. Poly Fill or pillow stuffing
  7. Black and white thread
  8. Cutting mat
  9. Scissors
  10. Rotary cutter
  11. Straight pins
  12. Iron and Ironing board
  13. Starch
  14. Washable glue stick
Fabric Requirements

Step 1: Template

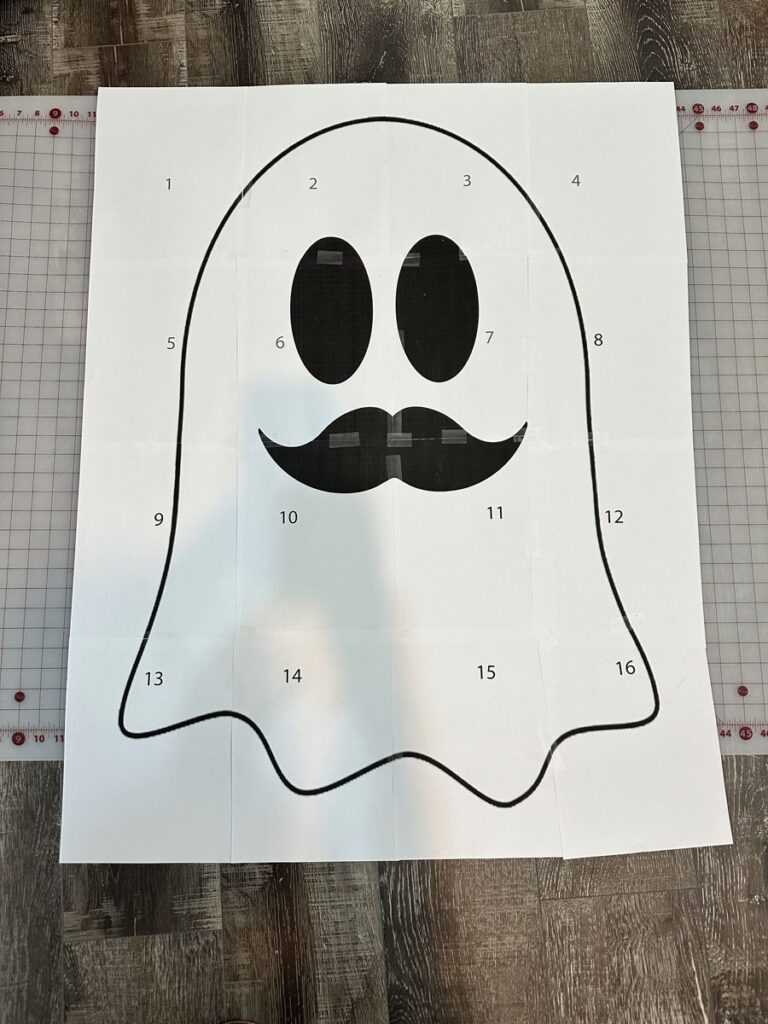
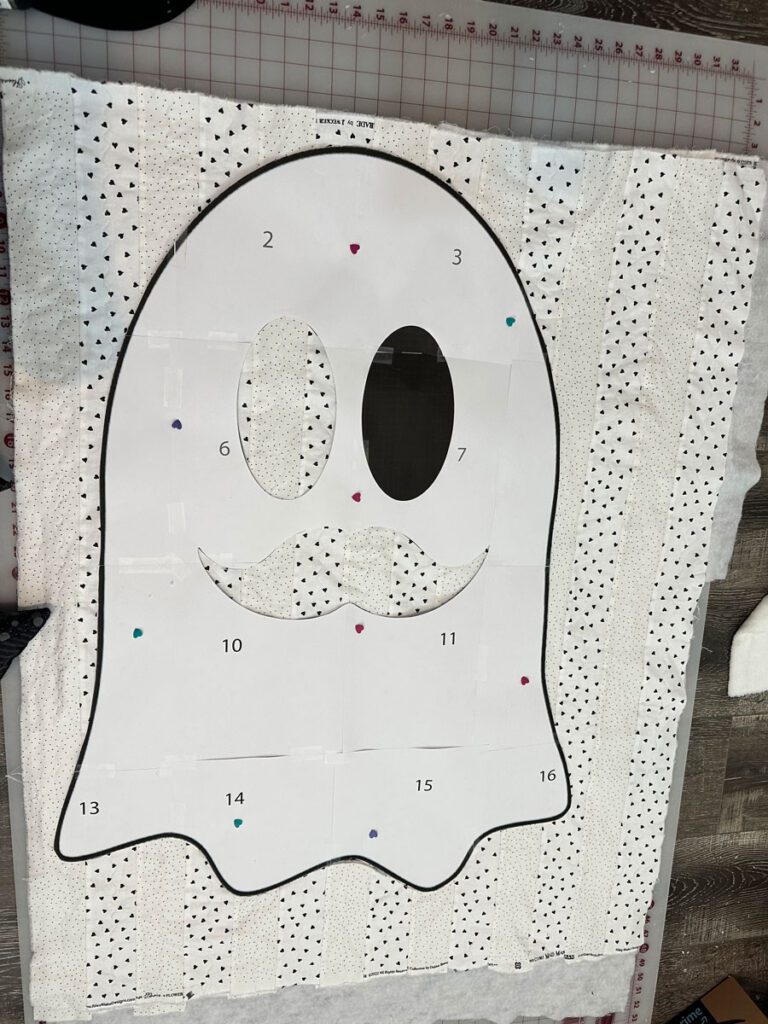
Print out your ghost template and tape together. Follow diagram to layout your ghost. Cut around the black line. Seam allowances are already factored in. Tape together and set aside. Cut out the eyes and mouth/mustache too!

ghost pillow pattern

Step 2: Cutting the fabric

To begin, STARCH AND PRESS YOUR FABRIC BEFORE CUTTING. YOU WANT TO ENSURE THAT YOUR FABRIC WILL NOT STRETCH WHILE CUTTING AND PIECING.

You can do this panel anyway you would like. You can do a bunch of half square triangles, scrappy, or just use one solid fabric. I tend to favor strip quilting and gravitate towards that. This pattern has the instructions for a strip panel. 

FABRIC A (White- Heart Fabric) 

Take one of your white fabrics and cut salvage to salvage: 

1) Cut (7) pieces WOF @ 3″ each

FABRIC B (White- Polka dots) – REPEAT THE STEPS ABOVE

You should have 14 strips total. 

Place eyes and smile (or mustache) cutout on the black fabric and pin to black fabric. Cut around the template and set aside until the end. 

Fabrics

Piecing & Assembly

Sew strips together by alternating your 2 white fabrics. You should have 14 stripes total. Press your seams so they lay as flat as possible 

Baste it to your batting.

I like to spray baste, but you can pin too!!!

Fabrics

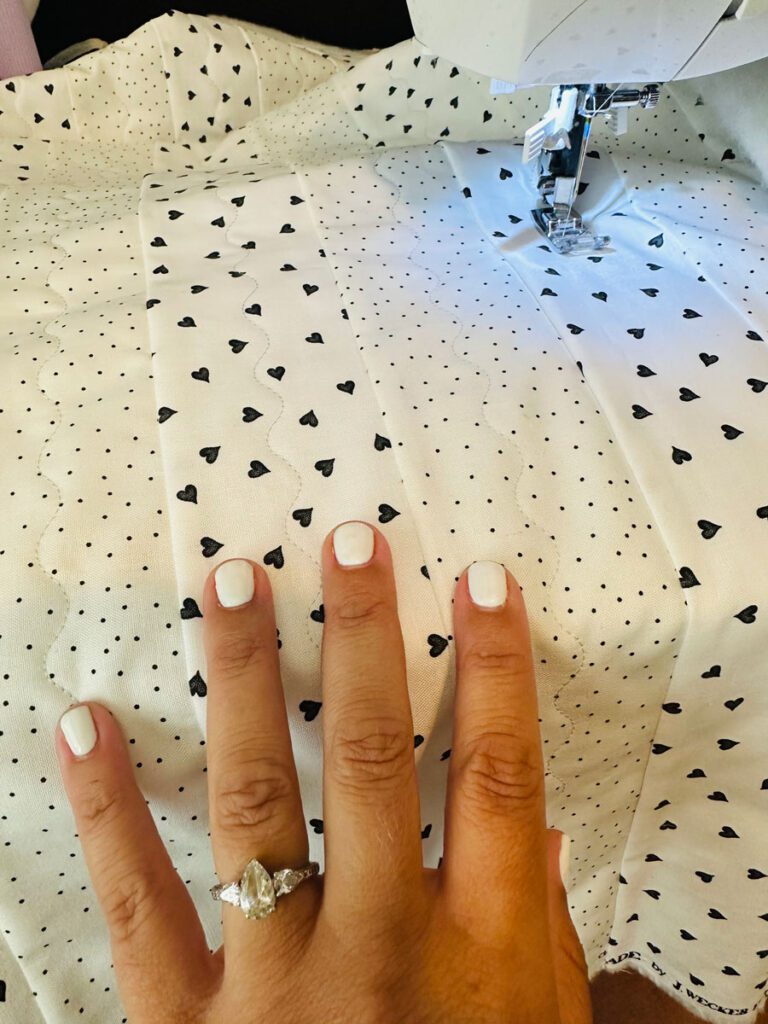
Quilt your pillow top panel however you desire. 

Once my top panel is quilted, I like to dampen it and throw it in the dryer. I love the crinkle look.

quilting pillow

Lay your ghost template over your panel. Pin it and cut around. 

Ghost Pillow Pattern

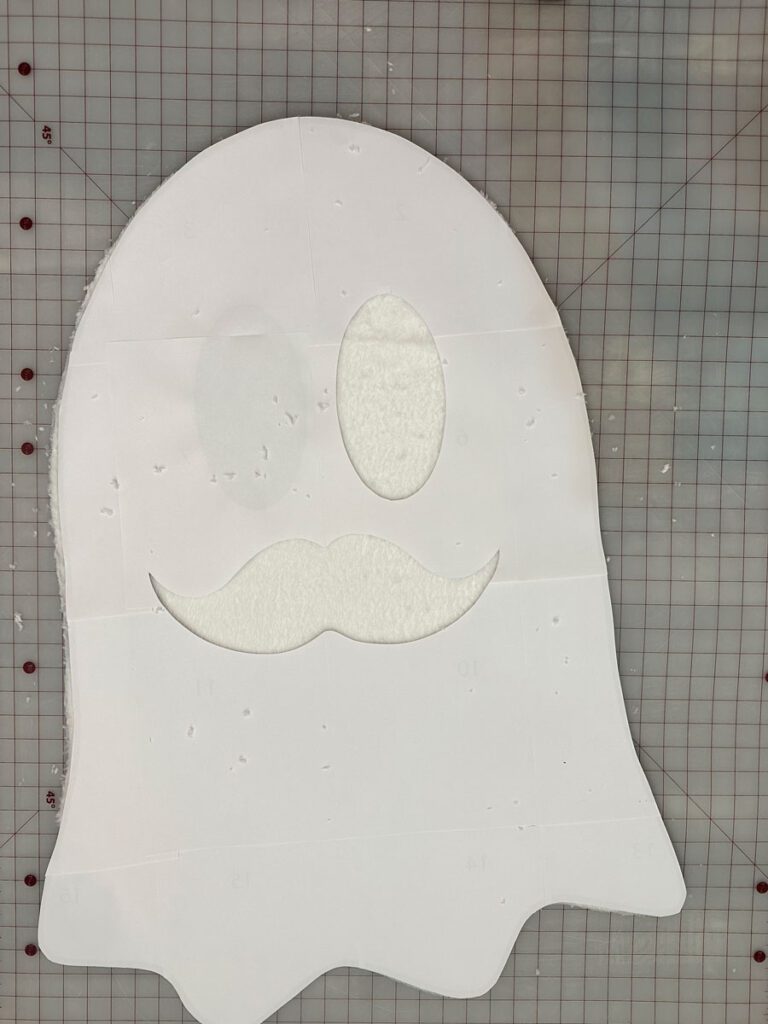
Now lay your template over your backing fabric RST and cut around. It’s important that you lay your template face down so your pillow lines up properly. Make sure to remember that your seam allowance is already factored in. 

Ghost with Pattern Pillow

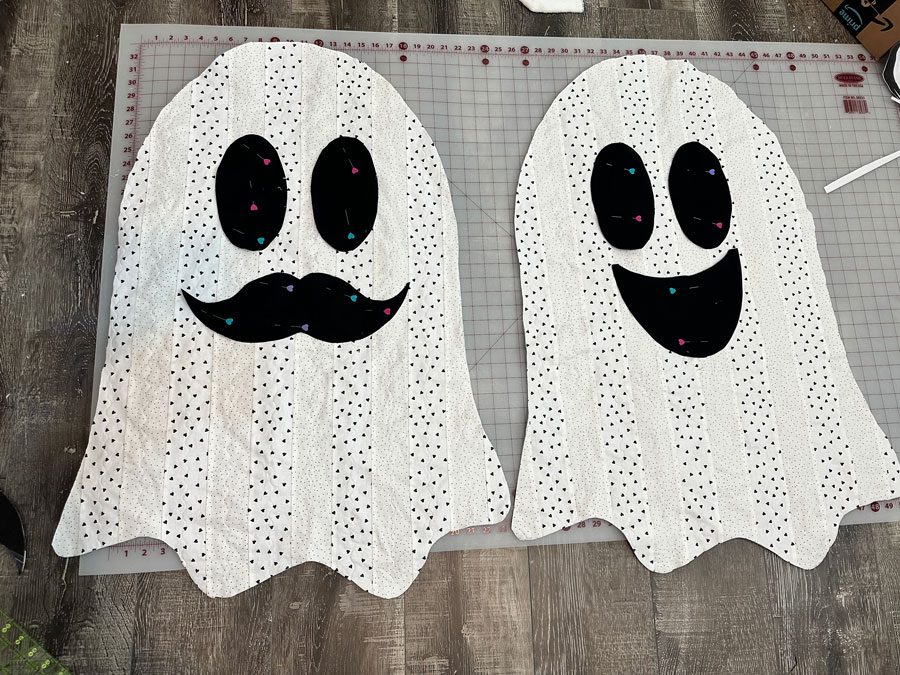
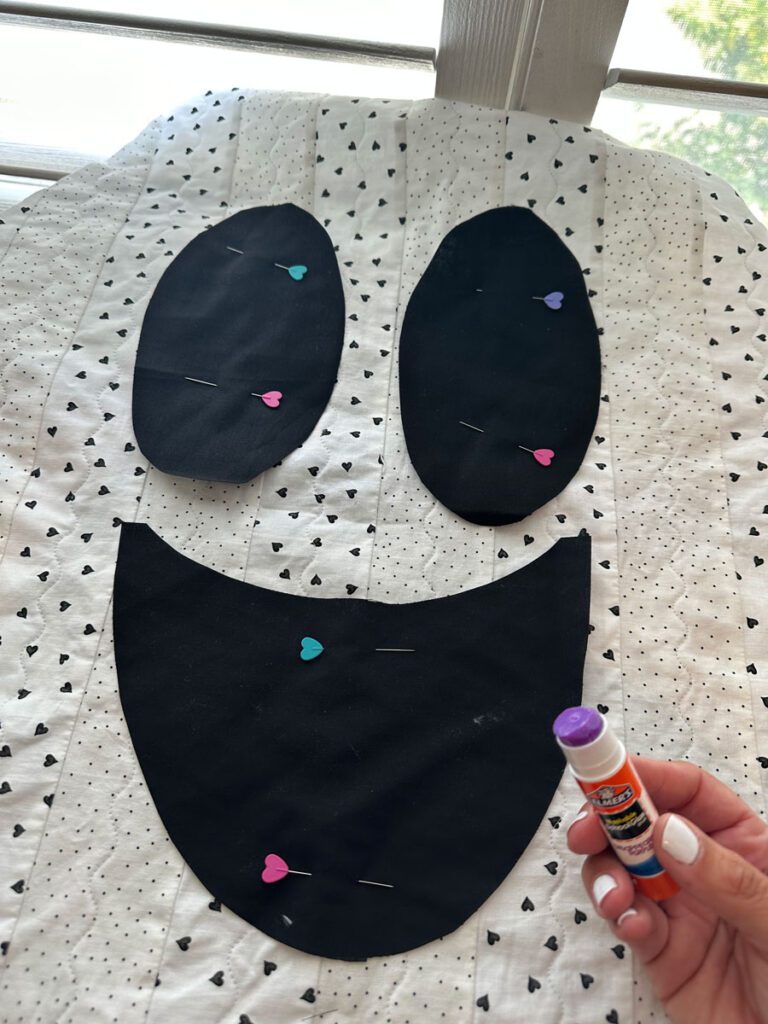
Pin the eyes and mouth to the quilted panel. I like to use a washable glue stick and glue the underside of the eyes and mouth/mustache. Then press to seal that glue. Don’t make the same mistake I did and iron over the pins. They melted…whoopsie.  Make sure to use the Ghost template as your guide on where to place the eyes and mouth/mustache. 

Pinning Ghost Pillows

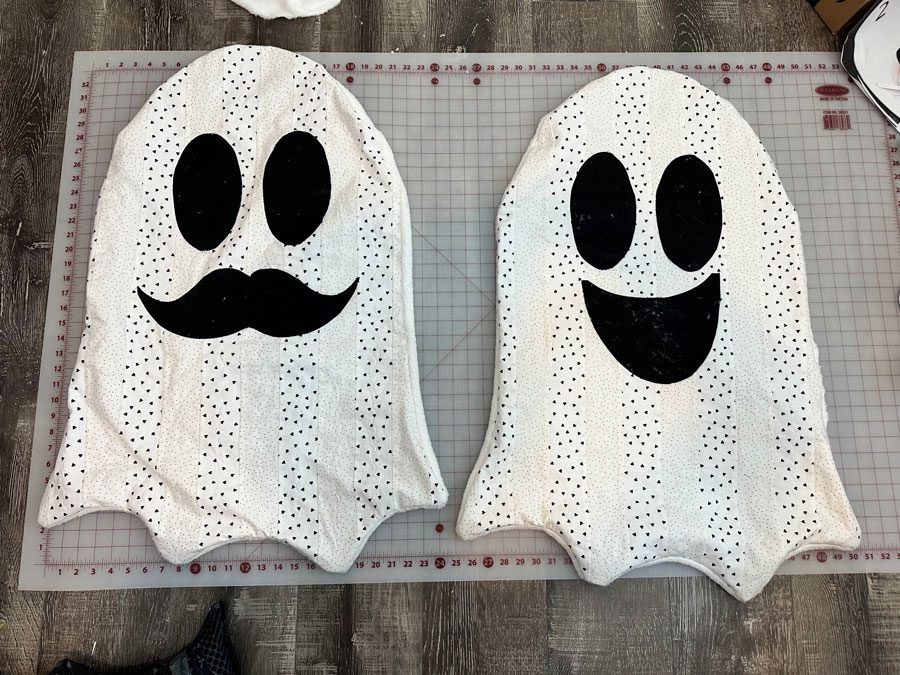
It’s time to change your thread and bobbin color to black. Using an ⅛ seam allowance sew around the eyes and mouth/mustache. Go slow for a precise seam.

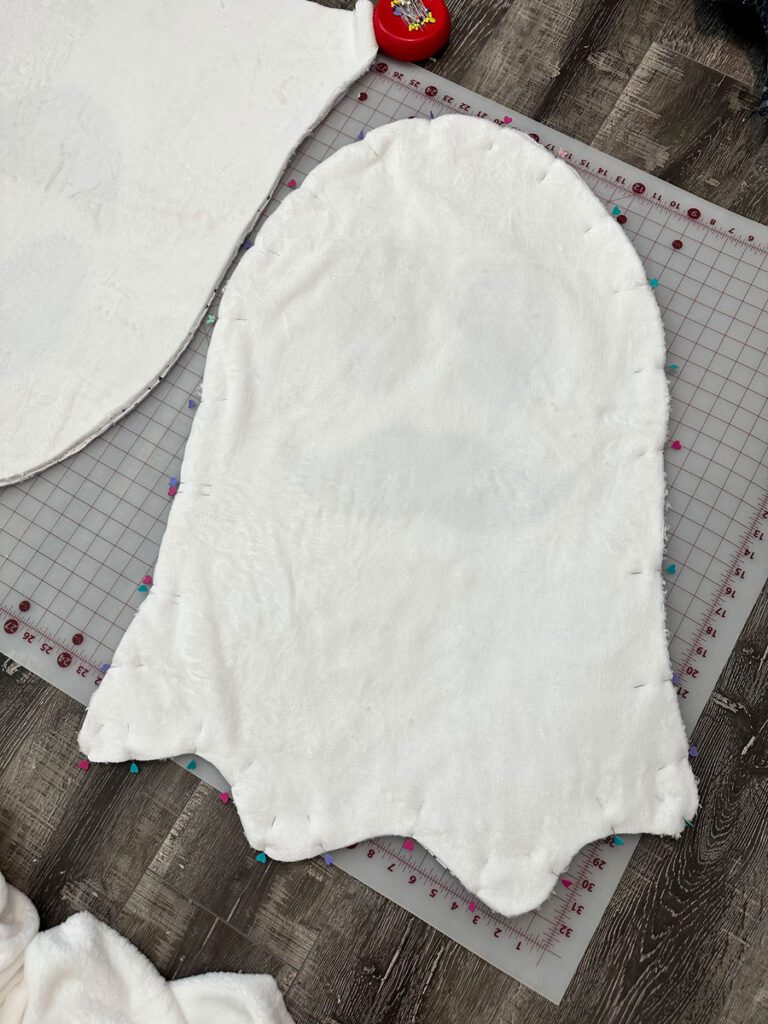
Now, place your pillow top and your backing fabric RST. I like to use a ½ seam to put it all together.  Sew them together leaving a 3opening. I prefer to keep the seam open on one of the flat sides. 

Back of Ghost Pillow

Trim away bulk around seam (except for the 3 opening). I prefer pinking shears if you have them. 

Turn your ghost right side out running your fingers around the inner seam. 

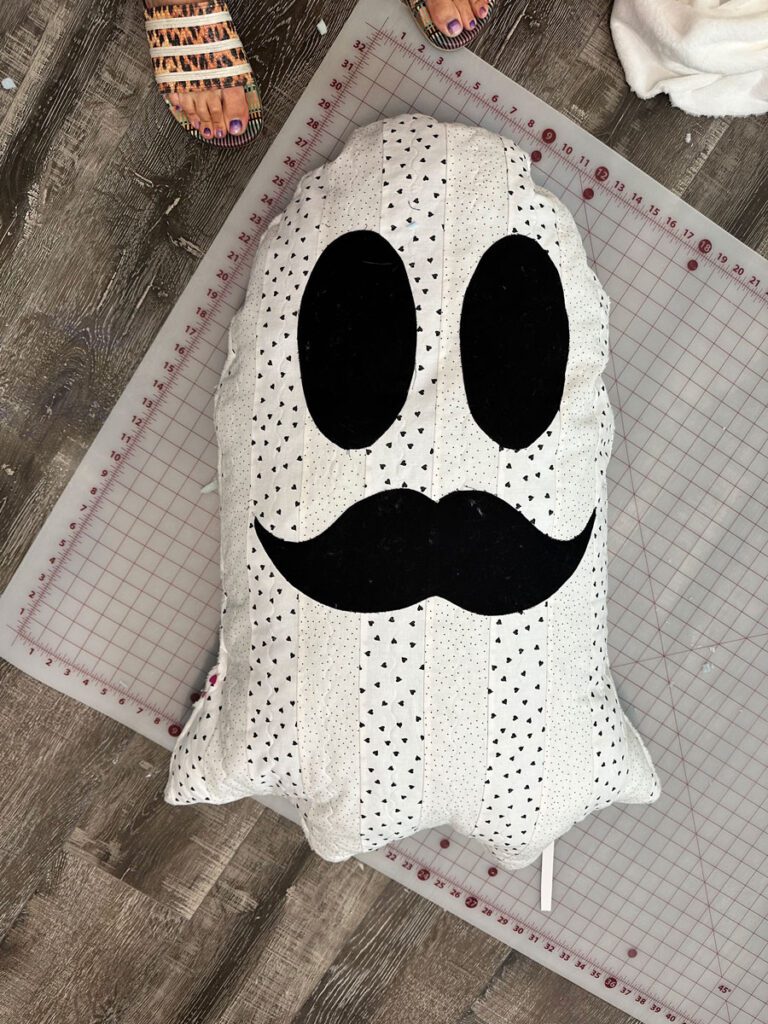
Stuff your pillow with your Poly-Fil or pillow stuffing to your desired fullness. i prefer this stuffing over the poly-fil. Close up your seam using a ladder hand stitch. 

Constructed Ghost Pillows

You did it!!!

Mustache Ghost
ghost pillows

If you try out this tutorial, don’t forget to post it on Instagram and tag @sewcialloner and #sewcialspook.

Danette Bess

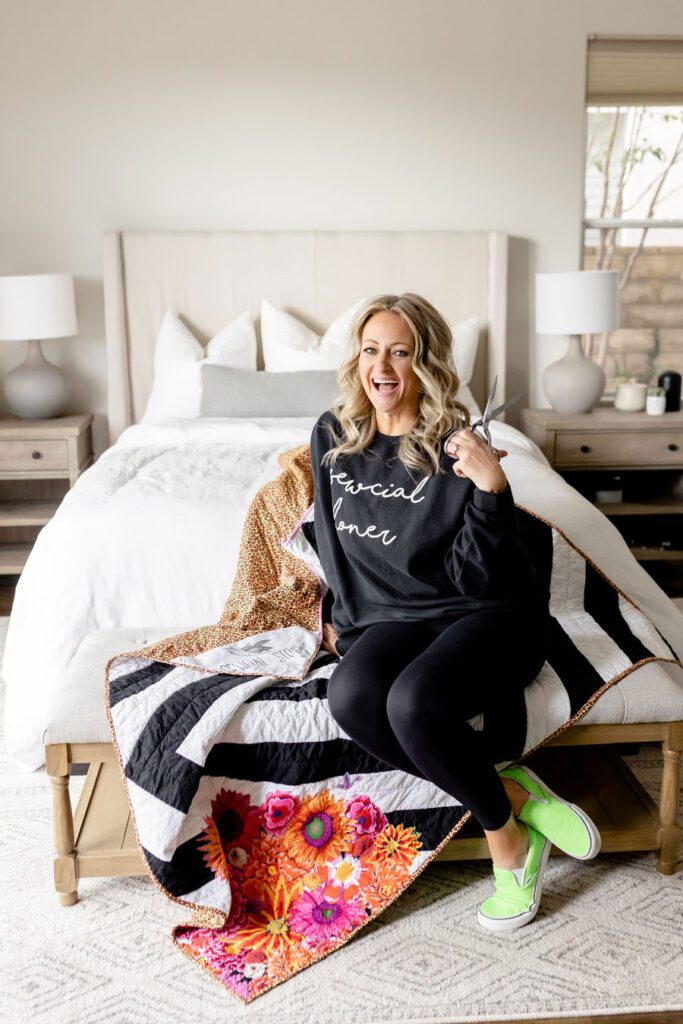
Hi! It’s me, Danette. I am THE Sewcial Loner. I love to be around people and socializing, but I have really learned to enjoy being in a quiet space and have become quite the homebody. I am a Firefighter wife and a Momma of two cute kiddos.  I am a modern quilter, crafter and baker and I cannot wait to create these beautiful pieces together with YOU!

MORE BLOG POSTS LIKE THIS ONE

Did you enjoy this tutorial? Be sure to check out these free tutorials: 

Scrappy Fabric Ornaments

Color on the Go Travel Carrier

How to Make the Crazy Curves Block

or SEARCH THESE

Popular categories

Craft to Career
Digital Downloads
Patterns
Podcast
Quilt Alongs
Quilt Questions
Tutorials
back to the top

Copyright 2024 Quilters Candy  |  Terms & Conditions