Front Porch QAL Week 3
October 18, 2021

Front Porch QAL Week 3

Welcome to Week 3 of the Front Porch QAL

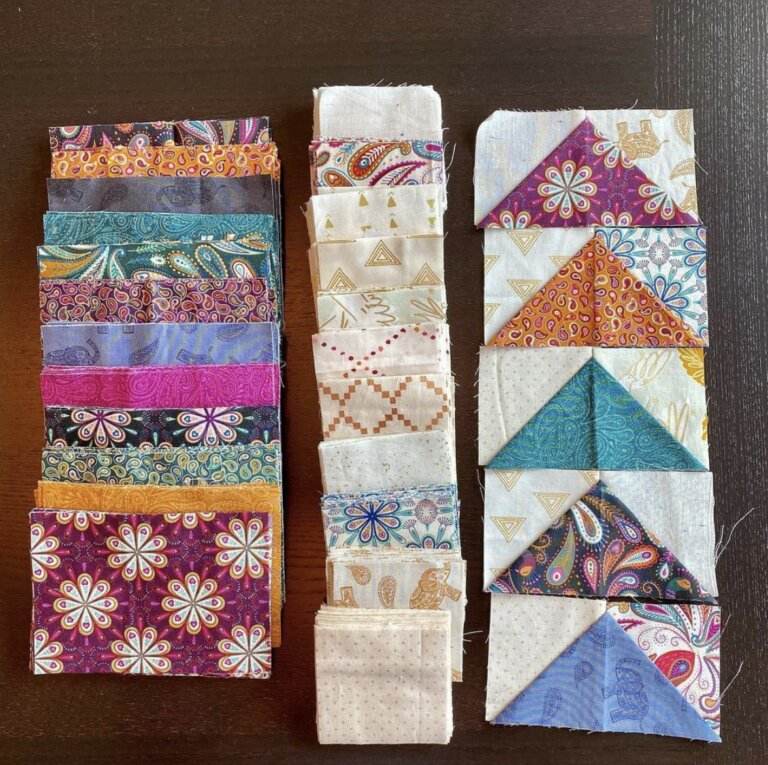
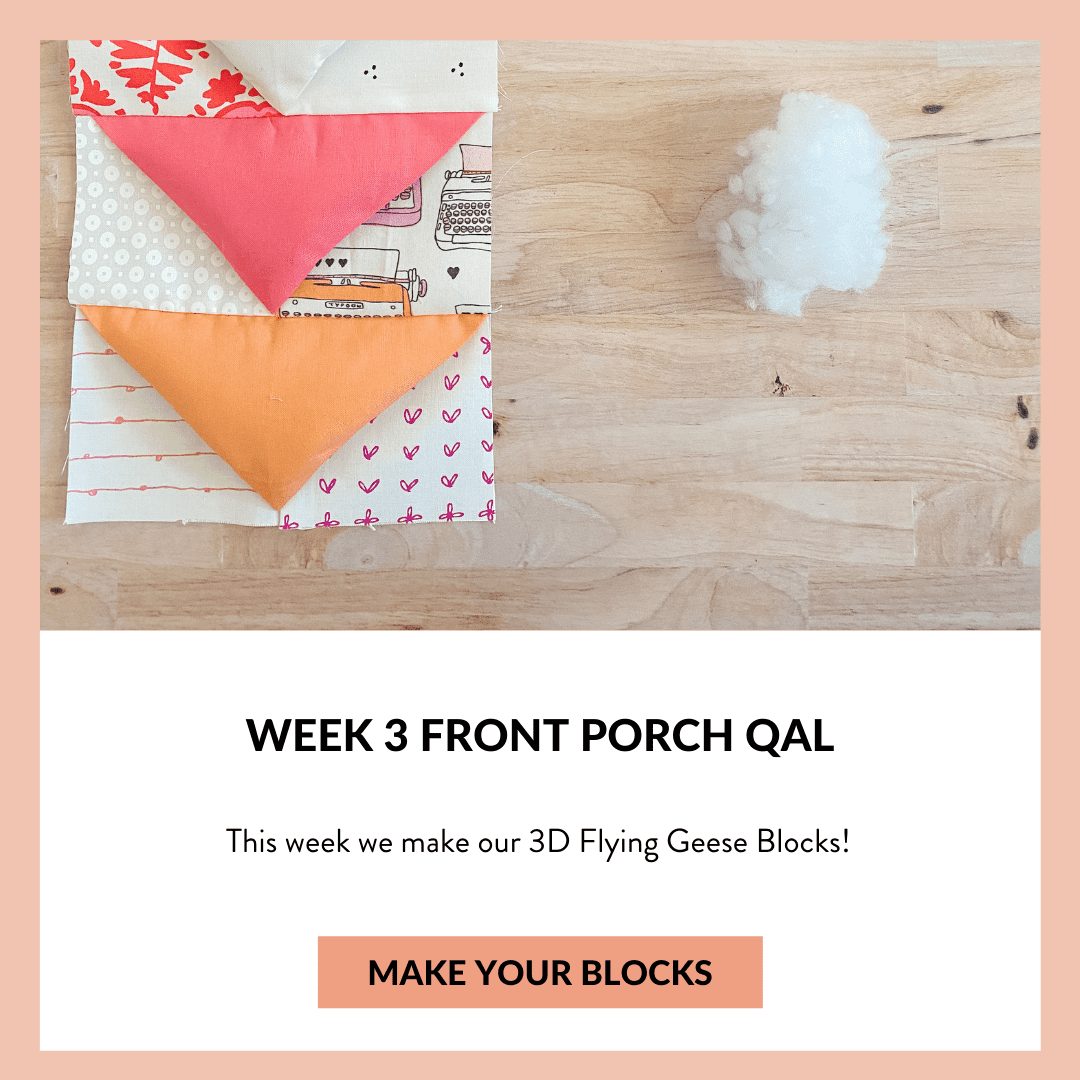
Week 3 of the Front Porch QAL is all about making our 3D Flying Geese blocks.

FOR AN OVERVIEW OF THE QAL CLICK HERE.

I want to thank you all for your love and support for taking one week off.  I was so thankful to go home and spend time with my mom.  If you missed this message, you can read more about it here, on my Instagram post. 

Front Porch Quilt Pattern

Need to get the Front Porch quilt pattern.

TIPS FOR 3D FLYING GEESE BLOCK ASSEMBLY

Tips for your Front Porch block assembly:

  • Do your best to pin your fabric so it aligns when sewing your pieces together.  As always, this will be crucial for accuracy.
  • When trimming your block, make sure to leave ¼” of fabric between the point of your triangle and the edge of your rectangle.  See image below.
  • Do your best to center your triangle piece.  This will leave your triangle to touch the corners of your rectangle.  See image below where arrows are pointing.
Front Porch 3D Flying Geese
  • Kelsey of @white_rosedesigns generously created a video demonstrating how to make a perfect 3D Flying Geese block. CLICK HERE to watch her video.  
  • Here are some snap shots from Kelsey’s video / reel:

ADDING FILL TO YOUR 3D BLOCKS

If you, like me, want to try and add fill to your 3D flying geese blocks, I will share what I’ve tried.

I need to give credit to @thewannbegrandma for this idea. She was the one who first asked if this could be filled.  I first said no, but after thinking about it realized she was right! These 3D Flying Geese blocks can 100% be filled, if you want to. 

To be honest, I am trying this for the first time.  But I am happy to share what I am trying and how it’s going.

  1. I purchased fill that I really love.  It’s Pellon brand and is called ‘Perfect Loft’.  Its soft little Polyester fluffs. I found it at my local JoAnn Fabric store.
  2. After trimming my blocks as described in the Front Porch quilt pattern, I took a handful of fill and stuffed it into my triangle piece.
  3. Using pins, I pinned the triangle closed.
  4. Then I placed the next Flying Geese block RST, pinned in place, and sewed together.

There’s no real way that I can tell to measure how much fill I am using.  And each 3D Flying Geese block is a little different from the next, but I am eyeballing to try and be consistent with the amount if fill I use. 

Here are some photos of my process of filling my 3D flying geese blocks with fill.

WEEK 2 QAL WINNER

Congratulations to the winner of a free Gretchen Quinn Mug.

The winner of Week 2 (cutting fabric) goes to @threebeesandaquilt. Here is the photo that won them the Week 2 prize. Congratulations!

Gretchen Quinn Mug

WEEK 3 PRIZE

Enter to win 3 free months in the Quilters Candy Membership!  Be. the first to get patterns from top designers and join our community of quilters.

To enter:

  1. Post a photo of your progress on your Front Porch Quilt.
  2. Use the following hashtags: #FrontPorchQAL  #FrontPorchQuilt  #QuiltersCandy
  3. Make sure your Instagram account is public.

or SEARCH THESE

Popular categories

Craft to Career
Digital Downloads
Patterns
Podcast
Quilt Alongs
Quilt Questions
Tutorials
back to the top

Copyright 2024 Quilters Candy  |  Terms & Conditions