Fabric Heart Ornament Tutorial

November 11, 2020

Free Fabric Heart Ornament Tutorial

Learn to Make a Fabric Heart Ornament

I invited Liza from @lizataylorhandmade to share how she made a Fabric Heart Ornament.  This is such a cute and easy project, you’re going to love it.  Take it away, Liza!


Hi everyone! I’m Liza from @lizataylorhandmade and I am so excited to be showing you how to make these quilted hanging hearts! It is a super quick project and is great for using up scraps. 

DIY Fabric Ornament

You can also use this project on a cutter quilt! It is a great way to repurpose an old quilt and turn it into something new. I have had the most luck finding cutter quilts online at Facebook Marketplace, Ebay, and Mercari. If you have a quilt like this to use go ahead and skip to the step where you trace the template. 

Steps to Making a Fabric Heart Ornament

Template

  1. Be sure to download your Heart Template by CLICKING HERE.
  2. Print your template on card stock and cut it out.

Picking Fabric

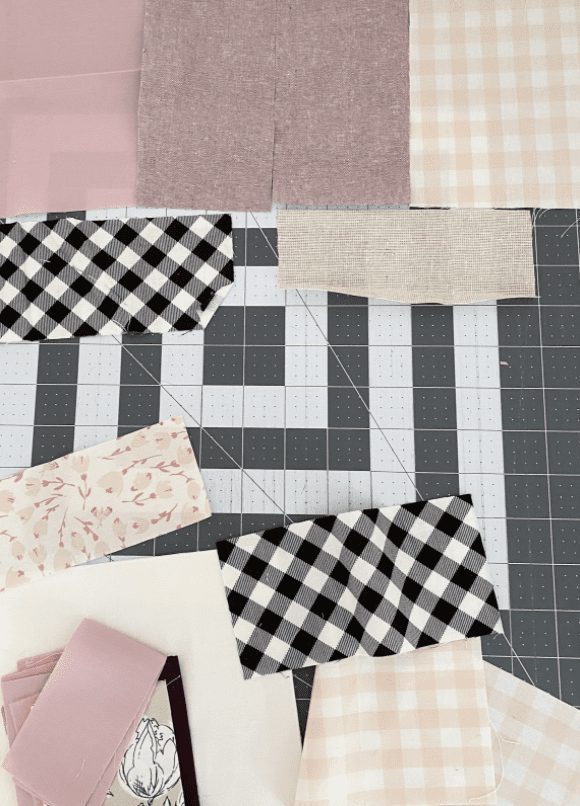
  1. Once you have your template, go to your scrap pile and pick out enough scraps to make (2) hearts, one for the front and one for the backing. I usually lay the scraps out on my cutting mat and rearrange them until I like the positioning.DIY Fabric Ornament with Fabric Scraps
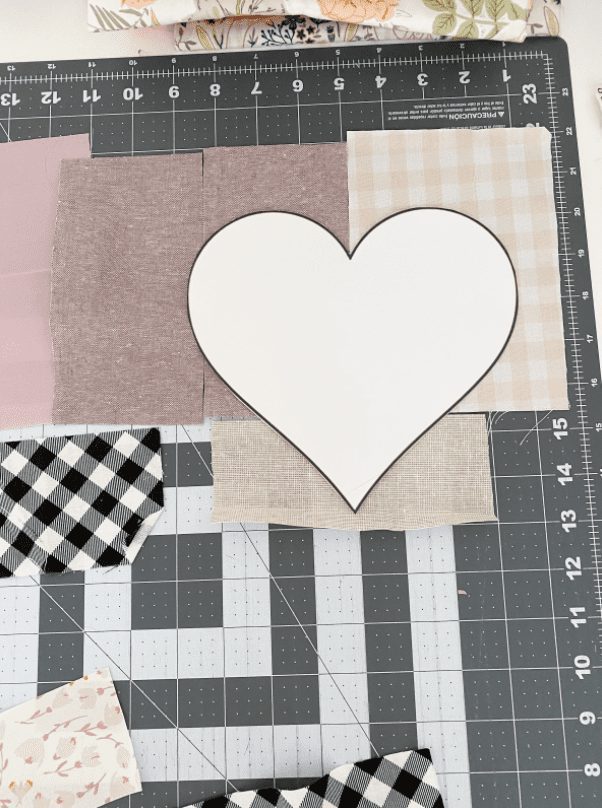
  2. Make sure you have your template handy so you can see if your patchwork scraps are big enough to cover the template.Heart Template for DIY Fabric Ornament
  3. Once you have your positioning how you like it, take the pieces to your sewing machine and sew the scraps together. Press seams open.
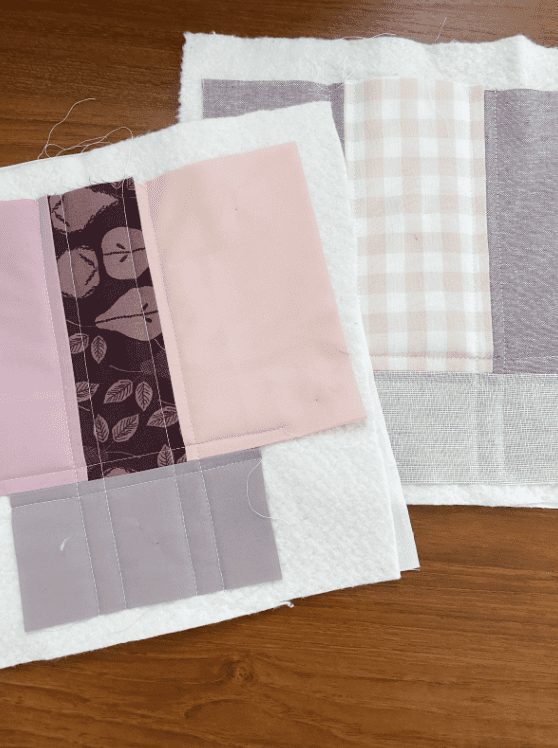
  4. Now you are going to quilt the patchwork panel. Take a scrap piece of batting and some fabric for the backing (this fabric will go on the inside of the heart so it doesn’t matter what it looks like). Lay each layer flat on top of each other and pin together. Go ahead and quilt it however you would like.Patchwork Quilting with Scraps
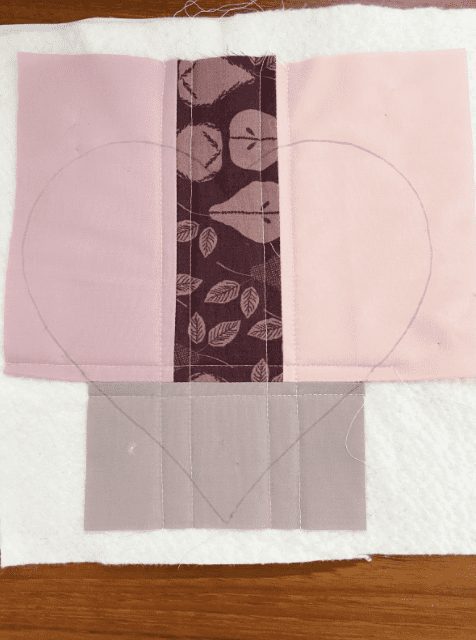
  5. With both panels quilted, it’s time to cut out the heart. Lay your template on top and position where you would like it. Trace it with a pen and cut it out. Do this for both the front and the back.Trace your Fabric Heart Template

Next, cut a piece of ribbon for the hanging. I cut mine to be 11” long, but you can make it as long or as short as you would like.

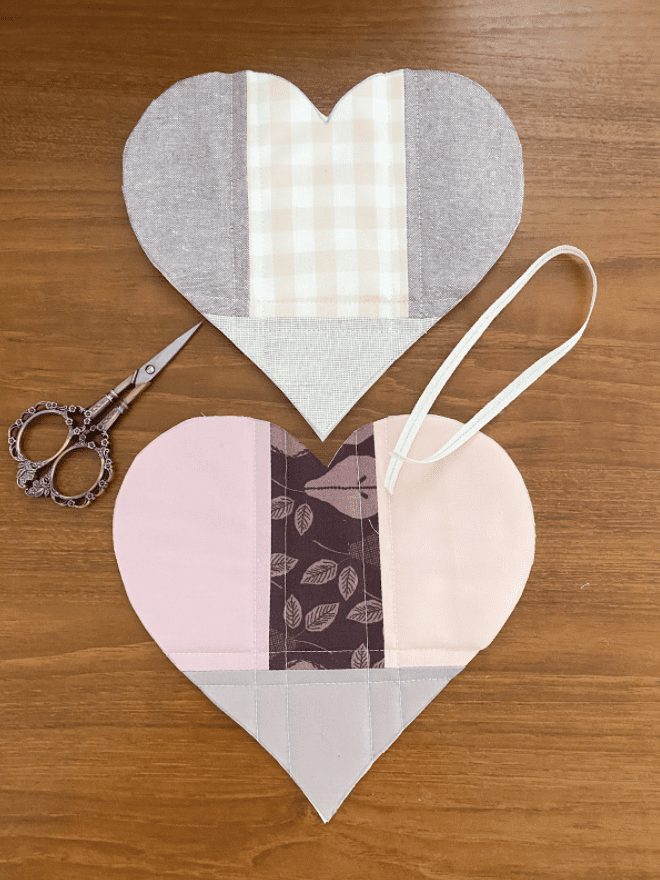
front and back of fabric ornamentSewing The Hearts Together

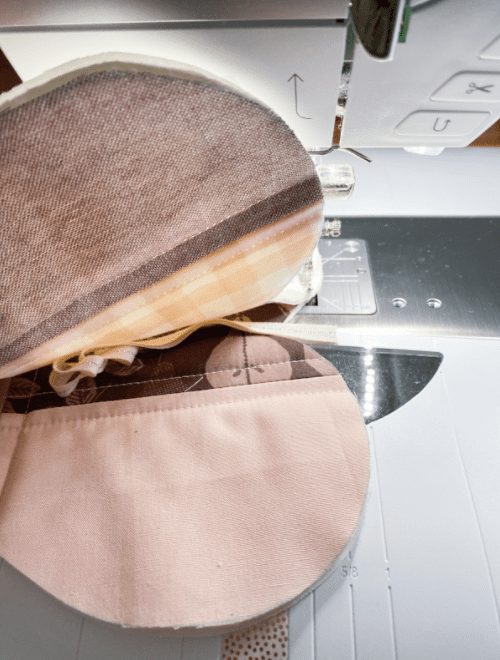
  1. From here, take the hearts and the ribbon to your sewing machine. Put the heart’s right sides together and fold the ribbon in half. Keeping the ends of the ribbon together, put it in between the two layers with the ends pointing out. The rest of the ribbon will be tucked inside the layers. Pin in place.DIY Fabric Heart Ornament
  2. Start sewing at the bottom of the heart. Be sure to backstitch at the beginning and at the end.
  3. Sew ¼” around the whole heart, but stop about 2” from where you started. Backstitch to secure.DIT Fabric Ornament
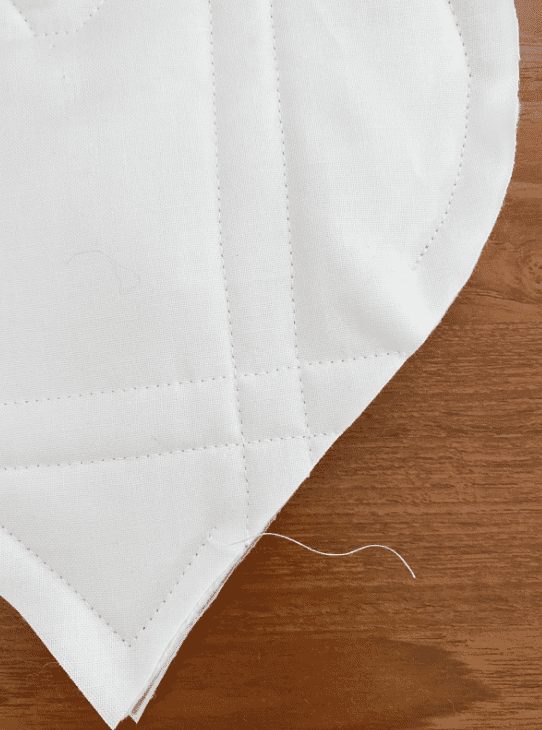
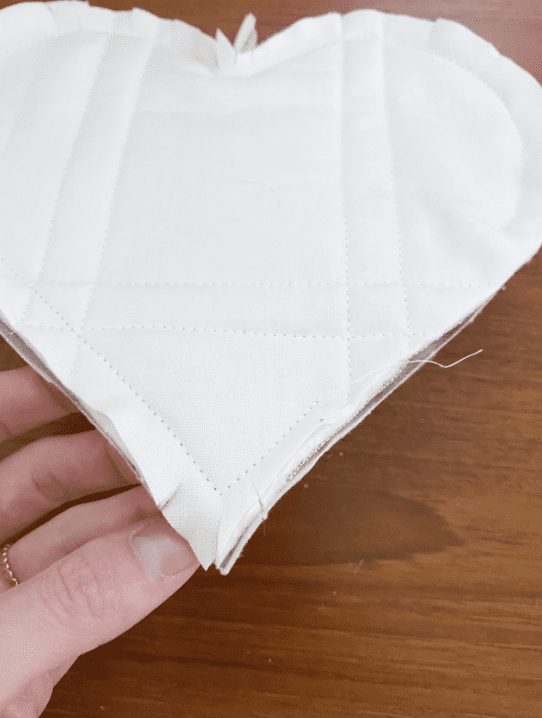
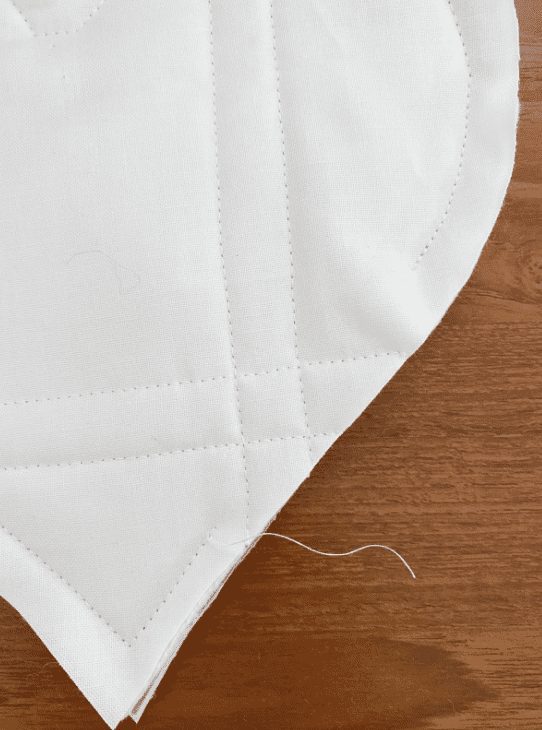
  4. Next you are going to take your scissors and snip all around the heart. I like to snip the bottom point, once in the curves, and down the middle of the ribbon and the middle of the top. Make sure to not snip too far to cut your seam! See the next photos for reference.Heart Template for DIY Fabric Ornament
    Heart Template for DIY Fabric Ornament
  5. Now it’s time to turn it inside out. Start pushing each side through the gap. Use your scissors to help push through and make the pointed bottom nice and sharp.
    1. I like to use poly foam to fill my hearts. I use about a handful, but feel free to fill it as full as you would like. This is the filler I use.

Finishing Your Fabric Heart Ornament

  1. Once you have stuffed your heart you now need to sew up the gap. I use an invisible/ladder stitch to do this and DMC perle #8 cotton thread.
  2. To do the ladder stitch take your heart and insert the needle from the inside, up through the top layer on the far right side. This will hide your knot in the center.
  3. Now take your needle to the bottom layer (make sure to maintain the ¼” fold) and insert from the center and come out about ?” over on the same side. Repeat on the top layer.
  4. Every stitch will follow the same pattern, always go from the inside to the outside of the heart.
  5. Once you reach the end, tie a knot in your thread, insert your needle near your last stitch and come out anywhere on the heart. Give the thread a tug so the knot goes to the inside of the heart and trim the tail where you came out.DIY Fabric Ornament

Heart Template

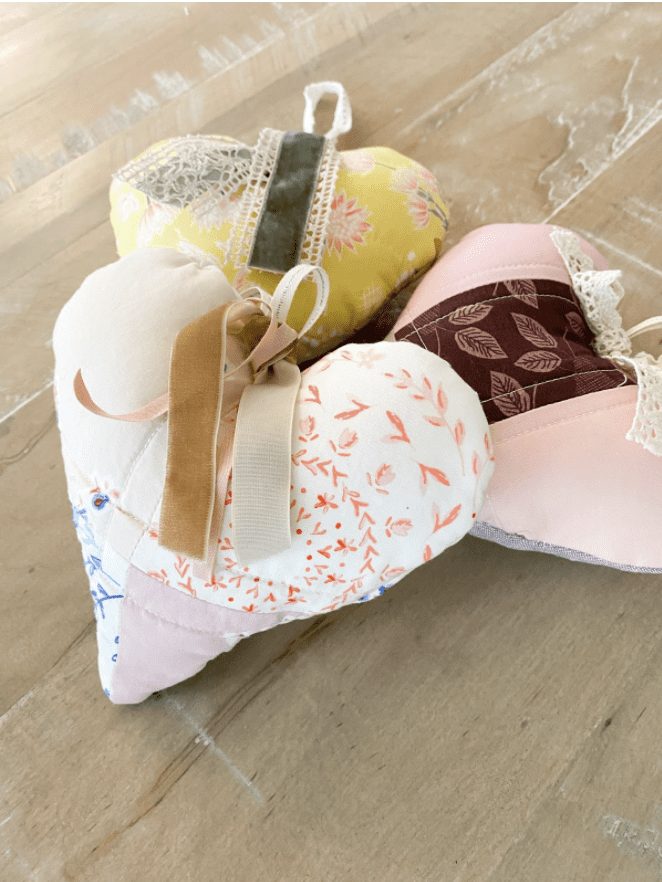
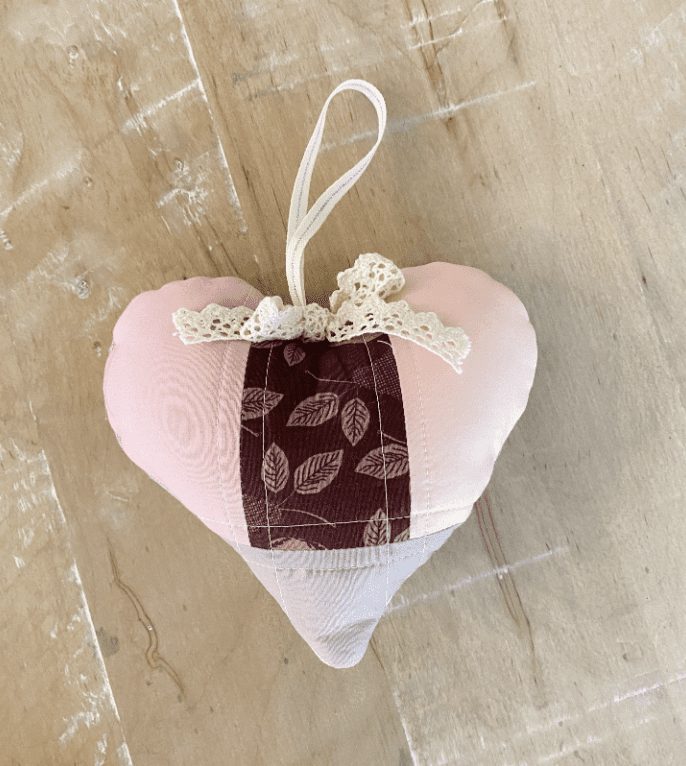
You’re finished! Feel free to add some lace or ribbon to it, or even add some embroidery to the front. The possibilities are endless.


If you liked this free tutorial, be sure to check out my other tutorials:

or SEARCH THESE

Popular categories

Craft to Career
Digital Downloads
Patterns
Podcast
Quilt Alongs
Quilt Questions
Tutorials
back to the top

Copyright 2024 Quilters Candy  |  Terms & Conditions