
How To Use Bias Binding: A Full Tutorial + Video
How to Use Bias Binding + Video Tutorial
Why am I sharing a Bias Binding Tutorial with you?
I have only used straight cut, single fold binding for my quilts. That’s all I knew! Then I met Liz of The Small Circle and saw her lovely Bias Bindings. I asked if she could share a tutorial on how to use these Bias Bindings for quilts. Liz was happy to prepare a tutorial for y’all. And now I’m a Bias Binding fan!
From Liz of The Small Circle
Bias binding is one of the most versatile and useful notions in the sewing room. In addition to being used to finish quilts, bias binding is excellent in apparel sewing as a facing for necklines and armholes, and in bias bound and Hong Kong seams. It can be used for appliqué and bag-making. Its applications are nearly endless! I love this sewing room workhorse, so I created a short video tutorial for you on how to finish your quilt using double fold bias binding.
Video Tutorial
Watch my video tutorial to learn:
- The difference between bias binding and straight cut (or quilt) binding.
- Some advantages to using binding cut on the bias.
- How to attach strips of bias binding.
- How to sew a curved corner.
- How to secure your binding using hand stitching.
Video in Summary
Let me share in text format what I show you in the video.
How bias binding differs from other binding:
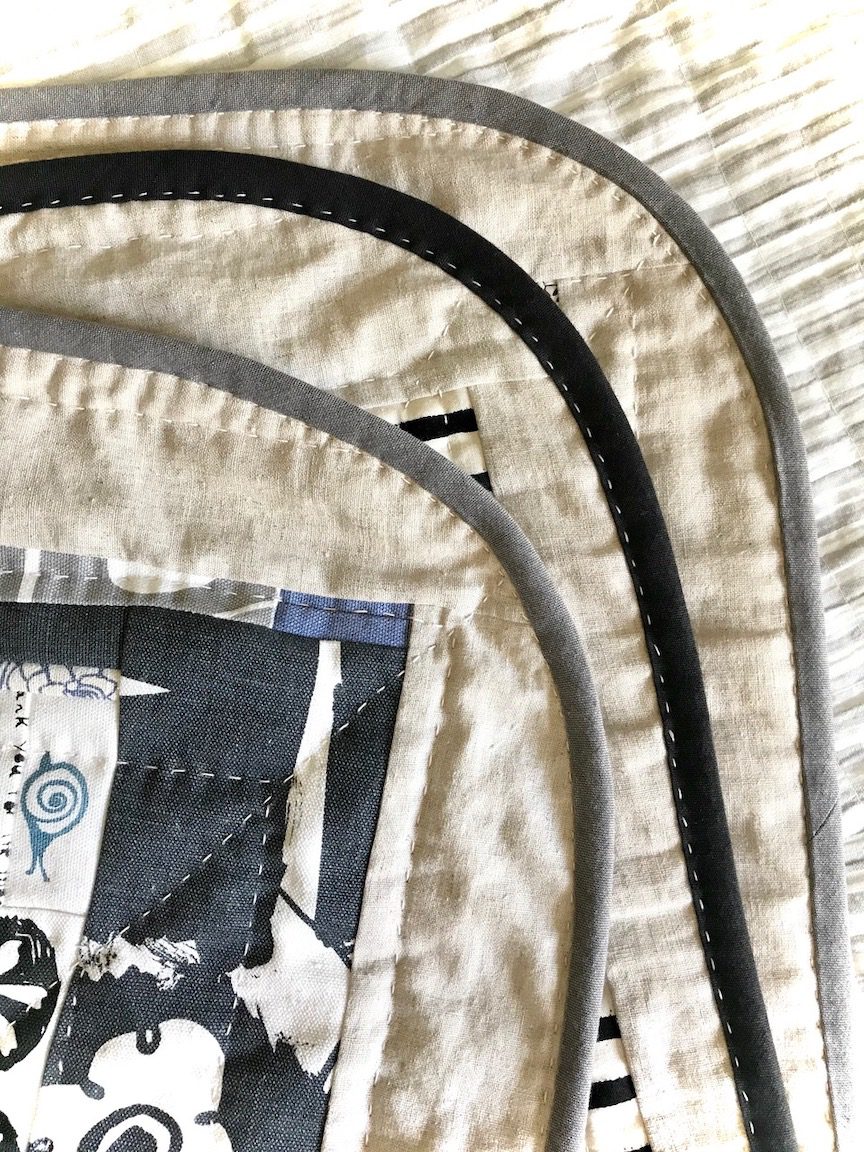
- Bias binding differs from quilt binding in that it’s cut from your fabric at a 45 degree angle from the selvedge. When you tug on bias binding, it has some stretch to it. This creates a flexible and pliable binding that can go around curves and odd angles smoothly.
Benefits:
- Flexibility and pliability.
- Bias binding is a durable way to finish a quilt. With quilt binding, the warp and weft of the binding are running vertically and horizontally. This means that a single fiber is running along the length of the edge of your quilt and is taking the majority of the wear and tear. With bias binding, the warp and weft are running at 45 degree angles across the edge of the quilt. The wear and tear is distributed across multiple fibers, making it last longer.
Attaching to front of quilt:
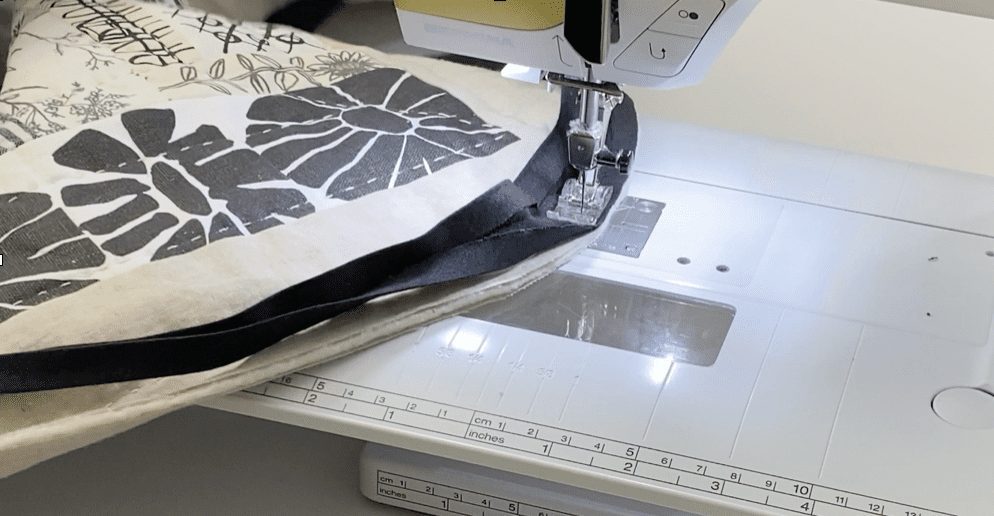
- To attach the binding to the front of your quilt, determine which half of your binding strip is narrower. The narrower half will be sewn to the front of your quilt, and the wider half will wrap around to the back and will cover the stitch line from the front. Unfold the binding and lay it right side down on your quilt front with raw edges aligned. Line your needle up with the first crease mark (the fold line that is closest to the raw edge of your quilt), and begin sewing about three inches down from the tail of your binding.
- To sew a curved corner, you don’t have to do anything special. The main thing to keep in mind is that you don’t want to pull the binding tight as you’re sewing. Just let it lay naturally on the quilt without any stretch.
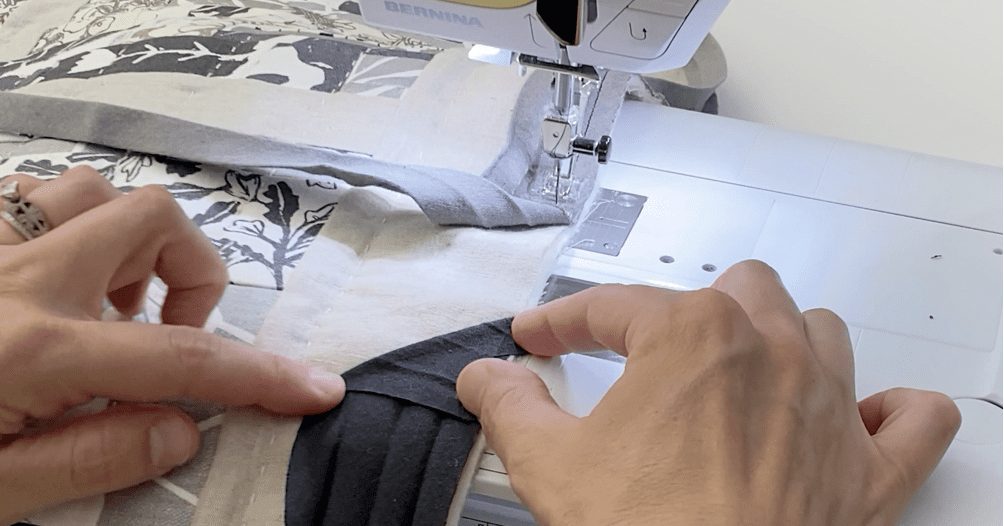
- When you make it all the way around your quilt and are approaching the start of your binding, pause with your needle down to hold your place. Find the tail you left when you first started sewing, and fold it down toward you and the raw edge of your quilt at a 45 degree angle. You can pin it in place or just hold it, and then lay the other end of your binding right over the top, keeping all those creases in the binding aligned. Sew right past the beginning of your binding, anchoring it down, and back stitch to secure.
Attaching to Back of Quilt
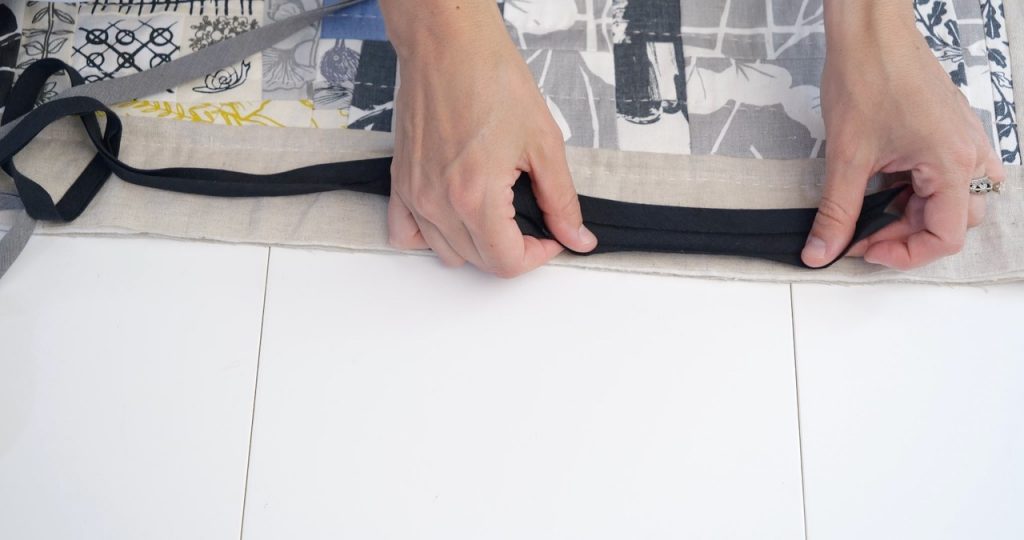
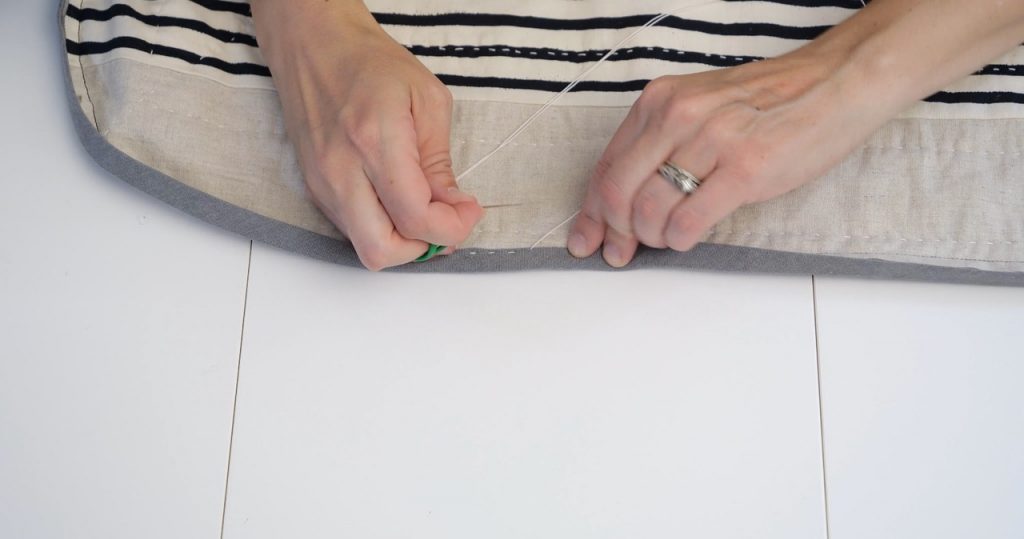
- To attach the binding to the back of your quilt, re-fold the binding to the way it was folded in the package. It will naturally wrap itself around the quilt in the way it should lay. The middle crease will enclose the raw edges of your quilt as the other half of the binding wraps around to the back. The final crease of the binding will stay folded so that all raw edges are enclosed. To hand-stitch the back in place, prepare several lengths of thread. I use the same thread I used for hand-quilting. Make a knot at one end, and embed the knot into your quilt just inside the stitch line you made when attaching the binding to the front. Bring your needle up through your binding, near the edge, and then simply use a straight or sashiko stitch to secure the binding all along the edges your quilt, being careful to check the front of your quilt and make sure your stitches aren’t catching the binding on the front.
Pre-Made Bias Binding and PROMO CODE
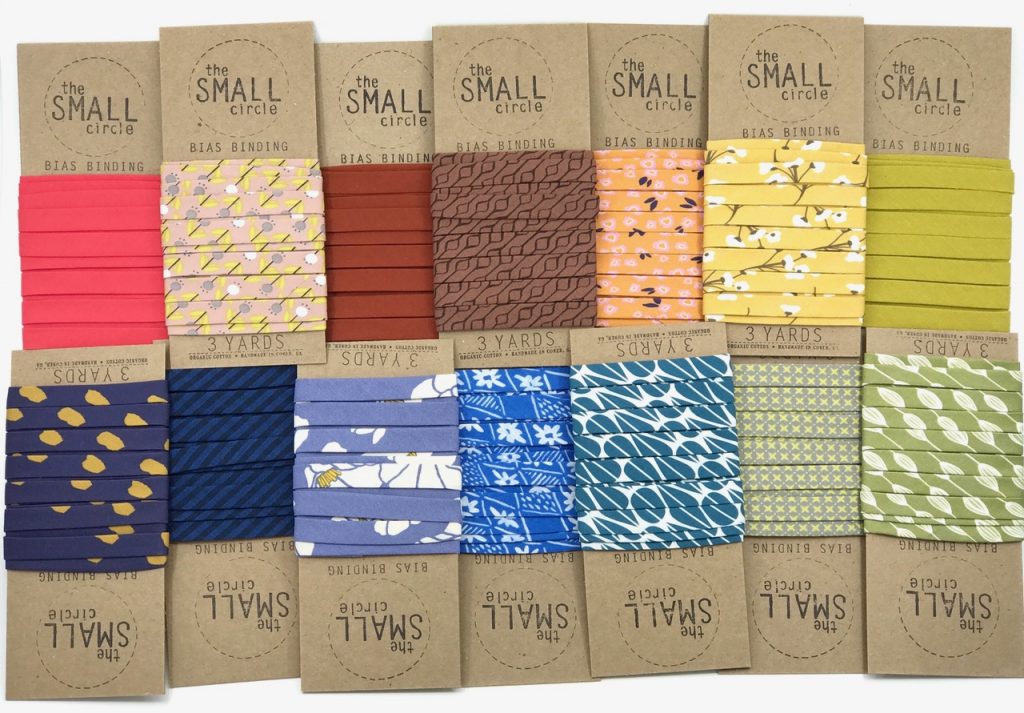
I hope you’re inspired to use bias binding in your own sewing after this tutorial. I have a fantastic variety of pre-made binding in The Small Circle shop. Enjoy 20% off all bias binding using the discount code QUILTCANDY20 through the month of June. All of the binding is handmade with organic cotton and is shipped in eco friendly packaging.
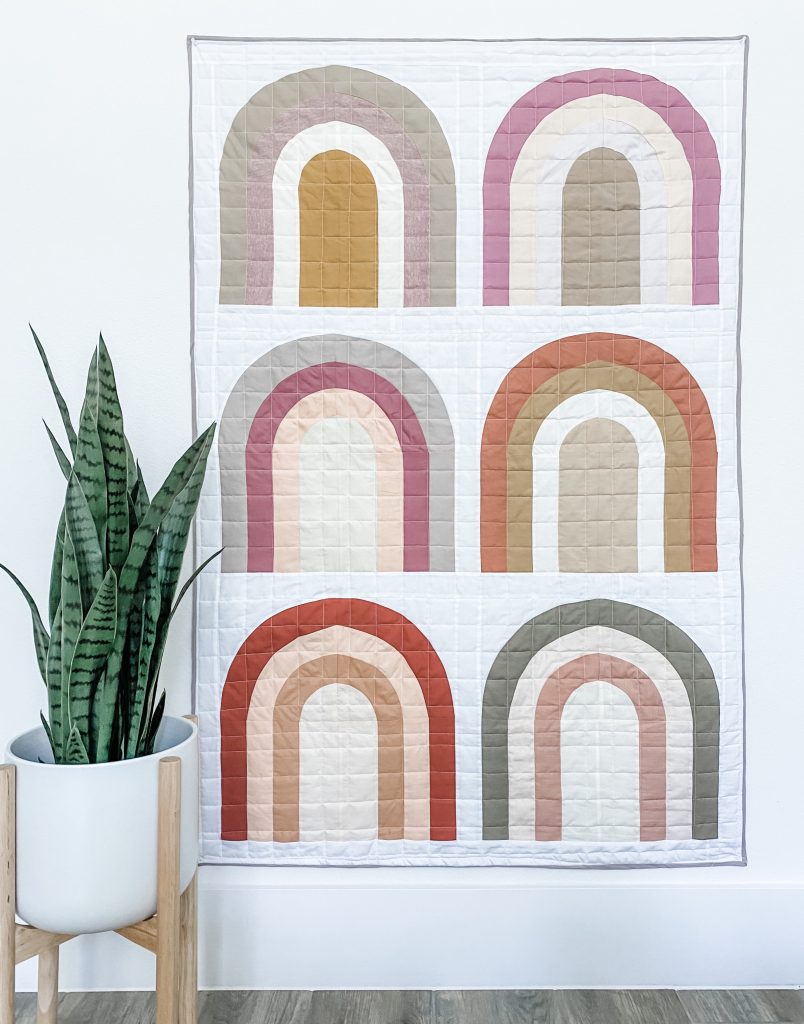
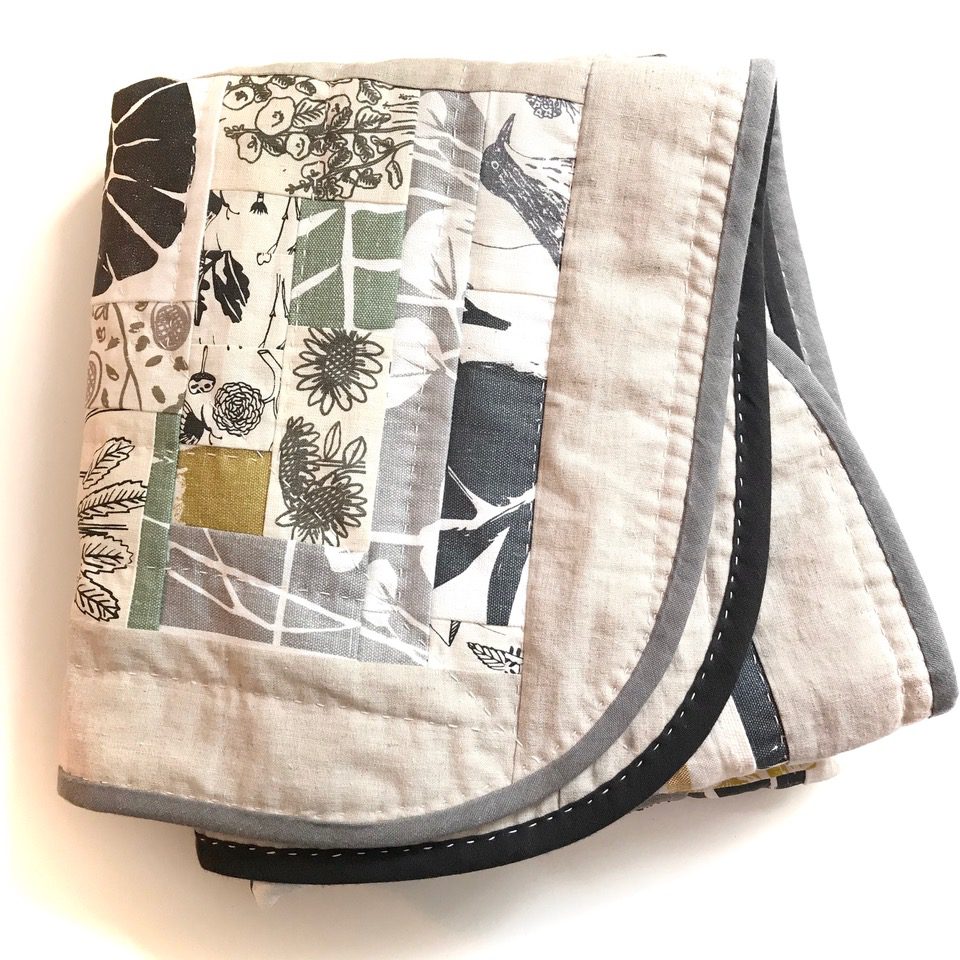
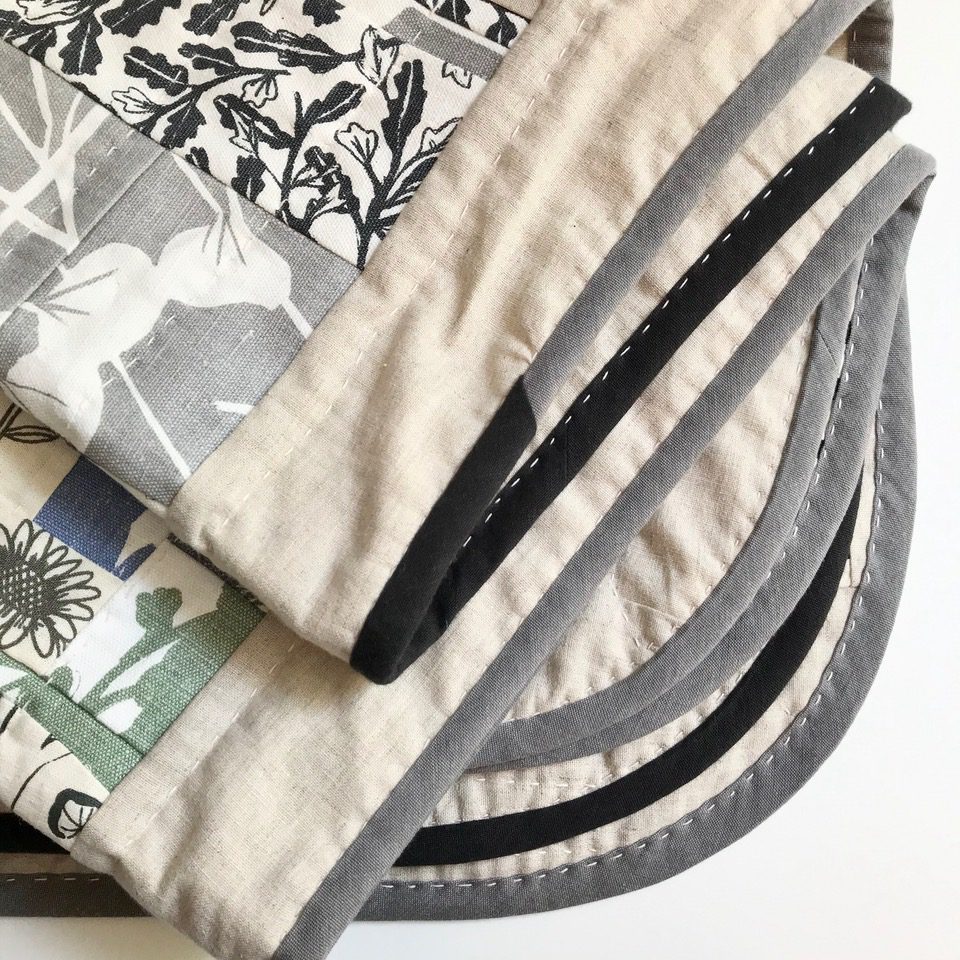
Pre-made double fold bias binding on ‘After The Rain’ quilt.
Summary
Along with finishing quilts, bias binding is excellent in apparel sewing, bag-making, and for any other seam-finishing. Its applications are nearly endless!
Be sure to follow The Small Circle on Instagram for bias binding and other eco friendly notions.
Note: The fabrics used for the quilt in the video are mostly scraps from my stash of Sara Parker Textiles‘ hand-printed fabrics. The quilt itself is an improv piece inspired by the work and teaching of Sherri Lynn Wood.
RECENT BLOG entries
How To Use Bias Binding: A Full Tutorial + Video
How To Use Bias Binding: A Full Tutorial + Video
How To Use Bias Binding: A Full Tutorial + Video
How To Use Bias Binding: A Full Tutorial + Video
How To Use Bias Binding: A Full Tutorial + Video
How To Use Bias Binding: A Full Tutorial + Video
the latest
July 3, 2026
This week, I’m joined by Jamie Bright of Craft a Dream, and this conversation is such a treat. Jamie is a sharp businesswoman with a real gift for marketing, and her path into quilting is not the one you might expect. Before entering the quilting world, Jamie built valuable business experience in another field. When […]
tune into the
Craft to Career
Podcast
Each week get insights on how to turn your craft into a successful career. With both guest speakers and tips from myself, you get valuable, free education on the Craft to Career podcast!


