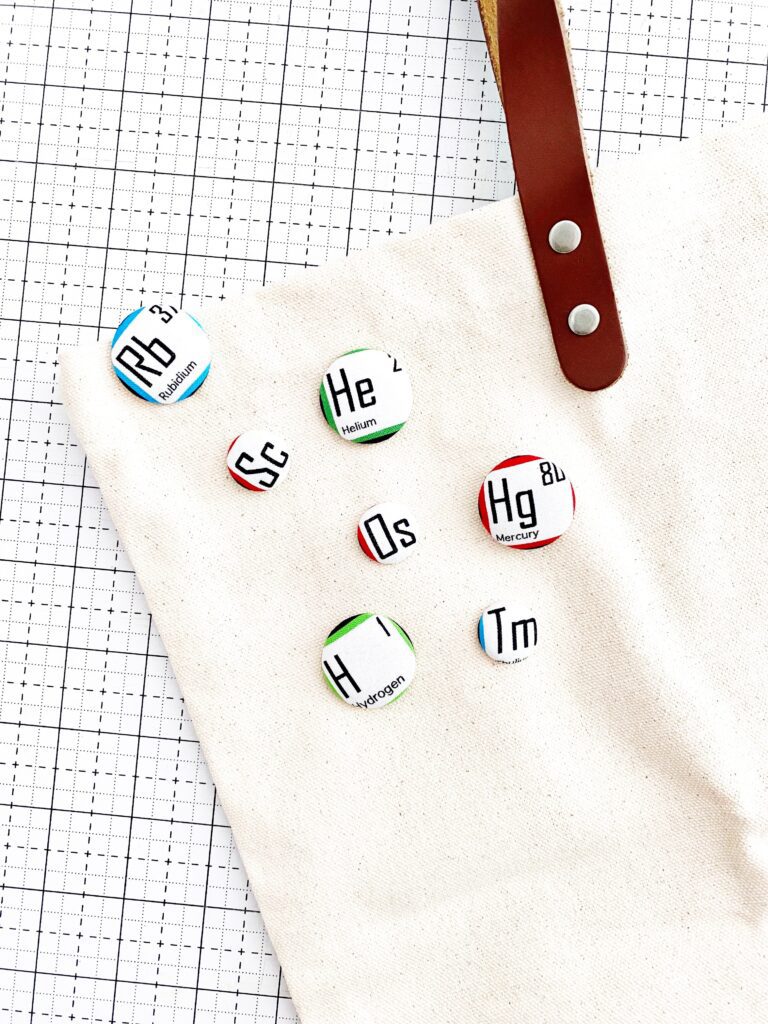
Hello everyone!! Kymona from Kreative Kymona here today to show you how to make a couple of Chemistry Fabric Pins. This project is easy, fun, and will make any Chemistry lover happy!
I teach high school students on the weekend, and one of my coworkers loves science. She lives and breath science. So when I saw this chemistry fabric, I knew I had to purchase it and make something for her.
Chemistry Fabric Pins came right to mind. She could wear them wherever she goes. I also made enough for her to share with others.
Guess what?! There is no sewing involved!!
Let’s get right to it!!
How to MAke CHemistry Fabric Pins
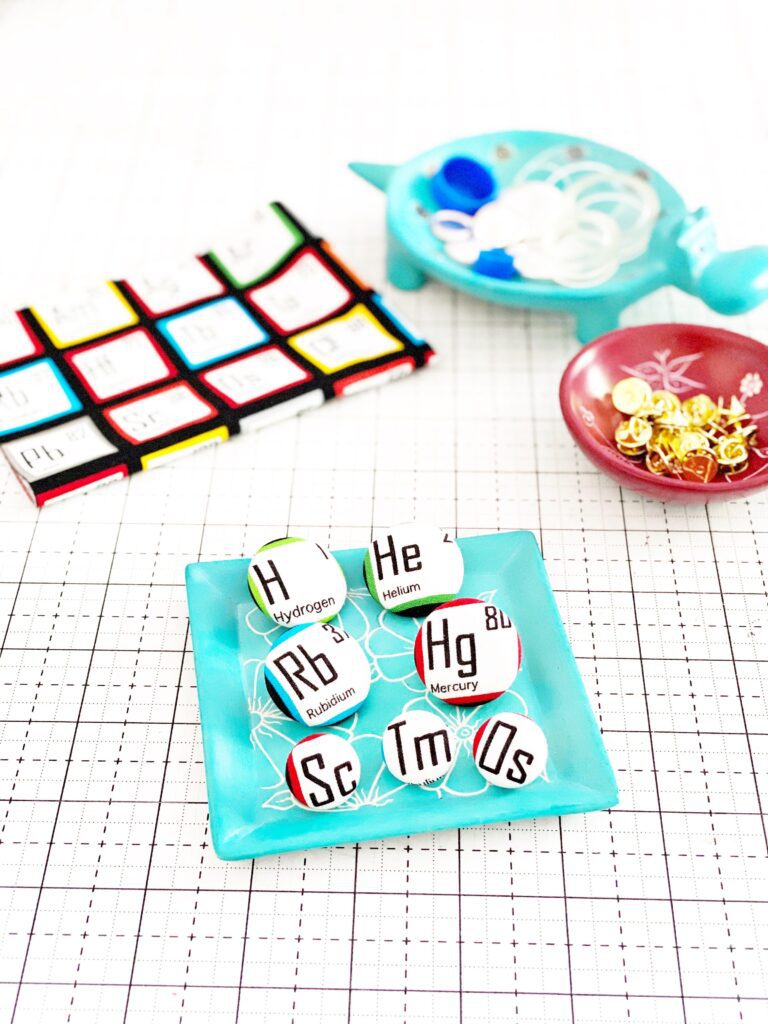
Materials
Science Fair Periodic Table Multi Fabric by Robert Kaufman
The Craft Cover Button Kit comes with all the pieces you need to make different buttons based on the size you purchase.
Included in the kit: are buttons, plain backs, shank backs, a clear template, and tools.
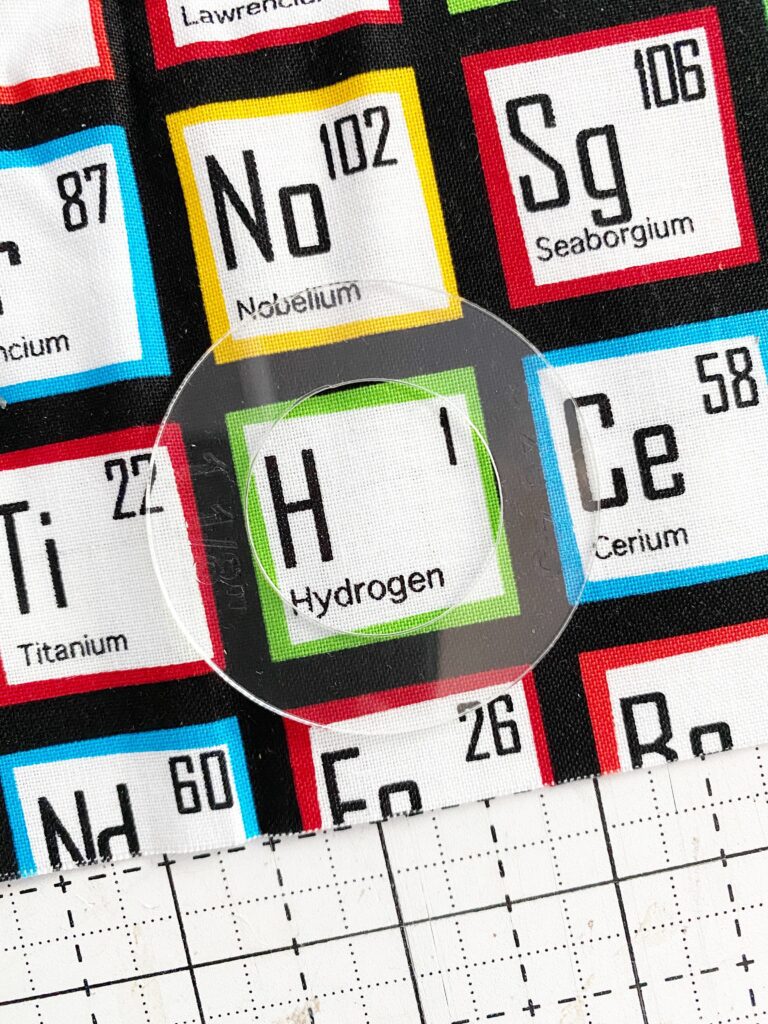
Cut the fabric: Using the clear template, center the image in the center of the template and use the rotary cutter to cut the circle out. If you aren’t steady with the rotary cutter, use a fabric marker and trace a circle, then cut with a pair of scissors.
Repeat for each button.
Making the Button
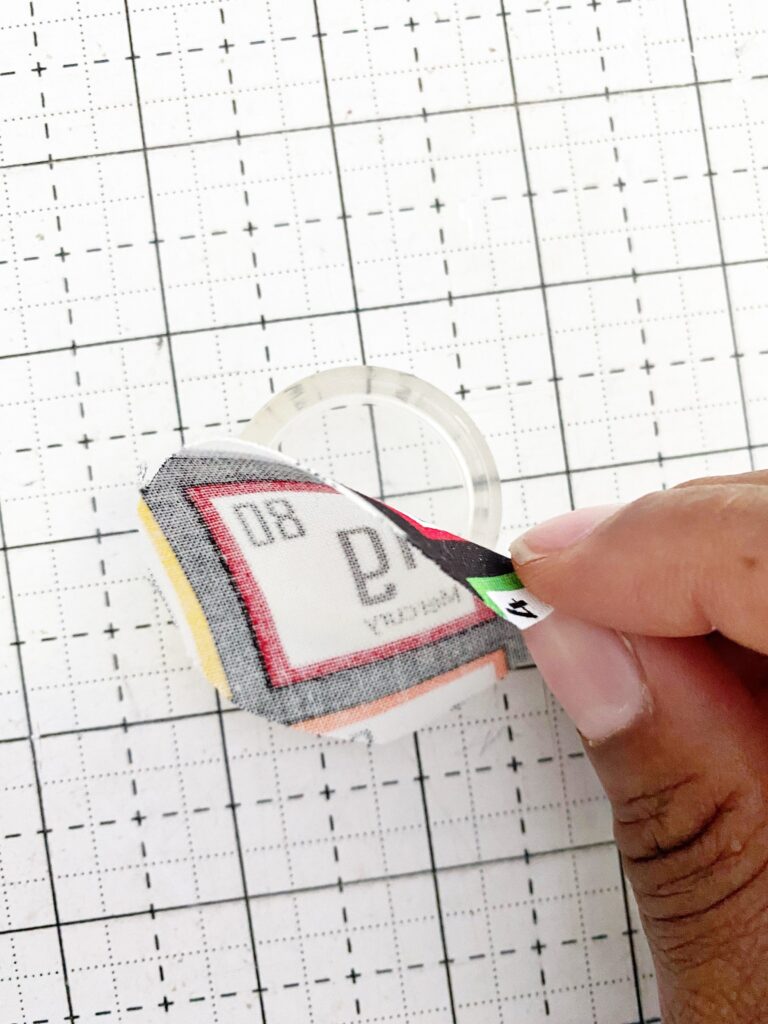
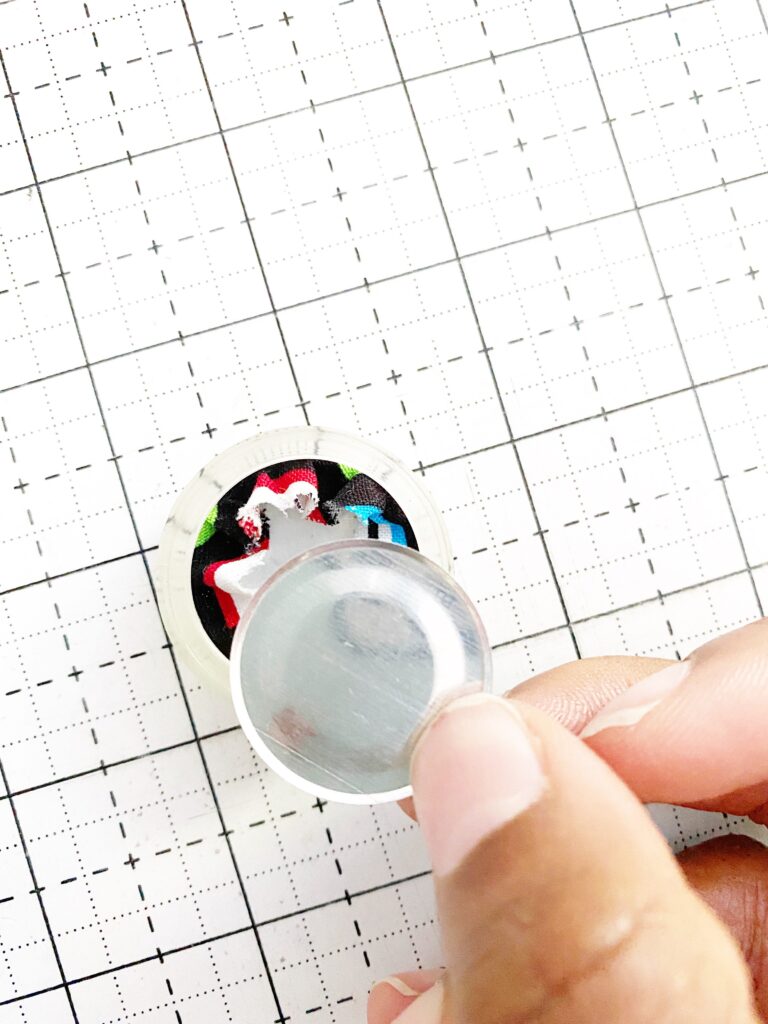
Step One: Place the transparent tool on the table with the opening facing upwards.
Step Two: Center the fabric over the opening.
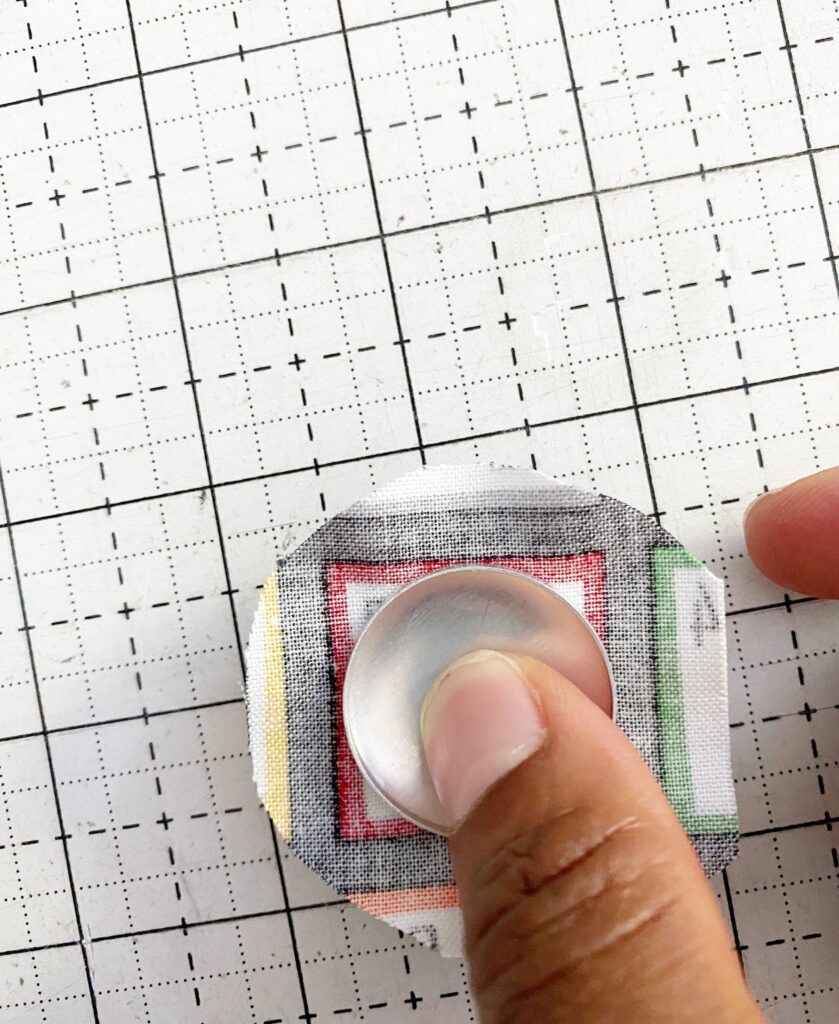
Step Three: Place the button on top of the fabric and push down with your fingers. Turn it over to make sure your design is centered. If not, remove both pieces and start again.
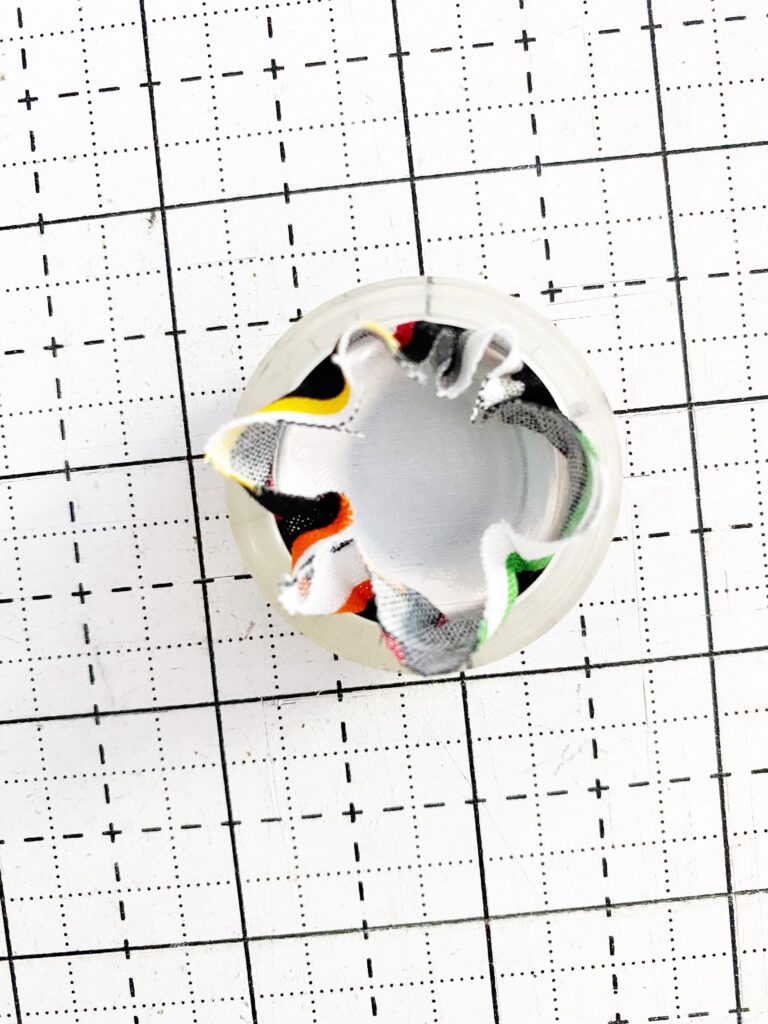
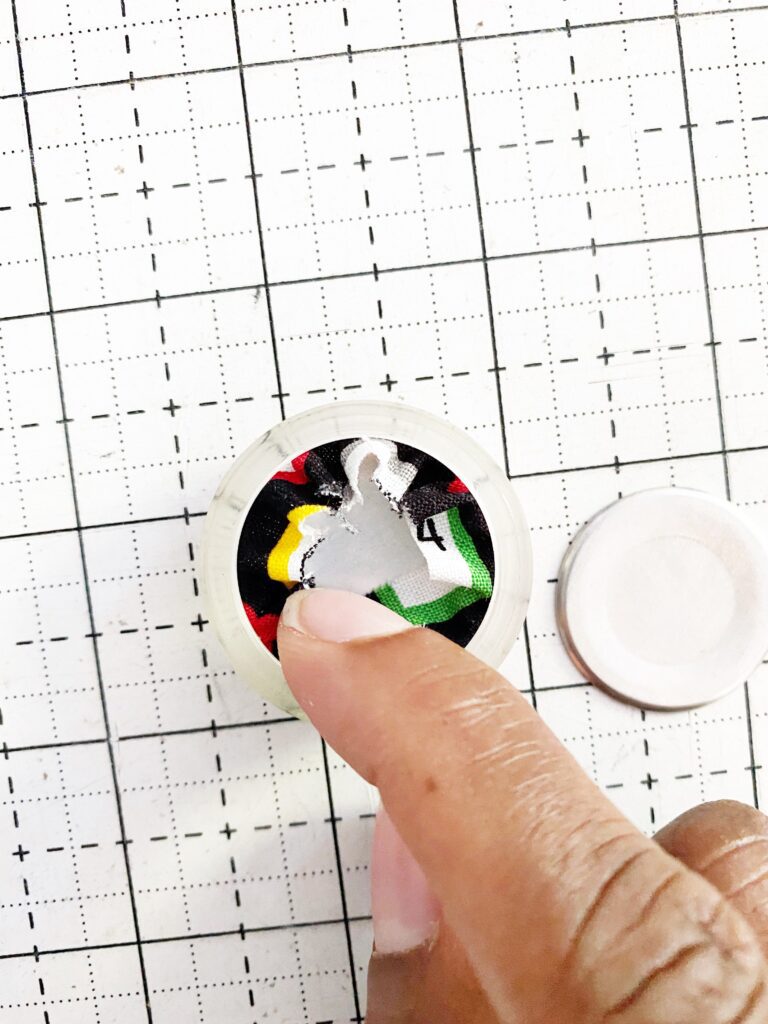
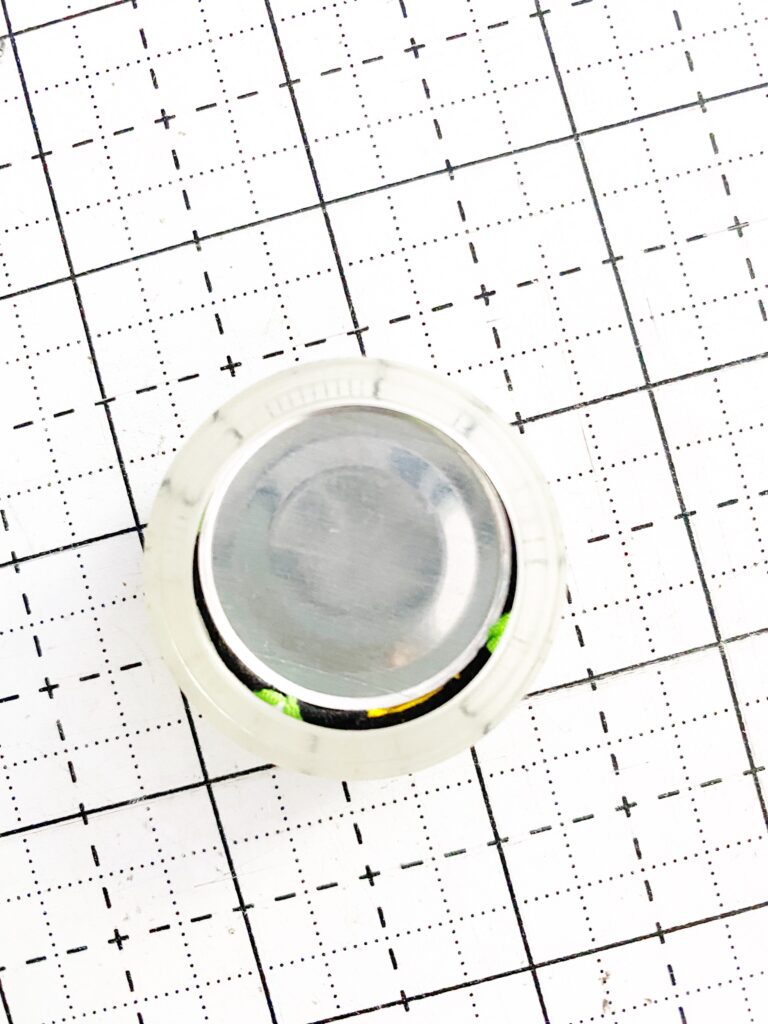
Step Four: Once you are happy with the center placement of your image, place the plain back on top of the fabric.
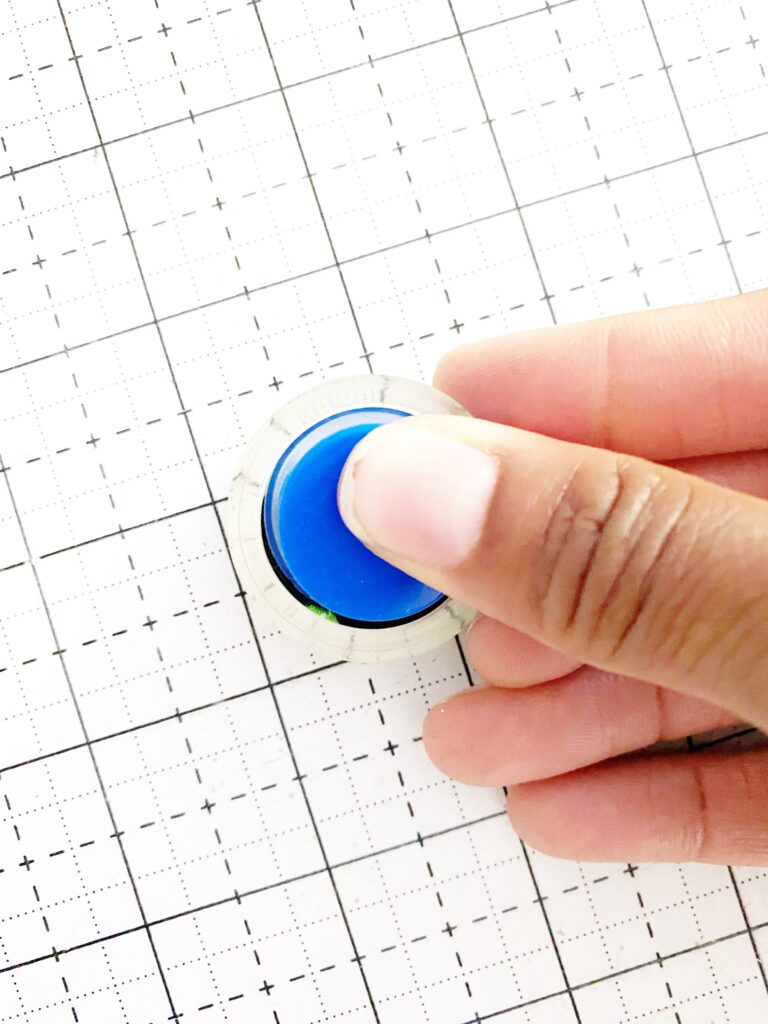
Step Five: Use the blue tool to push the plain back onto the button, sealing the fabric ends underneath. You will know it’s closed once you hear a click or feel the click.
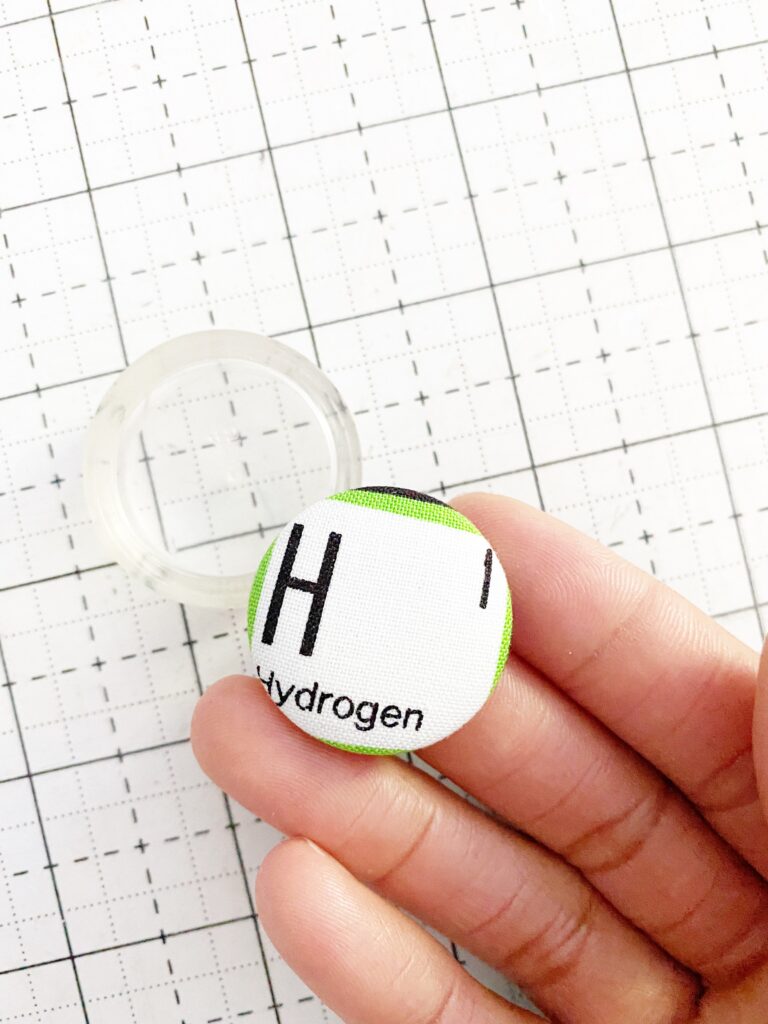
Step Six: Push the finished button out of the transparent tool, and VOILA, you have a fabric cover button!!!!
Now it’s time to make pins out of these buttons!
Making the Pin
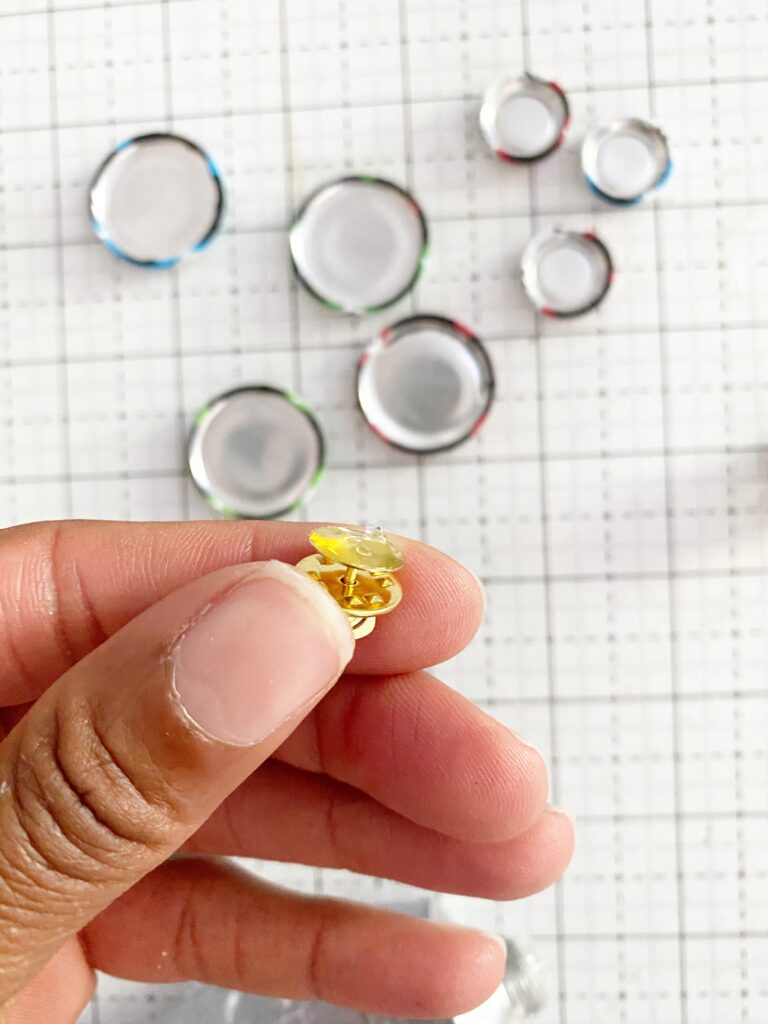
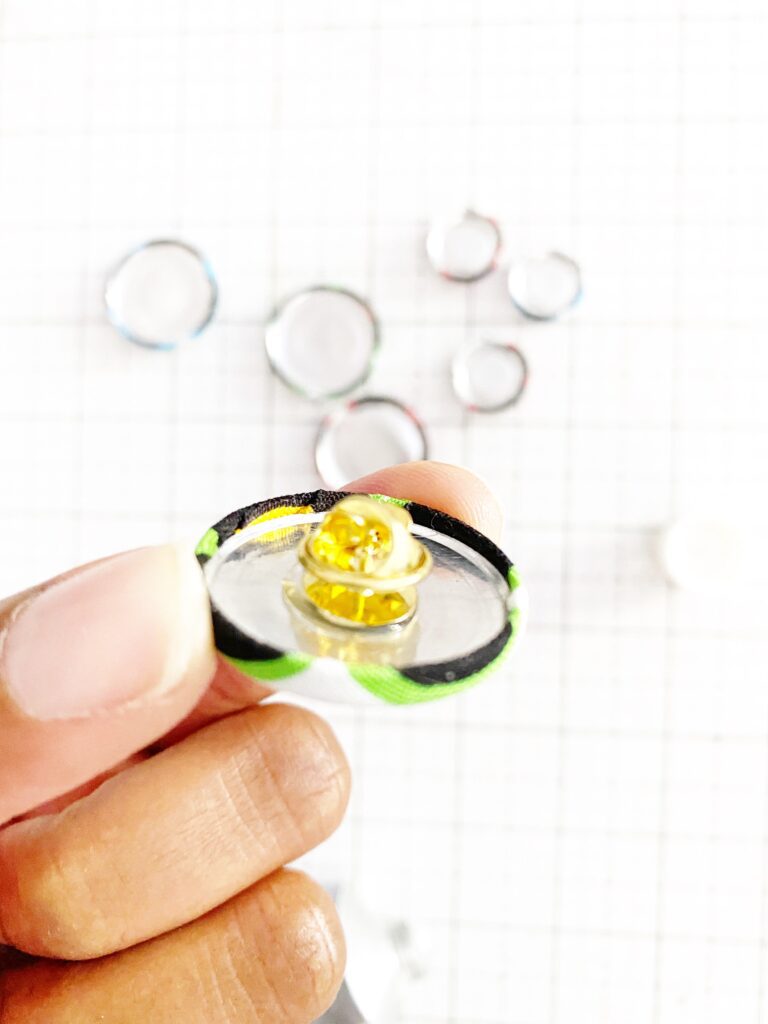
Step One: Add glue to the back of the pin.
Step Two: Place the glued pin to the back of the button and press hard. Let dry!
Yayyy!! Aren’t these pins the cutest things you’ve seen?
Get ready for your next science fair!! These will make the perfect science teacher gifts!
MORE BLOG POSTS LIKE THIS ONE
Did you enjoy this tutorial? Be sure to check out these free tutorials: