How to Make a Fabric Birthday Banner
June 28, 2022

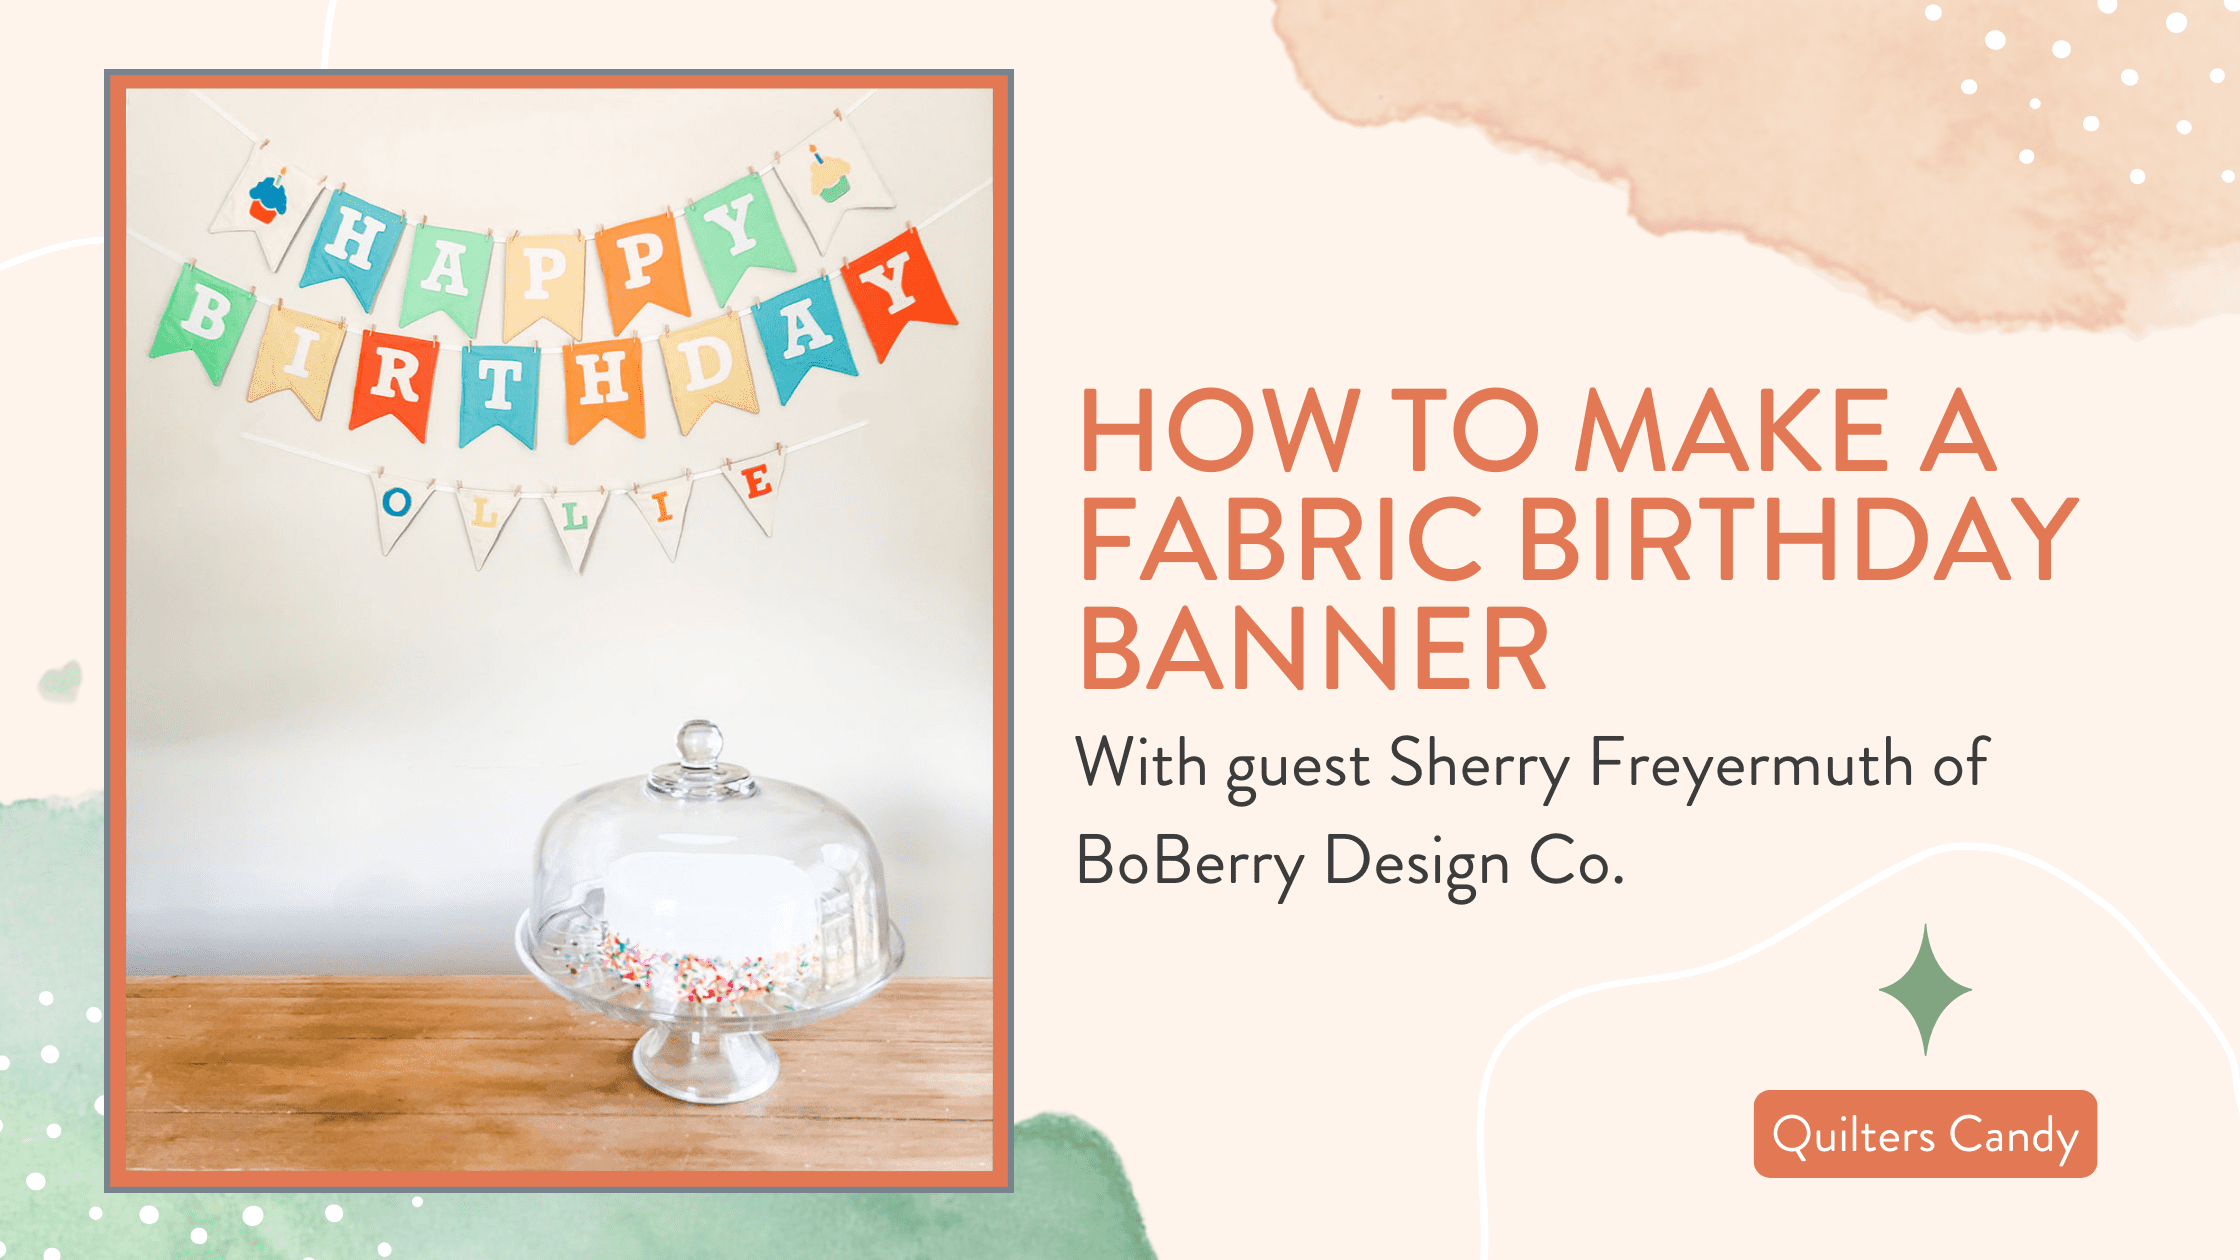
Hi there! I’m Sherry, the owner and designer behind BoBerry Design Co., and I’m so excited to share my Happy Birthday banner project with you today! All the templates for this tutorial are available as a free download here.

CRAFTING A TRADITION

I love this project because it’s the beginning of a new tradition in my household. I grew up crafting all the time with my mom. In fact, she’s a major part of my business today, working behind the scenes on every quilt pattern, cut and sew project, and appliqué design that I create. She always decorates with different quilts for each season, and I remember the excitement my brother, sister, and I would feel when our favorite “Boo” quilt was put up every September. It signaled the shift to all things fall: back to school, cooler weather, and best of all, Halloween! In the winter, we had a “Beary Merry Christmas” advent calendar, and I LOVED moving that bear closer and closer to finding Christmas day.

Sherry of BoBerry Design Co. with her boys in front of sewn birthday banner

 Our birthday banner is already approved by my boys, but cake was definitely required to get these smiles!

I’ve recently purchased a new home, and I’m ready to start my own traditions with my two boys, Ben and Ollie. That’s why I designed this fabric birthday banner that can be changed up with each of our names. Unlike a paper banner that we’d be lucky to use a couple times, this one is going to last us for many years to come!

BIRTHDAY BANNER MATERIALS

The yardage listed is based on the project pictured in this post, which includes 15 larger banners and 5 smaller banners. Yardage will vary based on how many banners and what size you choose for your own designs. This can also be a fun scrap buster where you can mix and match colors as desired.

–       Approximately 1 yard of fabric for banners

–       Approximately 1 yard of fabric for banner backing

–       Again, approximately 1 yard of batting

–       Fusible web for appliqué

–       ⅓  yard fabric for appliqué letters

–       Free downloadable project template

BIRTHDAY BANNER INSTRUCTIONS

Cut banner pieces including: banner, backing, and batting using template.

Pin front to back right sides together—batting on wrong side of backing.

Fabric banner front sides facing each other

Stitch ¼” through all 3 layers, leaving 3” opening on the side.

sewn banner with 3 in opening

Trim rough edges and snip corners to reduce bulk when turning right side out.

Sewn banners side by side

Turn the right side out using tool to get points. Then turn the opening under and press.

Banner right side out with pins in it

Stitch close to edge 1/8” to finish banner construction.

BIRTHDAY BANNER APPLIQUÉ INSTRUCTIONS

If you’re not interested in doing a full applique design, I’ve created a customizable cut and sew panel that can be purchased in my shop, and it can include any letters of your choosing printed right on the banners. This saves time and makes it a more manageable project for young crafters, so you can include kiddos in the process of crafting your own tradition! 

Print out the required appliqué templates in this pattern. 

Trace the patterns onto fusible web and cut them out roughly with paper scissors. 

Adhere them to the back of your fabrics, following manufacturer’s instructions.

Cut the fabric shapes on the lines drawn.

Peel backing and arrange letters as desired on the banner background and fuse in place.

Banner with letter applique

Sew through all layers to stitch down just inside the edge of the appliqué. The example uses a zig zag stitch.

Sewing applique onto banner

Hanging the Banner

This banner is designed to be interchangeable. In my example, I have all the letters to spell everyone in my family’s name so we can use it all year long! I suggest using ribbon, twine, or string with mini clothespins to adhere your banners. Or if it suits your preference, you can sew the banners directly to a piece of ribbon or a fabric strip. I like using command strips or hooks to adhere the ribbon to the wall. This project is flexible and lets you hang based on your own preference. Enjoy!

ABOUT BOBERRY DESIGN CO.

Mother/daughter team, Karen Saunders and Sherry Freyermuth are the ladies behind BoBerry Design Co.—Karen is an expert quilter and Sherry is a designer and illustrator, and together they create contemporary quilt patterns and sewing projects that are suitable for confident beginners as well as experienced quilters. If you make this project, tag us on Instagram @quiltingwithboberry

More Free Tutorials

If you liked this tutorial, be sure to check out these other free quilting tutorials!

or SEARCH THESE

Popular categories

Craft to Career
Digital Downloads
Patterns
Podcast
Quilt Alongs
Quilt Questions
Tutorials
back to the top

Copyright 2024 Quilters Candy  |  Terms & Conditions