Tips For Sewing a Zipper Pouch with the Baby Lock Crescendo

September 2, 2022

blog banner

Tips for Sewing a Zipper Pouch with the Baby Lock Crescendo.

Want to make a zipper pouch using your Baby Lock Crescendo?  It’s super easy! Keep reading for some tips on how to best use your Crescendo to sew up a zipper pouch!.

I wanted to try something a little different so I decided to make a zipper pouch. 

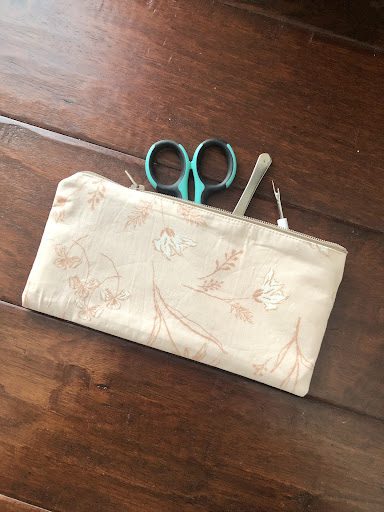
For this project, I used scrap fabric and a zipper I bought years ago and never used.  I love how my pouch turned out.  It’s the perfect size for a few quilt notions. 

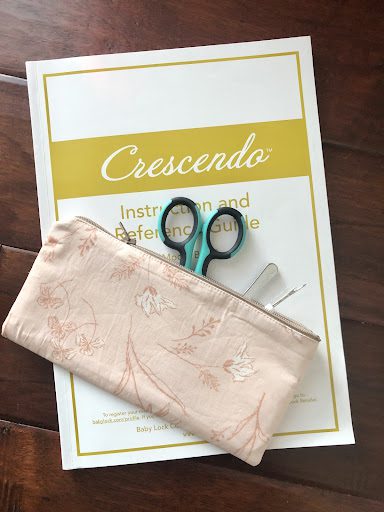
opened zipper pouch with quilting scissors and seam ripper

I followed a tutorial by Shevaun Corey of Sew Shevaun.  She wrote a blog post for Quilters Candy here that includes a download for a tutorial for her Slim Notions Pouch.  I followed her instructions, but made mine just a bit bigger.

Here are a couple tips for using your Baby Lock Crescendo to sew a zipper pouch.

Tip #1

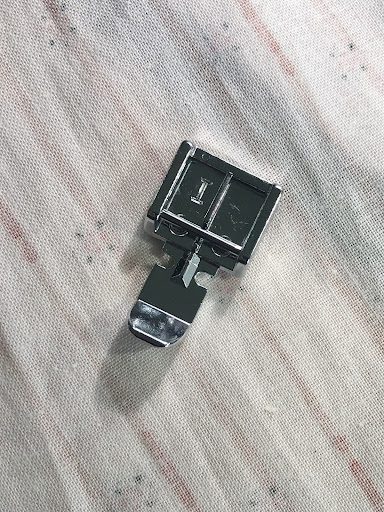
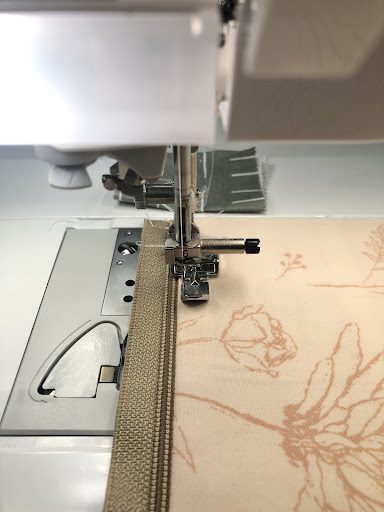
Use a zipper foot!  It may seem obvious, but using the zipper foot makes it so much easier to sew close to the zipper.  Here’s a photo of the zipper foot and what it looks like when sewing the zipper into my pouch.  The zipper foot is very narrow allowing you to sew super close to the raised edge of the zipper.

Zipper foot
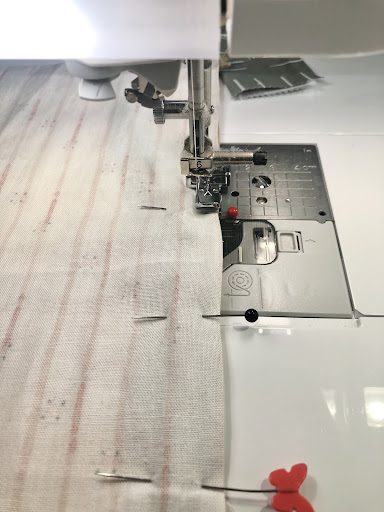
sewing with the zipper foot

Tip #2

Use the edge of the zipper foot as a fabric guide.  As you can see in the photo above, I was able to line up the edge of my fabric with the edge of the zipper foot. This seemed to be the perfect seam allowance that allowed me to still sew close to the zipper edge.  (The zipper is underneath my striped lining fabric in the above photo.)

Tip #3

Topstitch next to the zipper to keep fabric out of the zipper teeth.  After sewing the outside panels and lining to each side of the zipper, I pressed the fabric away from the zipper.  I then sewed a topstitch at the very edge of the fabric.  This helps to ensure that the fabric doesn’t get stuck in the teeth of the zipper.  Also, this is another great time to use the zipper foot.  It allowed me to sew close to the zipper and get a nice straight topstitch.  

Tips for Sewing a Zipper Pouch with the Baby Lock Crescendo

Tip #4

Sew slowly when sewing over the zipper.  I switched back to a regular presser foot to sew the edges of my pouch together.  Remember to slow down as you sew over the bulk of the zipper ends where all the seams meet up.

Tip #5

Press the lining before sewing the opening closed.  After turning the pouch right side out, it’s time to sew the opening in the lining closed.  I found it easier to sew this after I pressed the seams at the opening in the lining. It helped keep everything lined up. 

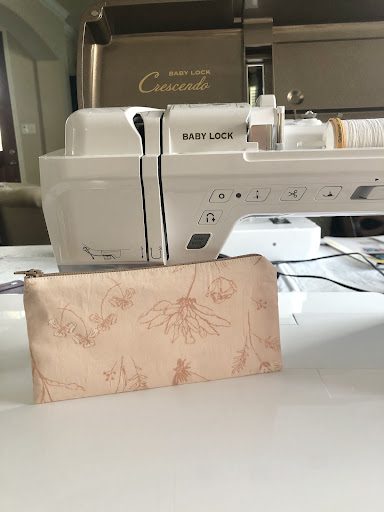
zipper pouch in front of Baby Lock Crescendo

That’s it! These are my best tips for sewing a zipper pouch on the Baby Lock Crescendo.  It was super easy! I was able to sew mine up in less than 2 hours!  I’m pretty sure I’ll be making more!

Crescendo Instruction pamphlet with the zipper pouch on top

If you want to see all of Baby Lock’s sewing machines, CLICK HERE

MORE POSTS LIKE THIS


Did you enjoy this free tutorial? Find more posts like this here:

or SEARCH THESE

Popular categories

Craft to Career
Digital Downloads
Patterns
Podcast
Quilt Alongs
Quilt Questions
Tutorials
back to the top

Copyright 2024 Quilters Candy  |  Terms & Conditions