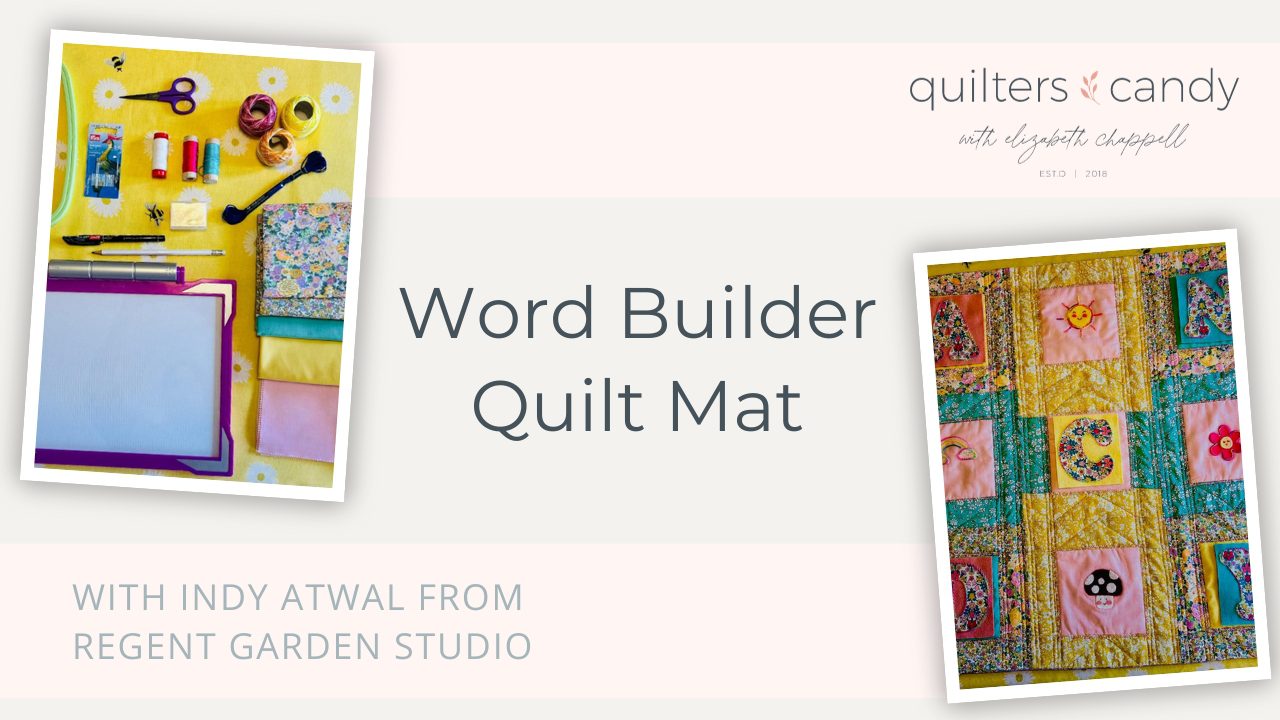
Word Builder Quilt Mat
January 9, 2024

Word Builder Quilt Mat

Hello, I am Indy, a quilter from Leamington Spa in the UK, and I love to quilt! After juggling working as a nurse and being a mum, I relish in my quilting time! I will find any opportunity to quilt.

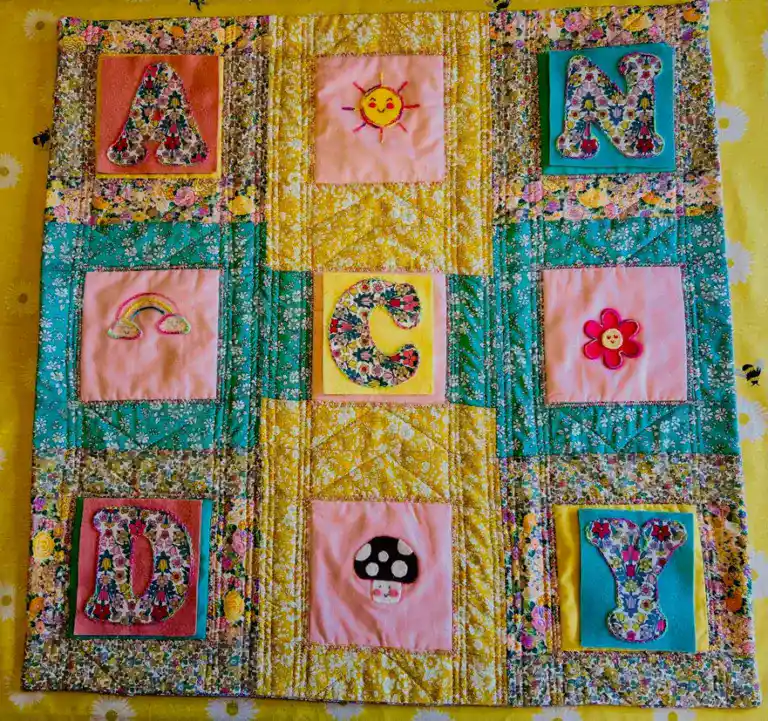
I came up with the word builder quilt mat as my daughter is currently learning how to spell and I thought I could make a fun and interactive mat for her to use as an aid. She loves the Kawaii plush toys so I incorporated the cute Kawaii faces to make her smile.

I hope you all like it as much as we do! It would make an adorable baby pram quilt as well, so multiple uses!

word builder quilt mat

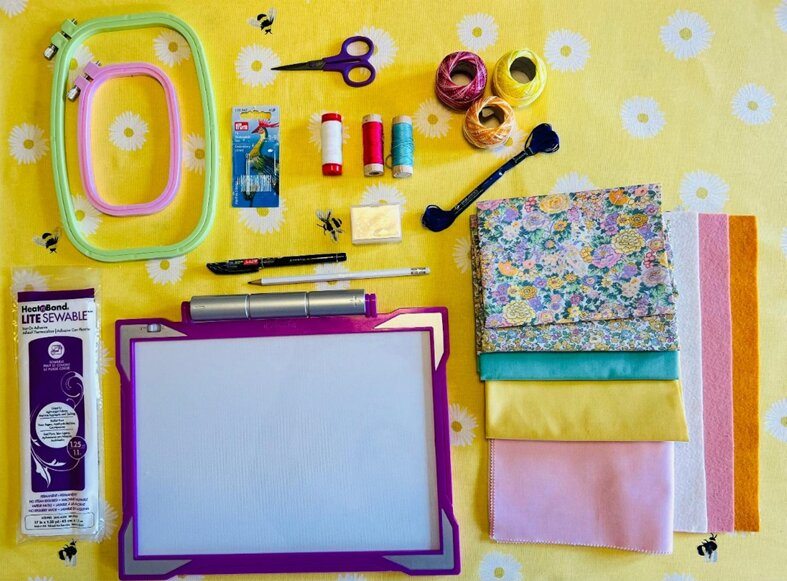
Supplies Needed

  • 100% wool felt (an assorted mix of colors) 
  • Wool thread, embroidery floss and pearl cotton
  • Embroidery needles 
  • Applique scissors 
  • Light box or iPad
  • Fusible Heat & Bond Light or similar (double sided fusible interfacing such as Bondaweb will work too) 
  • Embroidery hoop 
  • Pencil and temporary marker pen
  • Backing fabric 33” x 33”
  • Batting 33” x 33”
  • Cut out (5) 10” squares in plain fabric (I had some spare pink layer cakes)
  • Patchwork – I chose a fat quarter bundle from my stash – also a great scrap buster!   
supplies

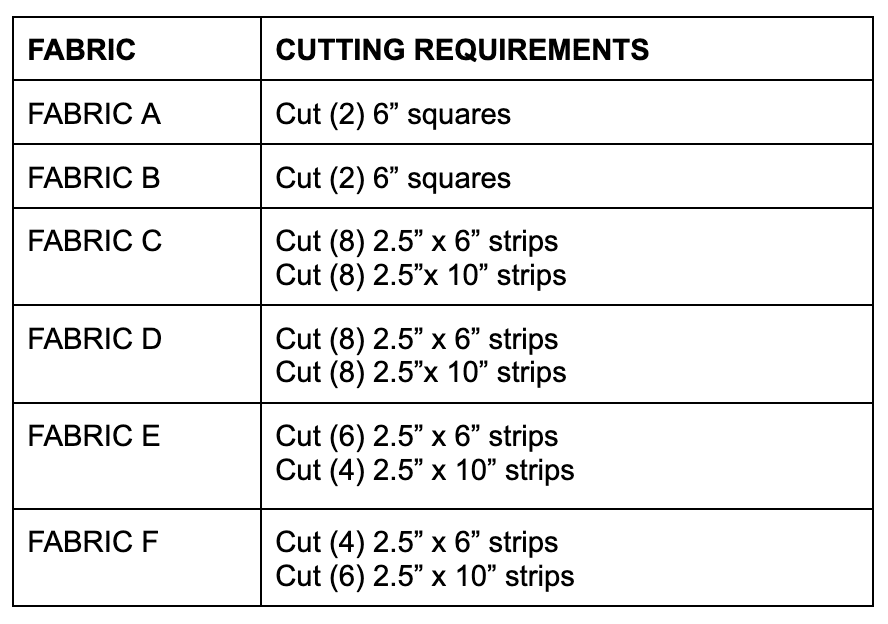
Patchwork Cutting instructions 

cutting instructions
cutting
fabric cutting instructions

Instructions

  1.  Grab your temporary marker pen and let’s begin! Transfer the applique designs onto the 10” square fabric using the light box or Ipad (don’t worry if you don’t have these to hand you can put your fabric on top of the design and put it on a window pane to trace out). Try to keep the design as central as possible, as we will be trimming down the fabric later into a 6” square to fit into the patchwork.  
rainbow

2. With your pencil we are now going to trace the wool applique designs on to the Heat and Bond Light again using the light box. Please remember to reverse the design, as when we come to stitching we will be flipping them over to affix. I mixed and matched between using the wool and embroidery stitches to make the design come to life and I would recommend for you to do the same and give it your own individual flair. Once you have traced the design cut a square around it as seen below, we will then affix it to the wool using a hot iron (avoid the steam setting, as this will affect the glue).

cut out

3. With your scissors cut out the wool applique shape, remove the backing and we are now going to iron onto the central design on the cotton. o.

wool backing

4. Place the fabric into an embroidery hoop and choose your matching wool thread. We are now going to whip stitch into place (match the thread to the wool colour).

wool mushroom
  1.  At this point I used 2 strands of embroidery floss to sew in a cute little Kawaii face. 

6. Using the pearl cotton I used chain stitch and split stitch to add details to the design (please refer to the stitch guide).

sun applique
flower applique

7. We are now going to trim down the appliques cotton patches to a 6” square. Use the diagonal guides on your ruler to make sure that the motif is centered.

flower applique

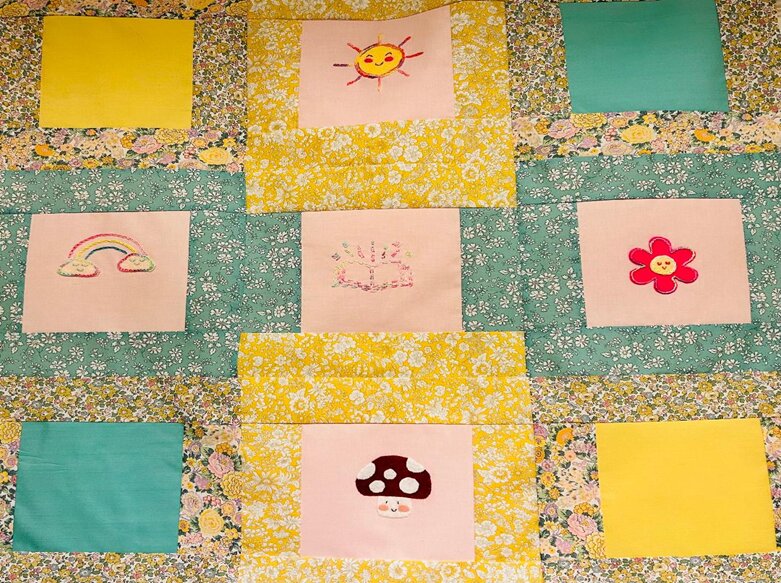
8. We are now ready to sew the patchwork! Mix and Match the patchwork as desired. We are using a ¼ inch seam allowance throughout. If you have a ¼ inch foot for your sewing machine, this is the perfect time to use it. Start by choosing any of the (2) 2.5×6” strips and sew to the side of the embroidered patch. Press seams outwards (away from the centre square). 

flower block

9. Sew the top and bottom patchwork pieces to frame the wool applique patch. Mix and match the other patchwork strips as desired and join into a row (remember to press seams out away from the centre square as you go).

quilt blocks
  1.  Join the 3 rows, by lining up and pinning. Alternate the direction of sewing to avoid distortion on the finished top. Nest the seams as you go, to ensure perfect corners. Square and trim the edges as needed. Press the word builder mat flat to measure 28×28”.

11. Finish the word builder mat by layering the top, batting and backing fabric to make a sandwich and quit as desired. I quilted with a mix of straight line quilting with a neutral thread across the entire top to keep the three layers together, and decorative stitching with a variegated thread around the letter blocks to embellish them. I decided to use a facing for the word builder mat to give it a neat finish. Follow my blog at https://regentgardenstudio.co.uk  to see a tutorial on applying a facing onto a quilt top.

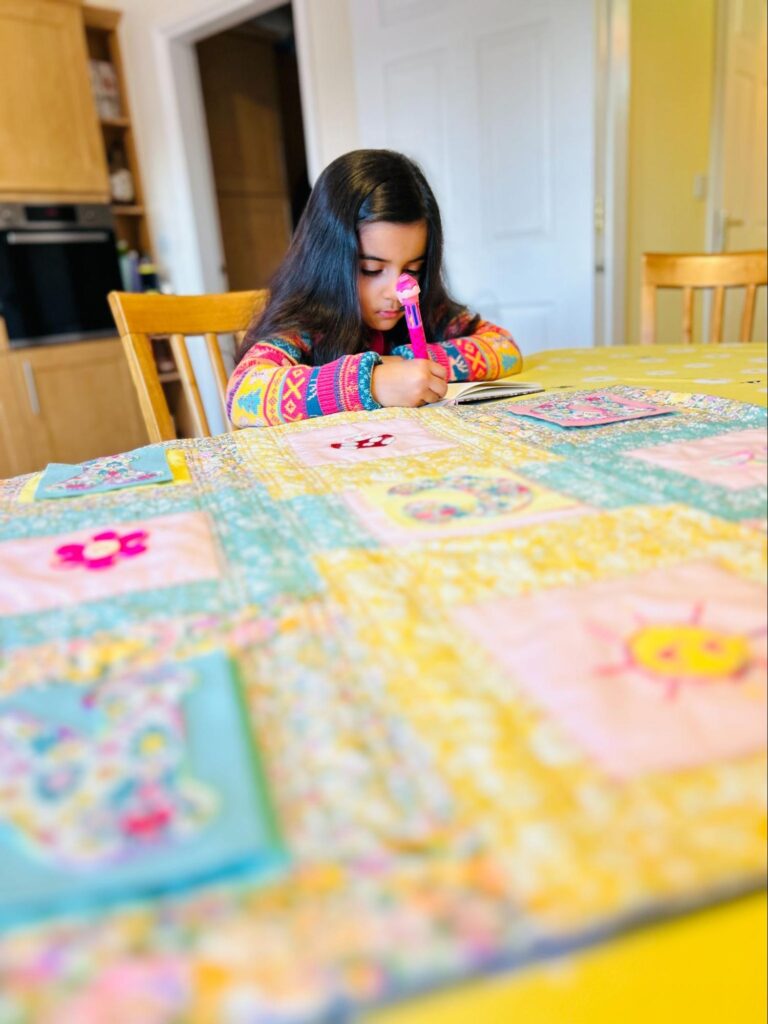
Tada! Here is my daughter building her words. We’ve kept the rules quite simple – make as many words as you can from the 5 letters on the mat. 

I hope you have enjoyed my tutorial on how to make a word builder quilt. You can find out how I made the wool decorative letters and more fun projects on my blog https://regentgardenstudio.co.uk  

MORE BLOG POSTS LIKE THIS ONE

Did you enjoy this tutorial? Be sure to check out these free tutorials: 

Notebook Pencil Pouch

How to Make Fabric Pins

Quilty Baby Mobile

or SEARCH THESE

Popular categories

Craft to Career
Digital Downloads
Patterns
Podcast
Quilt Alongs
Quilt Questions
Tutorials
back to the top

Copyright 2024 Quilters Candy  |  Terms & Conditions