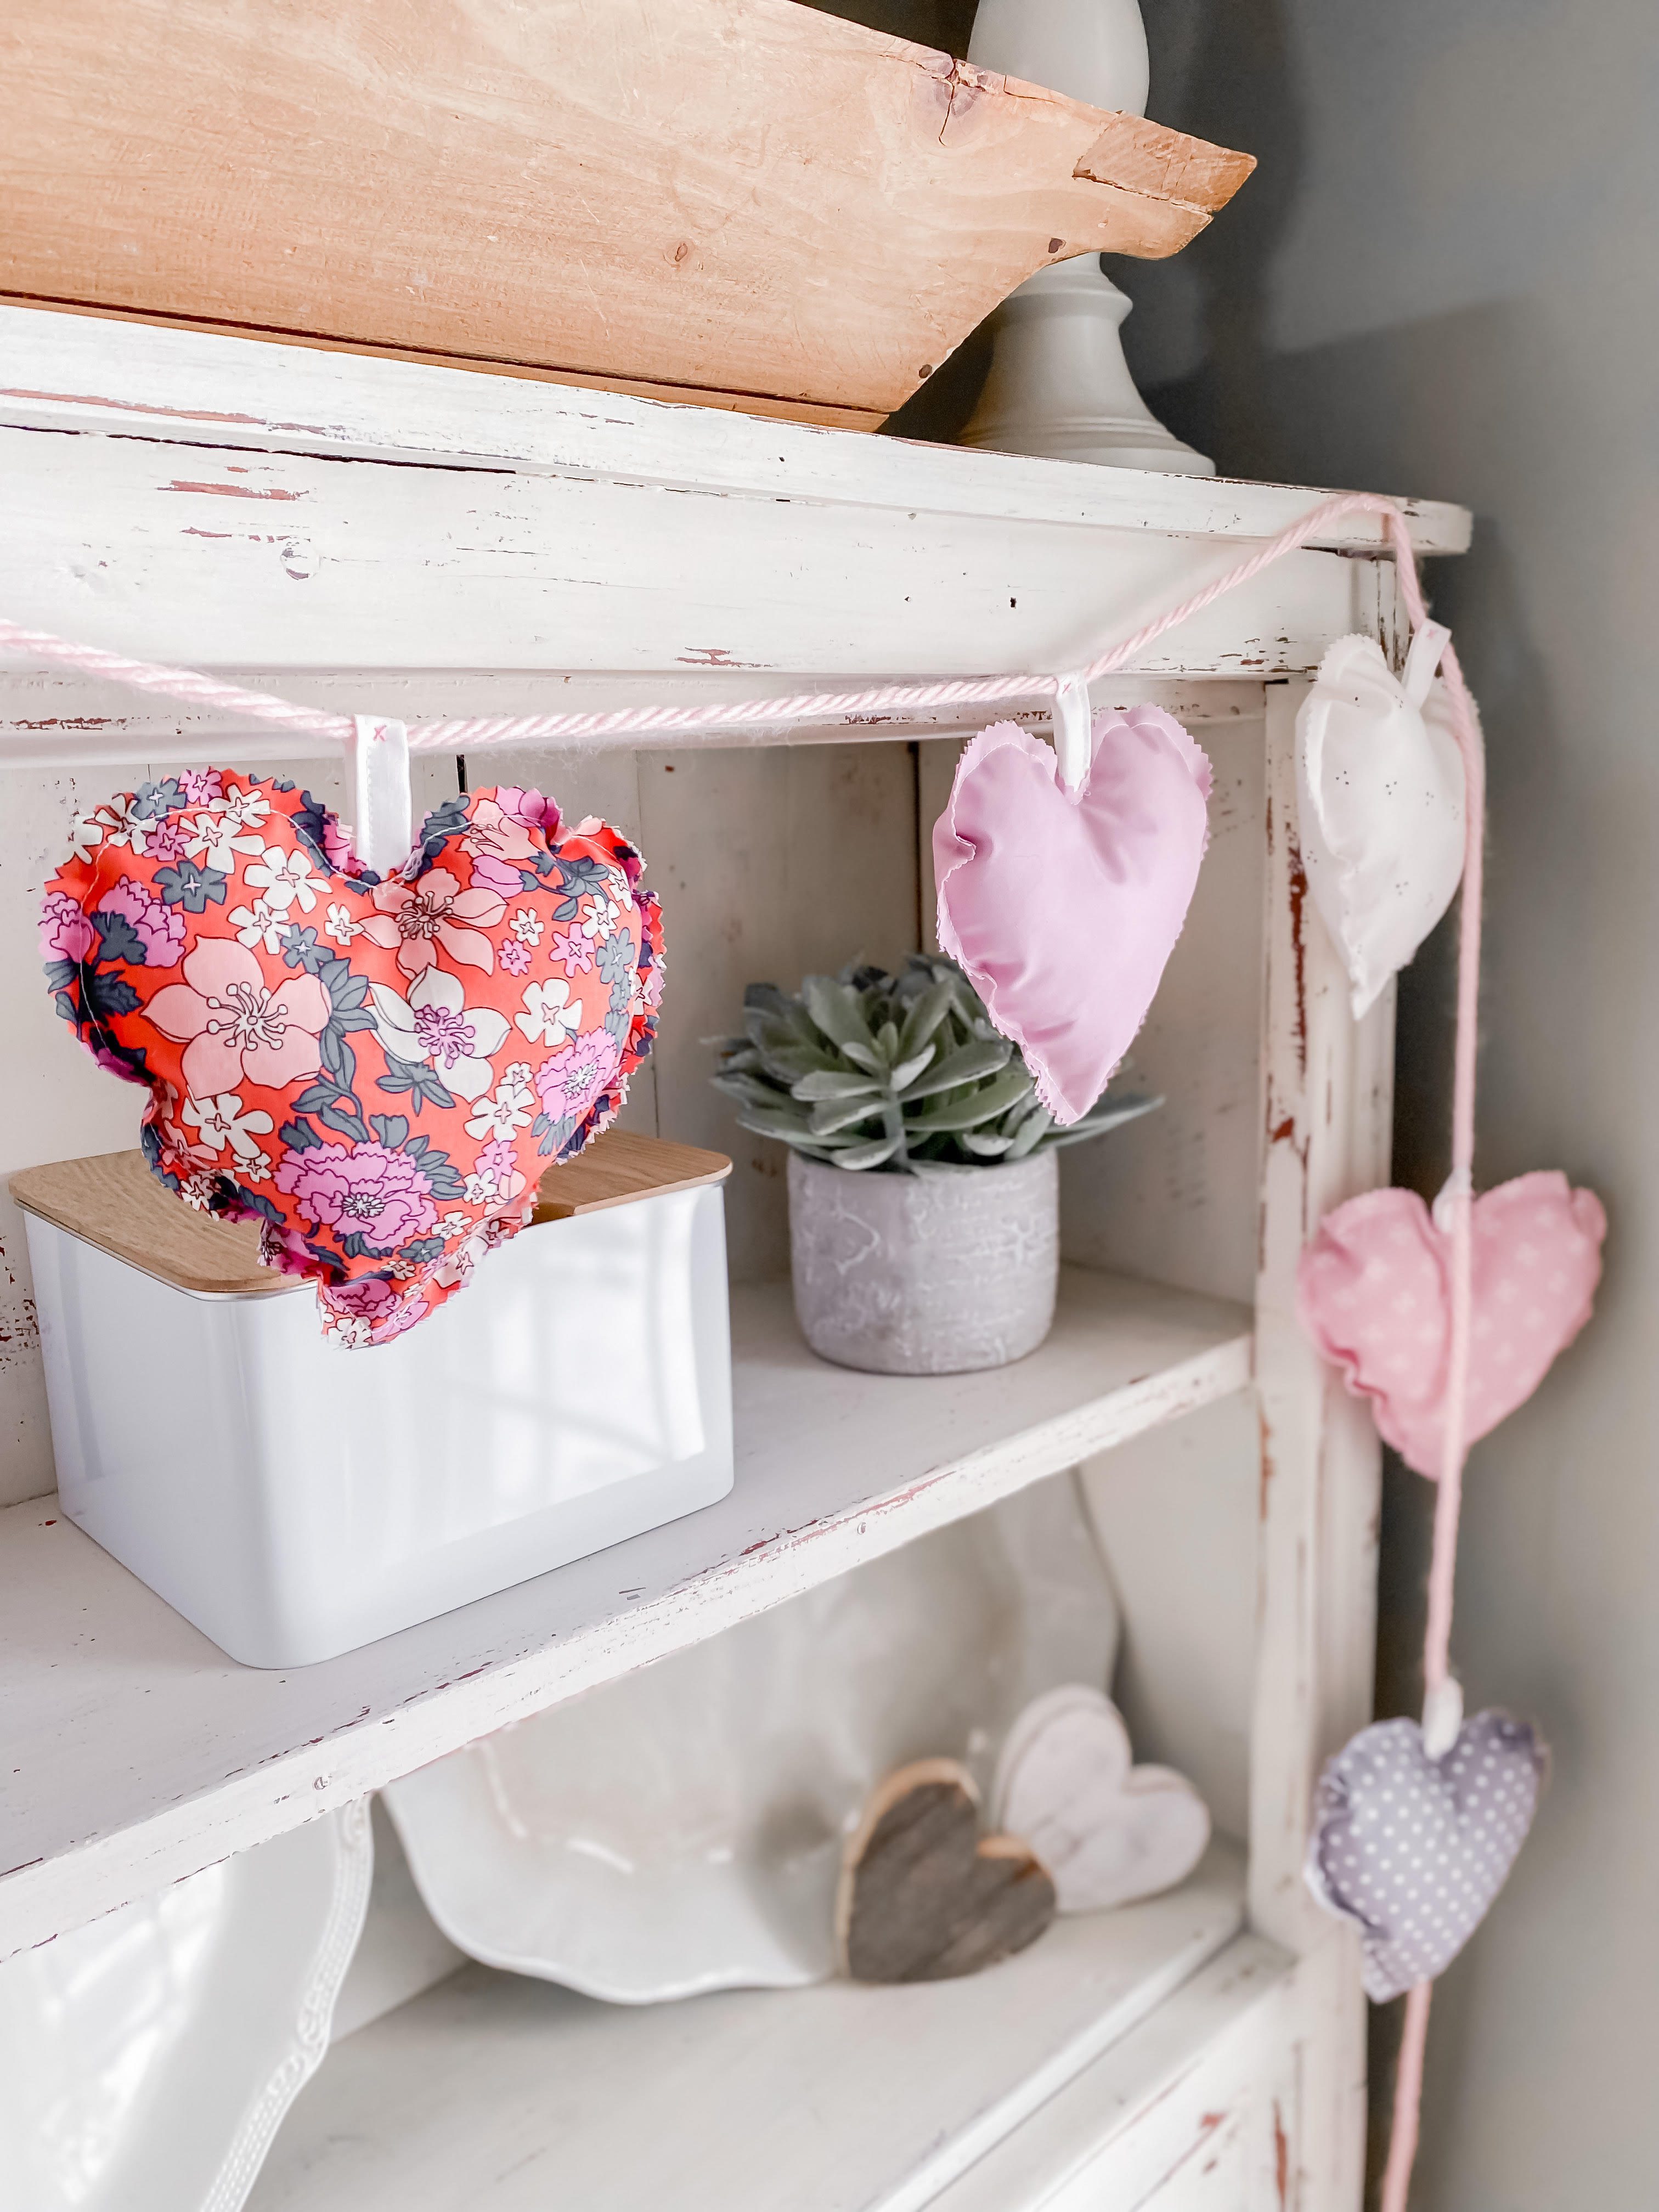
How to make a frayed edge heart Valentine’s Garland

January 25, 2022

Guest Post - How to Make Frayed Edge Heart Valentine's Garland

Hi everyone!  I’m so thrilled to be writing this week’s guest blog post for Quilter’s Candy!  How To Make A Frayed Edge Heart Valentine’s Garland.  I’m Jennie of JennieKayQuilts.  I have been quilting and sewing for about 13 years now, and recently with the help of Elizabeth’s Quilt Pattern Writing Course, started writing my own quilt patterns!

One of my absolute favorite holidays to decorate for is Valentine’s Day.  There’s something about the bright pinks and florals that make winter feel a little warmer, and in the Northeast we can use that!  In my house, as soon as Christmas comes down, Valentines goes up!

So let’s jump right in. 

How to make a frayed edge heart valentine's garland

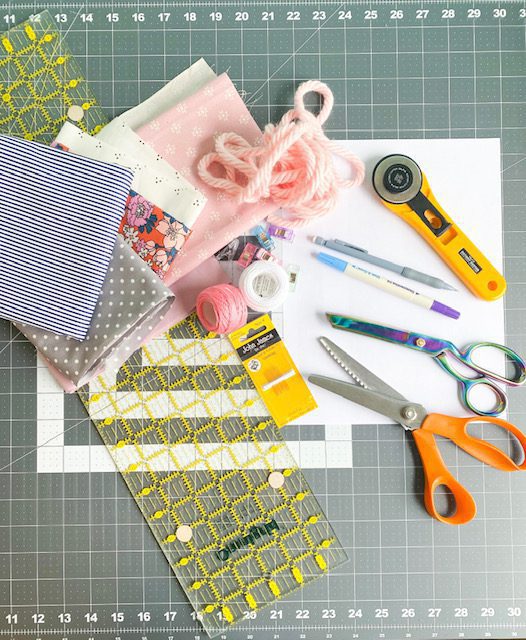
Below is a list of supplies you will need:

  • Blank piece of paper.  This will be used to create your heart template.
  • Fabric Scraps
  • Pinking Scissors/Shears
  • Disappearing Ink Pen/Fabric Marker
  • Regular Scissors
  • Fiber Fill
  • Sewing Machine
  • Thread
  • Embroidery Floss
  • Hand Sewing Needle
  • Super Bulky Weight Yarn
  • Rotary Cutter
  • Cutting Mat
  • Binding Clips or Pins
blogphoto1

Step One:  Making the heart template

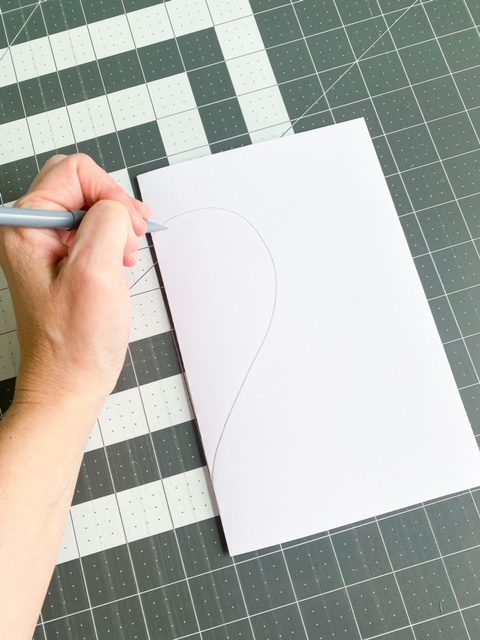
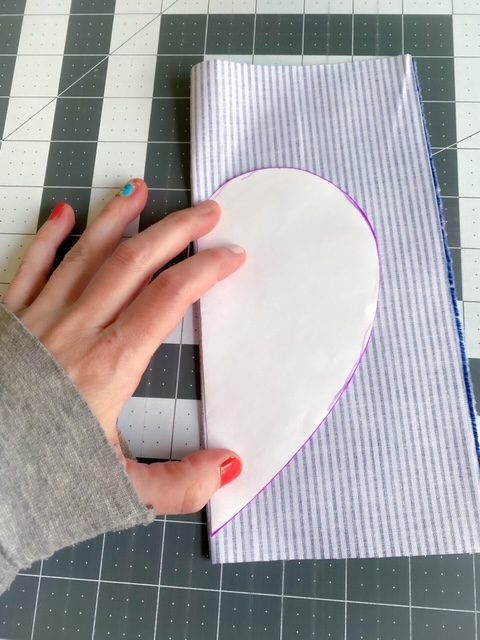
I like to freehand my heart template, that way I’m not using something that is copyrighted (if you were making these to sell, there is always a chance that could become an issue.)  It can take you a few tries to get the heart shape you desire.  I fold my paper in half and draw just one side of the heart, which helps to make it symmetrical.


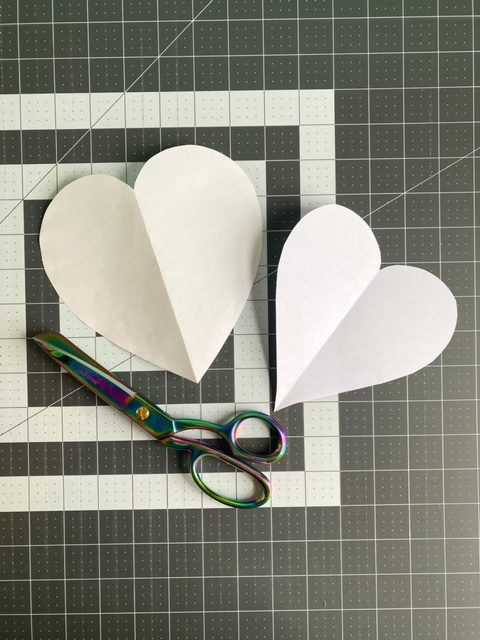
Once you are satisfied with your heart shape, cut it out using regular scissors.


Step Two: Making your fabric hearts

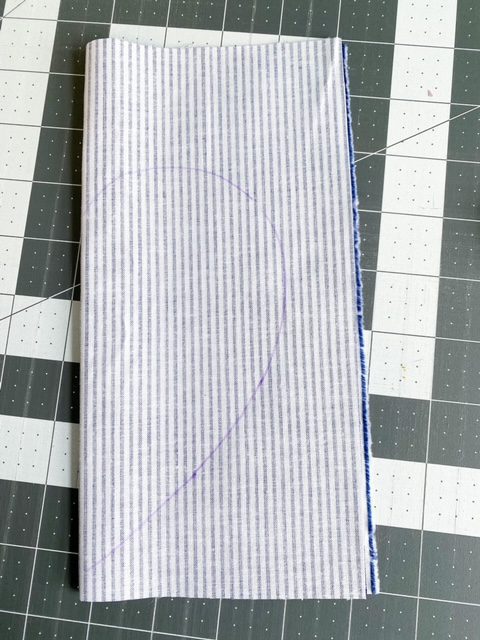
Using your template and keeping it folded, place it on top of your fabric scrap which should also be folded in half.

blogphoto4


Make sure that the heart template covers all of the fabric.  Take your fabric marker and trace the outline of the template onto the fabric.  You will want to do this twice, so you have a front and back piece for your heart.


blogphoto5


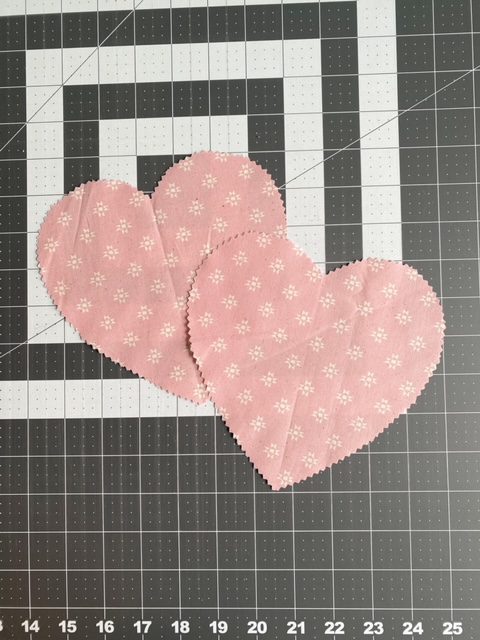
Now take your pinking scissors and cut around the outline.  I usually cut right on the line and don’t worry about marker showing, it will disappear later.  If for some reason you are concerned you can always cut just inside the line.

You should have two pieces that look like this.


Step Three: Make a tab for your hearts

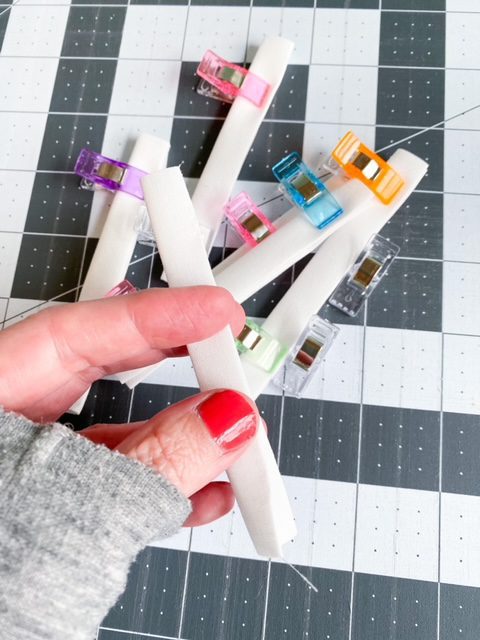
Take another fabric scrap (this could match the heart you just made or be different) and using your rotary cutter, cut a 2” x 4” strip.  Finger press your strip in half lengthwise, making sure you can see the crease.  Open and finger press each end towards the middle where you made your first crease.  Now fold in half and pin in place.  


blogphoto7


Sew your tab along the unfolded edge.

Step Four: Sewing your fabric heart

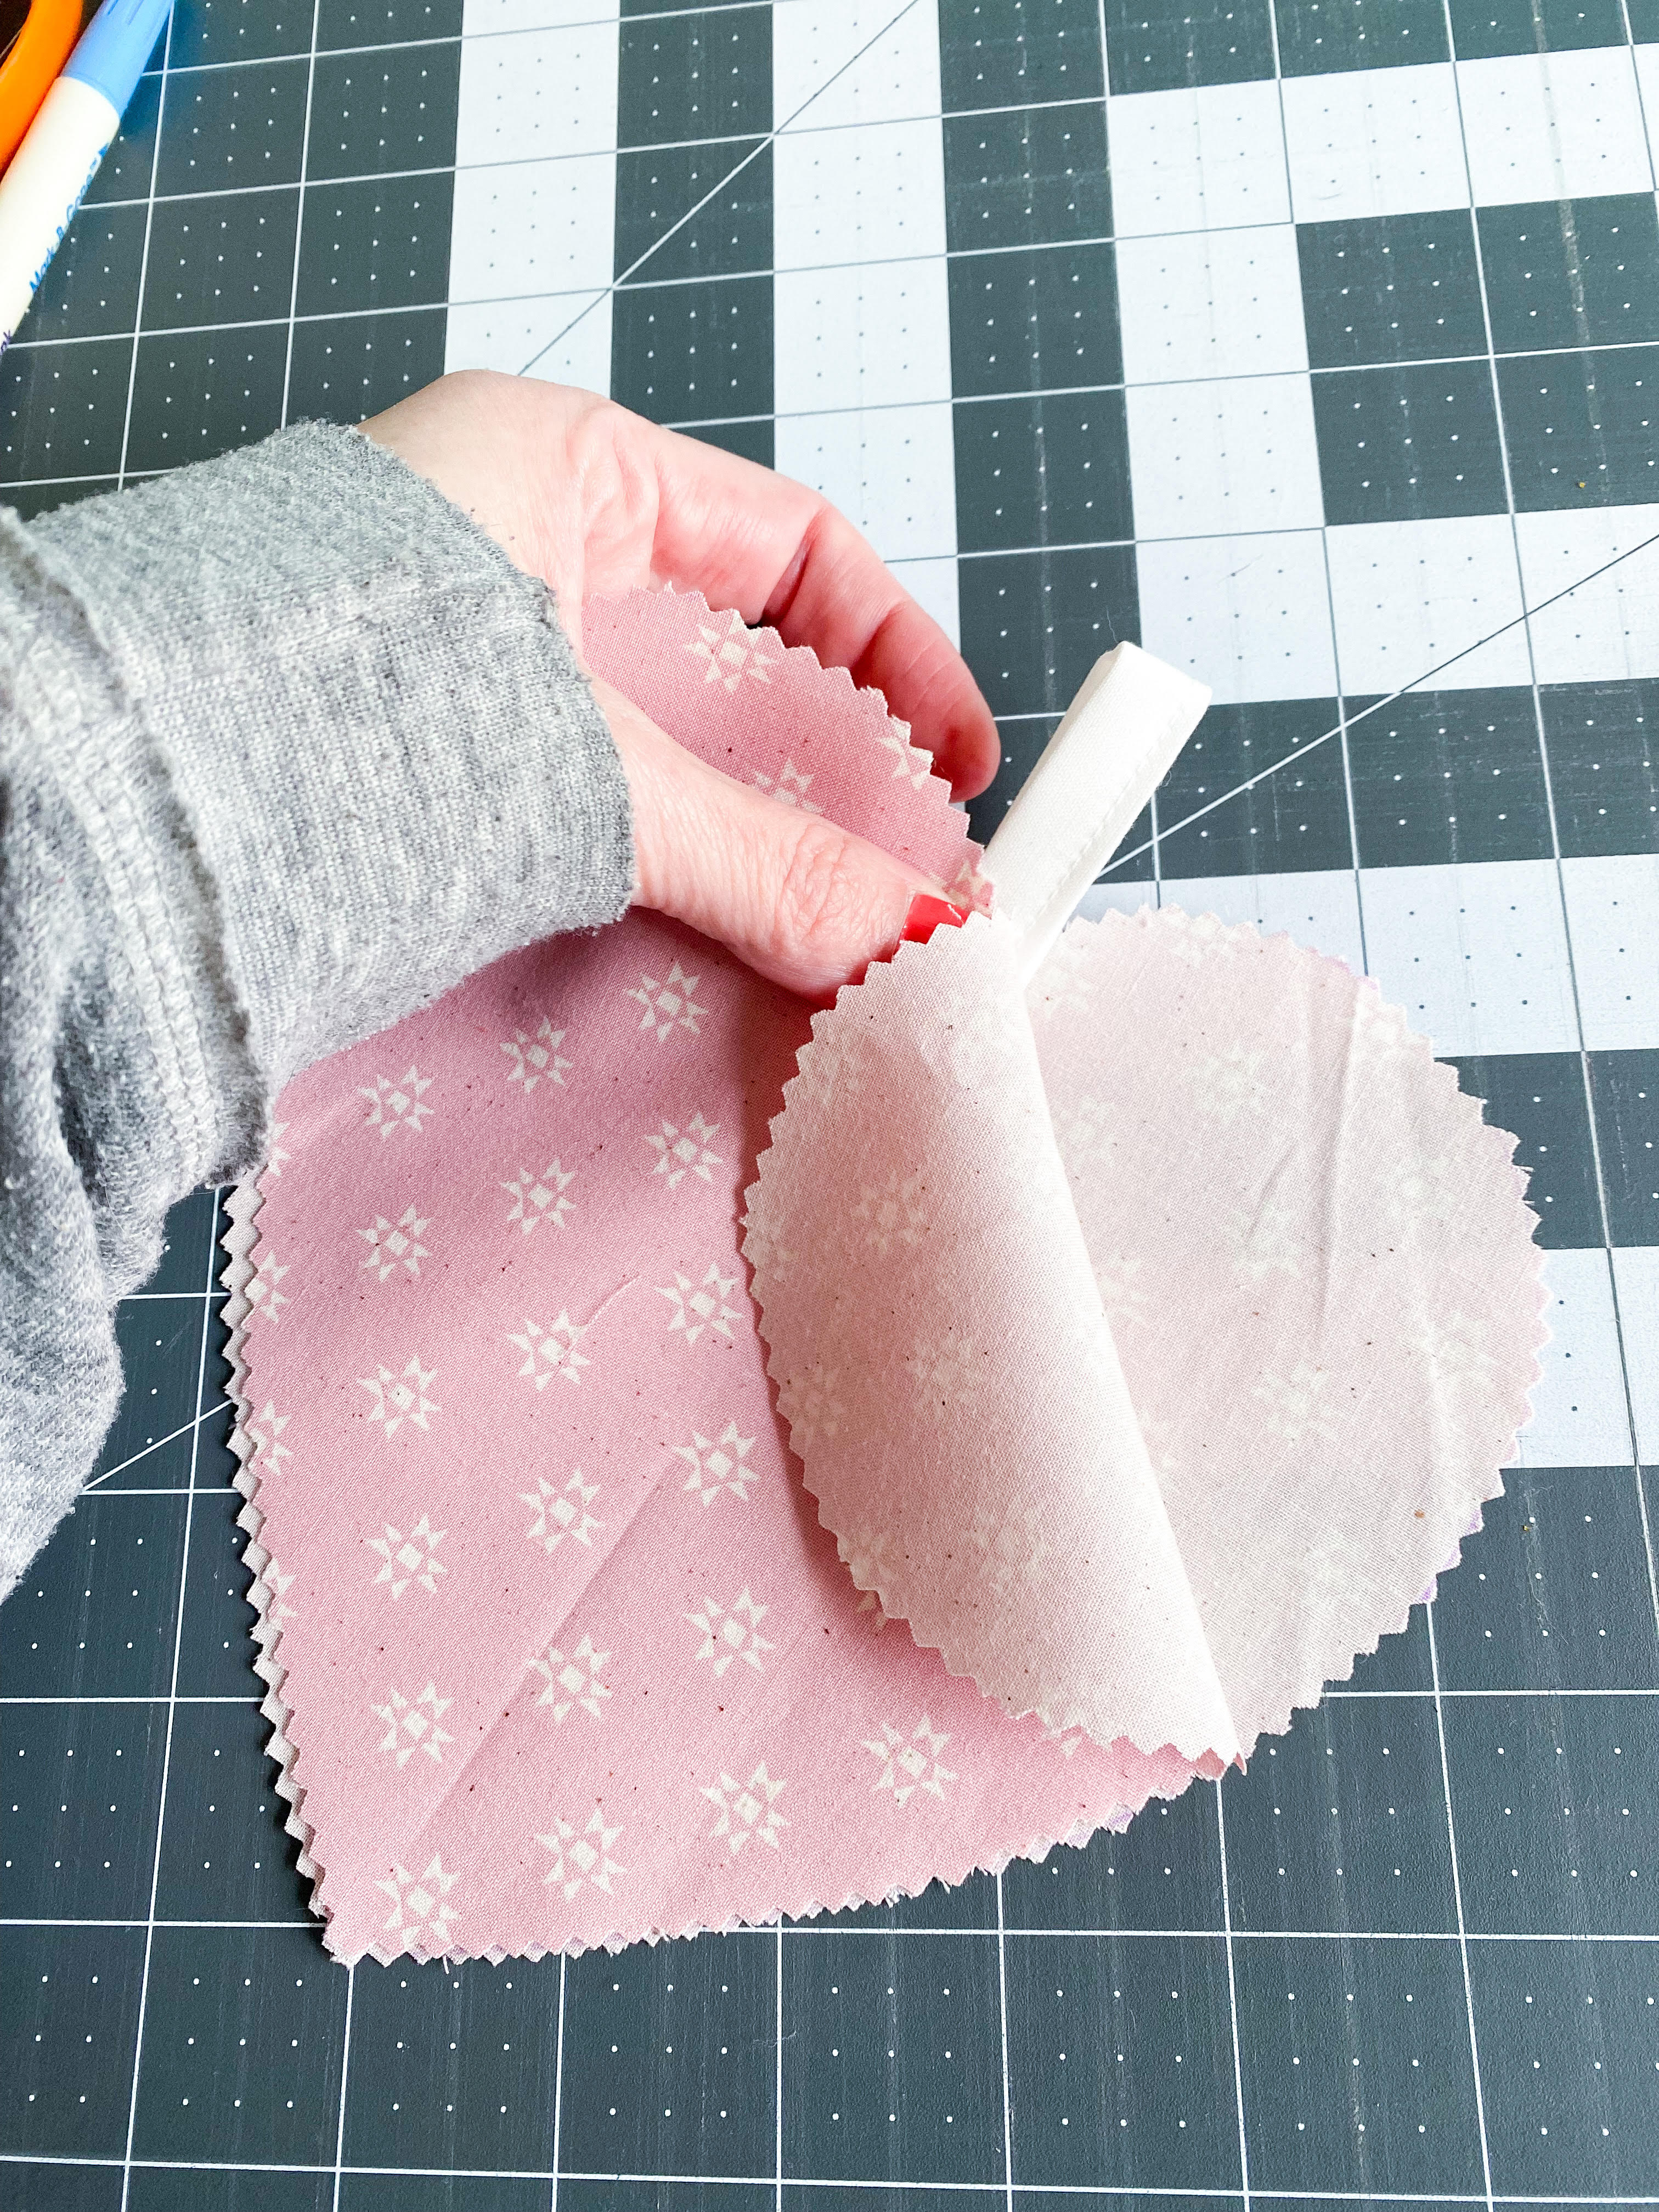
Take your two heart pieces and place them wrong sides together.  Place your fabric tab at the top of the heart, folding in half to make a loop and insert it about ½ “ between the two heart pieces.  Pin in place.


blogphoto8


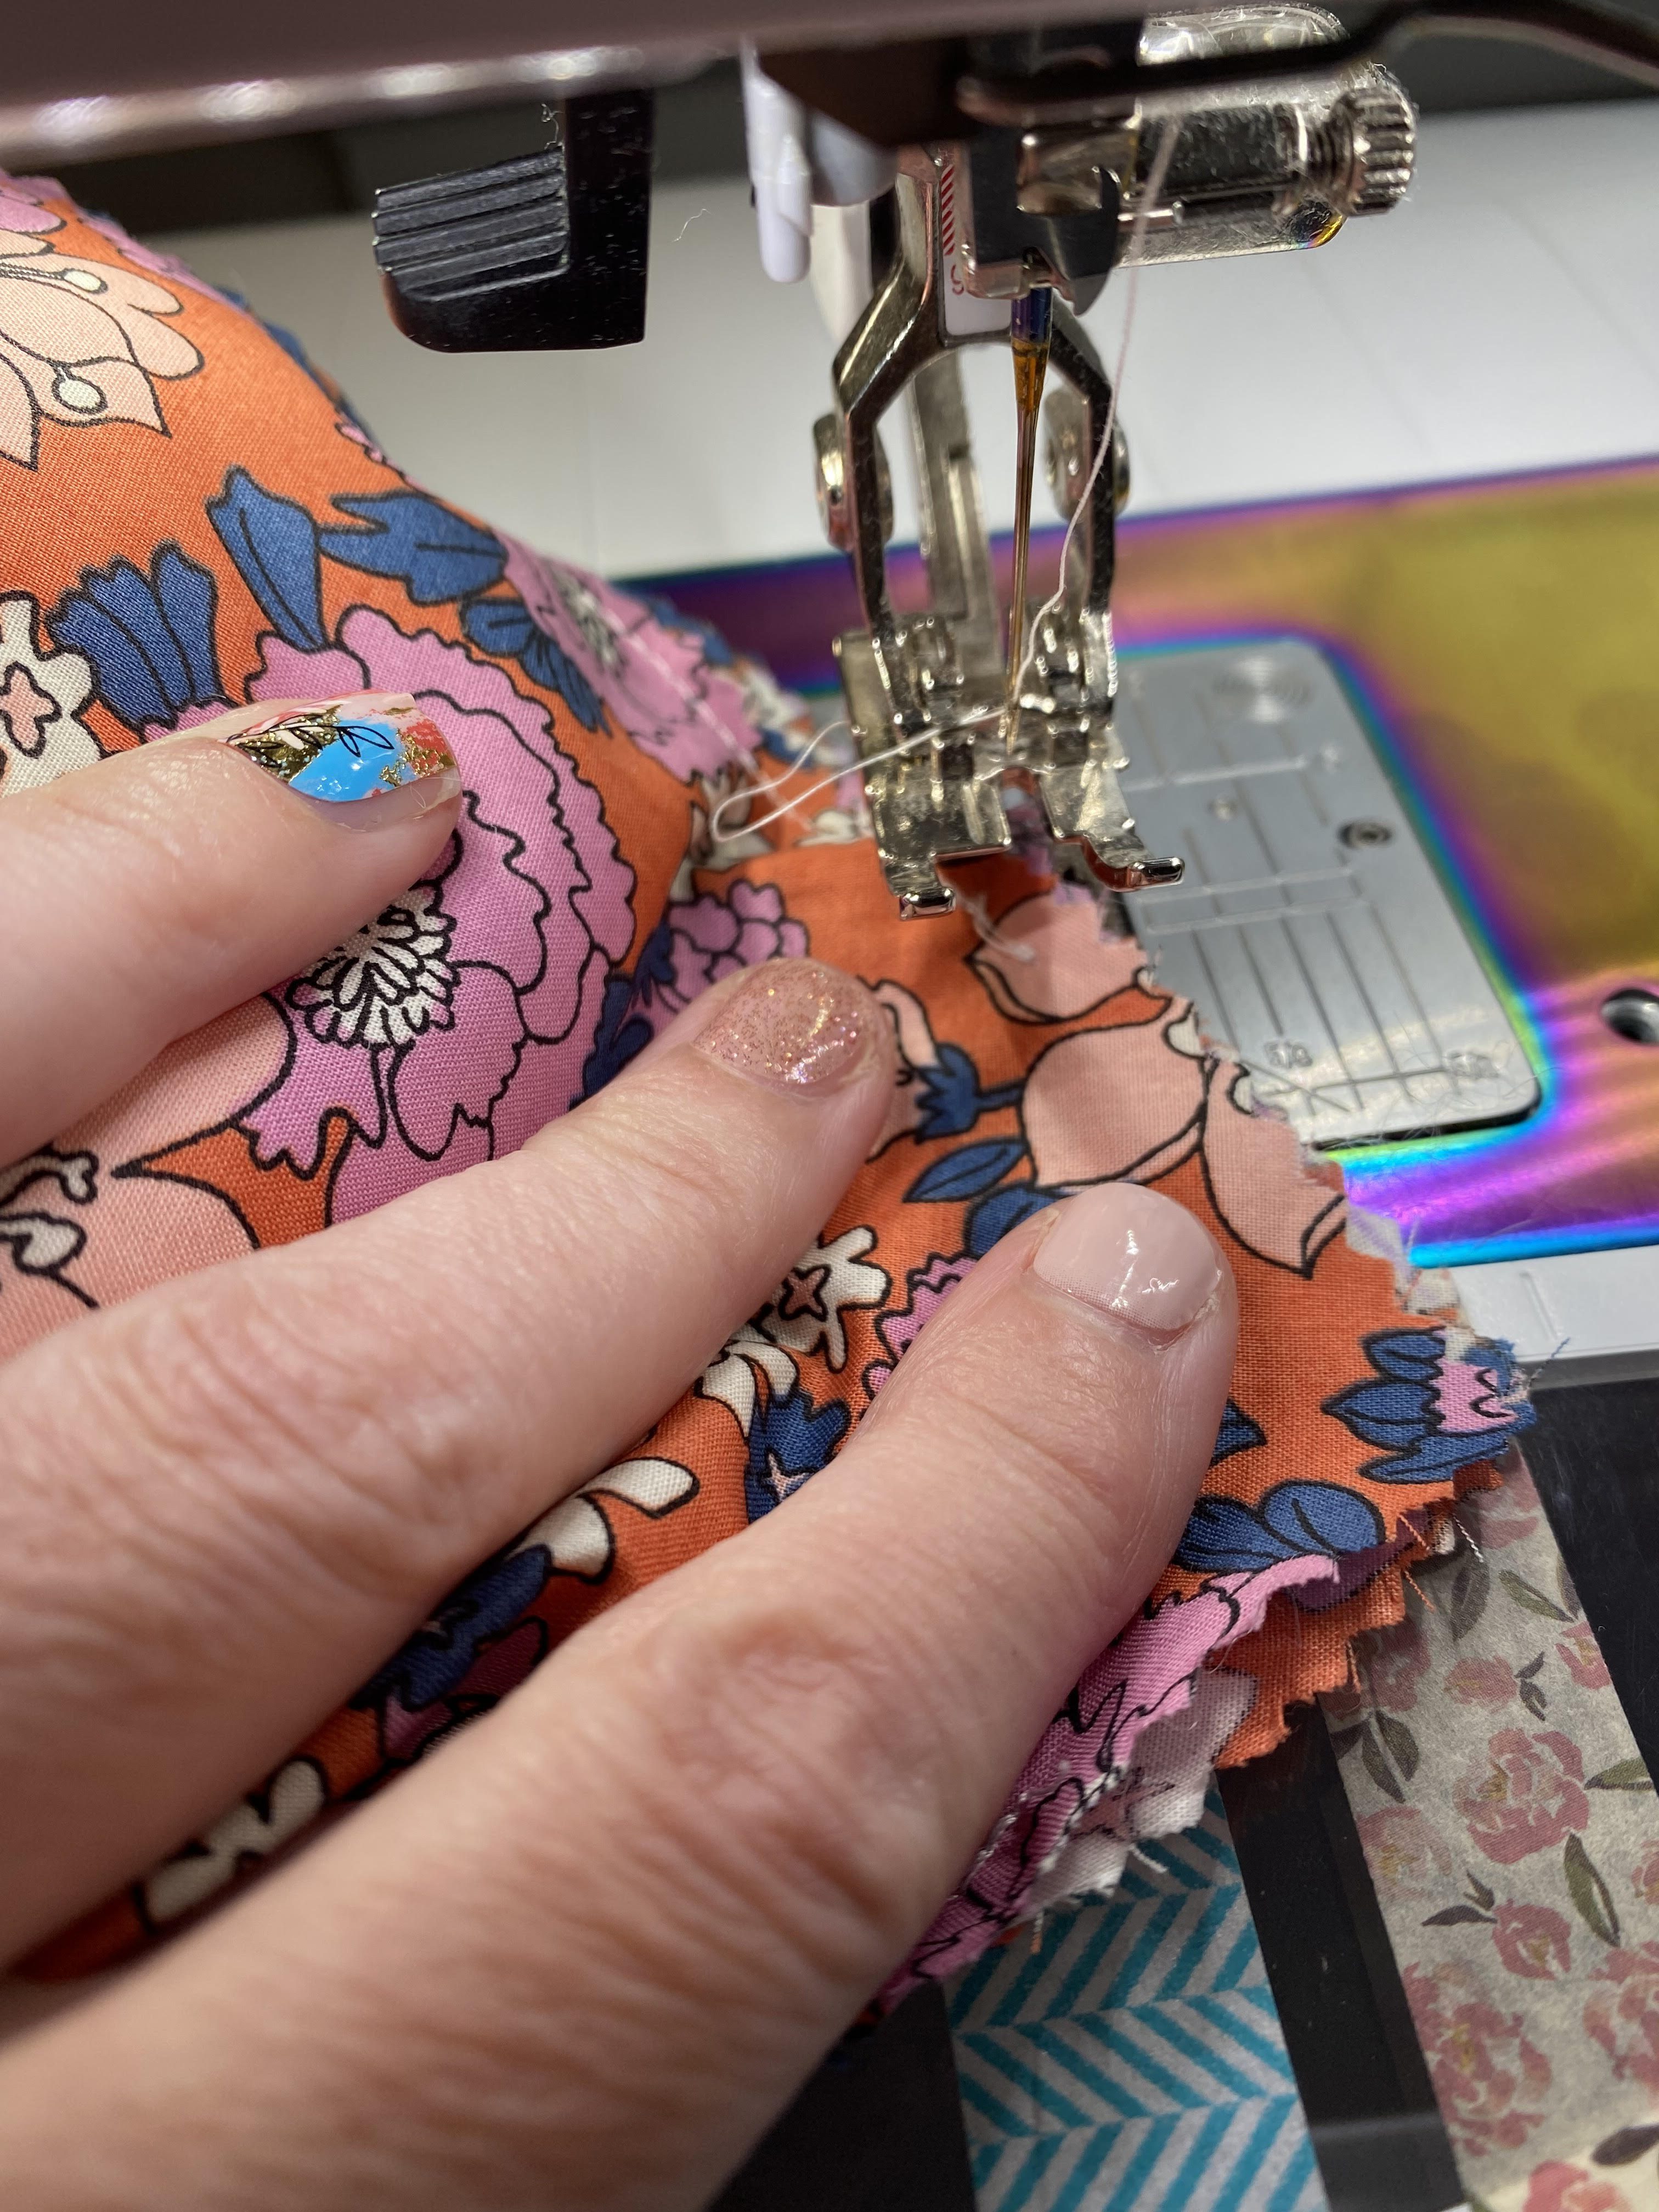
Starting 1 ½ “ from the bottom point of the heart, sew ¼ “ around, stopping 1 ½ “ from the bottom point.  


blogphoto9


With your small opening, take some fiber fill and fill the heart to your desired puffiness.  I don’t over stuff, because it still needs to fit in your machine again so you can close it up.  Once you are happy with the amount of fill, place your heart back in your machine and stitch closed.


blogphoto10


Step Five: Sewing your Hearts to make a Garland

Now take your finished hearts and sew them to your yarn garland.  The length of the garland will depend on where you want to hang it.  Cut the yarn to that desired length leaving a little extra so you can knot the ends for easier hanging.

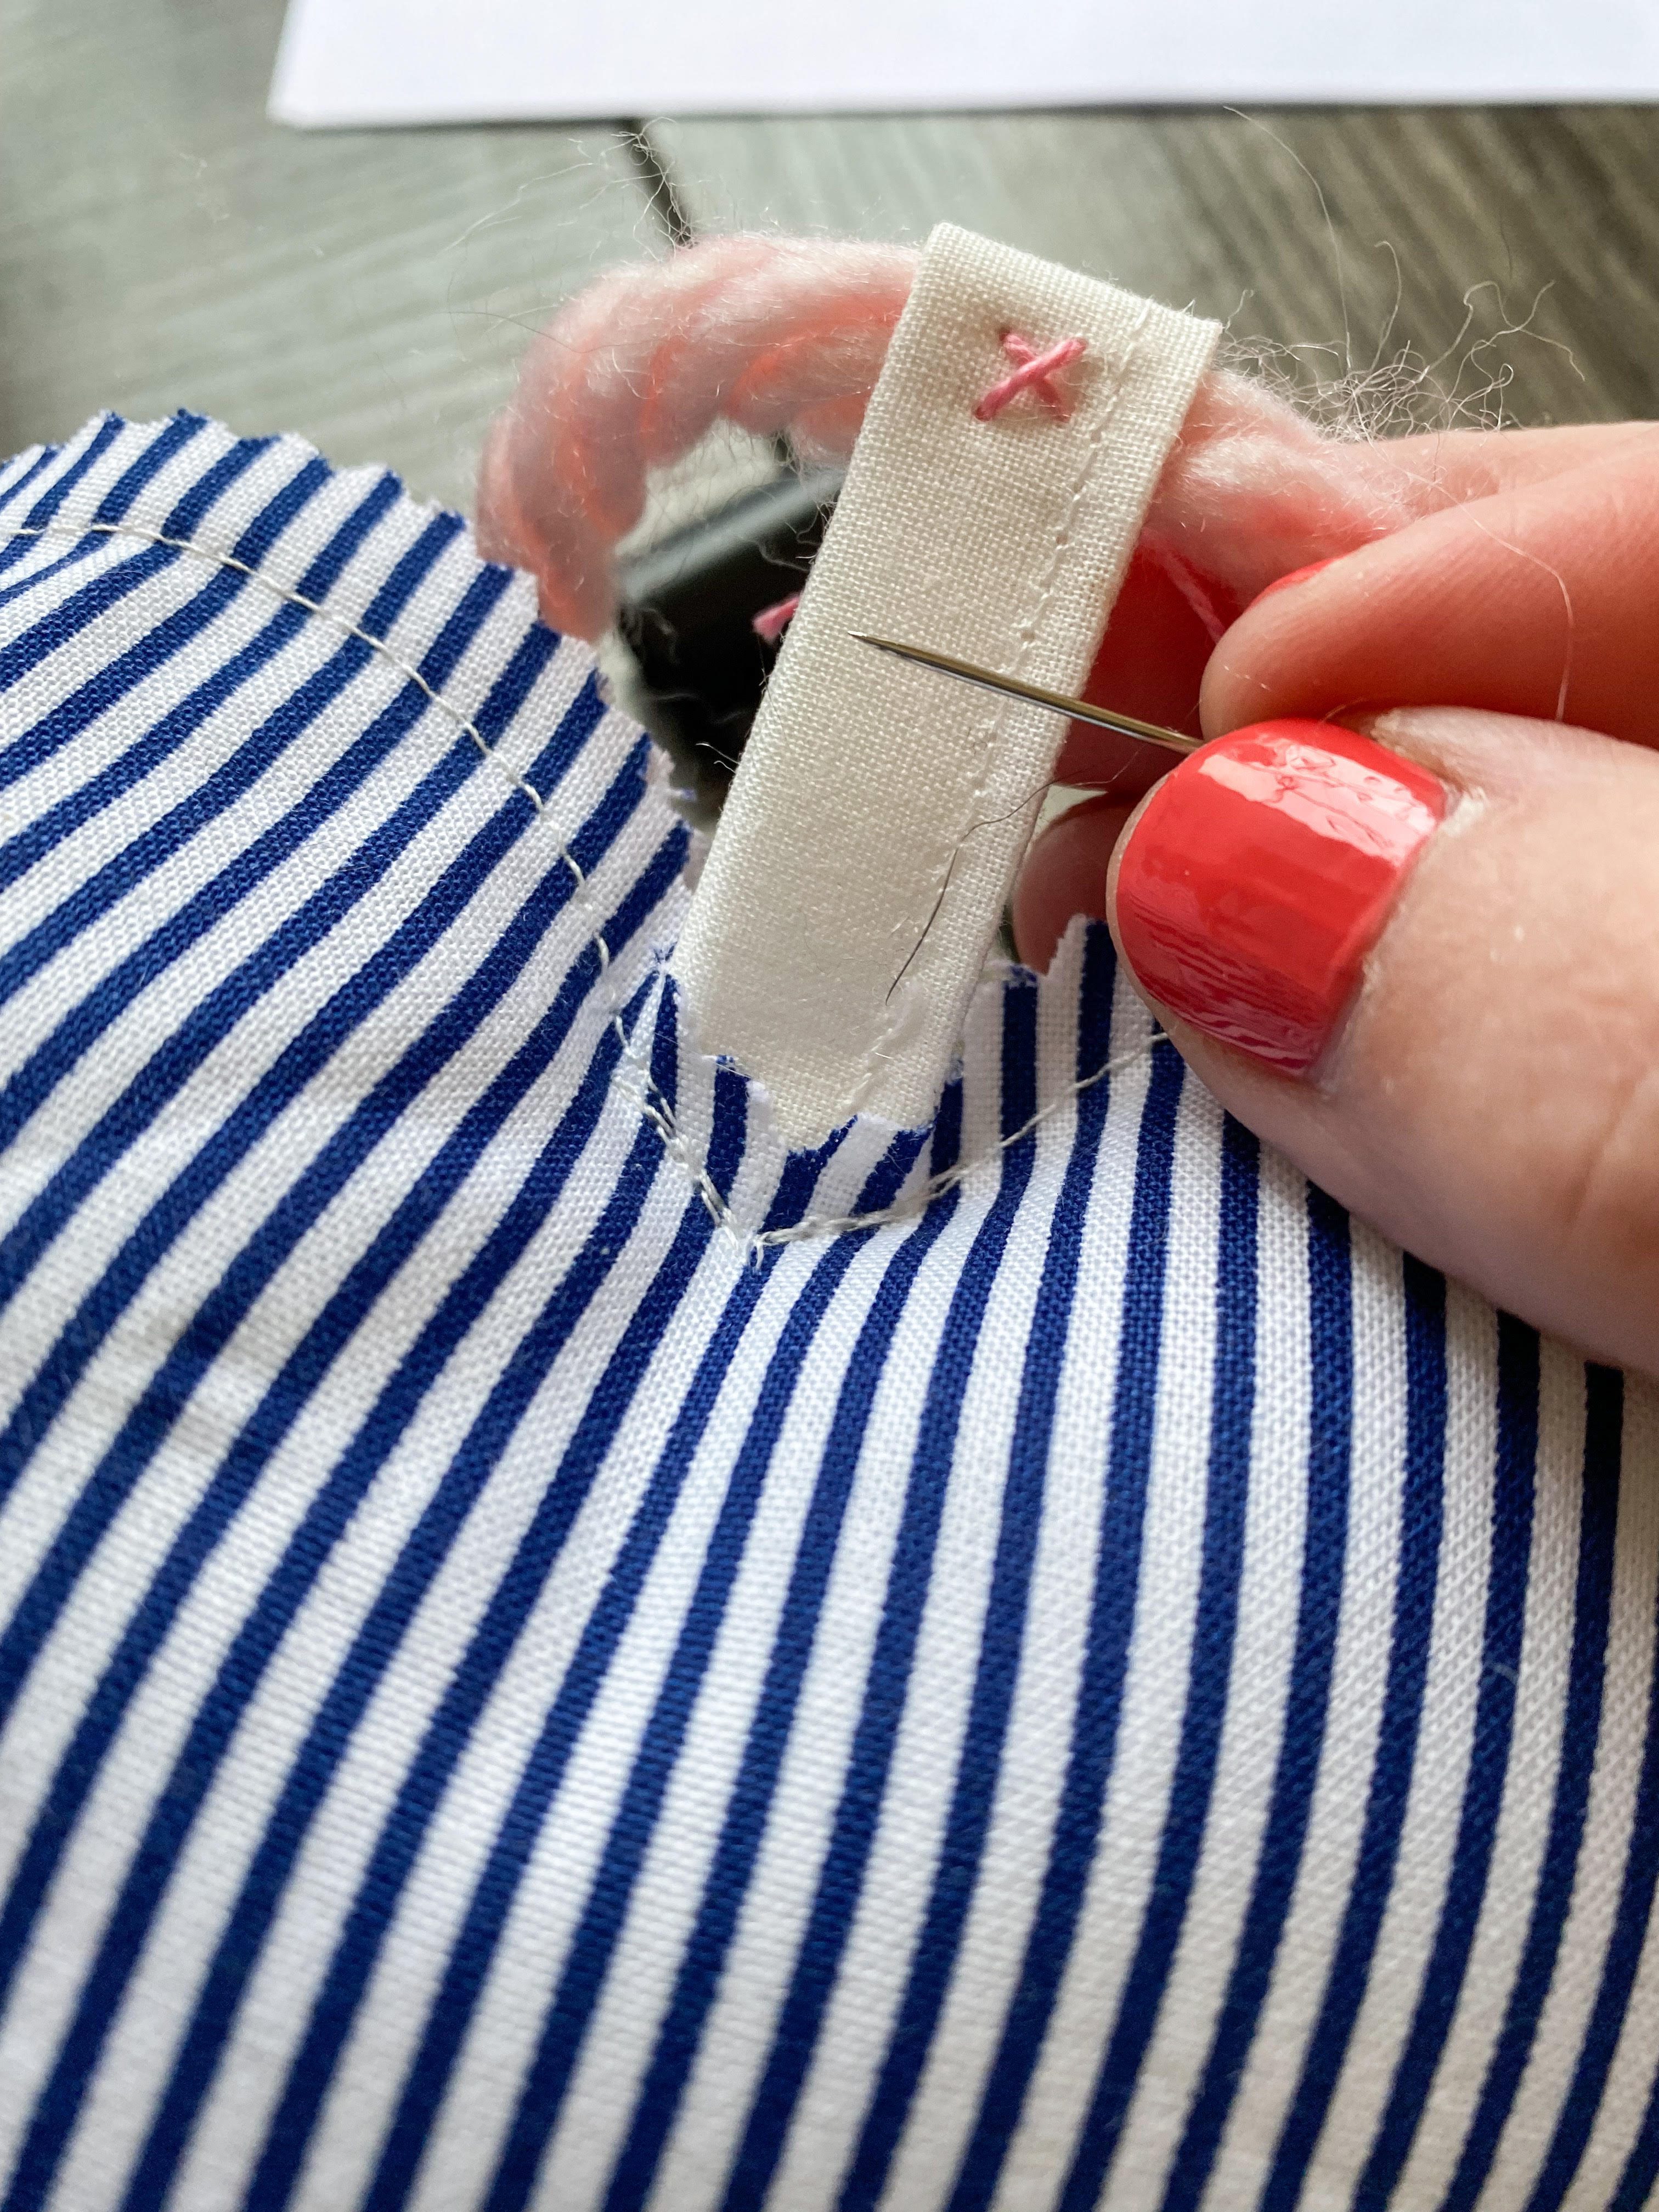
Feed your yarn through the tab at the top of your hearts, moving the heart into the desired position on yarn, Clip in place.  Take your embroidery floss and sewing needle and hand sew heart to yarn garland.  I like to sew them in place making little Xs.

blogphoto11


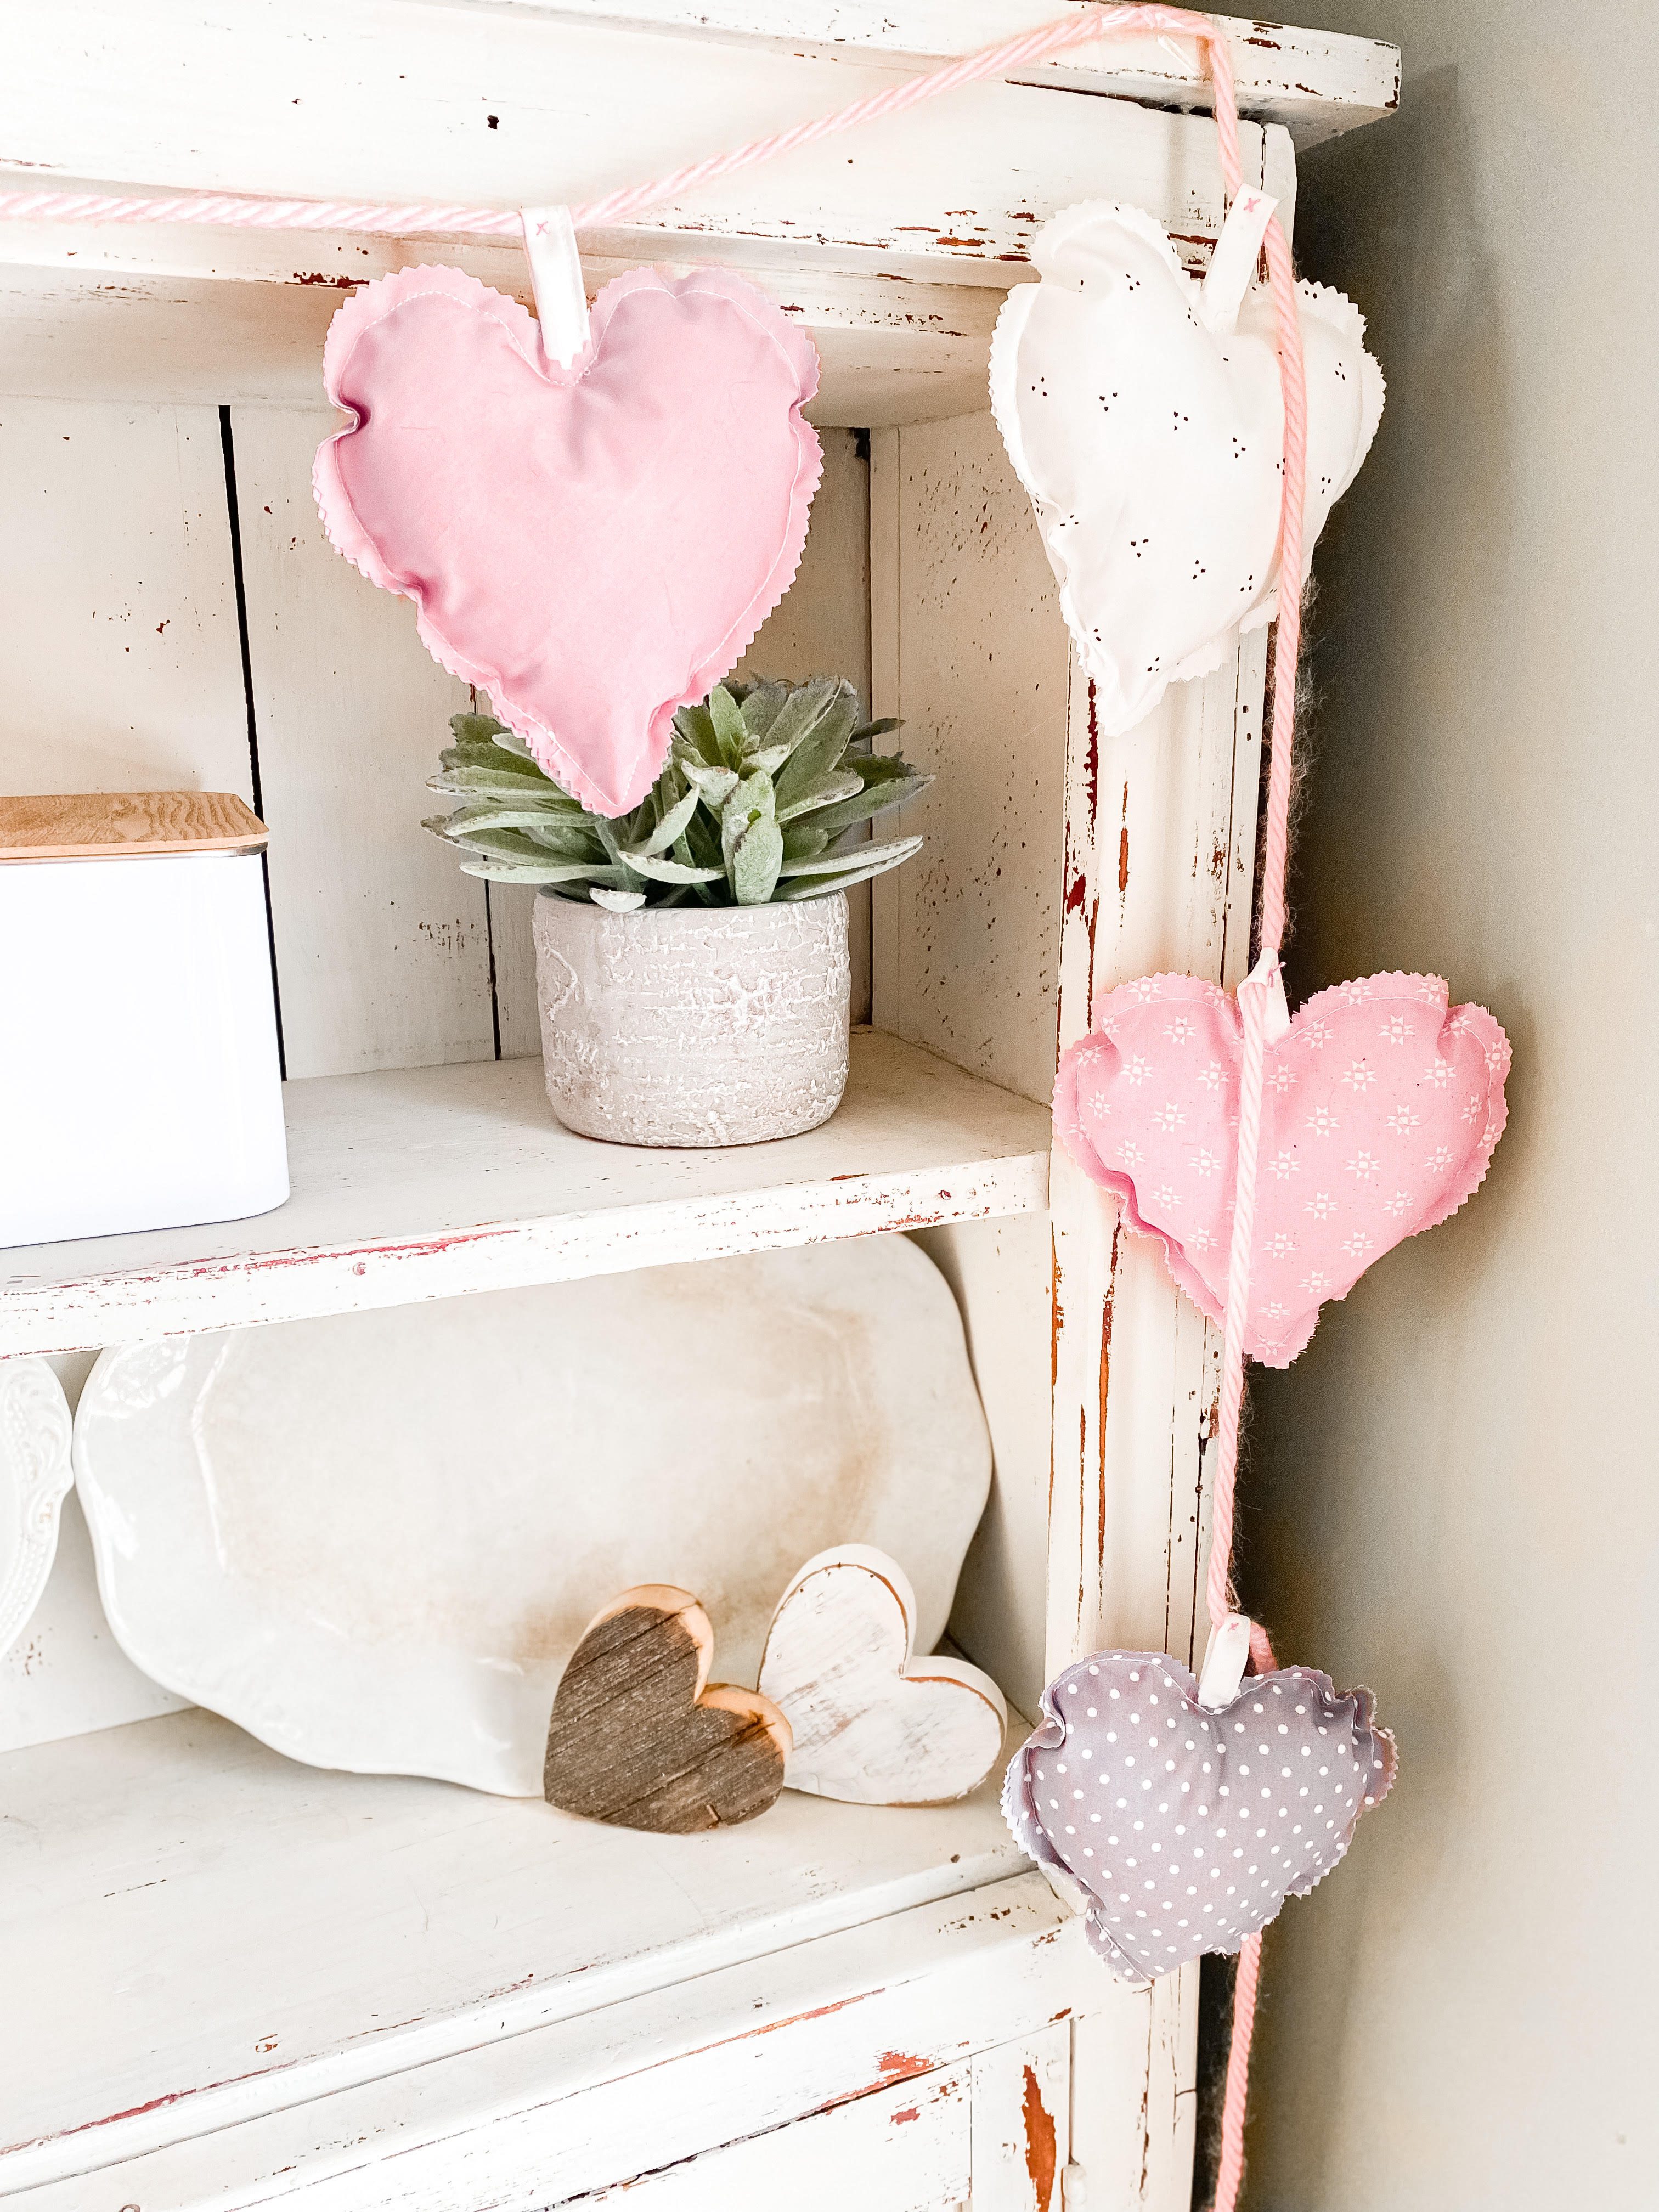
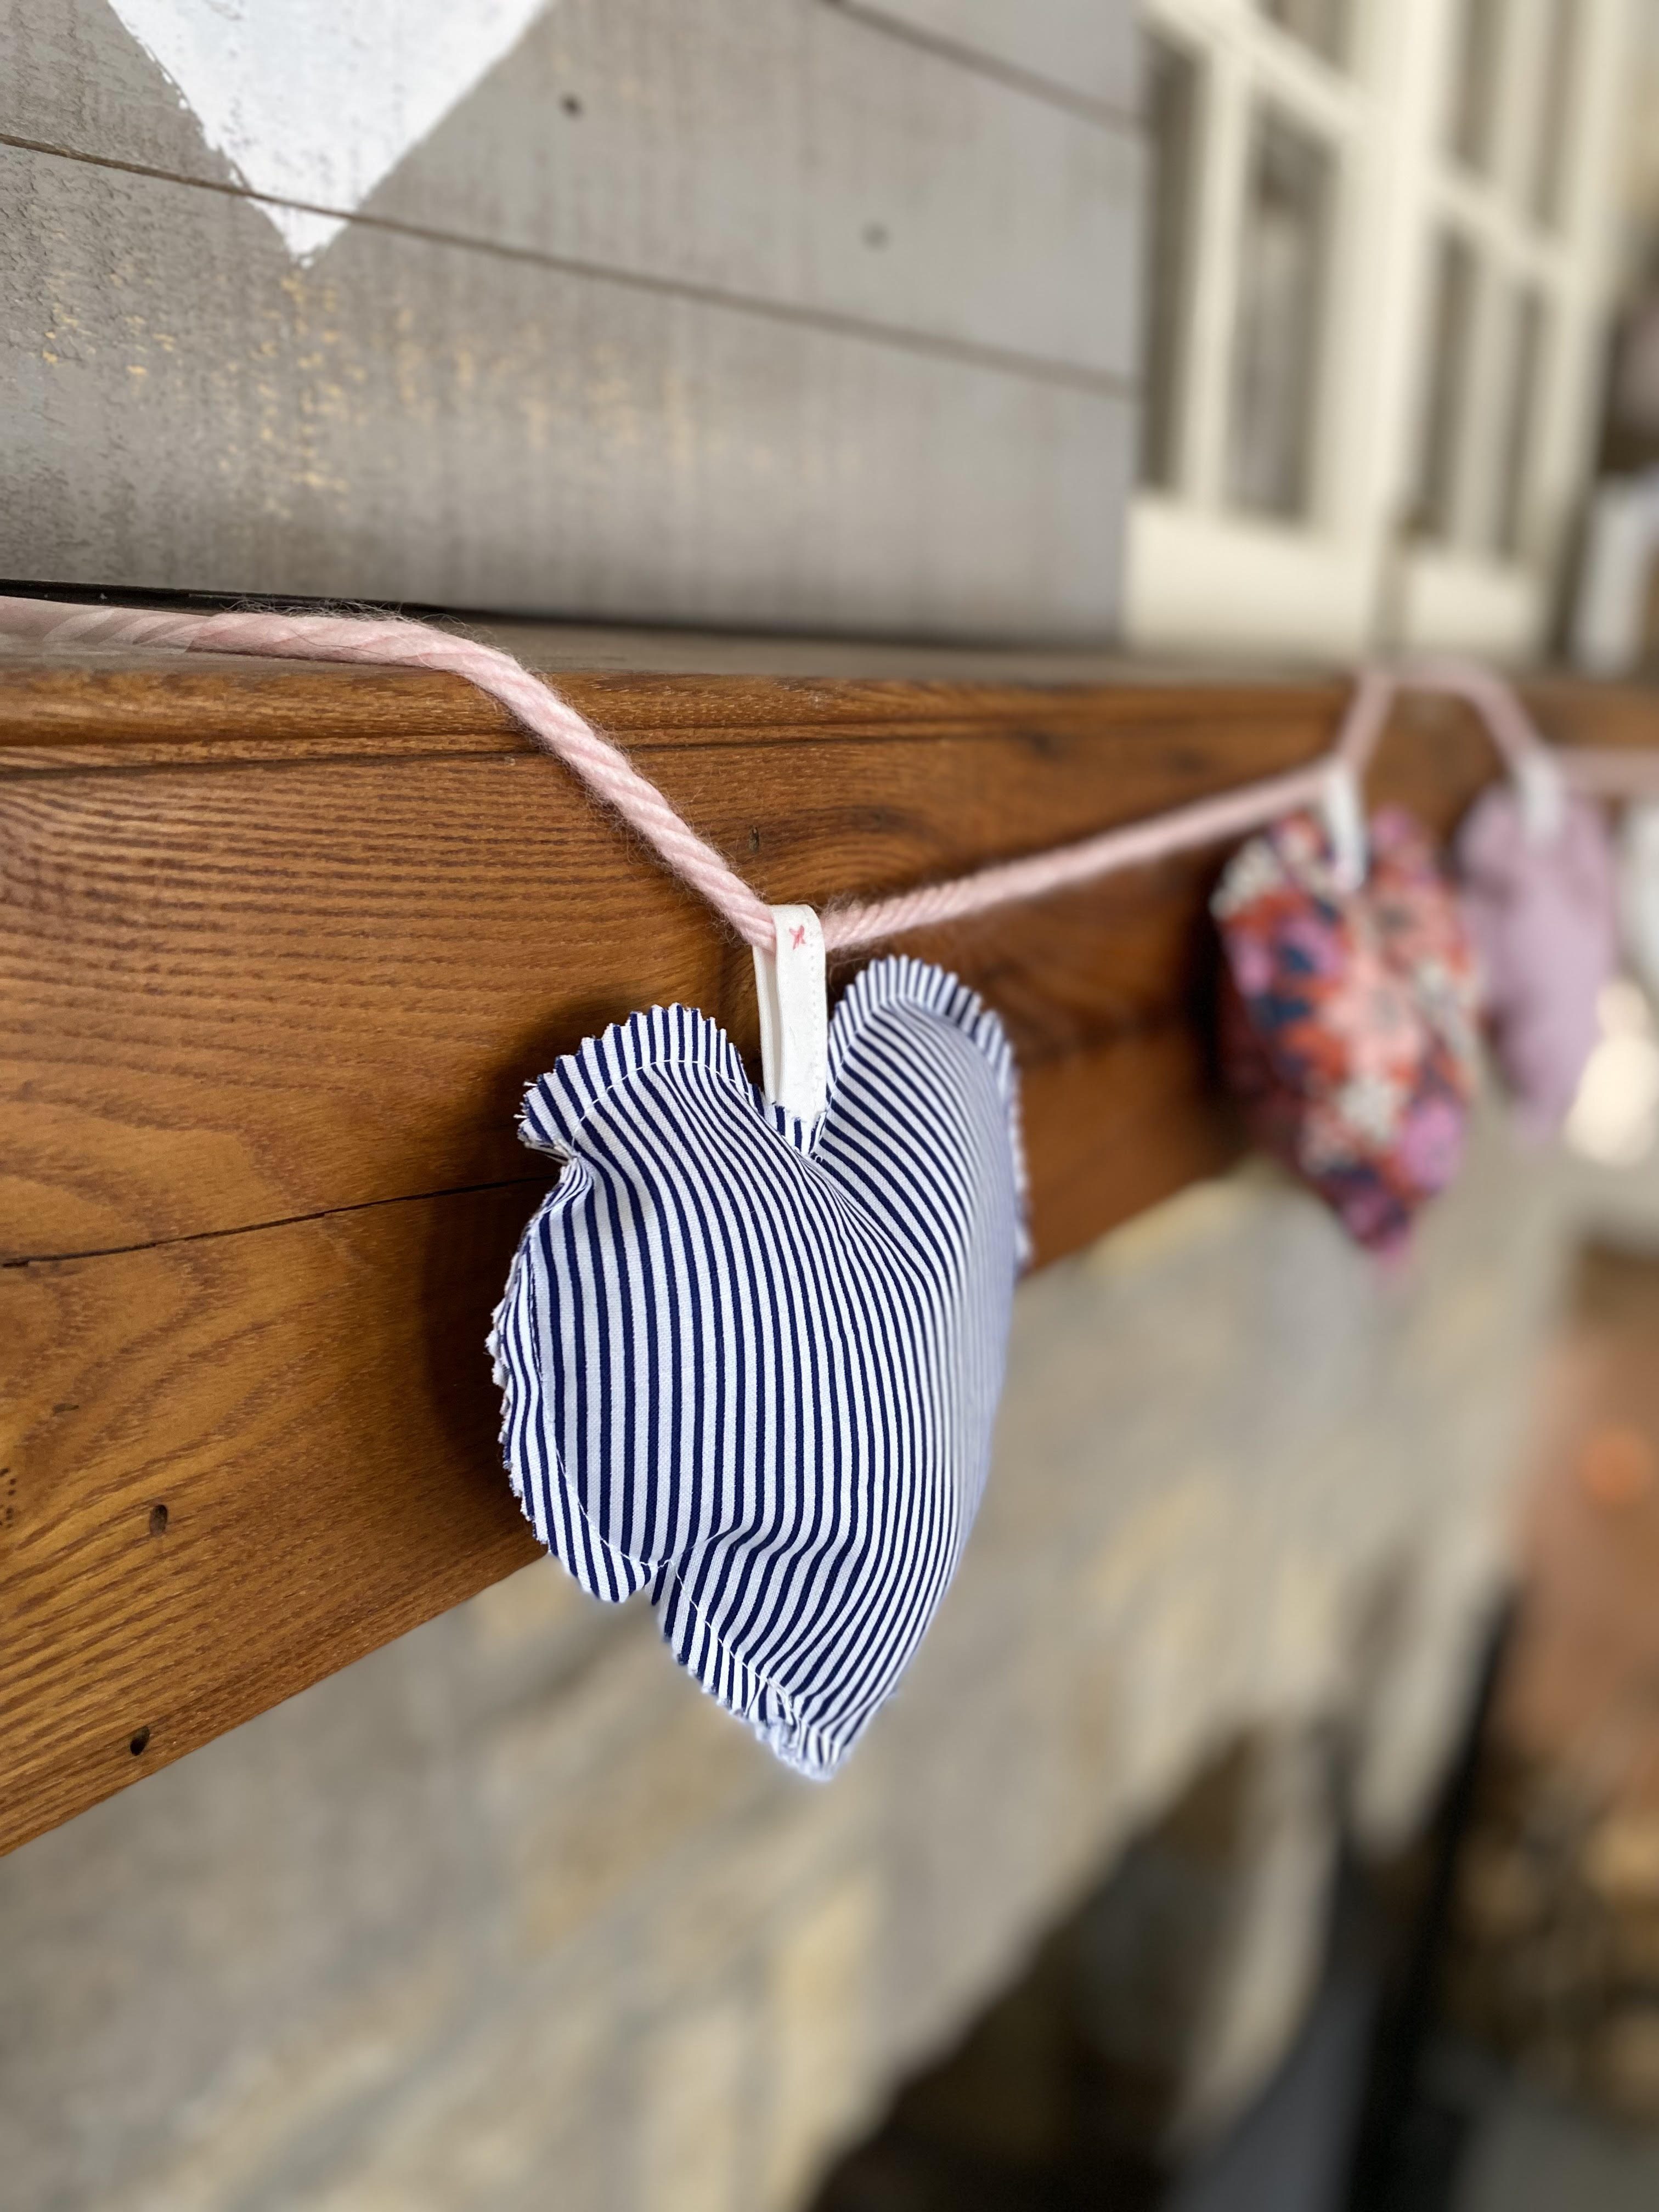
Once you have all your hearts attached you’re ready to hang!


blogphoto12
blogphoto13


This Valentine’s garland makes a super cute edition to any home.  And, the best part, it doesn’t have to be limited to Valentine’s decor.  You could dress up a child’s room, play area…even a craft space!

I hope you enjoyed this tutorial.  I would love to see what you make with it!  Feel free to tag me on Instagram @jenniekay_quilts.  

And please visit my Website for more tutorials, tips and tricks!

Hugs,

Jennie 

or SEARCH THESE

Popular categories

Craft to Career
Digital Downloads
Patterns
Podcast
Quilt Alongs
Quilt Questions
Tutorials
back to the top

Copyright 2024 Quilters Candy  |  Terms & Conditions