Quilted Checkerboard with PlayIng Pieces
May 24, 2022

Blog Post Cover Image

Hello! I’m Shelby Massey, the owner and quilter behind The Rustic Hydrangea, and today I am sharing a game tutorial: Quilted Checkerboard with Playing Pieces. Welcome to my story! I’m a fairly new quilter, I began my journey about 2 years ago. However, I grew up watching two of my great grandmothers quilt, so I’m no stranger to the beauty and uniqueness of a handmade quilt. My cousins and I, along with our parents, could tell you countless stories about going to the Community Center with one great grandmother while she and a group of ladies quilted together twice a week. While I wish I had learned to sew and quilt at their sides, I’m still eager to learn more about their trade and do my part in carrying on their legacy. Those two sweet ladies also had a hand in choosing the name, The Rustic Hydrangea, as they both had the most beautiful hydrangea bushes around their homes. I hope you’ll follow my story as I prepare to launch my business late this summer. Find me on Facebook for all the latest updates and website/pattern launch information!

You can find me HERE

Quilted Checkerboard with Playing Pieces

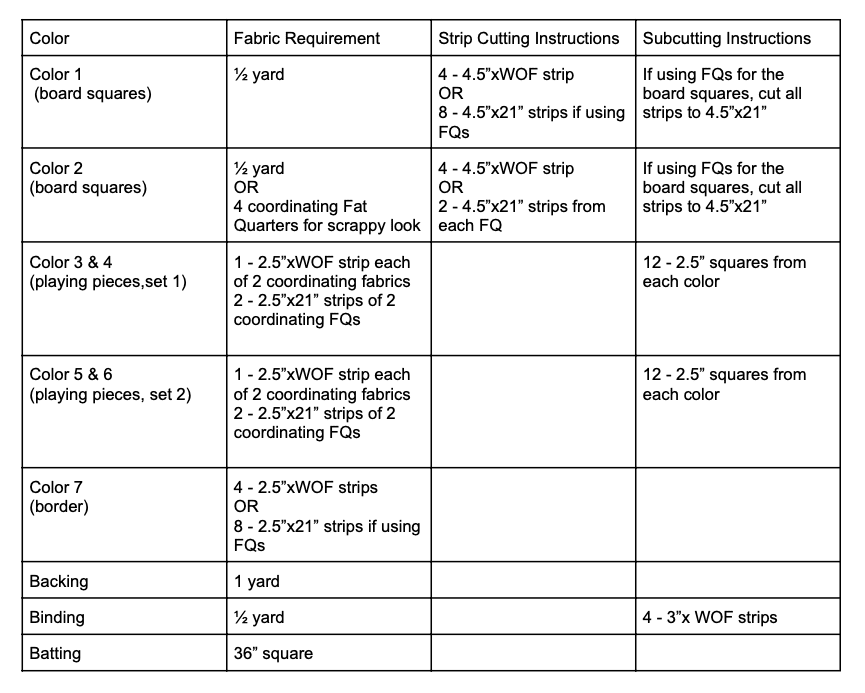
Here are the fabric requirements and cutting instructions for this project. This Quilted Checkerboard with Playing Pieces is Scrappy and Fat Quarter Friendly! 

Chart of fabric requirements and cutting instructions

Prep and Cut Fabrics

Prepare your fabrics by ironing all fabrics, cutting off selvages and then cut according to instructions in chart.

Assemble Block Squares

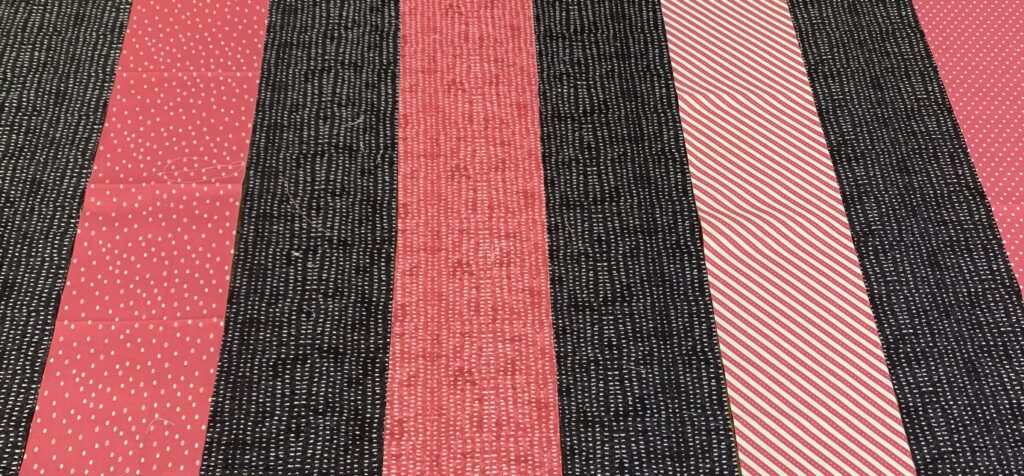
Arrange block square strips in sets of 8, alternating 4 each of Color 1 and Color 2 in desired order if making a scrappy game board.

fabrics

Sew strips together until you have a 32”x42” piece (or 2 – 32”x21” pieces if using FQs). Cut strips until you have 8 – 32”x4.5” strips. Sew these together, arranging the odd number strips with color 1 on the left hand end and even number rows with color 2 on the left hand end until you have a 32”x32” square. Press seams to the darkest side. Press often and neatly to help nest the seams and ensure a smoother finished top.

Borders

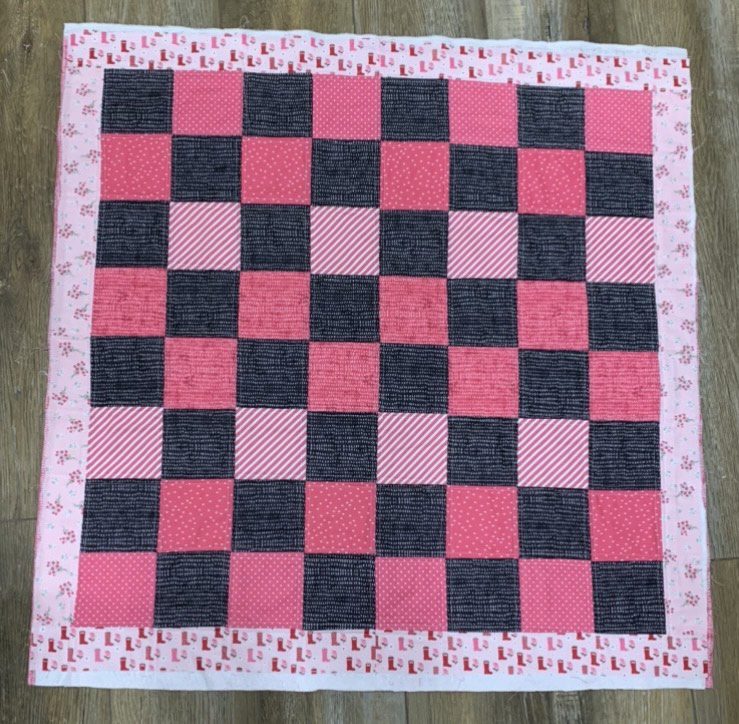
Add borders to the top and bottom sides, then to the left and right sides. Press seams toward the border. Press entire finished top to ensure smooth top for quilting.

Baste game-board top

Assemble quilt sandwich with backing fabric facedown, batting and then the gameboard top face up. Spray baste, pin, or clip to your preference.

Quilt and Bind Top

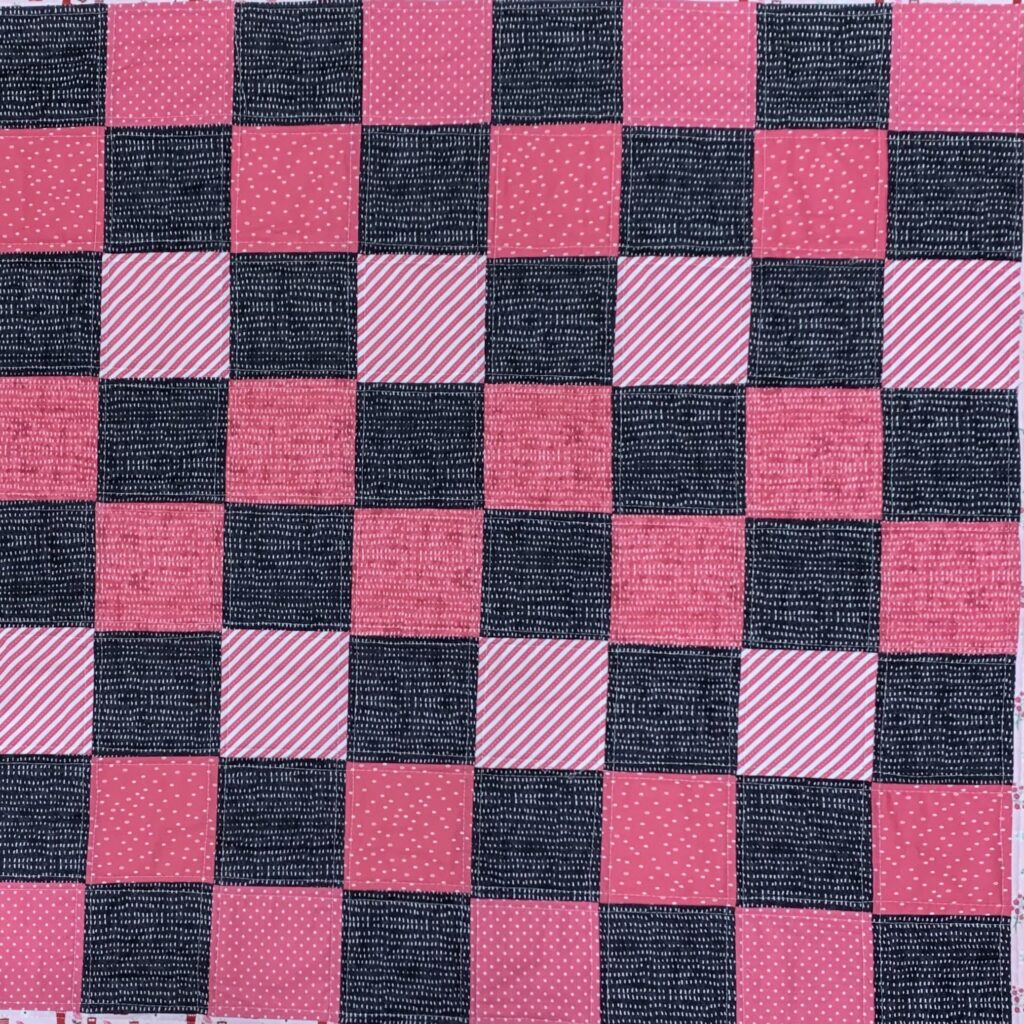
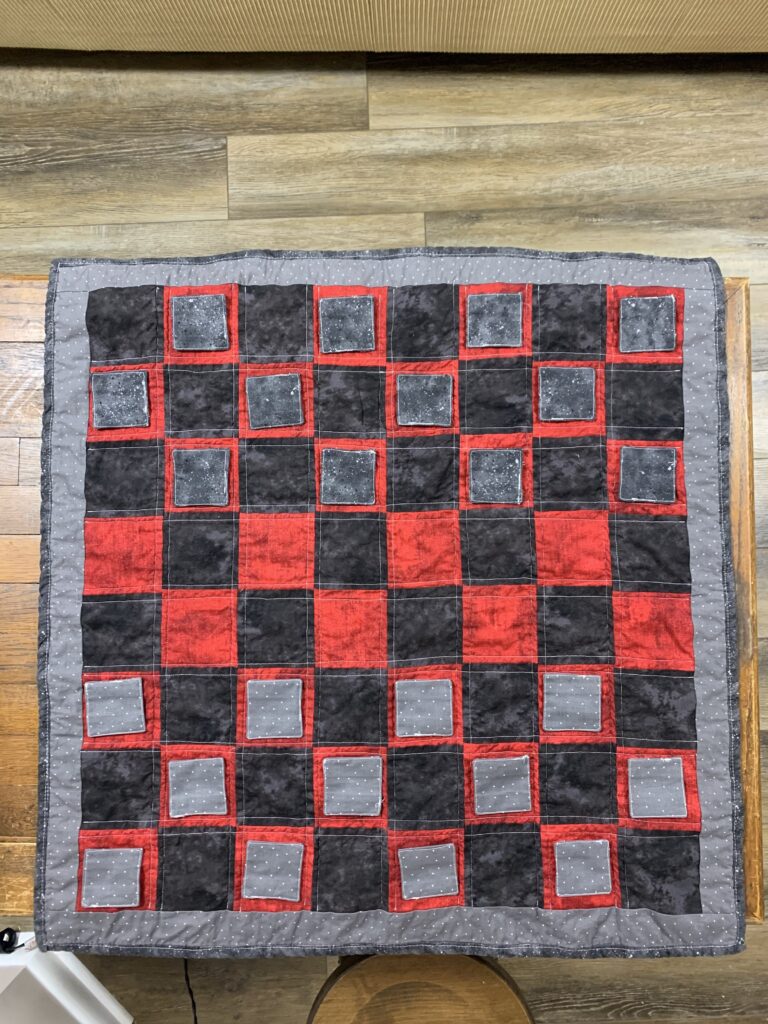
Quilt top as desired. On both gameboards pictured here, I mimicked the grid by quilting a straight line 1⁄4” away from each seam on both sides of the seam. Prepare binding by sewing the strips together and pressing in half lengthwise. Attach binding in your preferred method. I typically machine sew binding on the back first with a normal stitch, fold over to the front and stitch down with an extended stitch length to mimic hand quilting.

Quilt with binding attached

Assemble playing pieces

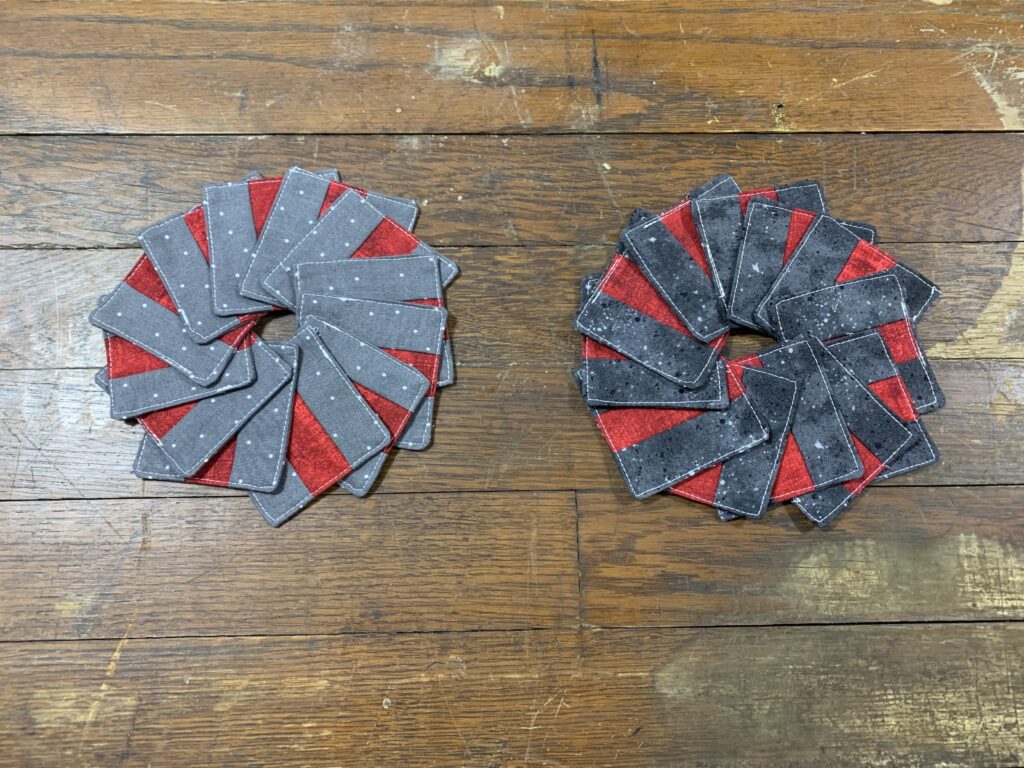
Assemble playing piece sandwiches RST and stitch around the edges with a 1⁄4” seam allowance, leaving a gap to turn the pieces inside out. Continue until you’ve sewn all 24 (12 of each color combination) playing piece sandwiches. Trim corners, making sure you don’t clip the corner stitches, and turn pieces inside out. Fold fabric down in the gap and press to smooth the edges. Top stitch around the entire square very close to the edges to ensure the gap is closed.

pieces

Your Quilted Checkerboard with Game Pieces  game-board is now ready to enjoy! I hope you enjoy making this and playing checkers with family and friends!

MORE BLOG POSTS LIKE THIS ONE


Did you enjoy this tutorial? Be sure to check out these free tutorials: 


or SEARCH THESE

Popular categories

Craft to Career
Digital Downloads
Patterns
Podcast
Quilt Alongs
Quilt Questions
Tutorials
back to the top

Copyright 2023 Quilters Candy  |  Terms & Conditions