
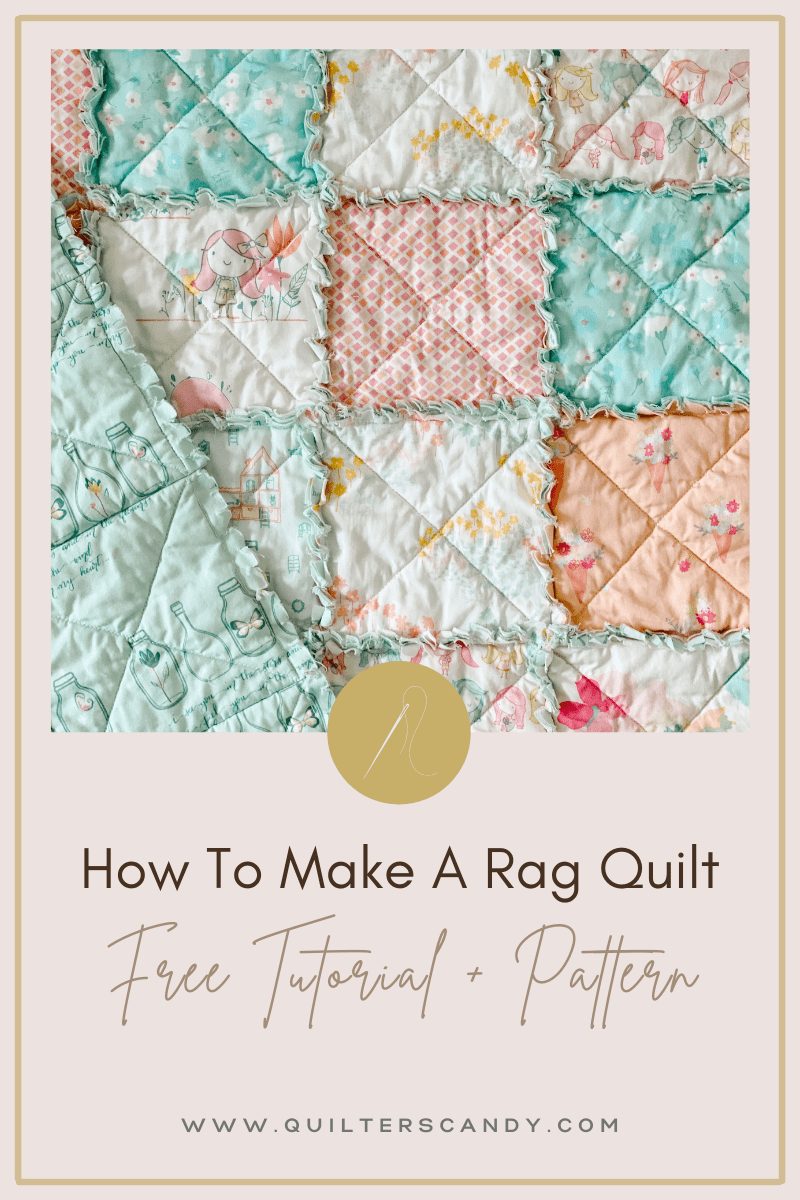
How To Make A Rag Quilt
Learn How To Make A Rag Quilt – The EASIEST Beginner Quilt
The Easiest Beginner Quilt
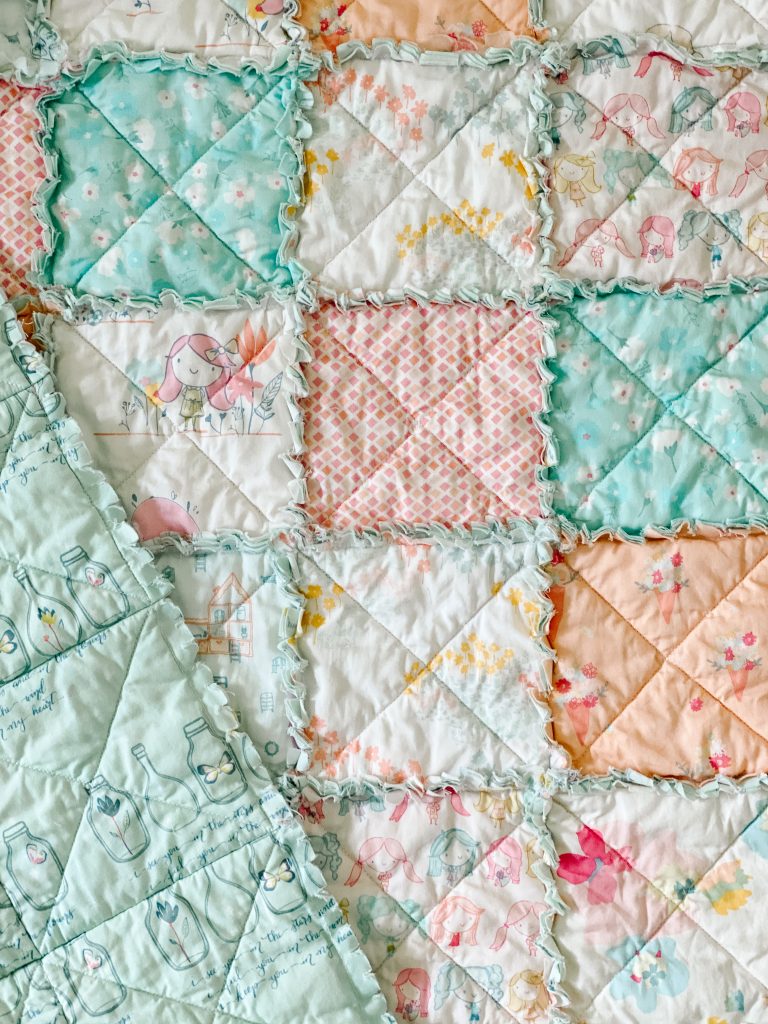
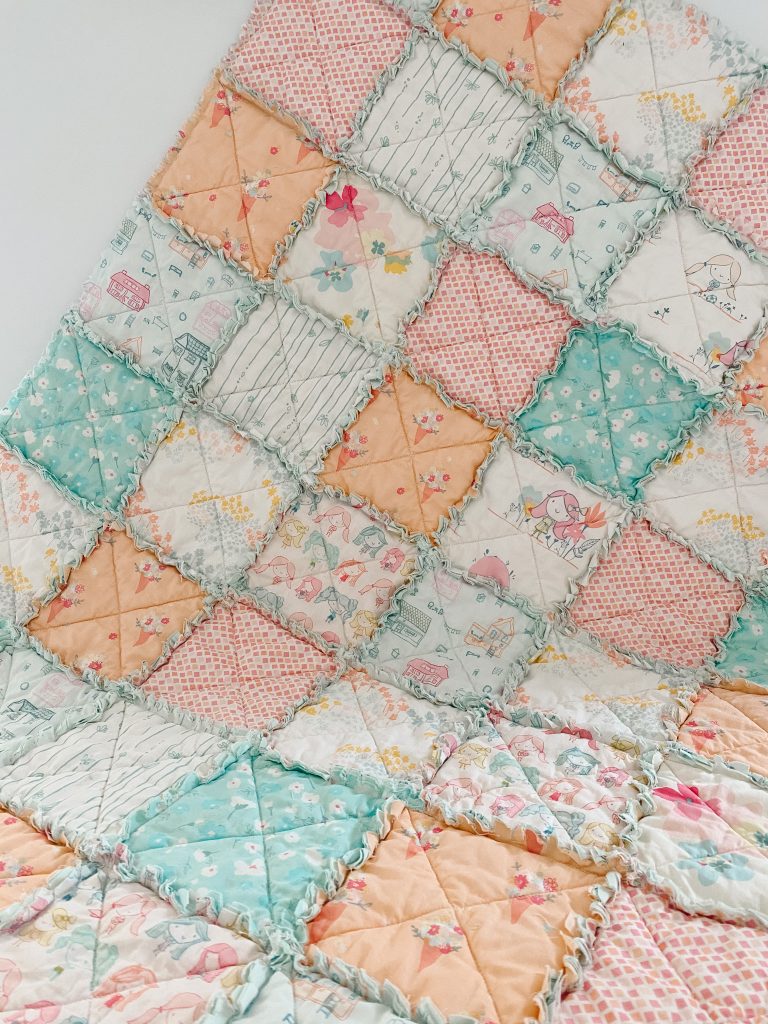
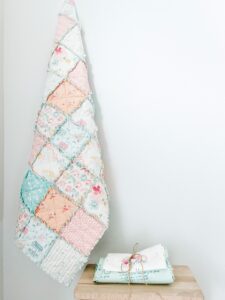
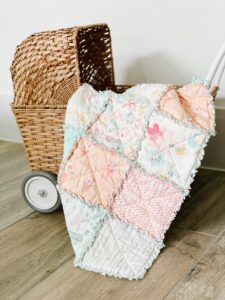
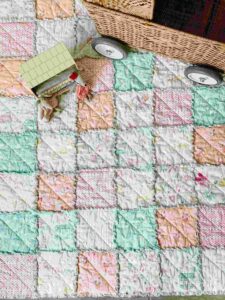
Do you want to learn how to make a rag quilt? It is one of the EASIEST quilts you can make, plus everyone will love it. You can make a quick baby quilt, or make a larger size for yourself. I was lucky to use Day Dream, Patty Basemi’s first line of fabric for Art Gallery Fabrics.
WHAT YOU NEED to make a Rag Quilt
To make a rag quilt, you will need fabric, batting, a sewing machine, thread, and scissors. I will give you fabric requirements for 2 sizes of Rag Quilts: a baby size and a lap size.
FABRIC FOR BABY SIZE RAG QUILT (30″ x 40″)
1 ? yards of decorative fabric OR you can use fabric from your stash. You only need (48) 6″ squares total for your front fabric. This is a great way to use your stash!
1 ? yards for backing fabric.
30″ x 40″ piece of batting, or (48) 5″ squares of batting.
FABRIC FOR LAP SIZE RAG QUILT (50″ x 60″)
3 3/8 yards of decorative fabric OR you can use fabric from your stash.
3 3/8 yards for backing fabric.
50″ x 60″ piece of batting, or (120) 5″ squares of batting.
Cutting Fabric for Rag Quilt
BABY (6 blocks x 8 blocks) – 30″ x 40″
- Cut (48) 6″ squares from backing fabric
- Cut (48) 6″ squares from decorative front fabric
- Cut (48) 5″ squares from batting
LAP (10 blocks x 12 blocks) – 50″ x 60″
- Cut (120) 6″ squares from backing fabric
- Cut (120) 6″ squares from decorative front fabric
- Cut (120) 5″ squares from batting
Sewing Fabrics for Rag Quilt
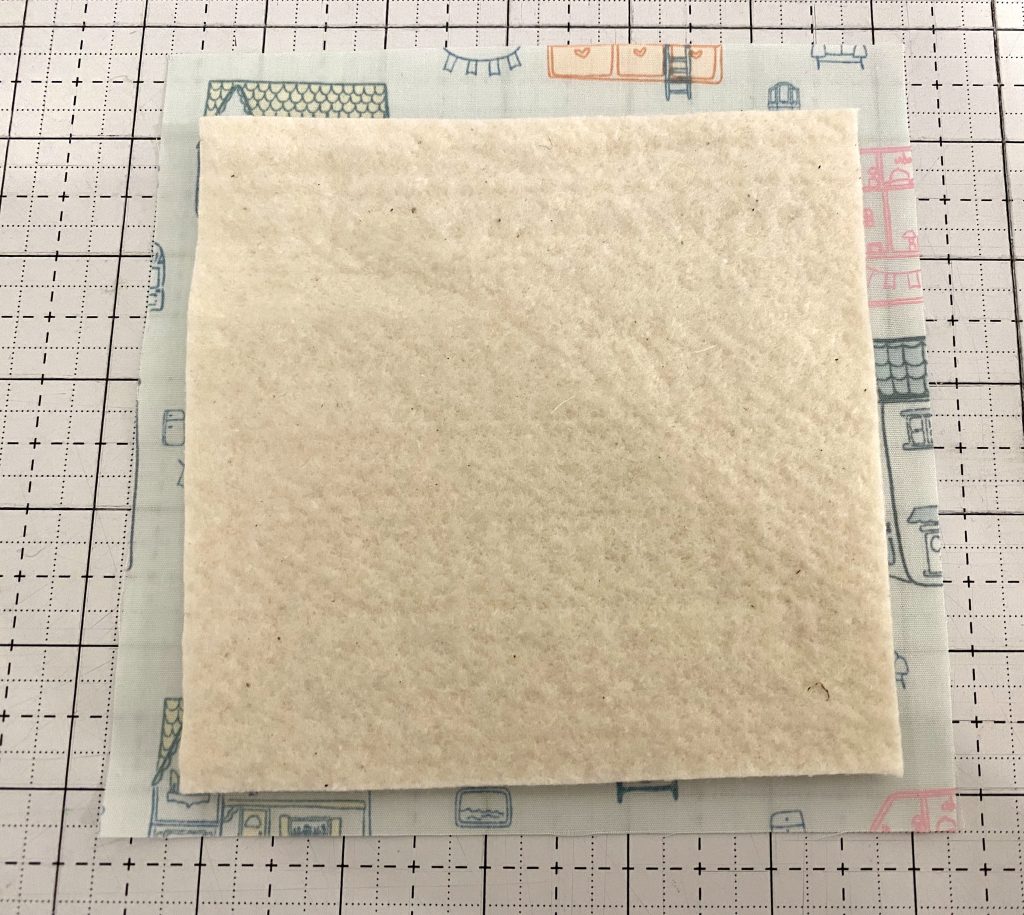
- Layer (1) backing square, wrong side up, (1) batting square, and (1) decorative front square, right side up. Place the fabrics wrong side together so that the decorative parts of the fabric face out. Take care to center the batting.
Sew an ‘X’ from corner to corner on your fabric sandwich from step 1.
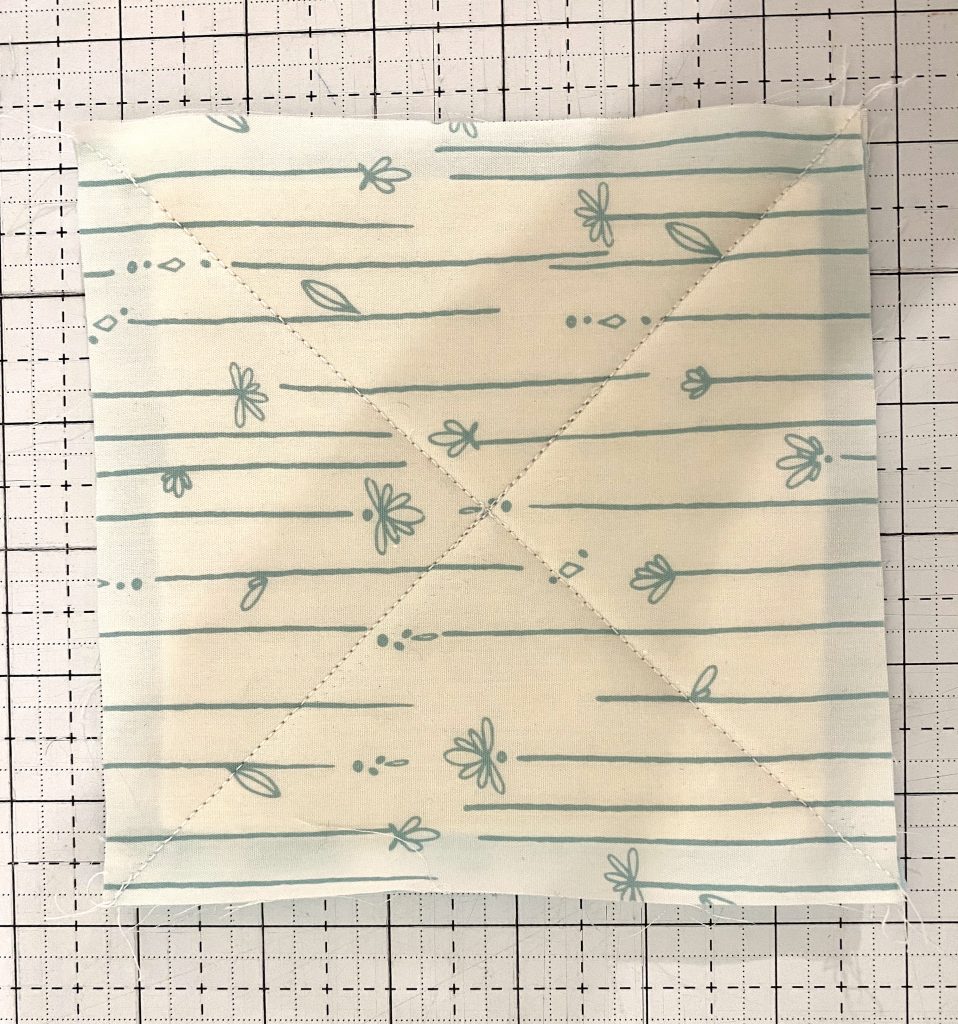
- Layer (1) backing square, wrong side up, (1) batting square, and (1) decorative front square, right side up. Place the fabrics wrong side together so that the decorative parts of the fabric face out. Take care to center the batting.
- Repeat this for all of your fabric sandwich squares. (48) Total for baby size. (120) Total for lap size.
Making Rows for Rag Quilt
- Place (2) fabric sandwich squares together with the backing fabric touching. This is different from most other quilts, as you will have your finished seams on the front of the quilt. I made the mistake of sewing my squares with the decorative fabrics touching. See my photo below of how that turned out.
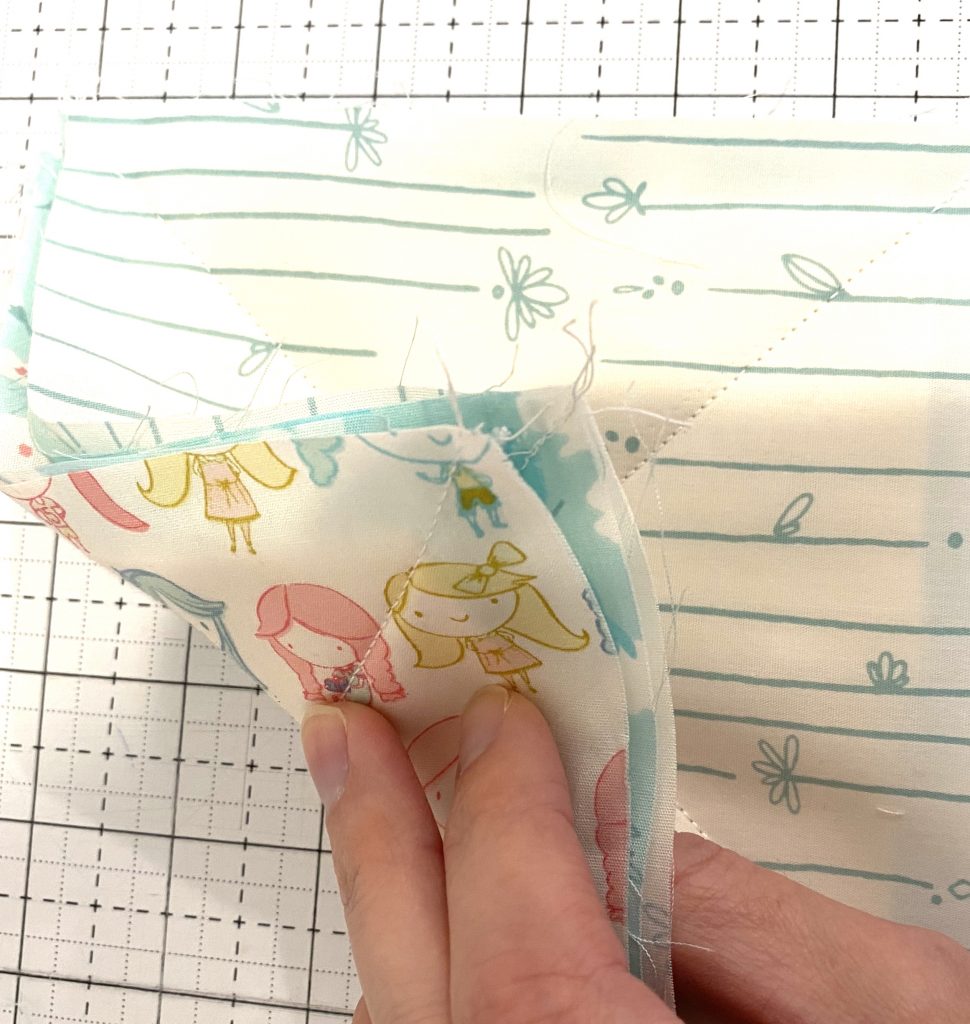 This shows the backing fabrics touching.

Here you can see where I have the seams going to the BACK of the quilt. I had to unpick this and redo them so the seams came to the front of the quilt.
- Sew one side of the squares together with a ½” seam allowance. Open. Your seam is facing the front of your quilt, which is exactly what you want.
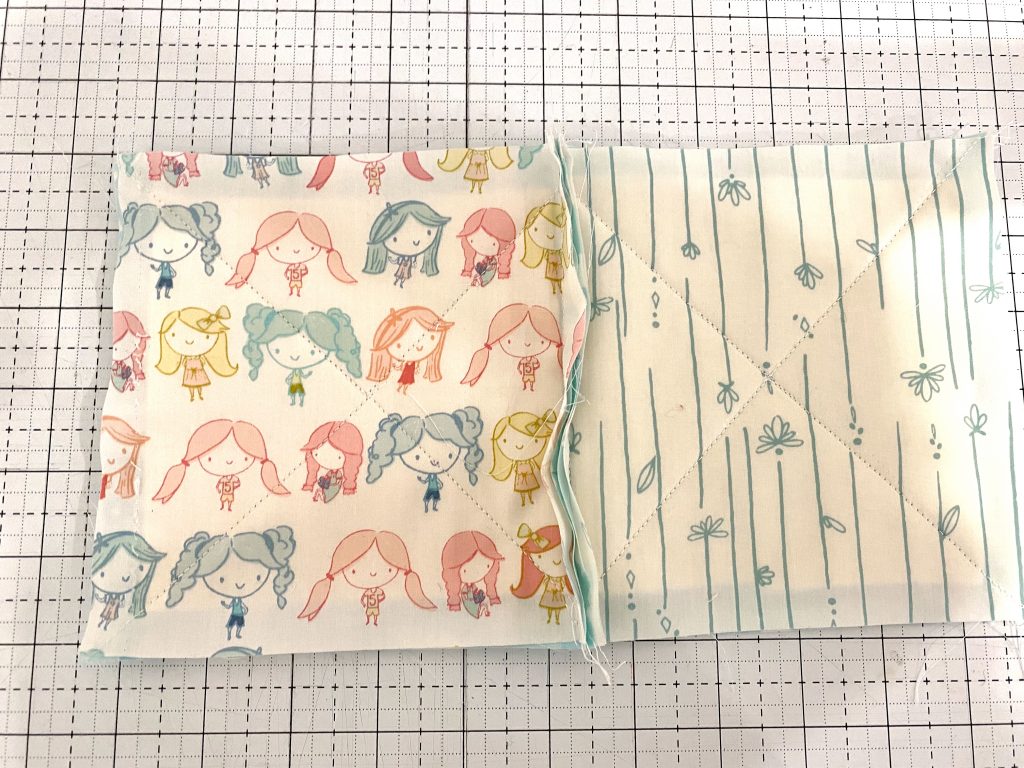
- Keep adding additional squares, one at a time, with backing fabrics touching, to make (1) long row. All seams should be on the front of the quilt, sticking out.
- Baby: sew 8 rows of 6 blocks.
- Lap: Sew 12 rows of 10 blocks.
Making Quilt Top for Rag Quilt
- Pin (2) rows with backing fabric touching. Place pins at each corner to make sure the corners match. Seams should go in opposite directions, but you don’t need to worry too much about this. This quilt is very forgiving when it comes to which direction your seams go.
- Sew row together with ½” seam allowance. Open. Your seams should be facing the front of your quilt.
- Keep sewing rows together with backing fabric touching to make the quilt.
- Sew all around the outside edge of your quilt using a ½” seam allowance.
- Take scissors and cut your seams on the front of your quilt. Make sure to stop at the seam and do not cut onto the quilt top.
I spaced my snips about ½” apart, but you do not need to measure. Just use your eye and whatever distance apart you prefer.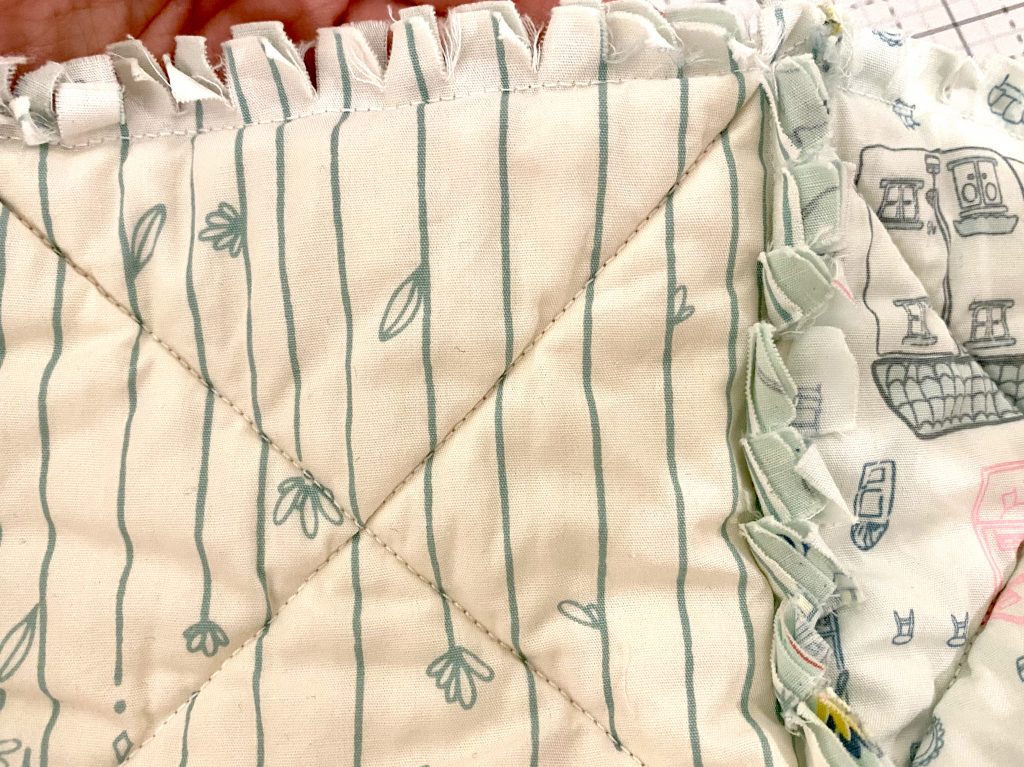
- When all seams have been cut, wash and dry your rag quilt.
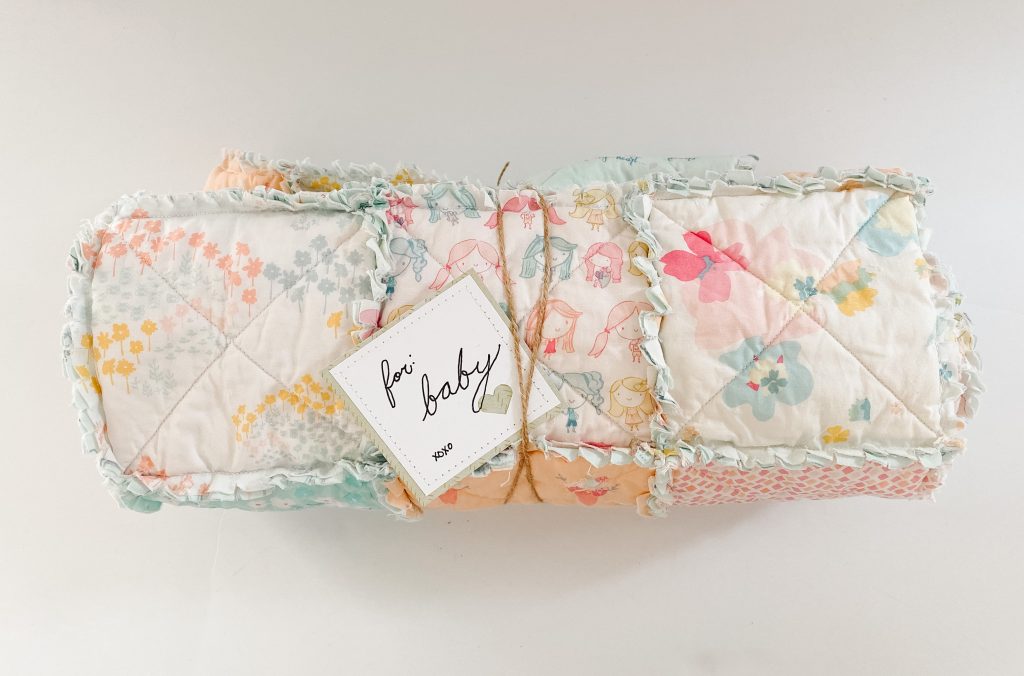
- Enjoy your fluffy fraying rag quilt!
-
If you liked this free quilt tutorial, be sure to see my other free tutorials and patterns:
RECENT BLOG entries
How To Make A Rag Quilt
How To Make A Rag Quilt
How To Make A Rag Quilt
How To Make A Rag Quilt
How To Make A Rag Quilt
How To Make A Rag Quilt
the latest
July 3, 2026
This week, I’m joined by Jamie Bright of Craft a Dream, and this conversation is such a treat. Jamie is a sharp businesswoman with a real gift for marketing, and her path into quilting is not the one you might expect. Before entering the quilting world, Jamie built valuable business experience in another field. When […]
tune into the
Craft to Career
Podcast
Each week get insights on how to turn your craft into a successful career. With both guest speakers and tips from myself, you get valuable, free education on the Craft to Career podcast!


