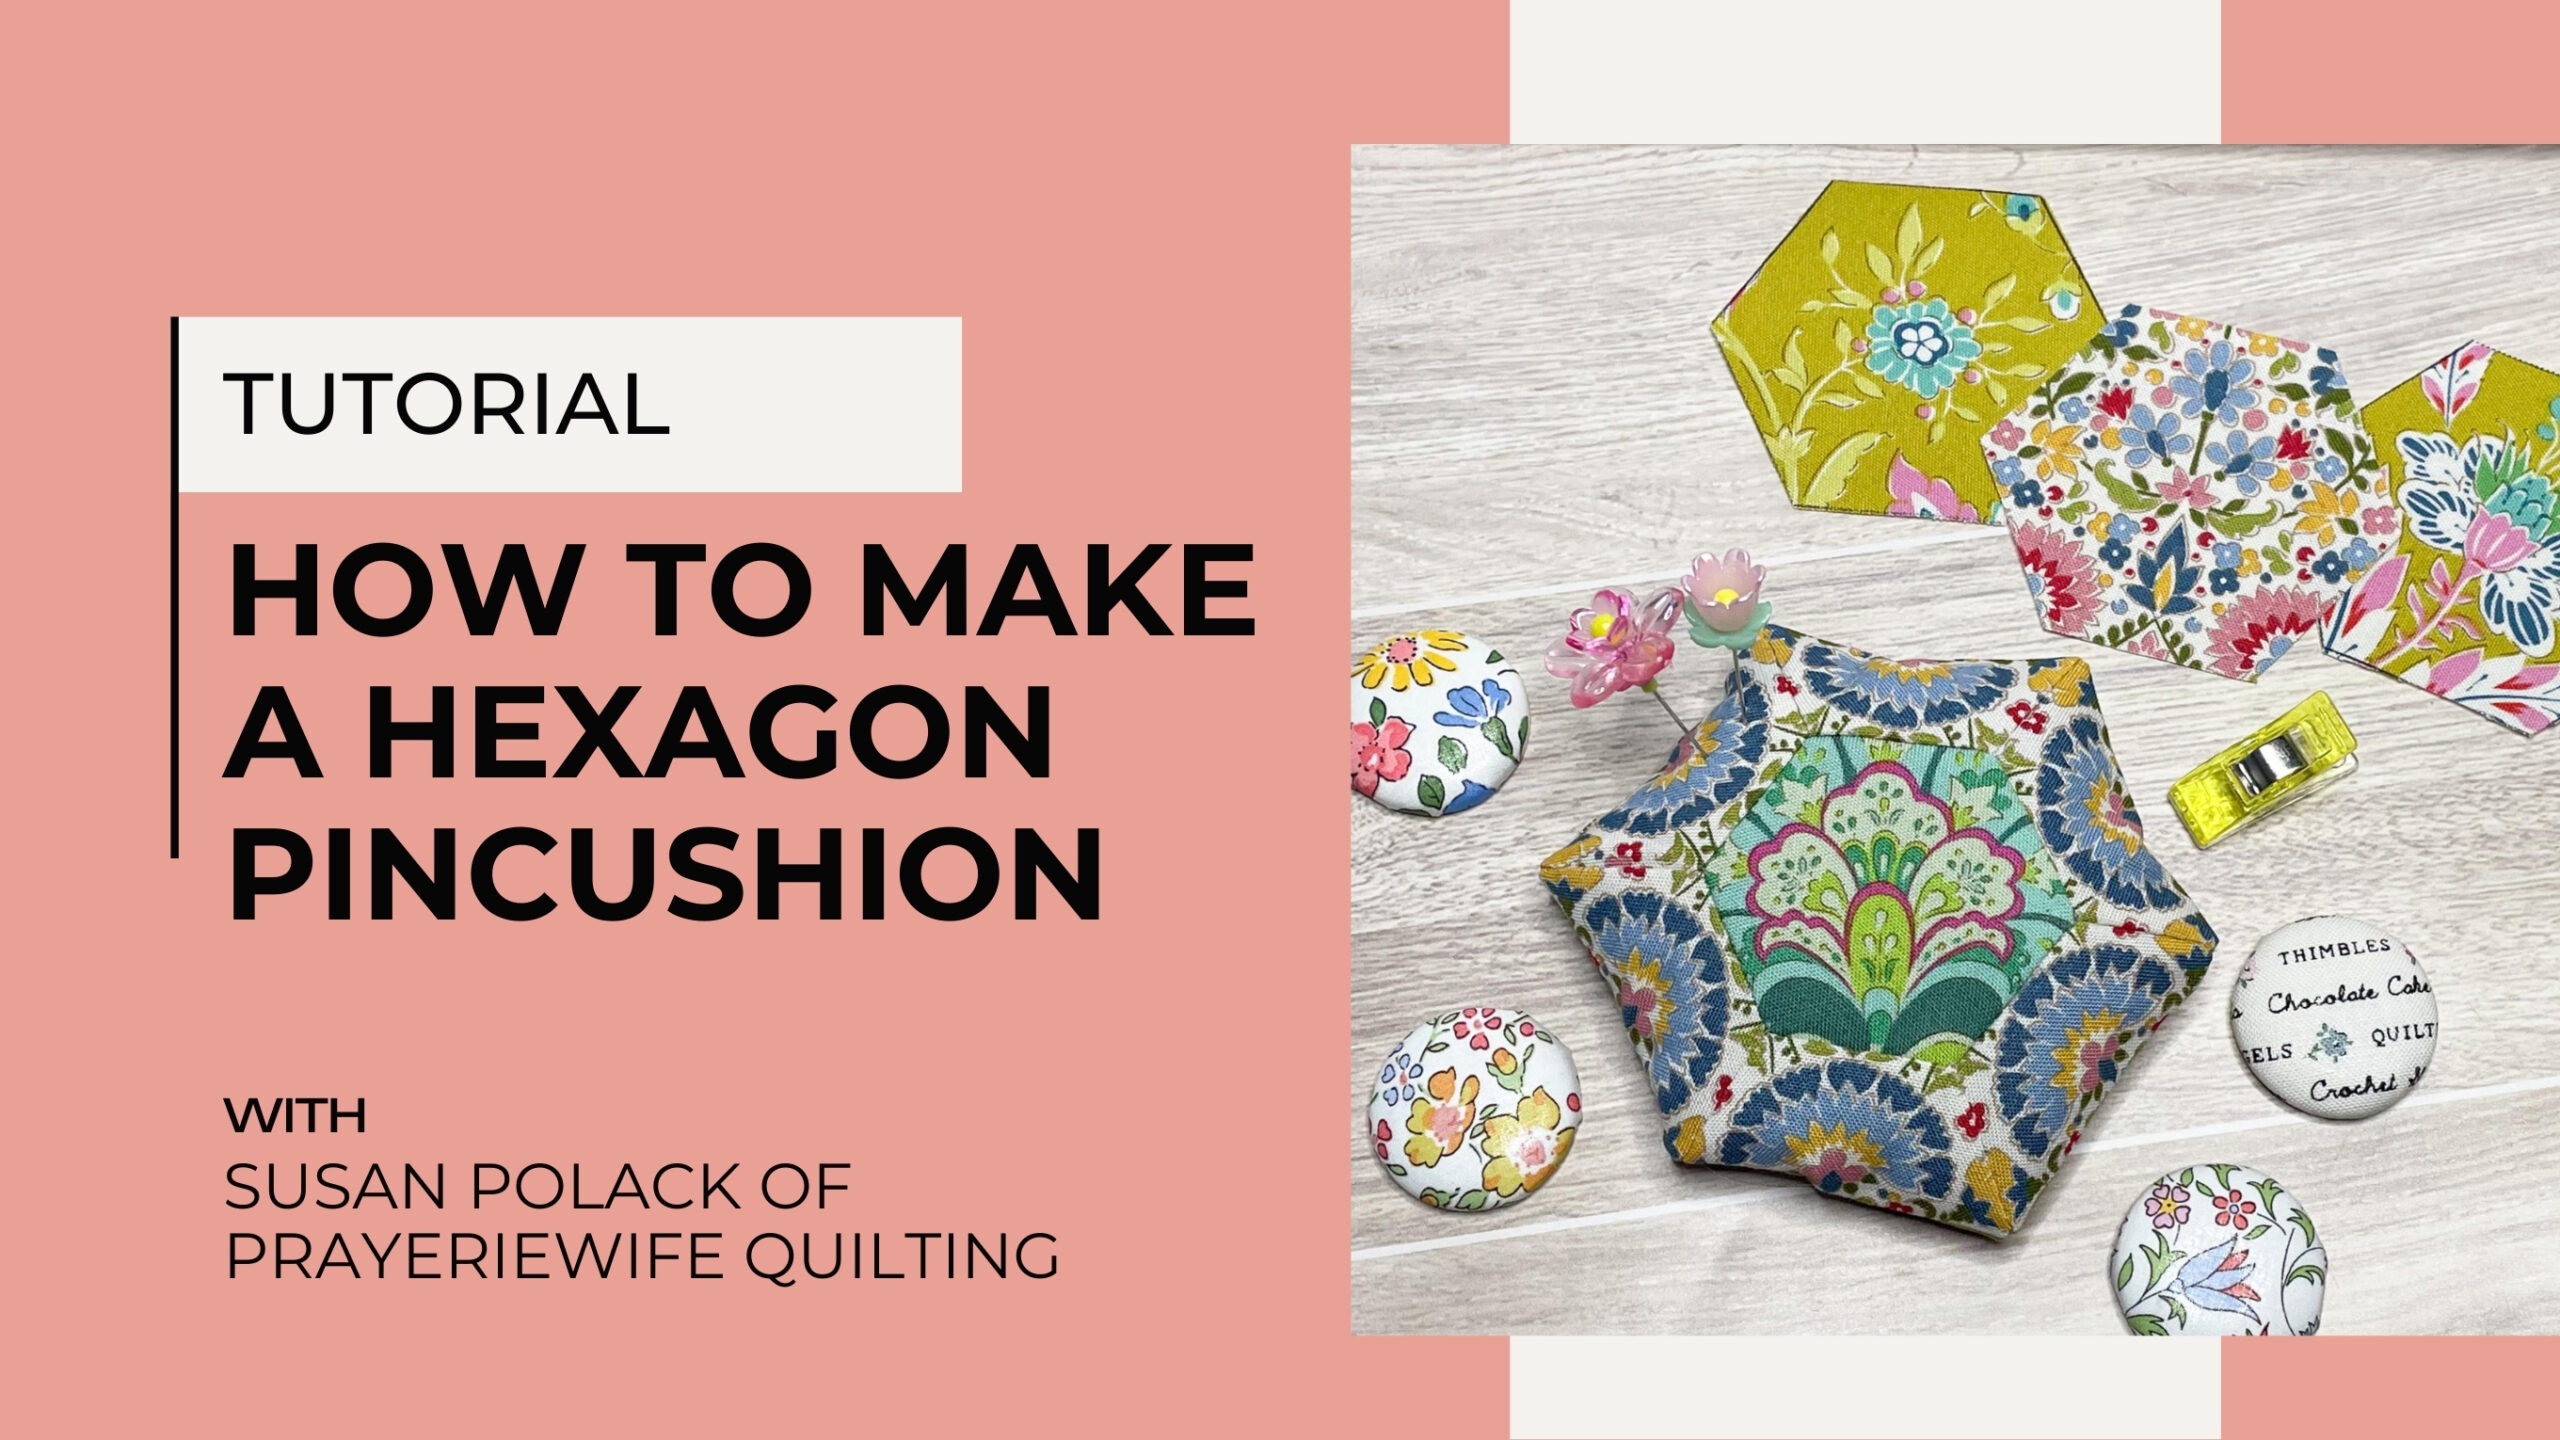
How to Make a Hexagon Pincushion – Easy Hand Sewing & EPP Tutorial

March 1, 2025

How to Make a Hexagon Pincushion

Susan Polack of Prayeriewife Quiliting shares how to make a hexagon pincushion. I love making small projects after piecing a quilt or on a lazy afternoon.  It gives me a quick win and something fun and useful for myself or for a special gift for a sewing friend.  These pincushions are a perfect opportunity to practice fussy cutting and can be completed in an hour or two.  If you would like to make a larger pincushion, you can use larger hexagons!  Don’t worry about taking notes, there is a link for a free PDF tutorial and a special bonus, just for you!

hexagon pincushion

Supplies Needed for Hand Piecing Method:

  • Fabric to cut (8) 1” hexagon pieces
  • (8) hexagon english paper piecing (EPP) papers
  • Glue for basting fabric to the EPP papers  (I use Sewline glue pen or Elmers washable glue stick (purple one)
  • General sewing supplies, clips, iron
  • Hexagon template (1” finished sides) with ¼” seam allowance. 
  • Milliner’s needle in Size 9, 10 or 11. They have a long thin shank and a long thin eye. (Or the thinnest needle that you have)
  • I use 60 weight polyester thread in a color that will blend well with the fabrics.
  • Funnel just small enough to fit in the opening to stuff.  Mine has approx. ½” opening.
  • Walnut shells* for the stuffing (Mine are 18/40, fine to medium grit)
  • (Crushed walnut shells are often used as stuffing material for pincushions because, not only do they hold their shape and make a great pincushion, the oil from the walnut shells has restorative properties that keep our needles sharp.)  *If you or your recipient has a nut allergy, you could use an alternate stuffing material.
hexagon pincushion supplies

Before you begin

Please read through all the directions 

RST stands for Right Sides Together

For best results, sew in a well-lighted space!

Fabric Selection

Select your fabrics for the hexagons.  Note:  you will only see the top ½ of the petal hexagons in your finished pincushion.  You will have (2) center hexagons and 6 petal hexagons.  

I recommend using spray starch or a fabric finish such as Mary Ellen’s Best Press on the fabric.  It gives the fabric some stiffness and is easier to manage.  Pressing the seams when noted will give you a more precise and polished finish.

Cutting the Hexagons

Center the hexagon template over the fabric that you will use for each piece.  You can either trace the hexagon shape and cut with scissors or use a rotary cutter to cut around the template.

Preparing the Hexagons

Put a line of glue along one side of the EPP paper.  Place your hexagon fabric, right-side-down on a surface.  Center the EPP paper on the wrong side of the fabric hexagon.  

Fold each side of fabric and wrap around the back of the EPP paper.  Use a thin line of glue to hold the folded fabric in place.  Avoid using too much glue or placing it too close to the edge.  

Glue each side of the fabric to the back of the EPP paper until all sides are secure, ensuring the corners are folded firmly.  

Continue glue basting all 8 hexagons.  

Give the hexagons a good press with a hot, dry iron, front and back.  This will also set the glue.

Arranging the Flower

Arrange your hexagons in a flower shape as shown.  You will also have a center hexagon for the bottom of the pincushion.  Put that aside for now.

Thread your milliners needle with a strand of thread, tying a knot at the end.

Hexagons

Sewing the Hexagons Together

Place two petal hexagons, RST.  You can use clips to hold them securely if you like.

Use very fine and small whip stitches to sew the hexagon side together by starting at one corner.  When you start to sew, secure the stitches in the corner with a couple of stitches in the same place.  Sew with stitches close together, catching a few threads of each hexagon, without sewing the papers.  

sewing the hexagons together

Sew the 7 hexagons together to form the flower shape.  At times, you will have to fold the papers to join certain sections, it’s tricky, but it’s only 8 hexagons!  Give the flower a good press.

Sewing the Petals to Form the Pincushion

Once you have the flower pieced, it is time to sew the petals together to form the pincushion.

With RST, fold the two adjoining petals together as shown.  Continue sewing until all the petals are sewn.  Remove the paper from the center hexagon if needed.

back of hexagons

Sewing the Bottom Hexagon to the Outside of the Petals

With the piece inside out, sew the center, bottom hexagon to each side of the outside petals, leaving one open to allow for stuffing.  Remove the remaining papers after they are surrounded by stitches.  Turn right-side-out and use a blunt tipped object to push out the points on the side.

assembly
pincushion

Finishing

Filling the Pincushions with Walnut Shells (or stuffing of choice)

I recommend filling the pincushions over a clean, flat surface, covered with a sheet of paper.

Place the end of the funnel inside the opening on the bottom of the pincushion.  Carefully fill the pincushion with the walnut shells.  Once you are finished filling, carefully whip-stitch or blanket stitch the opening closed, using small stitches to prevent the walnut shells from escaping.

stuffing the pincushion

Put some pretty pins in your new, one-of-a kind pincushion!

Hexagon pincushion final

Get your free Hexagon Pincushion PDF Tutorial

The free PDF also includes bonus links to videos for the machine-piecing version (my favorite, fast method) so you can get started with confidence!

Let’s have some fun!

MORE BLOG POSTS LIKE THIS

If you enjoyed this blog post, you will love these tutorials!

or SEARCH THESE

Popular categories

Craft to Career
Digital Downloads
Patterns
Podcast
Quilt Alongs
Quilt Questions
Tutorials
back to the top

Copyright 2024 Quilters Candy  |  Terms & Conditions