
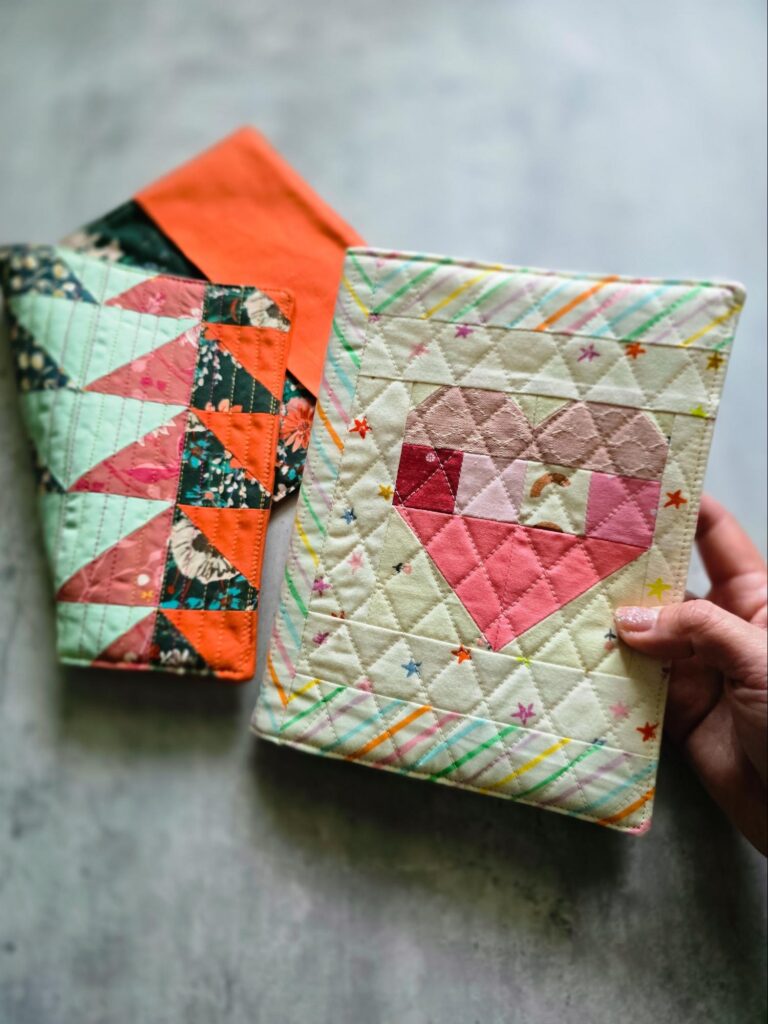
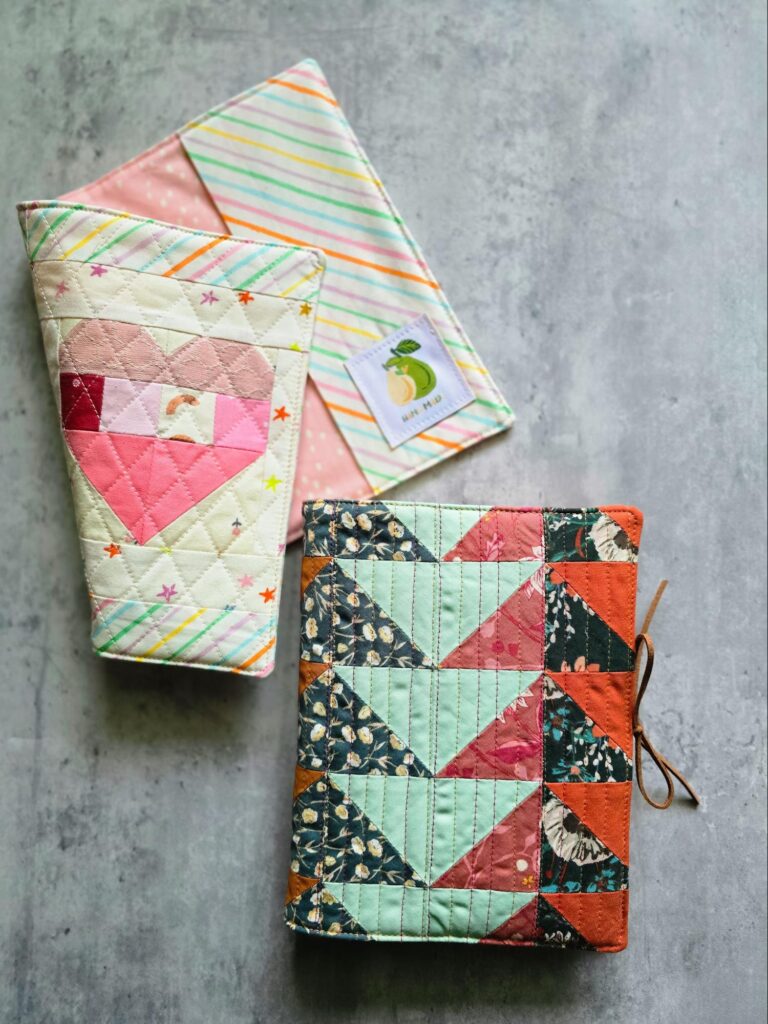
DIY Quilted Journal Cover: Easy Sewing Tutorial for a Personalized Touch


RECENT BLOG entries
DIY Quilted Journal Cover: Easy Sewing Tutorial for a Personalized Touch

DIY Quilted Journal Cover: Easy Sewing Tutorial for a Personalized Touch
DIY Quilted Journal Cover: Easy Sewing Tutorial for a Personalized Touch
DIY Quilted Journal Cover: Easy Sewing Tutorial for a Personalized Touch
DIY Quilted Journal Cover: Easy Sewing Tutorial for a Personalized Touch
DIY Quilted Journal Cover: Easy Sewing Tutorial for a Personalized Touch
the latest
July 3, 2026
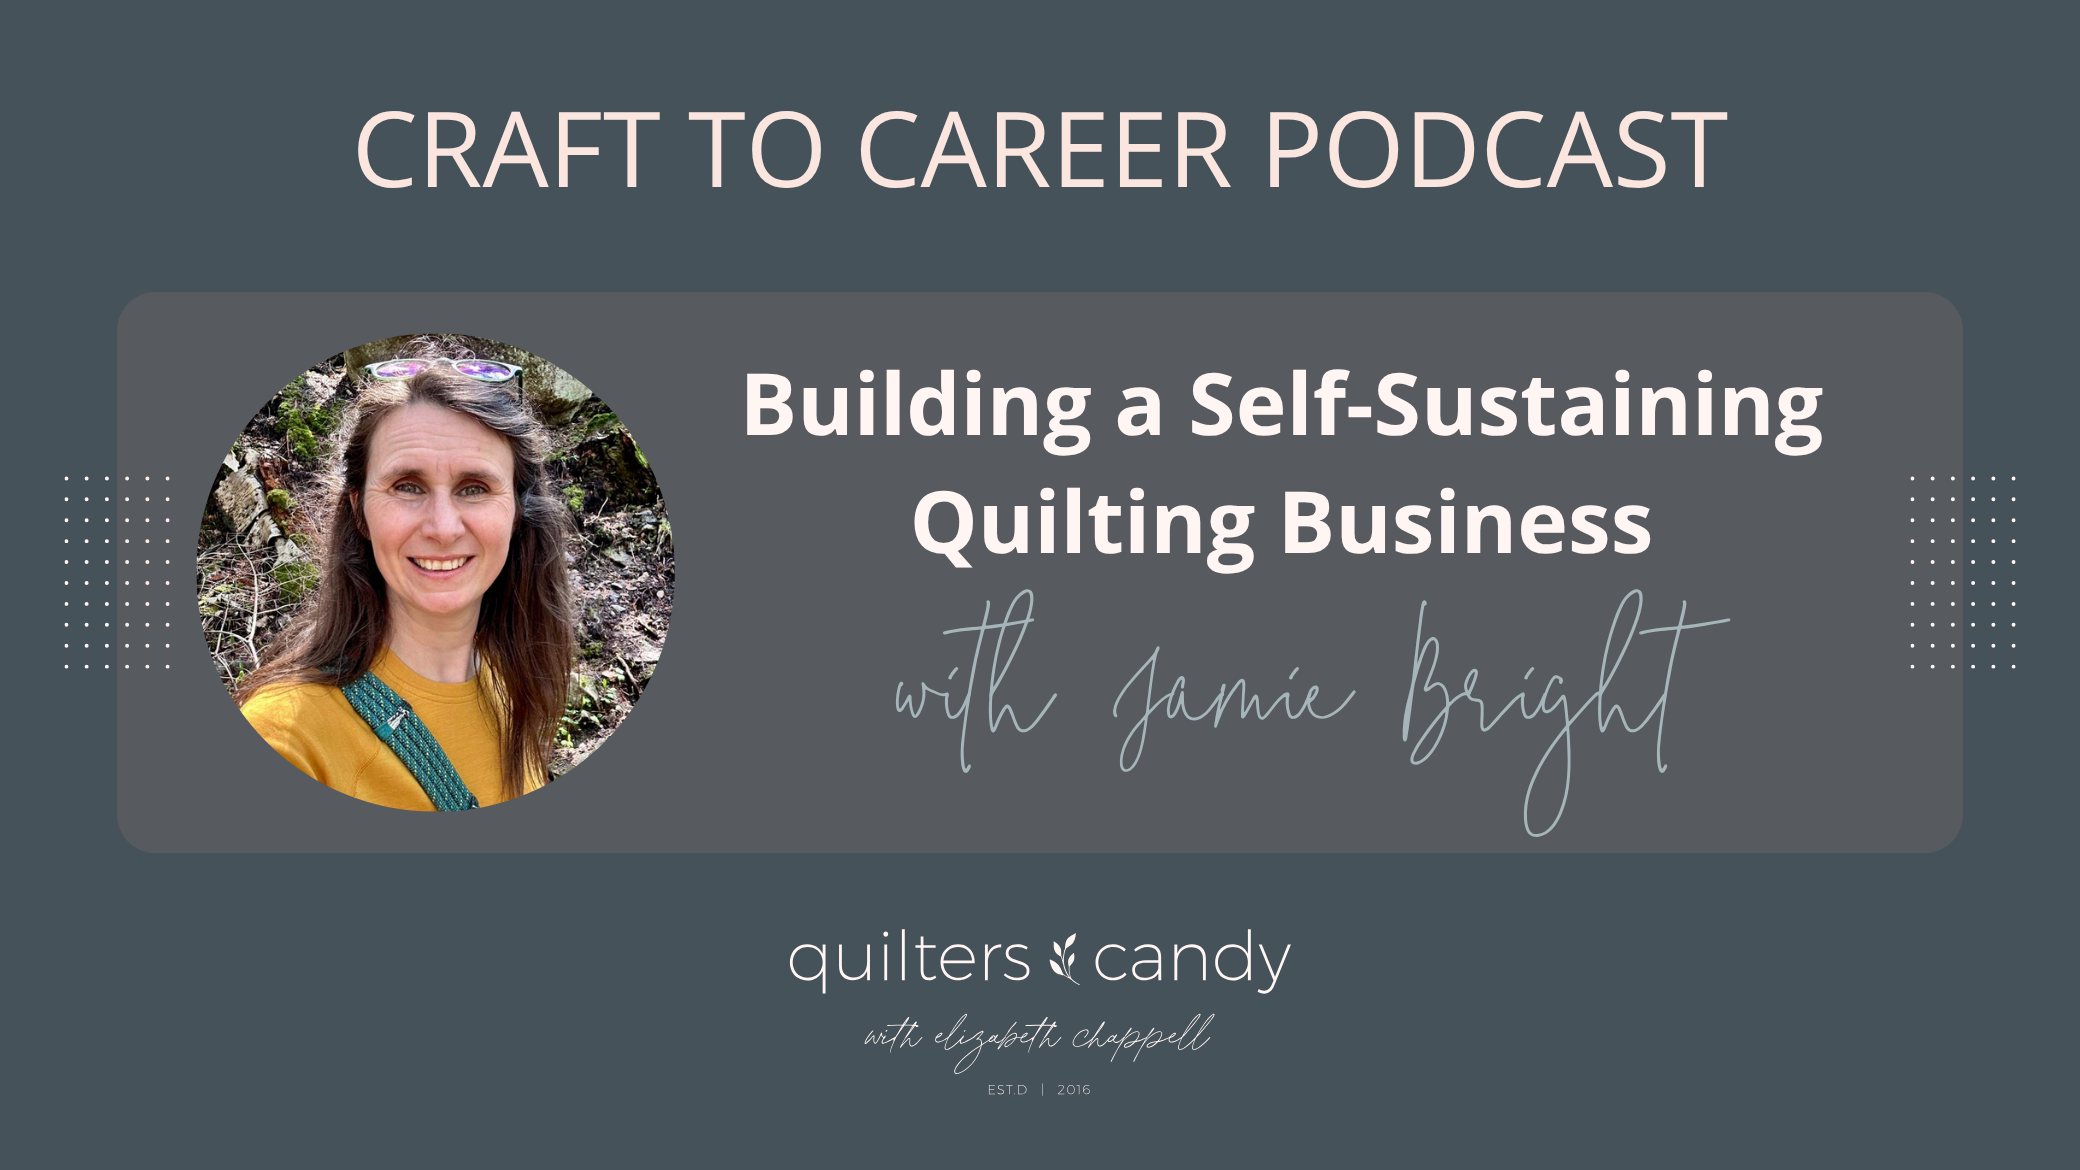
This week, I’m joined by Jamie Bright of Craft a Dream, and this conversation is such a treat. Jamie is a sharp businesswoman with a real gift for marketing, and her path into quilting is not the one you might expect. Before entering the quilting world, Jamie built valuable business experience in another field. When […]
tune in
tune into the
Craft to Career
Podcast
Each week get insights on how to turn your craft into a successful career. With both guest speakers and tips from myself, you get valuable, free education on the Craft to Career podcast!
or SEARCH THESE
Popular categories
Craft to Career
Digital Downloads
Patterns
Podcast
Quilt Alongs
Quilt Questions
Tutorials


