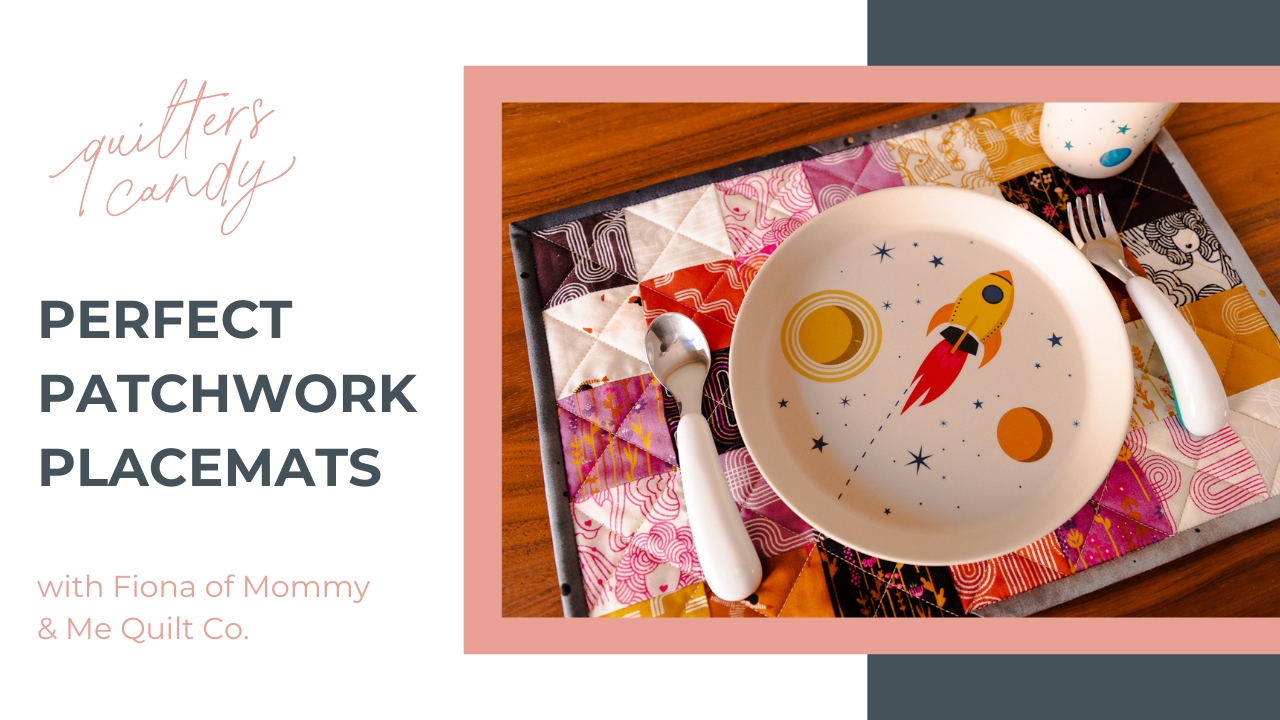
Perfect Patchwork Placemats

June 2, 2024

Perfect Patchwork Placemats
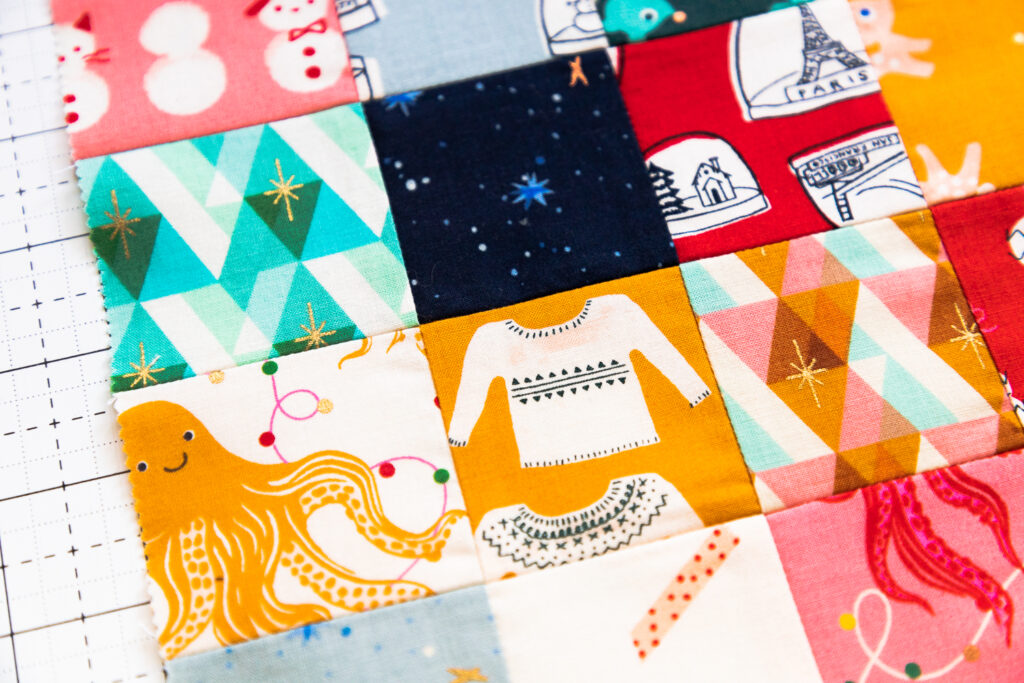
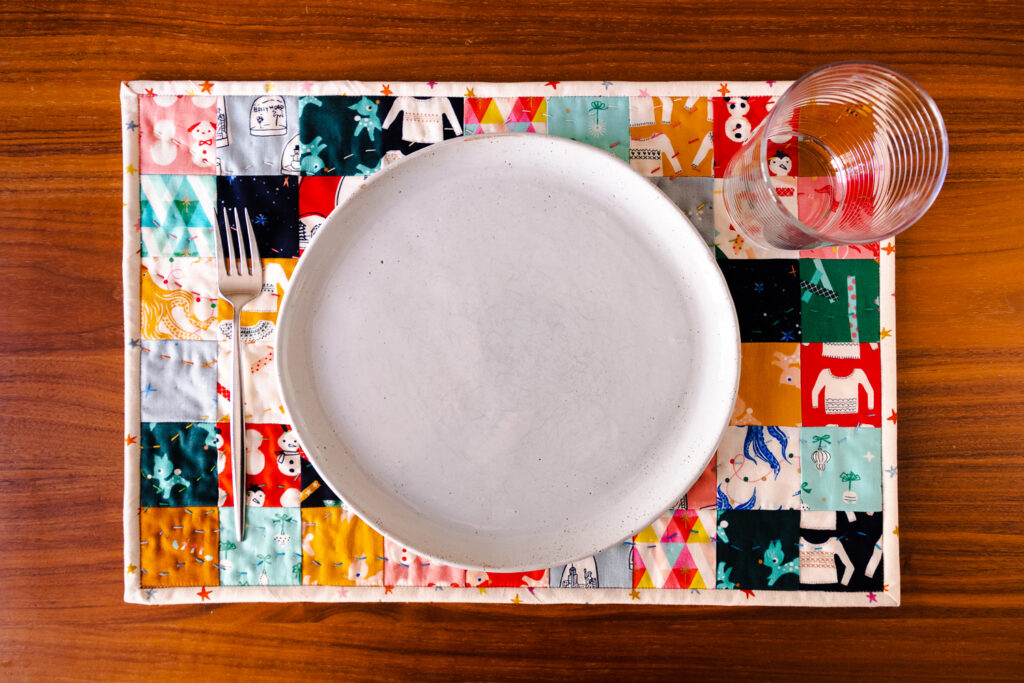
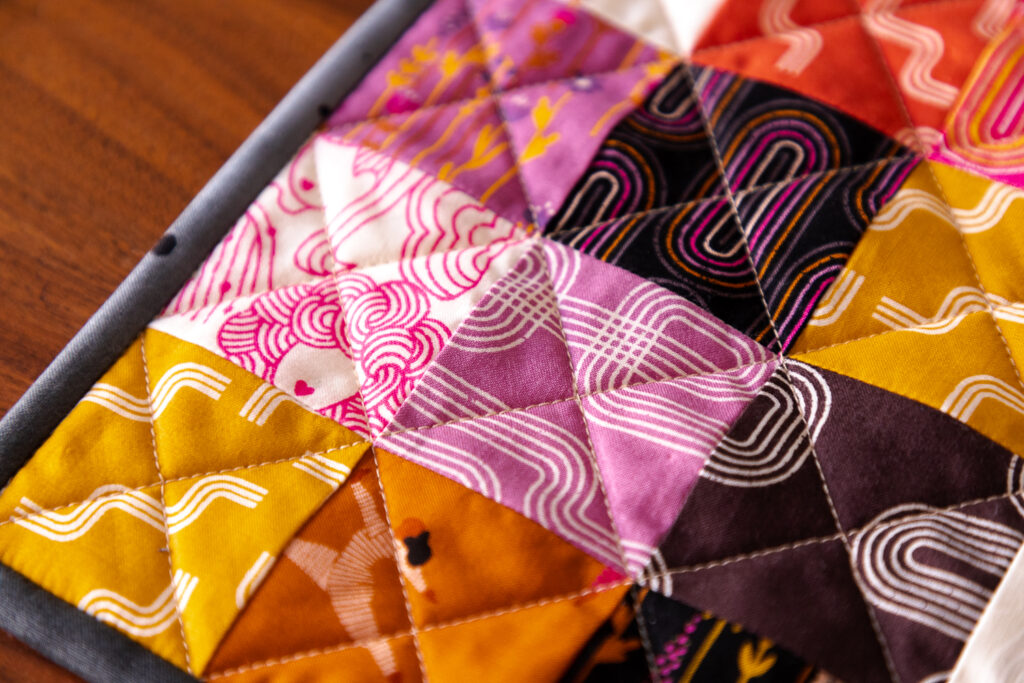
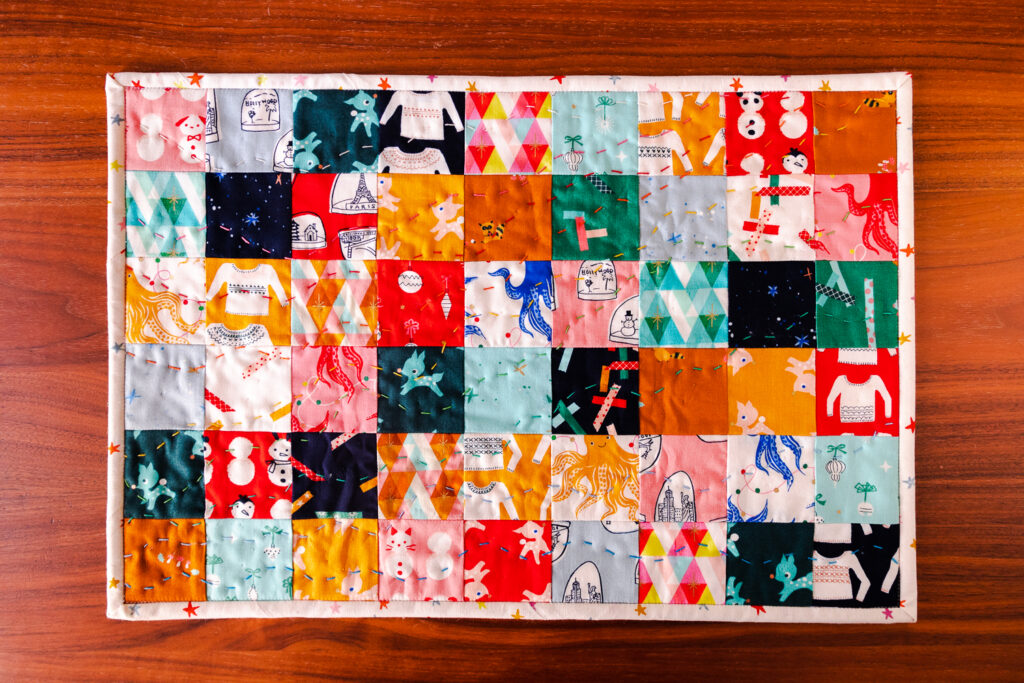
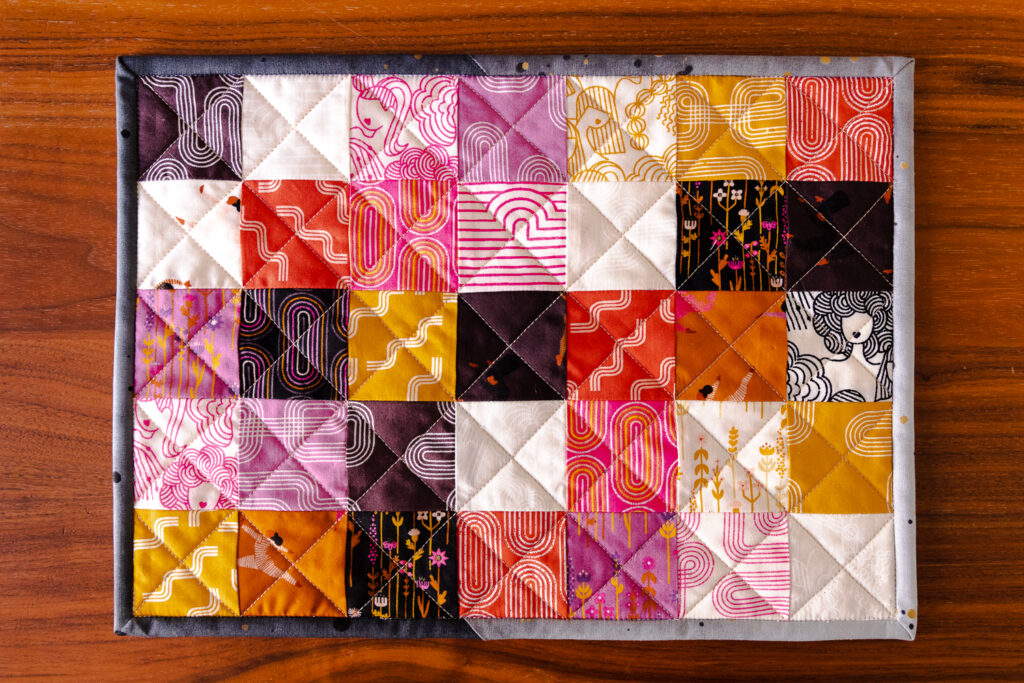
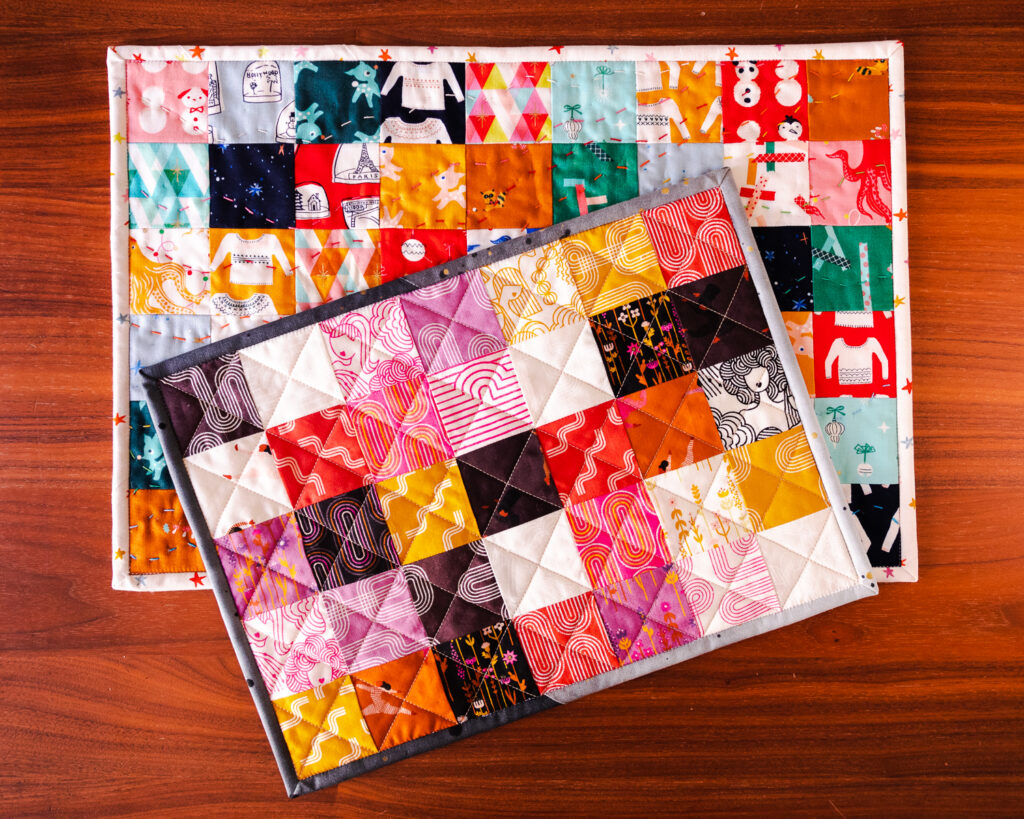
final placemats

Hello everyone! I’m Fiona of Mommy and Me Quilt Co, and I’m so excited to be sharing a fun, quick, and easy gift idea with you here at Quilter’s Candy today. 

June is here, which means wedding season is upon us, and some people are already starting to make Christmas gifts! Whatever season of life you’re in, my “Perfect Patchwork Placemats” are about to become your new favorite, go-to, scrap busting handmade gift idea. Here’s why:

  • Pieces needed are compatible with the most common pre-cut types
  • They are a big time scrap buster
  • You can use up leftover batting pieces that are too small, even for a baby quilt
  • You can use leftover jelly roll pieces or binding cut offs from other quilts to bind
  • They need less than one fat quarter for the backing fabric

SO WHAT EXACTLY ARE PRE-CUT FABRICS

Pre-cut fabrics are exactly what they sound like; fabrics that are pre-cut by the manufacturer, or sometimes a quilt shop, that come in industry standard sizes. Below are some of the most popular types and sizes (note that names may vary between manufacturers and shops): 

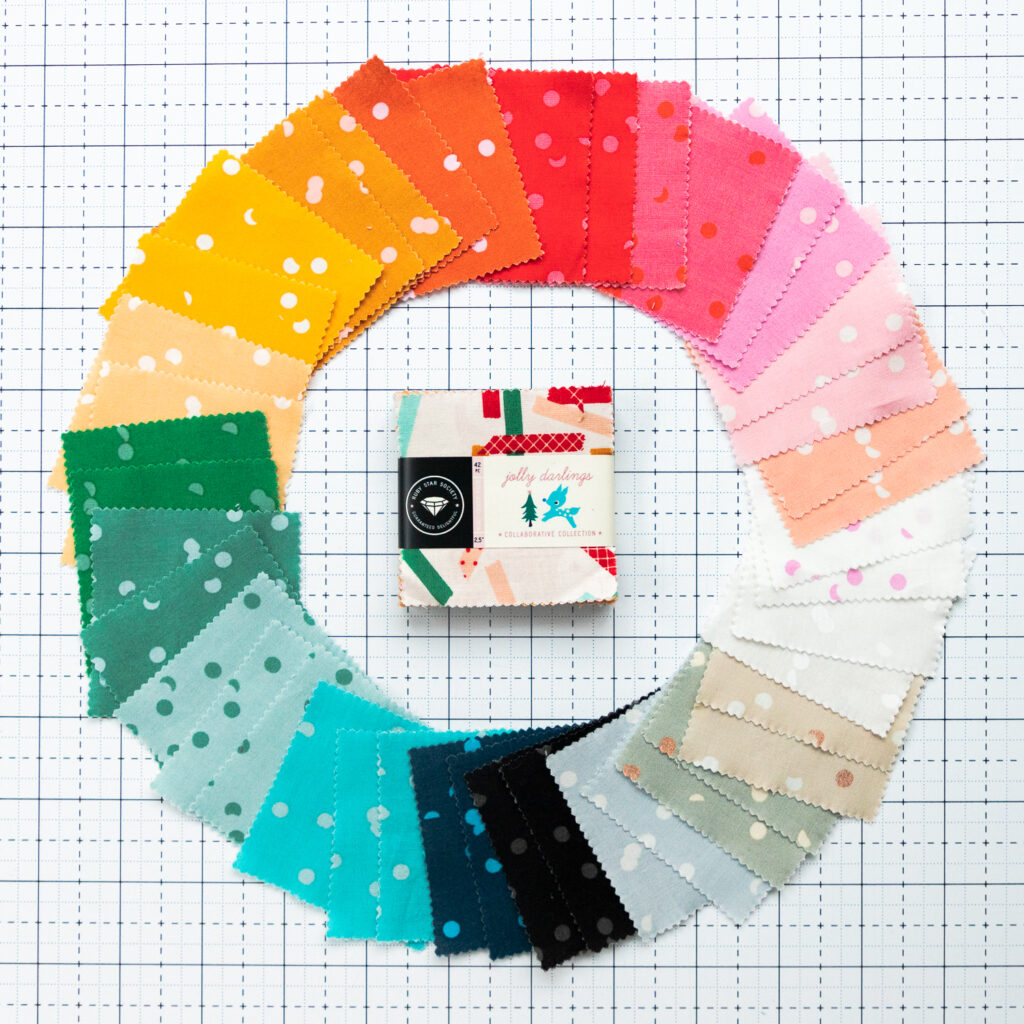
  • Mini Charm pack = 2 ½” squares
  • Charm pack = 5” squares
  • Layer Cake = 10” squares
  • Jelly Roll = 2 ½” x Width of Fabric strips

The manufacturer pre-cuts mentioned above usually come with around 42 pieces. Depending on the size of the collection, there may be two, or even three, of each print, though it is expected that there will be at least one of each print (assuming the collection has less than 42 prints in it). 

When making a quilt that is compatible with pre-cuts, using pre-cut fabrics can save you time (you may not even need to get out your rotary cutter!) and will give you a wider variety of fabrics, at a more cost effective rate. 

WHY I LOVE MINI CHARM SQUARES

One of my favorite types of pre-cuts are Mini Charm packs. A mini charm pack generally comes with (42) 2 ½” squares and costs less than $5. Mini Charm packs are also an easy, wallet-friendly way to preview an entire collection in person before deciding which fabrics to buy in larger cuts. 

Another thing that is really exciting? 2 ½” squares, the piece sizes used in this tutorial, can be cut from all pre-cut types listed above. 

  • (1) Mini Charm square = (1) 2 ½” square
  • (1) Charm square = (4) 2 ½” squares
  • (1) Layer Cake square = (16) 2 ½” squares
  • (1) Jelly Roll strip = (16) 2 ½” squares
  • Scraps = unlimited potential!

Plus, you get a really great variety of 2 ½” squares to pull from for scrappy projects, which brings us back to today’s tutorial, how to make Perfect Patchwork Placemats; every time!

LET’S DIVE IN!

Alright. Here’s the real secret sauce to my Perfect Patchwork Placemats, and a trick I learned from my very talented friend and fellow mama, quilter, and pattern writer Lindsey Bills of The Quilting Corner. Are you ready?!

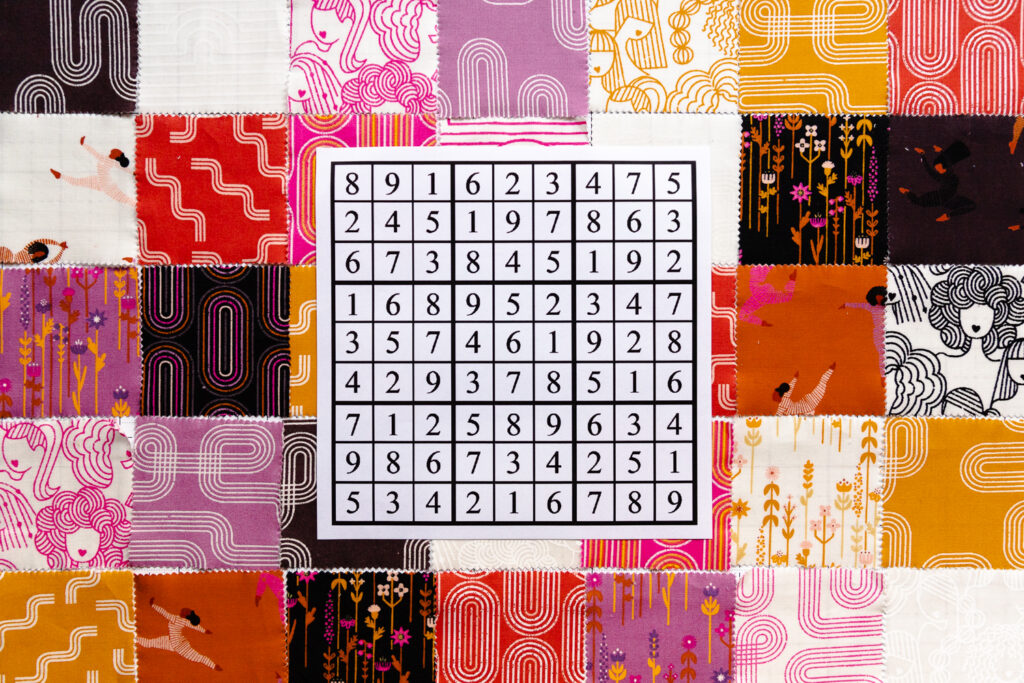
Sudoku.

*This solved Sudoku puzzle is from USA Today.

assembly

Yup. You read that right. SUDOKU! Here’s why it is the golden ticket that will forever change the way you do patchwork and why, after Lindsey told me about this, I will never go back to trying to lay out my patchwork blindly. 

If you’ve never played Sudoku, don’t worry; I have yet to play it myself. Just do a quick search online for “solved Sudoku puzzle” and you’ll be on the road to better patchwork before you even pull your printed puzzle off the printer.

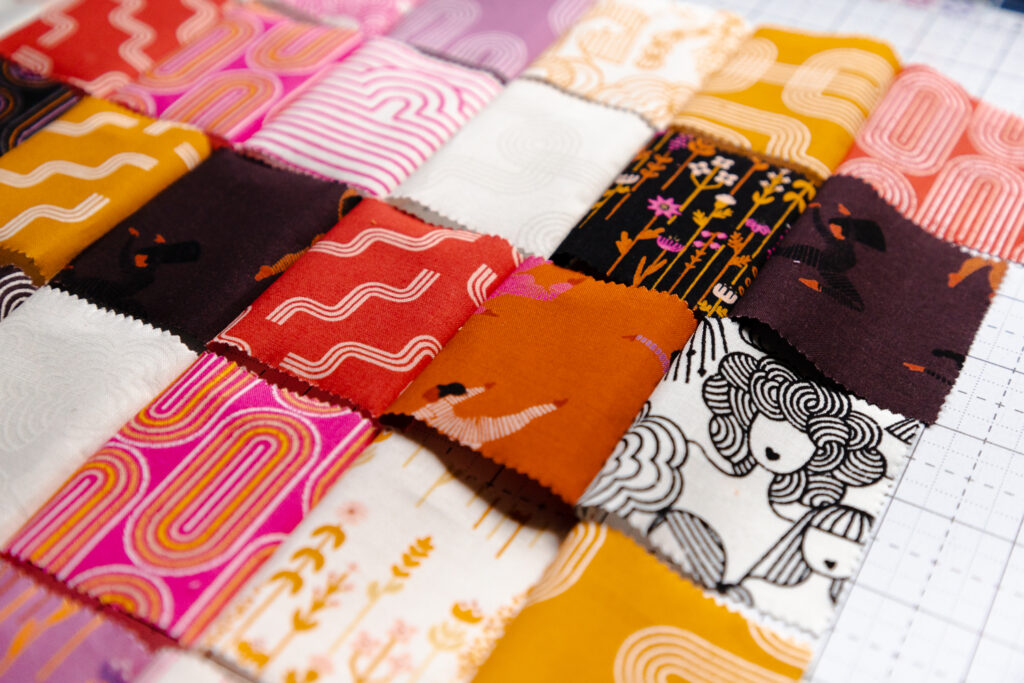
squares

Here’s why Sudoku works. The goal in Sudoku is to solve a number sequence in which the numbers 1-9 appear only once in any given direction. It’s mathematically beautiful because it is balanced and no numbers are repeated in the horizontal or vertical row (within a 9 square grid).

CALCULATING SIZES

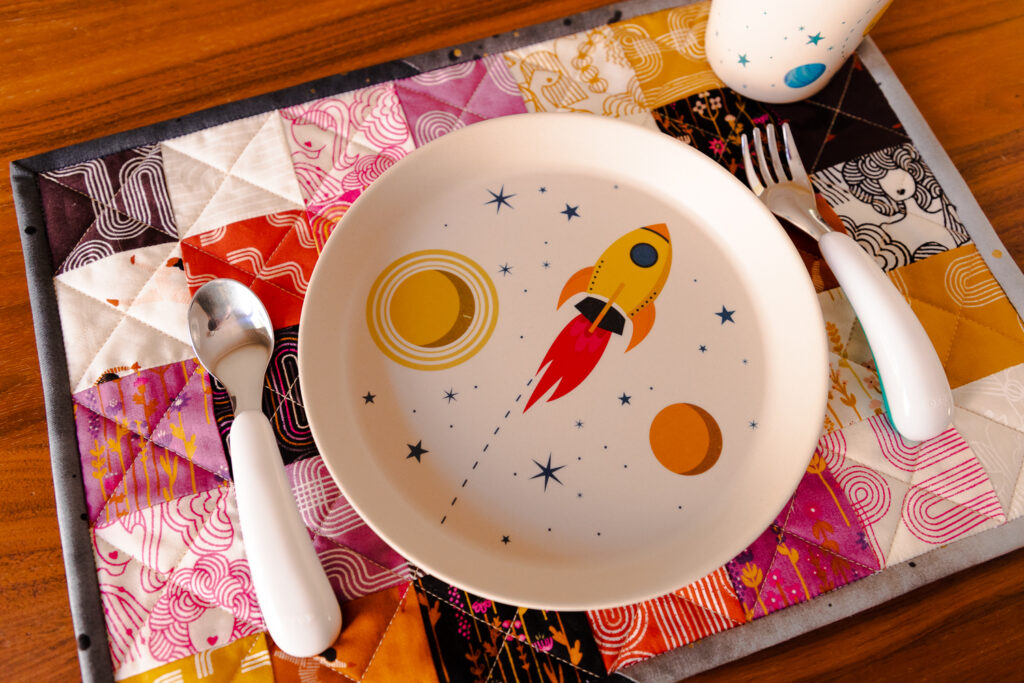
Everyone loves placemats! They protect surfaces, can dress up an otherwise simple meal, and they give a cozy feel to any table. While placemats can vary in size, I’ve found two sizes that I really like to make: 10” x 14” (perfect for toddlers and younger kids) and 12” x 18” (great for teens and adults alike). 

set placemat

Regardless of what size project you’re using the Sudoku trick for when sewing with 2 ½” squares (be it placemats, mug rugs, coasters, a doll quilt, a baby quilt, you-name-it), when calculating the size top you want to make, the most important thing to remember is that your Width and Height should be divisible by 2” (size of finished pieces, once sewn in).

The formula looks like this: 

Desired Width / 2 = Number of Horizontal Pieces

Desired Height / 2 = Number of Vertical Pieces

Horizontal Pieces x Vertical Pieces = Total number of 2 ½” squares needed.

Let’s put this into action!

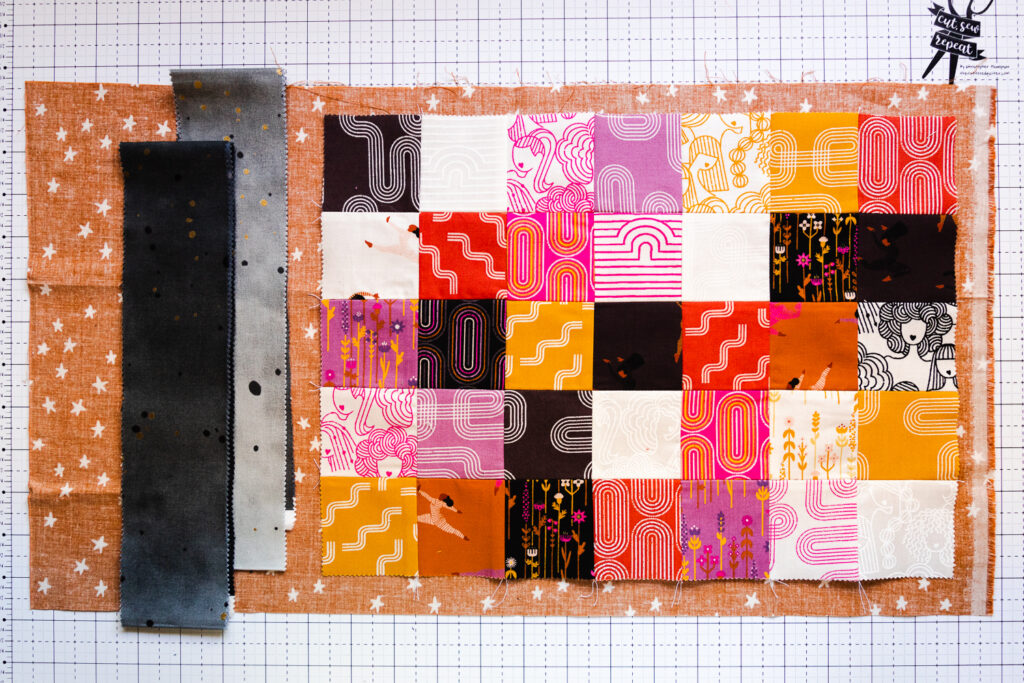
For the Kid size placemat, the calculations look like this: 

14” / 2 = (7) 2 ½” squares

10” / 2 = (5) 2 ½” squares

(7) 2 ½” squares x  (5) 2 ½” squares = (35) 2 ½” squares (less than one mini charm pack)

For the Adult size placemat, the calculations look like this: 

18” / 2 = (9) 2 ½” squares

12” / 2 = (6) 2 ½” squares

(9) 2 ½” squares x  (6) 2 ½” squares = (54) 2 ½” squares (two mini charm packs; with plenty leftover to make some mug rugs or coasters)

NOTE: If you are using Sudoku for patchwork that is larger than 9 squares in Width or Height, simply repeat the Sudoku grid as far as is needed in either direction. 

PERFECT PATCHWORK PLACEMATS, STEP BY STEP

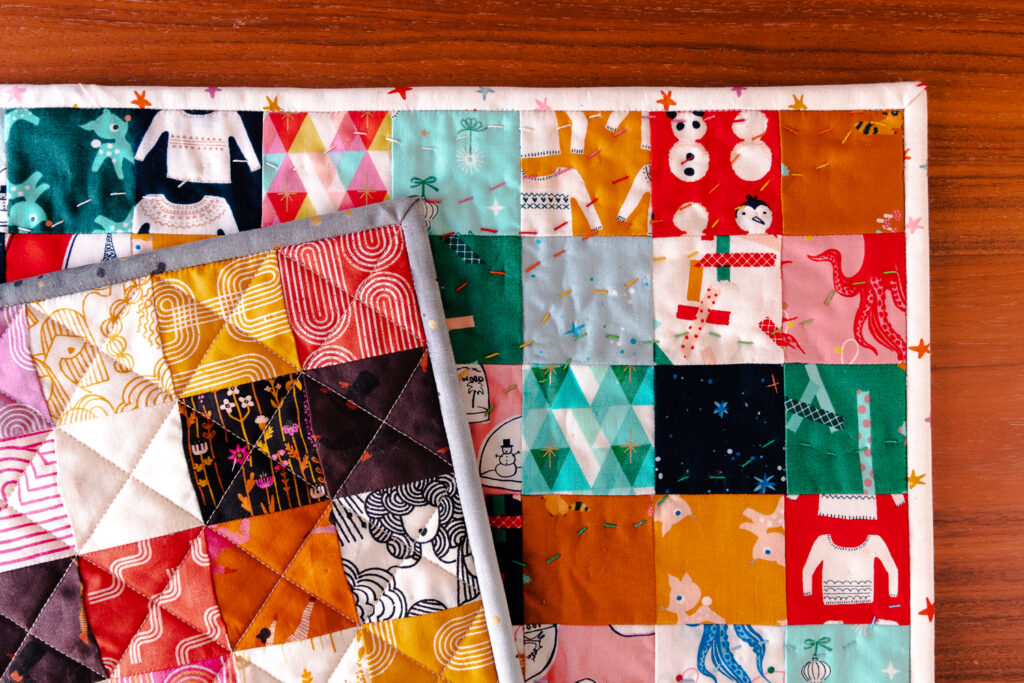
These placemats make great gifts and come together really quickly. They’re perfect for trying out new machine quilting designs without committing to an entire quilt and also make for a fun hand quilting project to keep you creating, even when you can’t be at your machine.

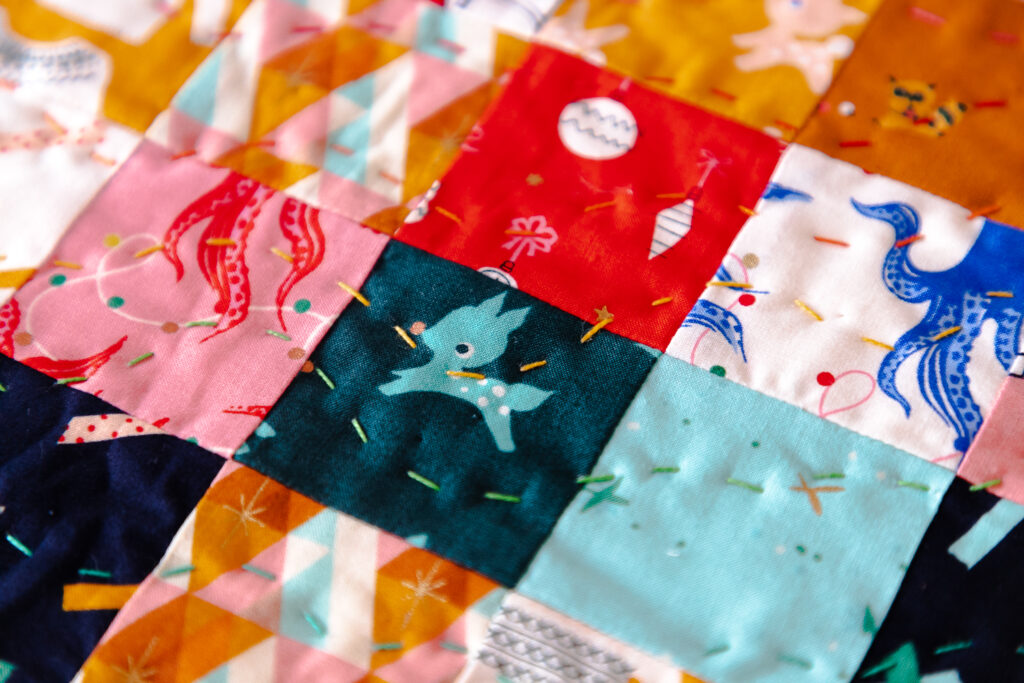
stitches
quilting

Follow this step-by-step guide to making Perfect Patchwork Placemats, every time.

  1. Sort pieces into (9) color families, colors do not need to be exactly the same, but you will need the same amount of pieces in each of the (9) piles.

2. Assign each color family a number (1-9), then lay out squares following the numbers in your chosen Sudoku puzzle.

3. Prep squares for piecing 

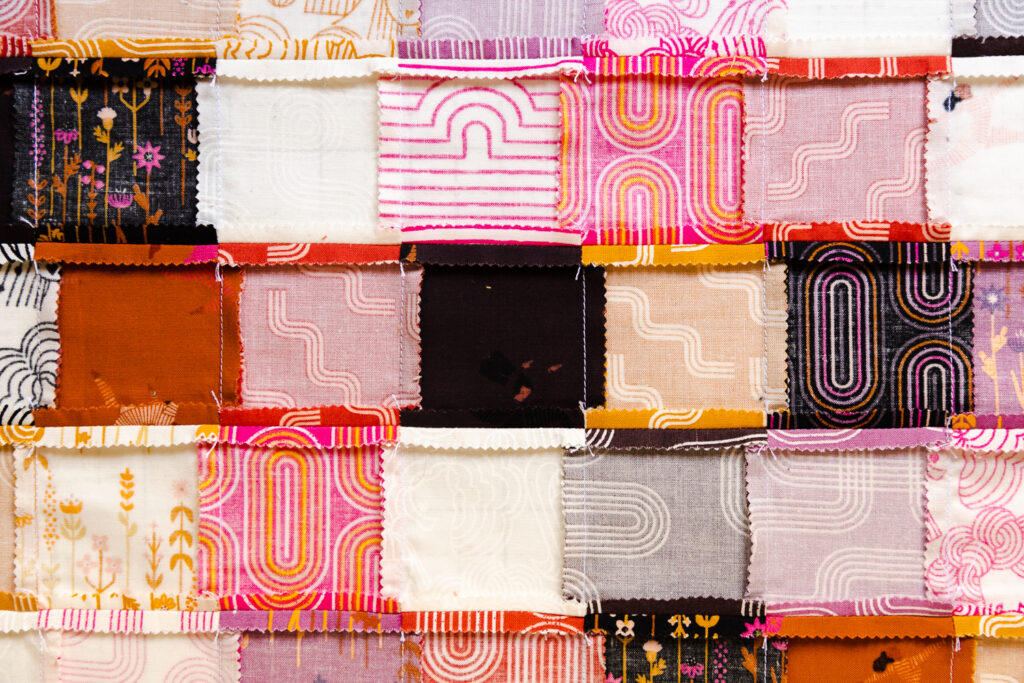
4. Chain piece placemat

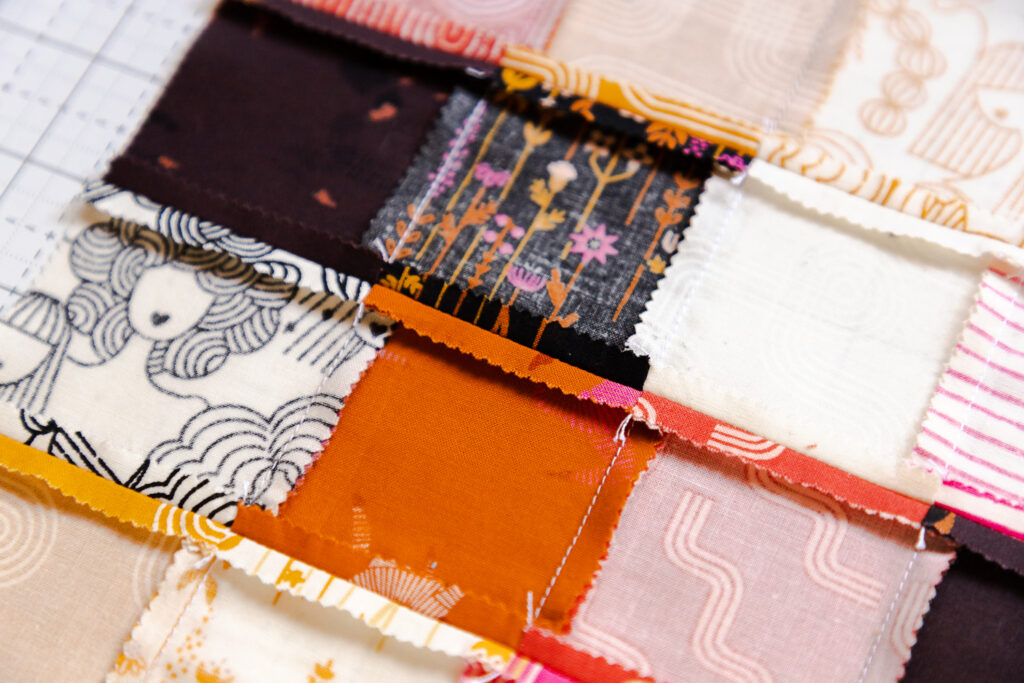
piecing

5. Press rows in alternating directions

6. Sew rows together, nesting seams

back
back of quilt

7. Baste and Quilt as desired (remember you need less than a fat quarter for backing fabric and batting pieces!)

hand quilted placemat
patchwork placemat

8. Bind using preferred method (remember you can use Jelly Roll strips or leftover binding cut offs!)

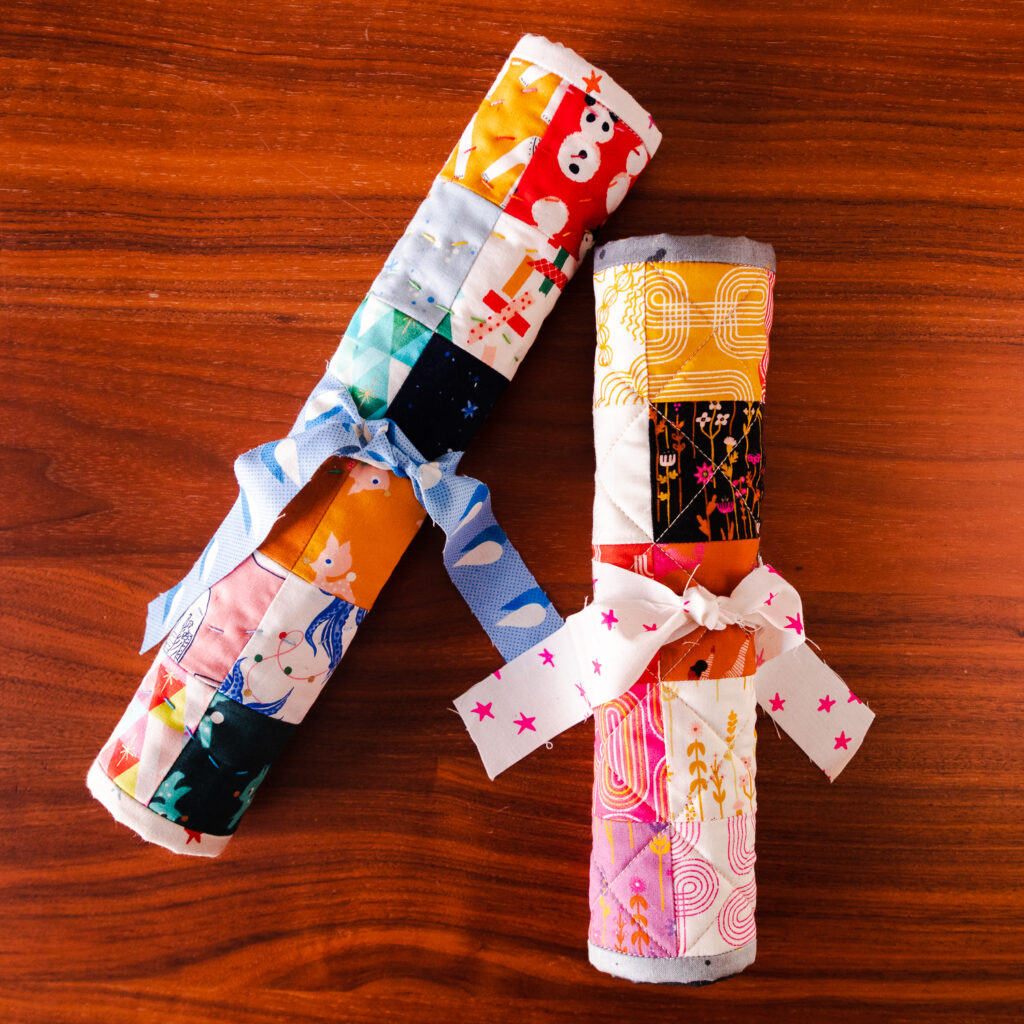
placemats

9. Gift to intended recipient, or if that is you, ENJOY!

That’s it! I hope this tutorial got you a little bit more excited about exploring patchwork. Follow the rules of Sudoku, and you will be making Perfect Patchwork Placemats in no time, every time. 

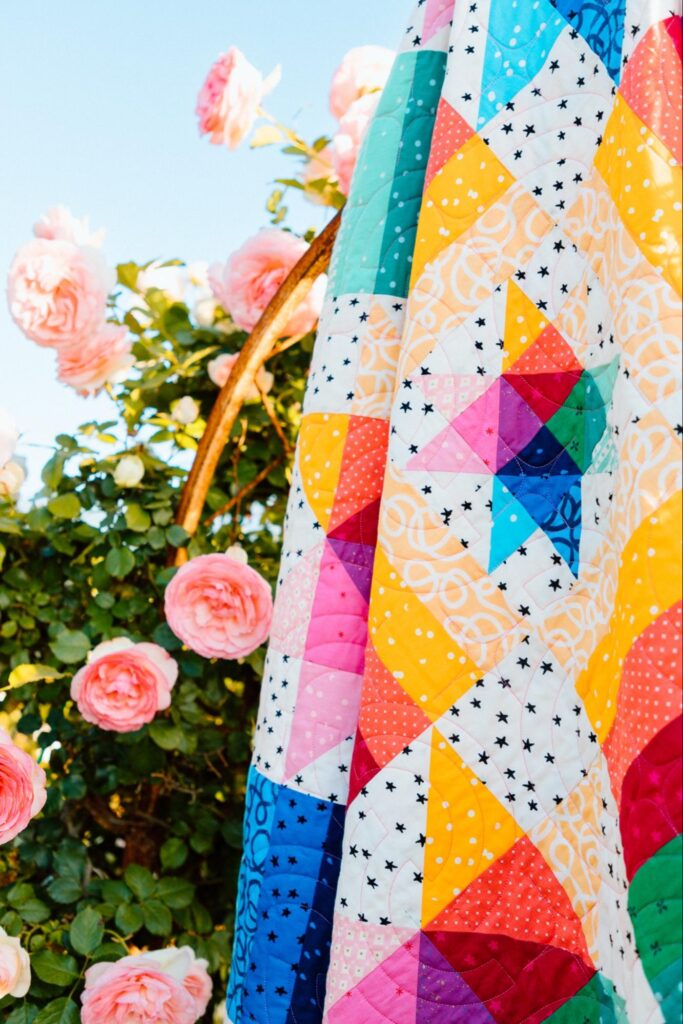
In case you missed it, my latest quilt pattern Tetra Star (pictured below) was released recently and is now available for purchase on my website! 

Click the link below to get 15% off your next purchase!

Be sure to tag me on Instagram @mommyandmequiltco when sharing your patchwork projects! I’d love to share your work and cheer you on. And check out #TetraStarQuilt on Instagram to see all the amazing versions of the Tetra Star quilt made by my testers. 

Thanks so much for reading!

xoxo,Fiona

quilt
Fiona

MORE BLOG POSTS LIKE THIS ONE

Did you enjoy this tutorial? Be sure to check out these free tutorials: 

3 Hour Quilt Tutorial

Teacher Appreciation Quilt

Blustery Day Wall Hanging Quilt

or SEARCH THESE

Popular categories

Craft to Career
Digital Downloads
Patterns
Podcast
Quilt Alongs
Quilt Questions
Tutorials
back to the top

Copyright 2024 Quilters Candy  |  Terms & Conditions