Make A Card Holder

July 28, 2023

Make a Card Holder

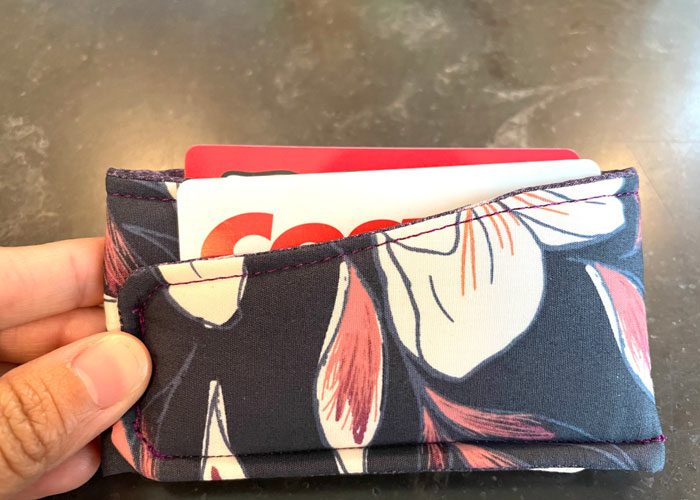
Lina Owen from Blue Belle Designs shares how to make a card holder. This is a fun quick project that is perfect for using up fat eights and leftover batting. 

Get the FREE card holder pattern template:

Lina Owen Card Holder

Supply List

  1. PDF template
  2. (1) Fat eight or fabric scraps that measure 15″ x 6”
  3. Batting, interfacing, or foam
  4. Fabric marking tool
  5. Rotary cutter/paper scissors
  6. Contrasting or matching thread
  7. Tape
  8. Pins or clips 

Preparation

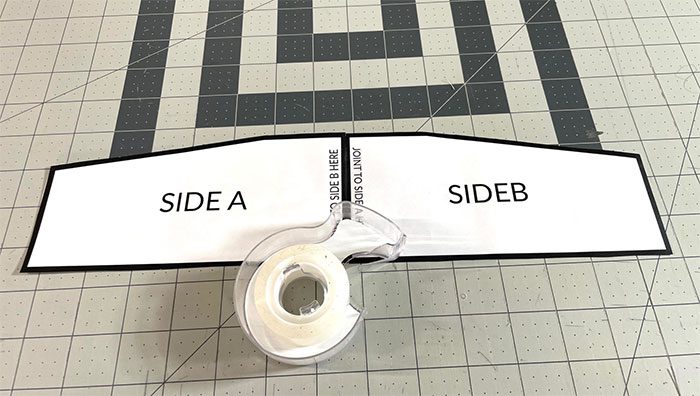
  1. Print and cut your template and then join side A and Side B together with tape.
Card Holder Template

2. You may quilt the exterior if you desire. In this tutorial I wanted to show that it was not necessary. I also used foam interfacing to give it more body. 

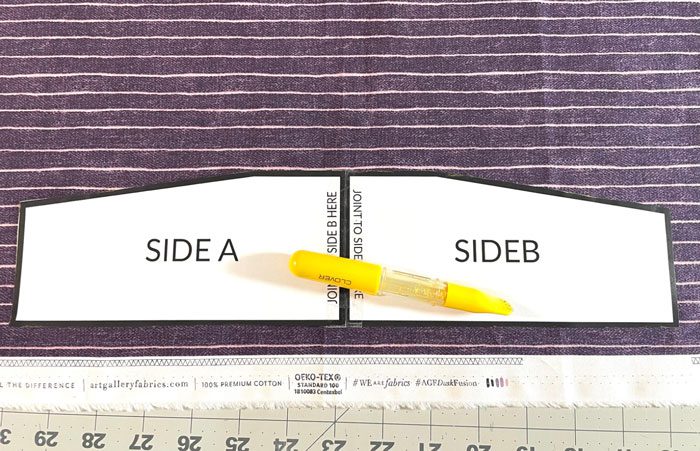
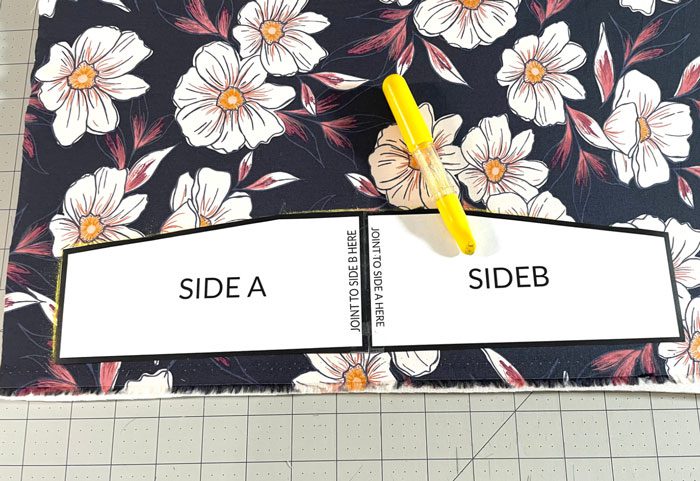
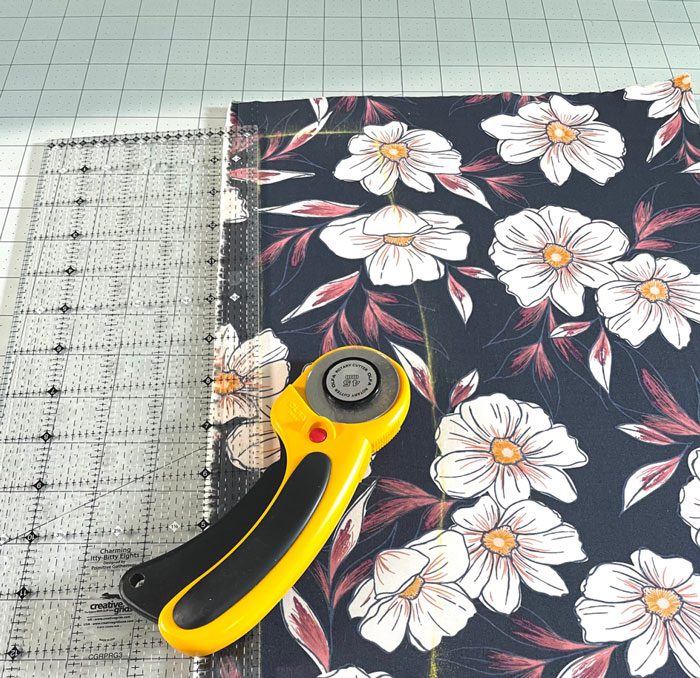
3. Place the template on the fabrics you wish to use and trace the shape with the fabric marker. Repeat with the batting or interfacing. You may use the same fabric for both the interior and exterior if desired. I have used 2 different fabrics for this tutorial.

Trace Template
Cut out the Template

4. Cut the fabrics and interfacing based on the shape that has been traced. 

Cut the Template

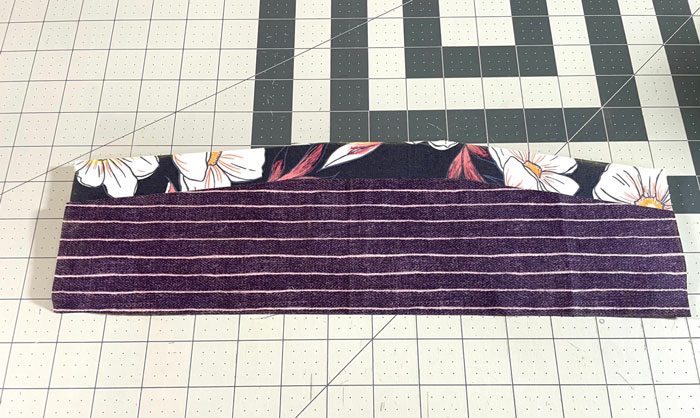
Exterior, interior, and interfacing will look like this.

Place fabrics RST

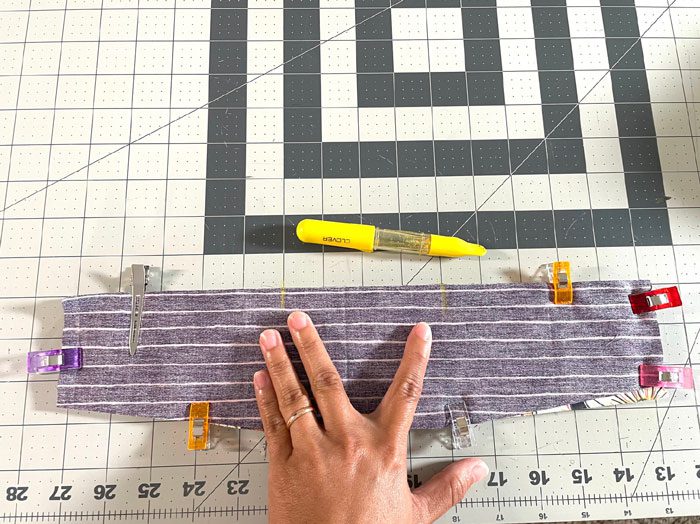
5. Place interfacing behind the exterior fabric, and then place interior fabric right sides together on top of the exterior fabric and then mark a 4″ opening on the straight edge to turn right side out after sewing the layers together.

Clip Fabric Together

Construction

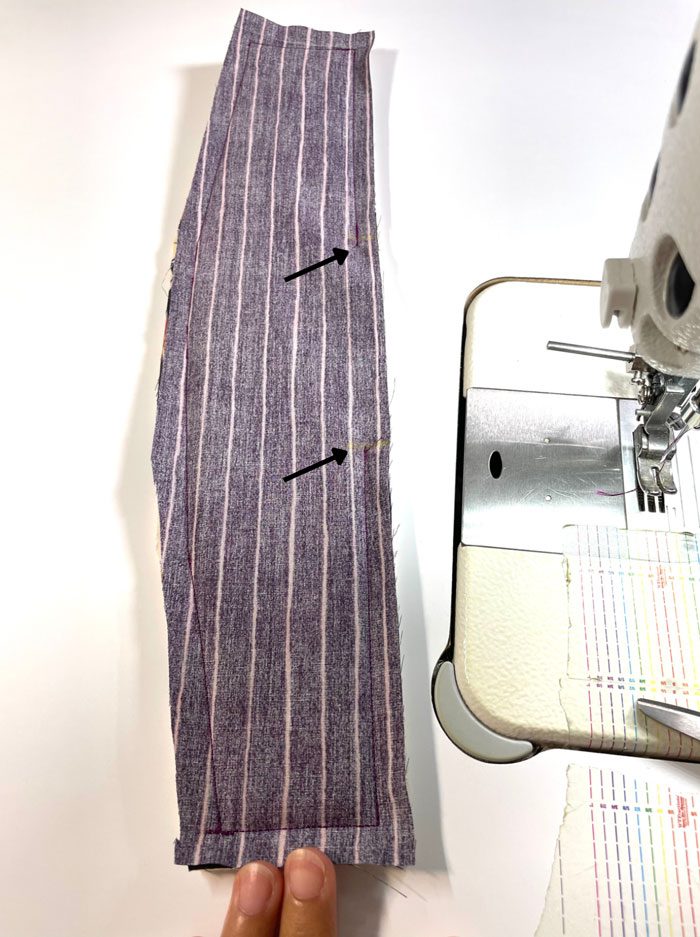
  1. Now take it to the sewing machine and sew the layers together with a 3/8″ seam allowance leaving the gap of 4″ marked in the previous steps unsewn. 
Sew Pattern
  1. Turn it right side out and press.

  2. After pressing, take it to the sewing machine and top stitch from one short end all the way up to the other short end on the top side of the project. The slanted side.

  3. Once it has been topstitched, turn in the raw edge so it is uniform and press.

  4. Now, take the left side of the fabric and fold towards the right side so the bottom is even, then take the right side and place over it and align the bottom edge. 
Turn in sides

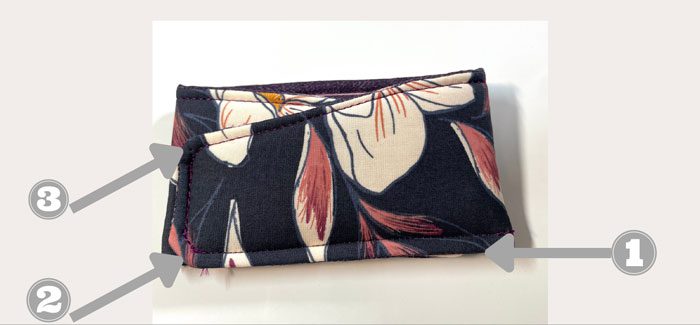
Your project should have this shape.

Card Holder Sewing Diagram

12. Now, take to the sewing machine and sew all the layers together at 1/4″ following the diagram, starting at 1 and ending at 3.

Your card holder is now finished and ready to use!You can find Lina Owen on Instagram @blue_belledesigns and on her website.

MORE BLOG POSTS LIKE THIS ONE

Did you enjoy this tutorial? Be sure to check out these free tutorials: 

Coffee Cozy Tutorial

Embellishing a Quilt

A Quilted Tote Bag

or SEARCH THESE

Popular categories

Craft to Career
Digital Downloads
Patterns
Podcast
Quilt Alongs
Quilt Questions
Tutorials
back to the top

Copyright 2024 Quilters Candy  |  Terms & Conditions