
Scrappy Fabric Christmas Ornament
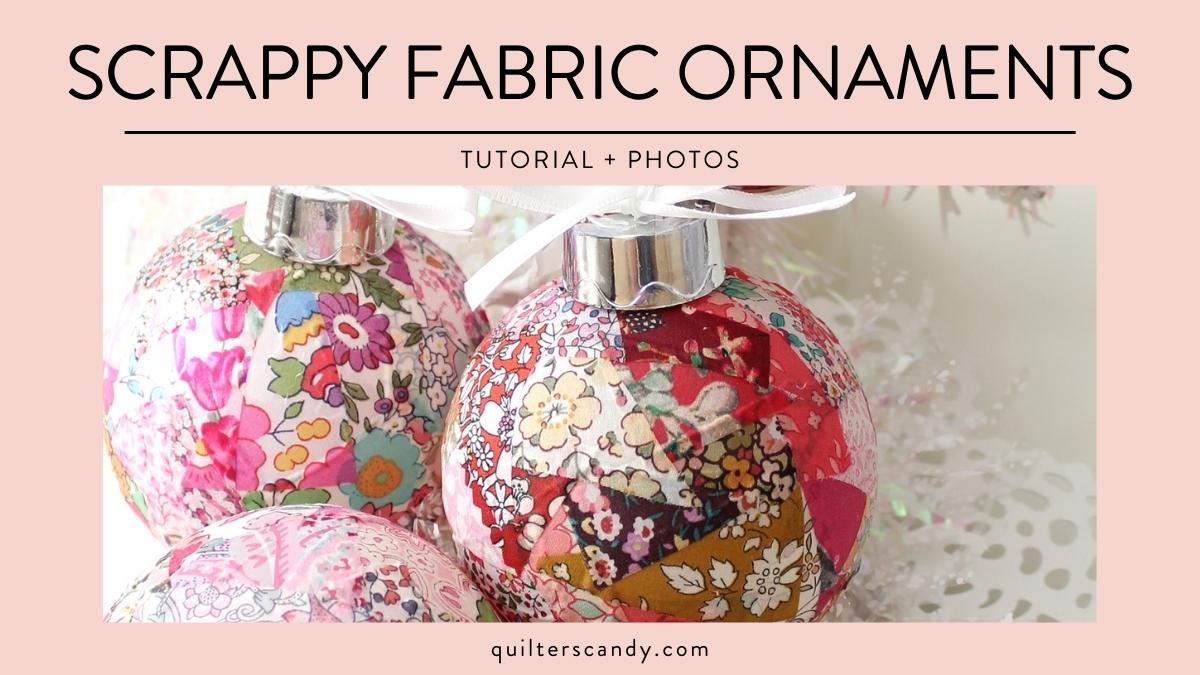
Hi, I’m Lauren Wright from Molly and Mama, and I’m so excited to be bringing you this tutorial to make these sweet but simple fabric covered Christmas baubles (fabric ornaments).
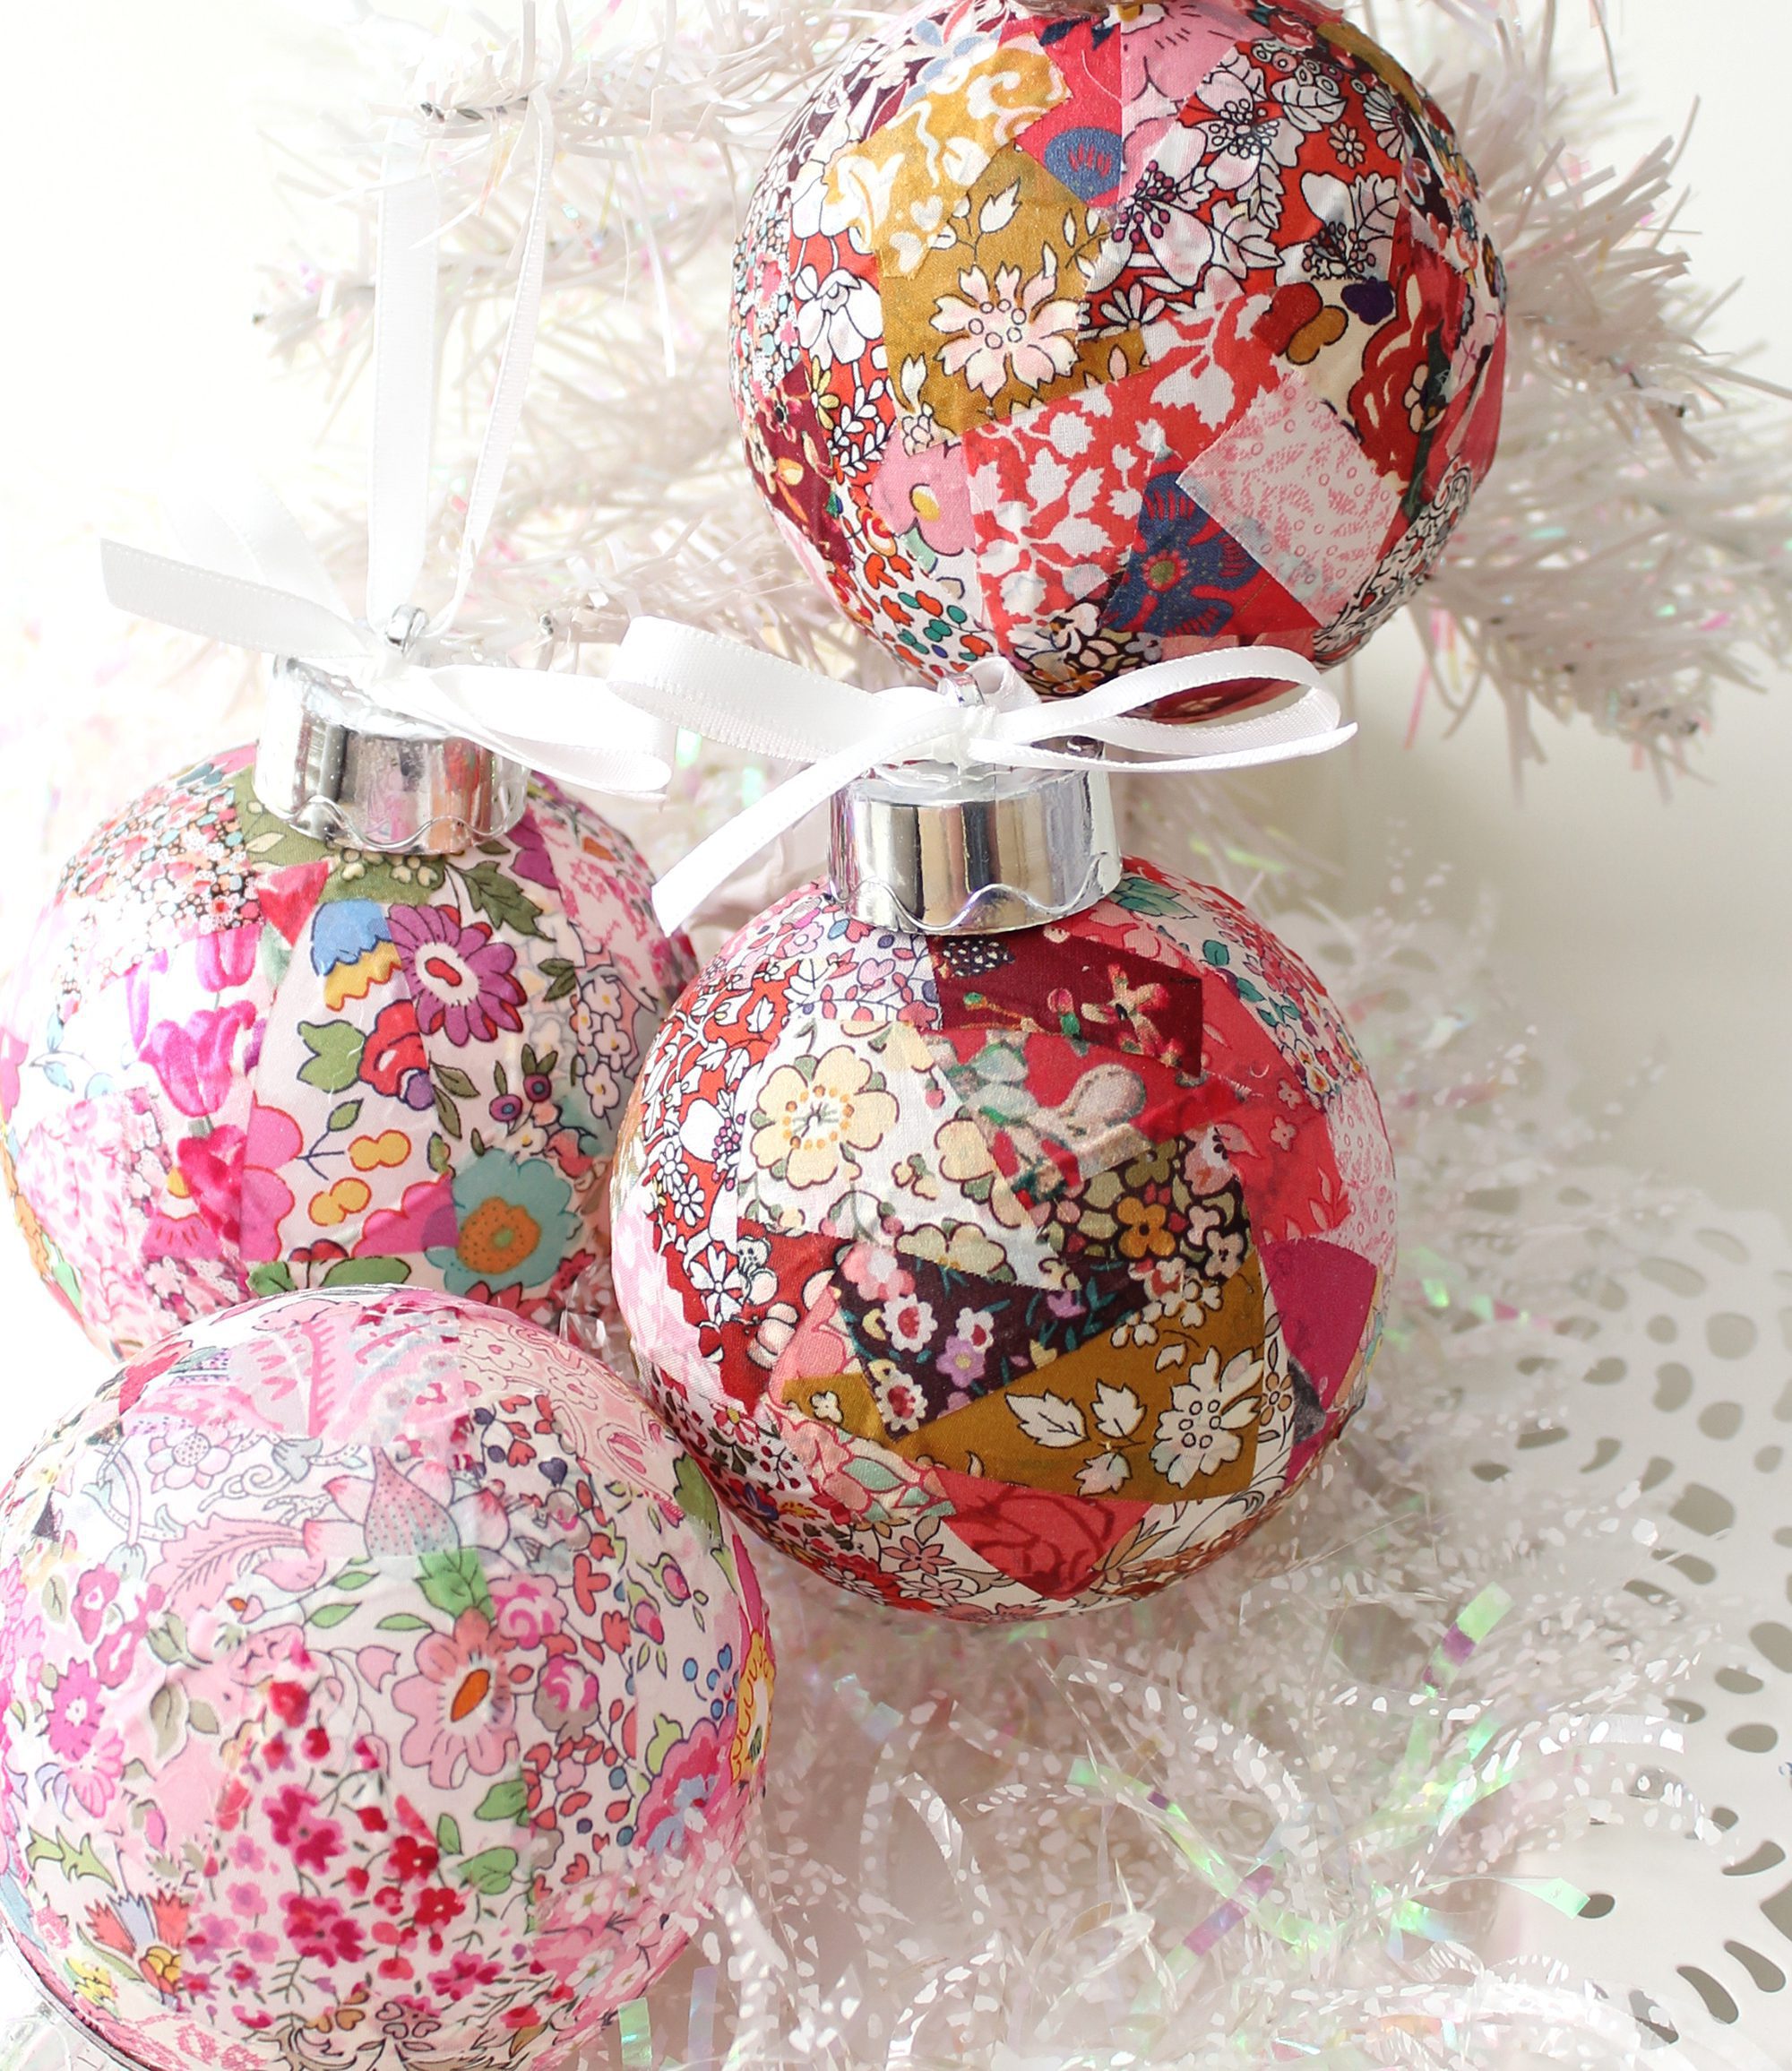
Fabric Scraps for Fabric Ornaments
I love collecting fabric scraps, especially those tiny little leftover pieces that are too preciousto be discarded.It’s usually around the holidaysthat I like to get crafty and dream up waysto makeuseof them. This supersimple,no-sew projectisanidealChristmas craft! Read onfor the easy-to-follow instructions

Supplies You Will Need for Fabric Ornaments
- Clear plastic bauble (ornament) with screw on top (mine measure 3 inches across).
- A collection of small fabric scraps in various colours and prints, generally measuring from ½ inch to 1 inch in size. I used Liberty tana lawn (a fine weight cotton).
- 20 inches of narrow satin ribbon.
- Mod Podge or clear drying PVA craft glue.
- Small paintbrush.
- Varnish (optional).
- General crafting supplies.

LET’S GET MAKING
1. Ensure your fabric scraps are pressed flat. Trim them into small pieces no bigger than1 inch long. Oddly shaped triangle scraps work really well! Remove any loose threads.
2. If your bauble has a removable screw-on top, set it aside now.
3. If possible, place the bauble on your finger to help hold it steady while you’re applying glue and fabric. Using the paintbrush, coat a small area at the base of the bauble with Mod Podge or glue, and place one fabric scrap in position.
4. Position the next scrap beside it, being sure to overlap the fabric edges slightly. It’s best to put lighter fabrics down first, and darker fabrics overlapped beside them, so there’s no ‘show through’ of the darker fabric prints.

5. Continue with this process of adding glue and scraps until the entire bauble is covered.
NOTE: For baubles with a screw-on top, be sure to keep this area free from glue or fabric.

6. Evenly coat the entire fabric bauble with another thin layer of Mod Podge or glue. Then don’t forget to wash that paintbrush right away!
7. Hang the bauble up or sit it on its opening to allow it to dry completely. Once dry, you may also like to add a layer of varnish for a glossier finish.
8. Reattach the bauble top.
9. Cut the ribbon length in half. Make a hanging loop with one length. Thread it through the hole at the top of the bauble and tie a knot. Trim the ends and heat seal them if you wish.
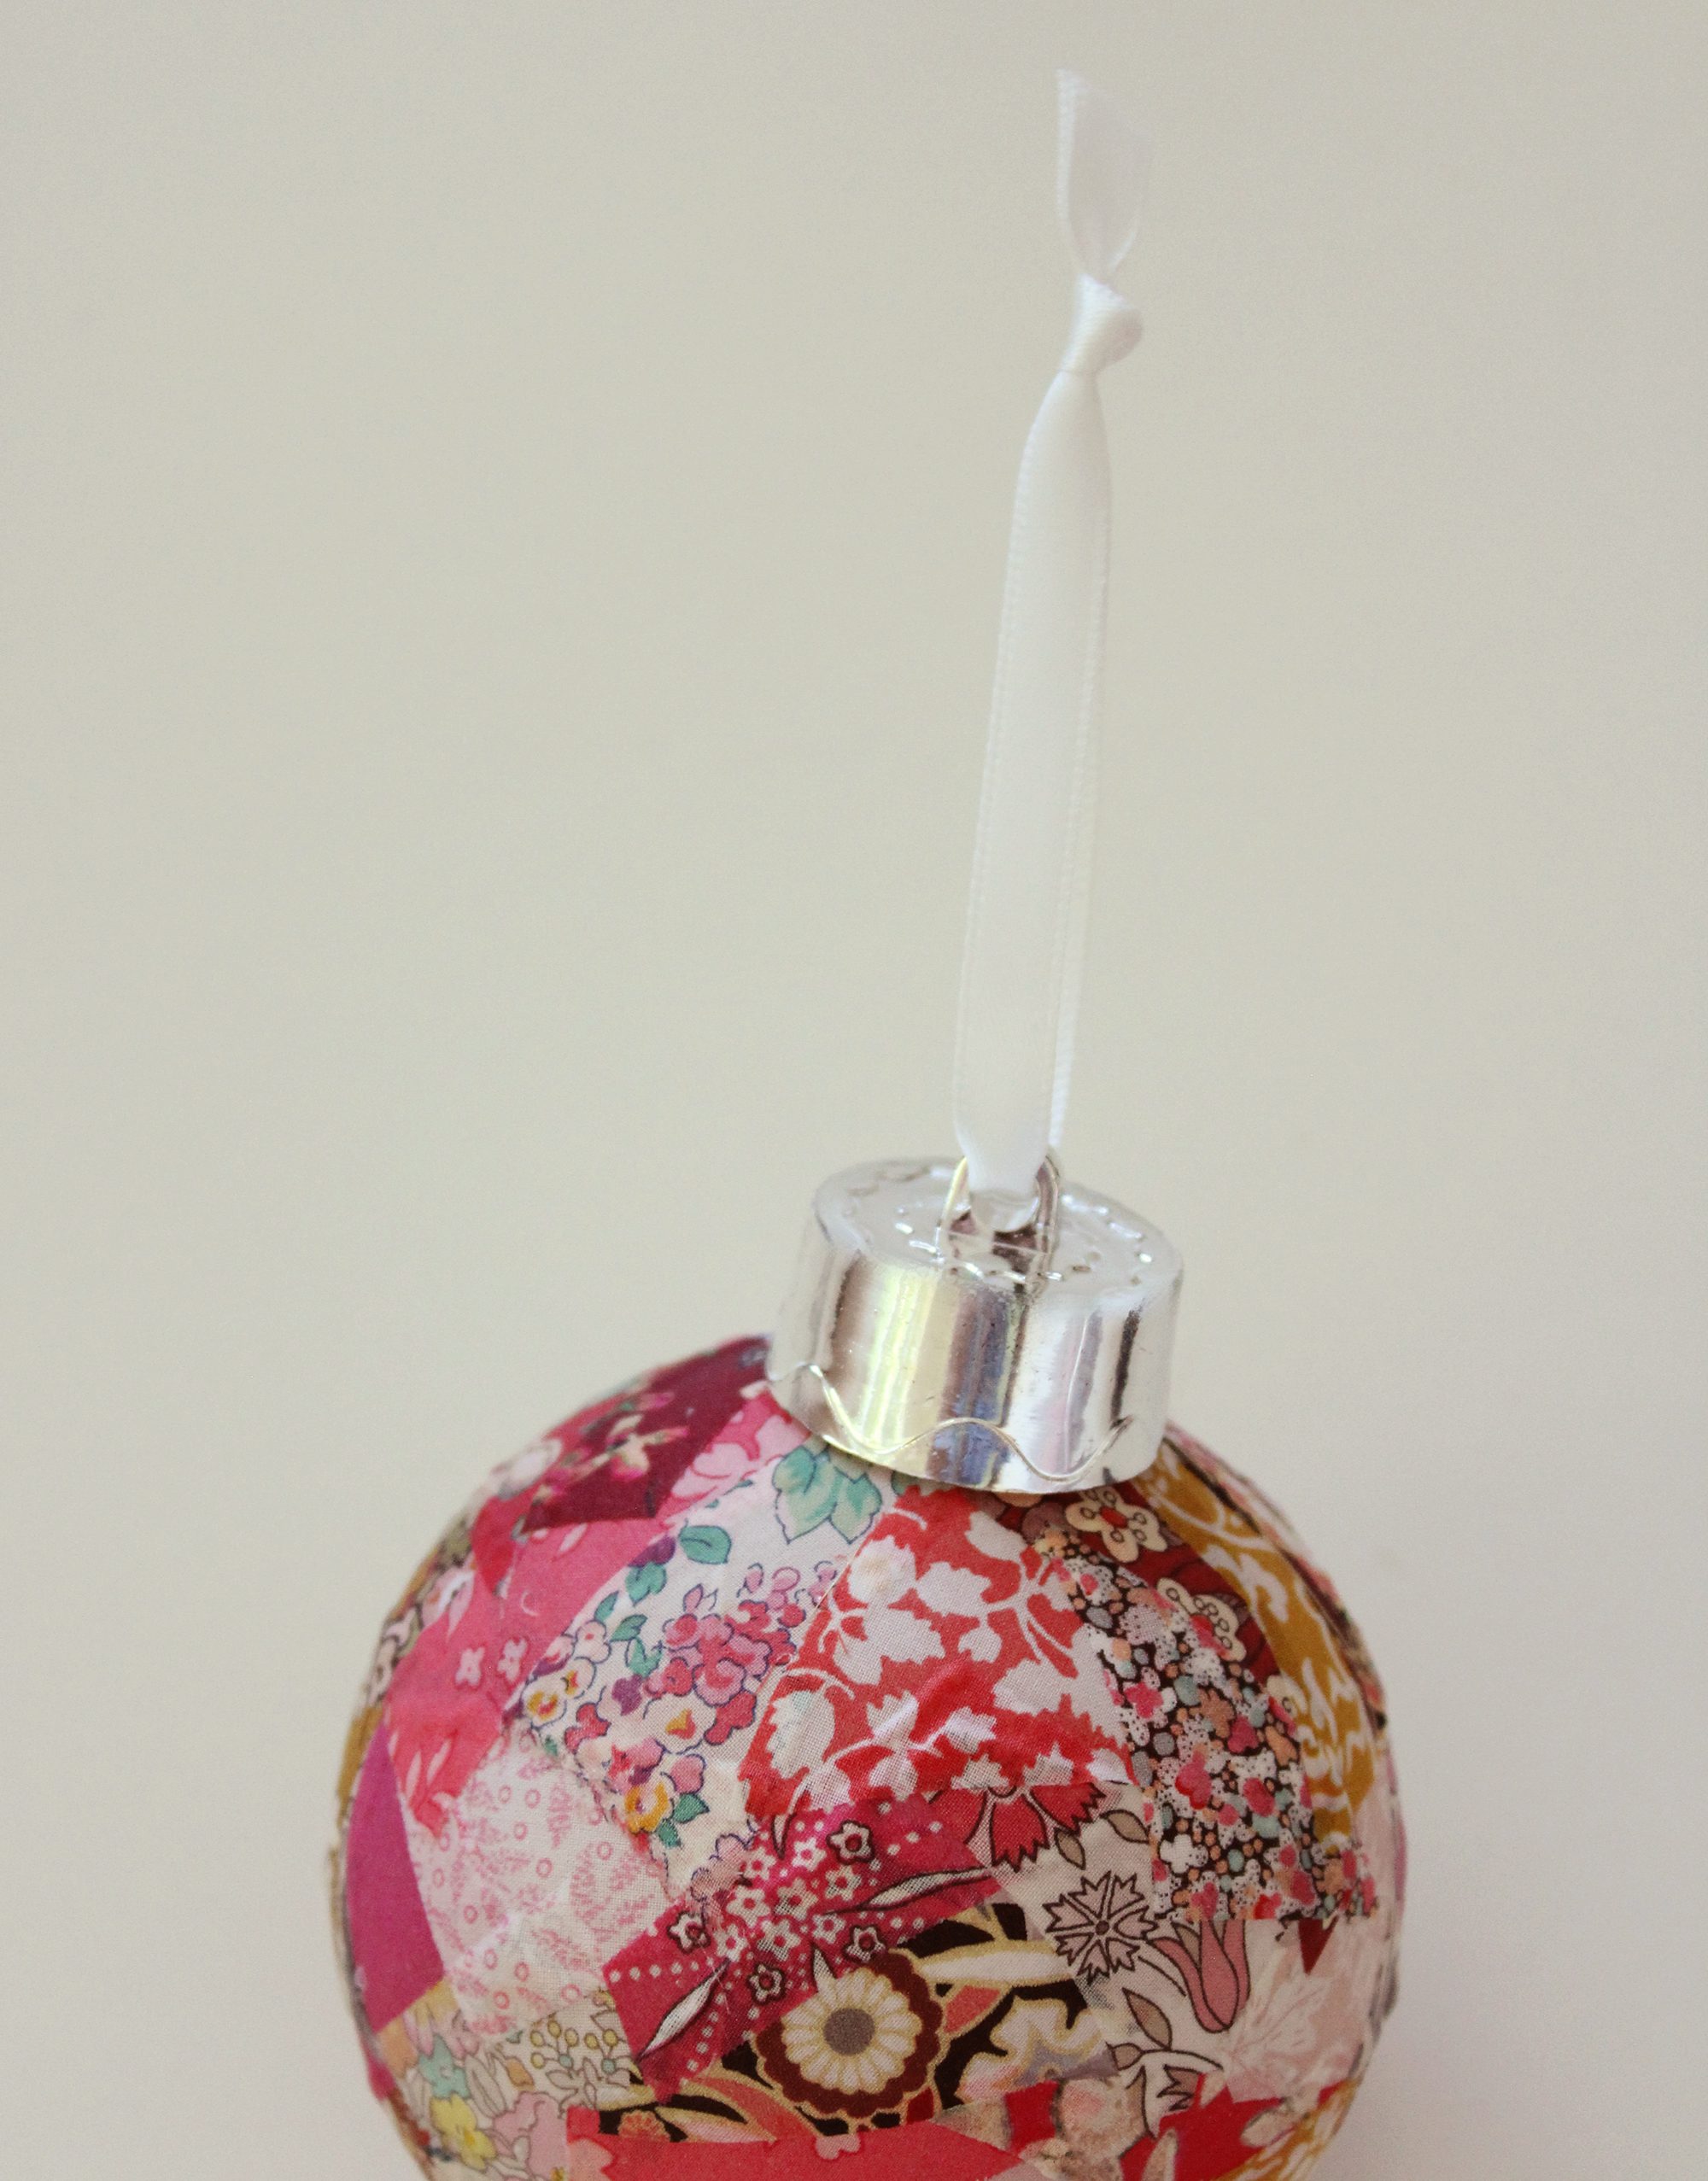
10. Thread the remaining length through the same hole and tie a decorative bow. Again, trim and heat seal the ends.

11. Your bauble is all ready for trimming the tree!

TIPS AND IDEAS
- Use scraps of different colour themes to match baubles to specific décor.
- Trim the scraps with pinking shears or zigzag scissors, or rip the fabric into smaller pieces. These textured fabric edges will create a more interesting effect on your baubles.
- Create an ombre effect by using darker colours on the bottom of the bauble and lighter shades towards the top.
- Use similar fabric weights for the best results (all quilting weight cotton, or all cotton lawn).
- Instead of using ribbon for the hanging loop, use a thin torn strip of fabric to match the fabric scraps you used.
- Be sure to make an entire collection of ornaments. You won’t be able to stop at just one and you’ll be able to gift the extras!
PDF Download Instructions
Receive a free downloadable PDF pattern for this project by subscribing us.
If you’ve enjoyed this tutorial, be sure to visit the Molly and Mama Blog where I have a range of pretty pastel projects and patterns featuring embroidery, English paper piecing and patchwork.
They’re designed for beginners but are perfect for anyone looking to rediscover sewing and learn new skills.
You can also find me on:
Other Free Tutorials
Be sure to check out these tutorials!
RECENT BLOG entries
Scrappy Fabric Christmas Ornament
Scrappy Fabric Christmas Ornament
Scrappy Fabric Christmas Ornament
Scrappy Fabric Christmas Ornament
Scrappy Fabric Christmas Ornament
Scrappy Fabric Christmas Ornament

the latest
October 29, 2026
Should creative entrepreneurs use AI? In this episode of the Craft to Career Podcast, I’m sharing my personal thoughts on AI and how I’m thinking about it as a quilt pattern designer and small business owner. There’s a lot of backlash against AI right now, and much of it is for good reason. I talk […]
tune into the
Craft to Career
Podcast
Each week get insights on how to turn your craft into a successful career. With both guest speakers and tips from myself, you get valuable, free education on the Craft to Career podcast!