
Quilt Binding Tip You NEED
Quilt Binding Tip You NEED
Let me share a quilt binding tip you NEED to know about. It’s this: Press your binding.
Let me explain.
It doesn’t matter if you’ve sewn your binding to the front or to the back of your quilt. Once you’ve sewn your binding completely on either side of your quilt, press the binding out, away from the quilt. Then pull the binding to the other side of your quilt and press it so it lays flat, just how it will look when it’s sewn down.
This makes sewing your binding a piece of cake. No more tugging and pulling and fighting the binding as you sew. In fact, this has been so helpful that I hardly use clips to hold my bindings anymore.
If you’re like me, you’ll want a visual example. Maybe even a video. I’ve got you covered.
Iron Binding OUT
This is an action shot of me ironing my binding OUT, away from the quilt. This is step one. 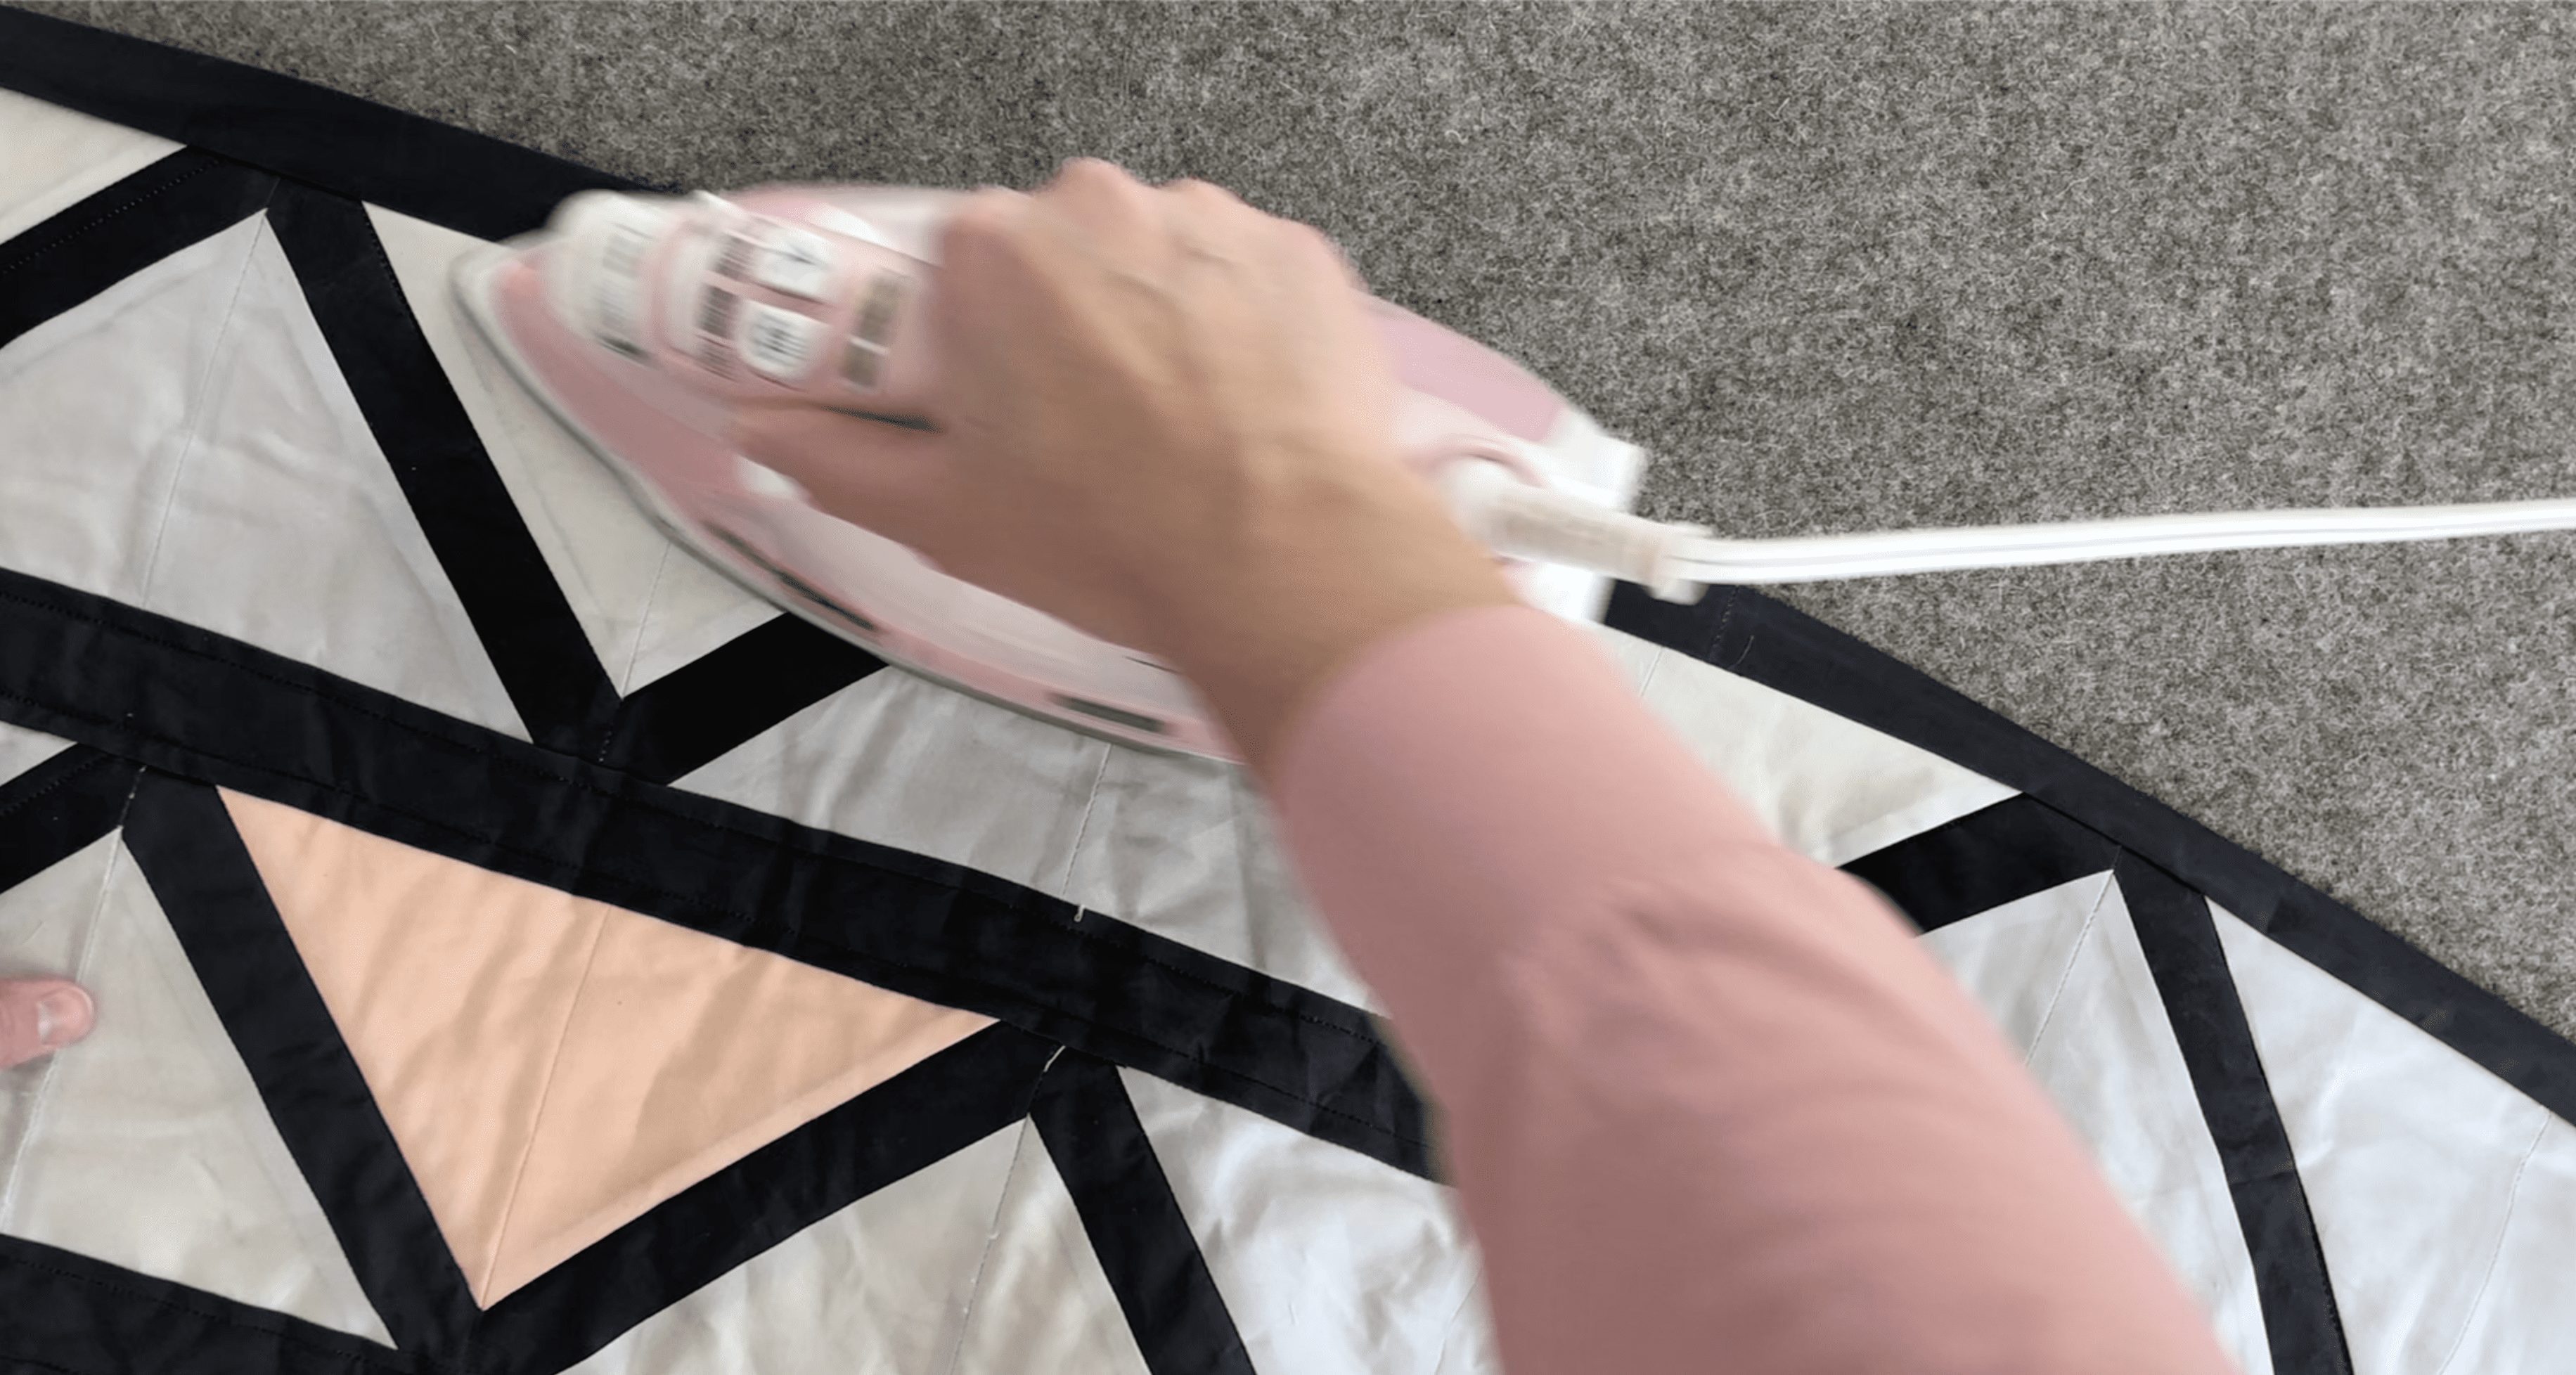
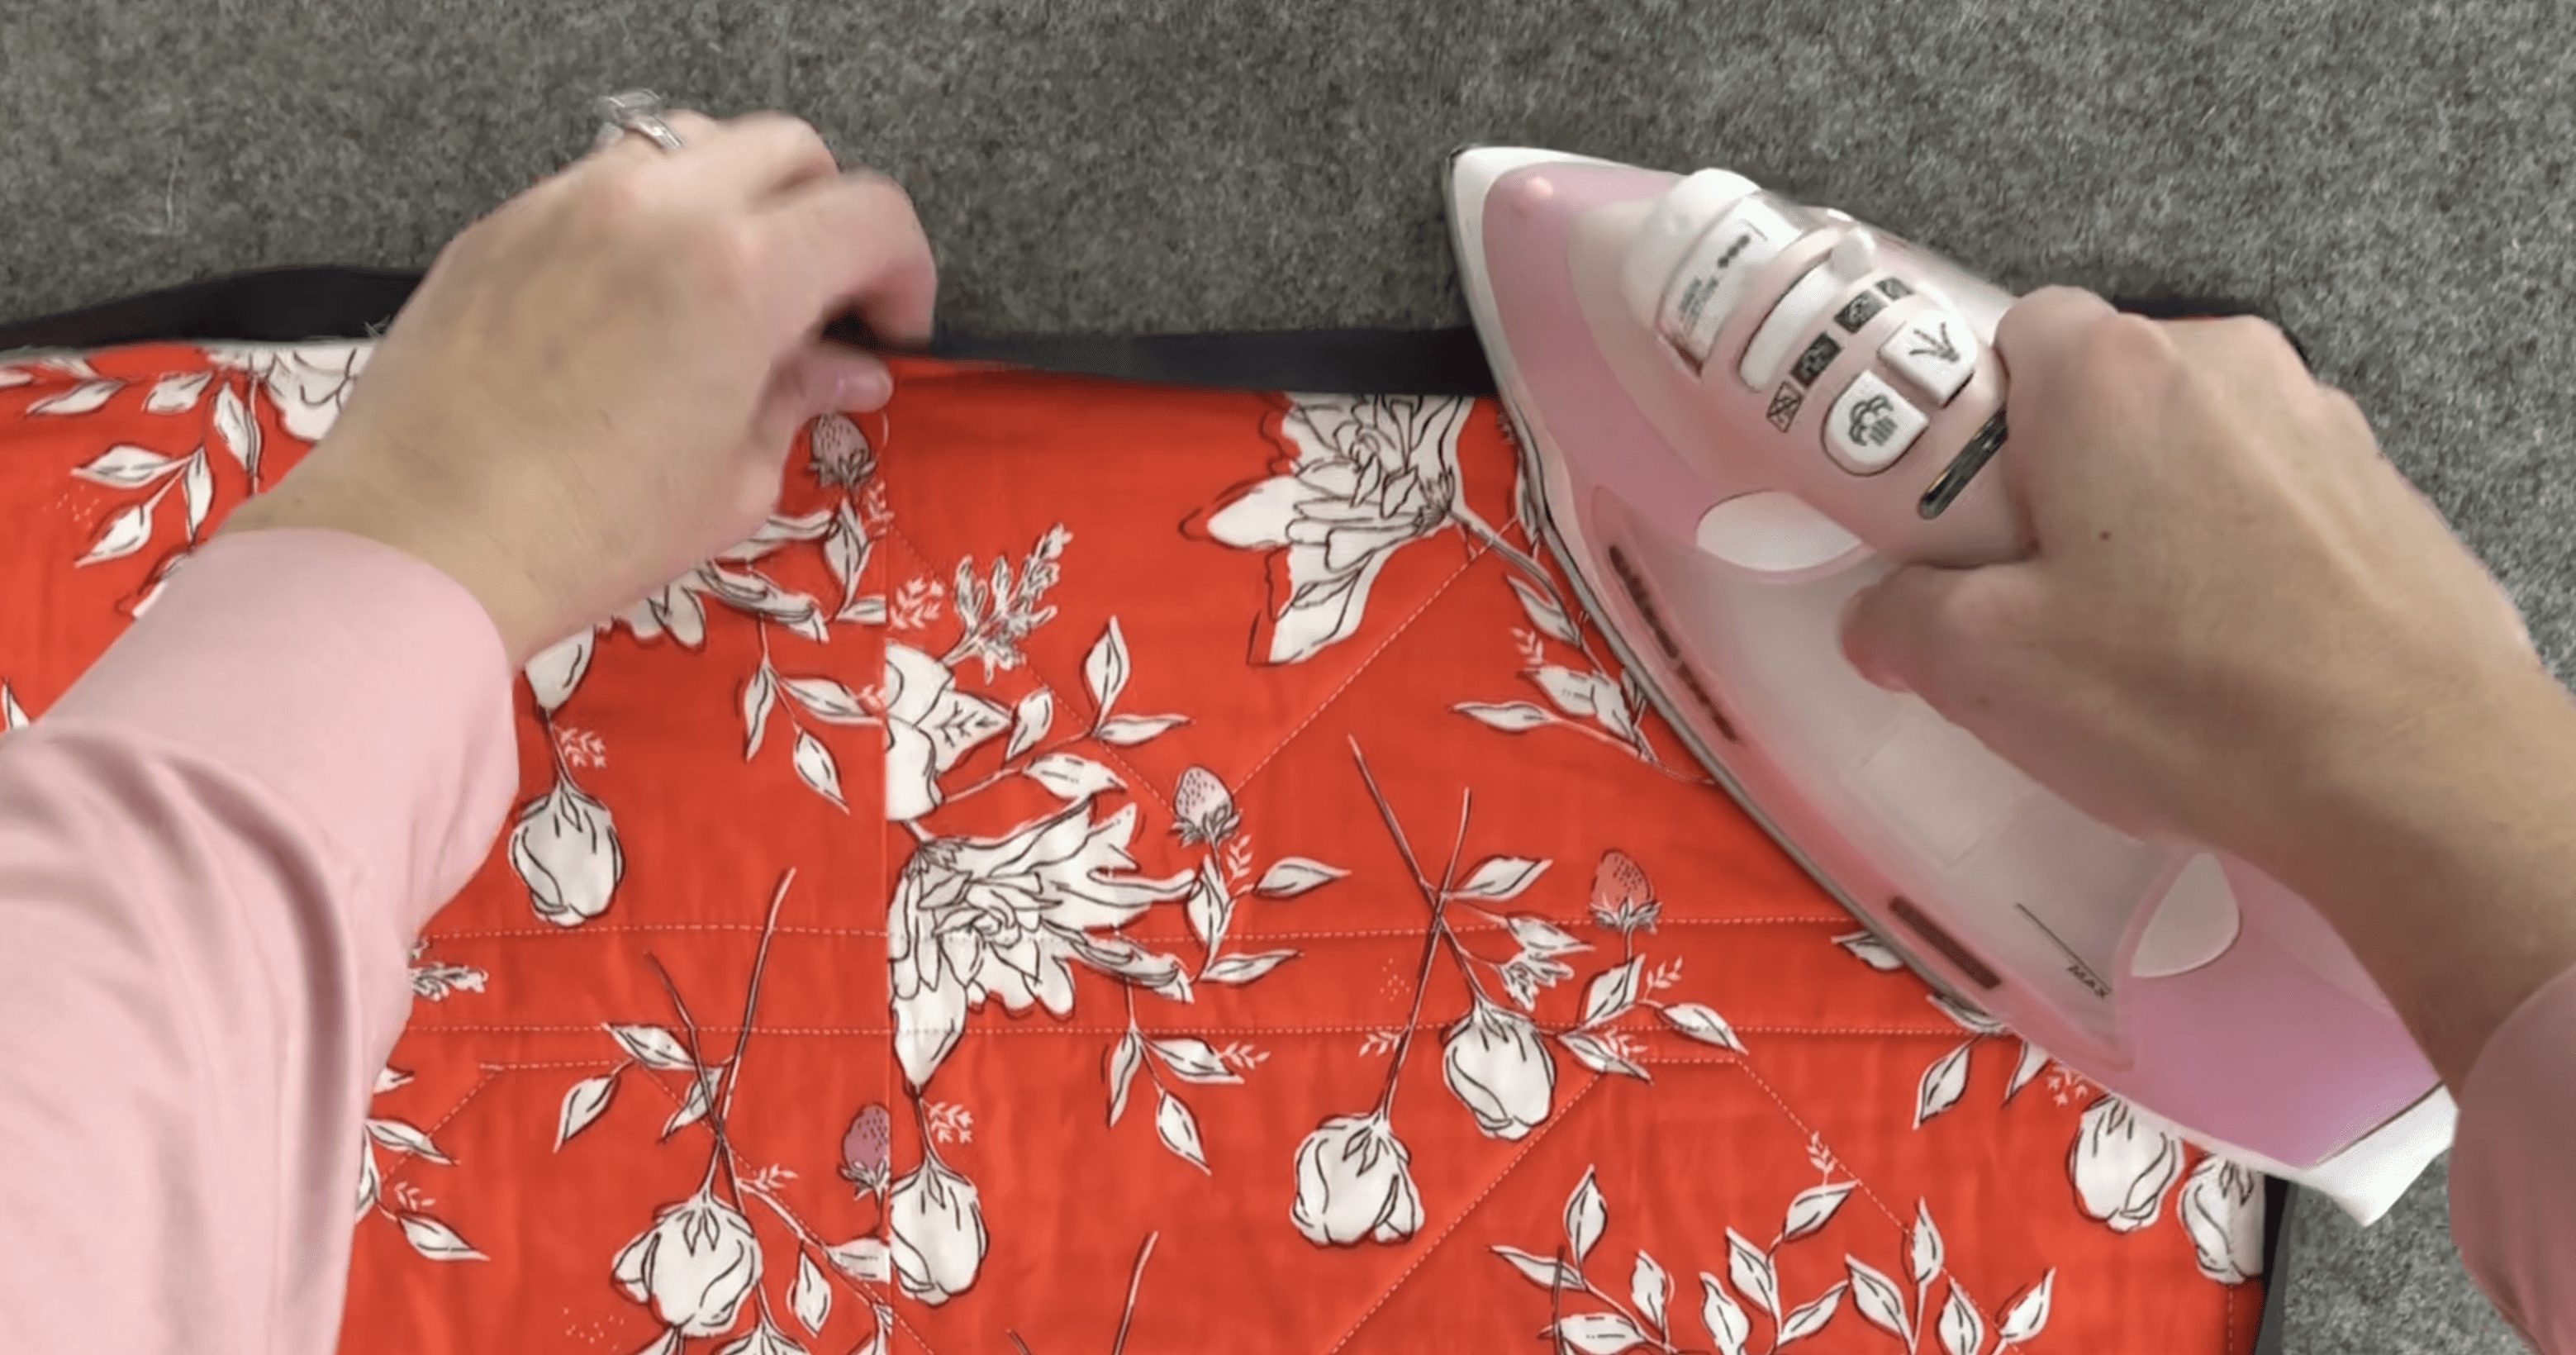
Iron Binding Over The Back
After your binding is pressed away from your quilt, you will want to flip the quilt over, and press the binding down. Do this for the entire binding / quilt.
That’s it! Now that your binding is ironed in the direction you want to sew it, it is so much easier to work with! I hope this helps you with your bindings. If you want to see how I hand quilted this binding, see my blog tutorial HERE.
The quilt shown here is my soon to be released ‘Cafe Tiles Quilt’. You can grab a copy HERE. Also be sure to check out some other quilting tutorials, like making a Fabric Book Mark.
SEE THE MOST
RECENT BLOG entries
Quilt Binding Tip You NEED
Quilt Binding Tip You NEED
Quilt Binding Tip You NEED
Quilt Binding Tip You NEED
Quilt Binding Tip You NEED
Quilt Binding Tip You NEED

the latest
July 26, 2024
Sewing Illustrations with Minki Kim Minki Kim is a sewing illustrator who has fabulous talent and so much to offer in the sewing and quilting creative space. I have been a fan of since I started my quilting career and am excited for her to share her story with you! We talk about what we […]
tune into the
Craft to Career
Podcast
Each week get insights on how to turn your craft into a successful career. With both guest speakers and tips from myself, you get valuable, free education on the Craft to Career podcast!


