
PRESSING YOUR FABRIC
Pressing Your Fabric
Learn all about pressing your fabric. It sounds so simple. “Press your fabric”. But if done wrong, it can really mess up your quilt!
Let’s look into what proper pressing is and what you need to do it.
First off: What pressing is NOT.
Pressing is NOT putting your iron on fabric and moving it around. This is ironing. Ironing your fabric can warp it and make your points not match, your fabric to be wonky, and mess up your careful fabric cutting.
This is ironing. NOT pressing.
What pressing IS: Placing your iron on your fabric, holding it in place, then removing your iron.
NOTE: I like to finger press my fabric before I press it with an iron. Finger pressing is when you open your seams and press them open with your finger. I show you this in the following video tutorial.
It’s tempting to move the iron along the fabric, especially when there’s a long seam that needs pressing. But when you move the iron around your fabric, it actually warps the shape of your fabric. This is no good.
When tempted to move that iron around, remind yourself, “I don’t t want wonky fabric. I don’t want wonky fabric.” Just hold your iron down, press, lift it up, and repeat.
WHAT SUPPLIES DO I NEED?
Really, all you need is an iron and a surface to iron on. Those are the basics. There ARE some pretty cool tools to help you, though, and I’ll share my favorites.
IRON
My favorite iron hands down is my Oliso Pro. Not only is it super hot, but it is a smart iron! You can leave it down and when you aren’t using it, little legs come out of the iron so it stays hot but doesn’t burn your surface. How sci-fi is that?
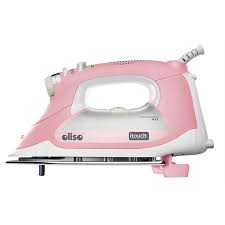
Notice the legs that keep your iron from burning your surface?
SURFACE
An ironing board is the most traditional surface to iron on. But there ARE ways to keep an iron close by your sewing machine without having a clunky ironing board.
You can use a pressing mat. There are a lot to choose from, but I love using my Paca Pressing Mat ®. I like that I can set my iron to the hottest level of heat. With Wool pressing mats, you need to keep your iron on the Wool level of heat. With a Paca mat, you can crank it all the way up. I’ve also noticed with my wool mats that they get scorched and leave marks from my iron over time. (It may be because my iron was turned all the way up . . .) But when pressing, I want my iron to be as hot as it can be.
I also love that I can put my pressing mat on any surface and transform it into an ironing board. Not only is that convenient, but your pressing mat redistributes the heat from your iron. Your fabric is basically getting pressed twice. Once from the iron, then twice from the heat in the pressing mat coming back up into the fabric. Pretty nifty!
WATER BOTTLE
If I want a REALLY pressed and firm fabric, which I always do, then I spray my fabric with water while pressing. I’ll show you just how crsip and flat it makes the fabric.
NOTE: To save the life of your iron, avoid putting water in your iron. Instead, keep a water bottle you can refill next to your iron.
With water + pressing, just LOOK how flat my fabric and seams are!
And that’s it folks! With an iron, water, and a pressing mat, you can get perfectly flat fabric.
Things to remember when PRESSING:
* Hold iron still, do not move iron back and forth.
* For extra “Umph” for flatness, spray fabric with a water bottle.
* Finger press your seams open before pressing with an iron.
* Use a pressing mat to add extra heat to your fabric, and transform any surface into an ironing board.
Let me know if you have any questions! Also feel free to share any of your favorite products or personal tips for pressing.
SEE THE MOST
RECENT BLOG entries
PRESSING YOUR FABRIC
PRESSING YOUR FABRIC
PRESSING YOUR FABRIC
PRESSING YOUR FABRIC
PRESSING YOUR FABRIC
PRESSING YOUR FABRIC
the latest
April 26, 2024
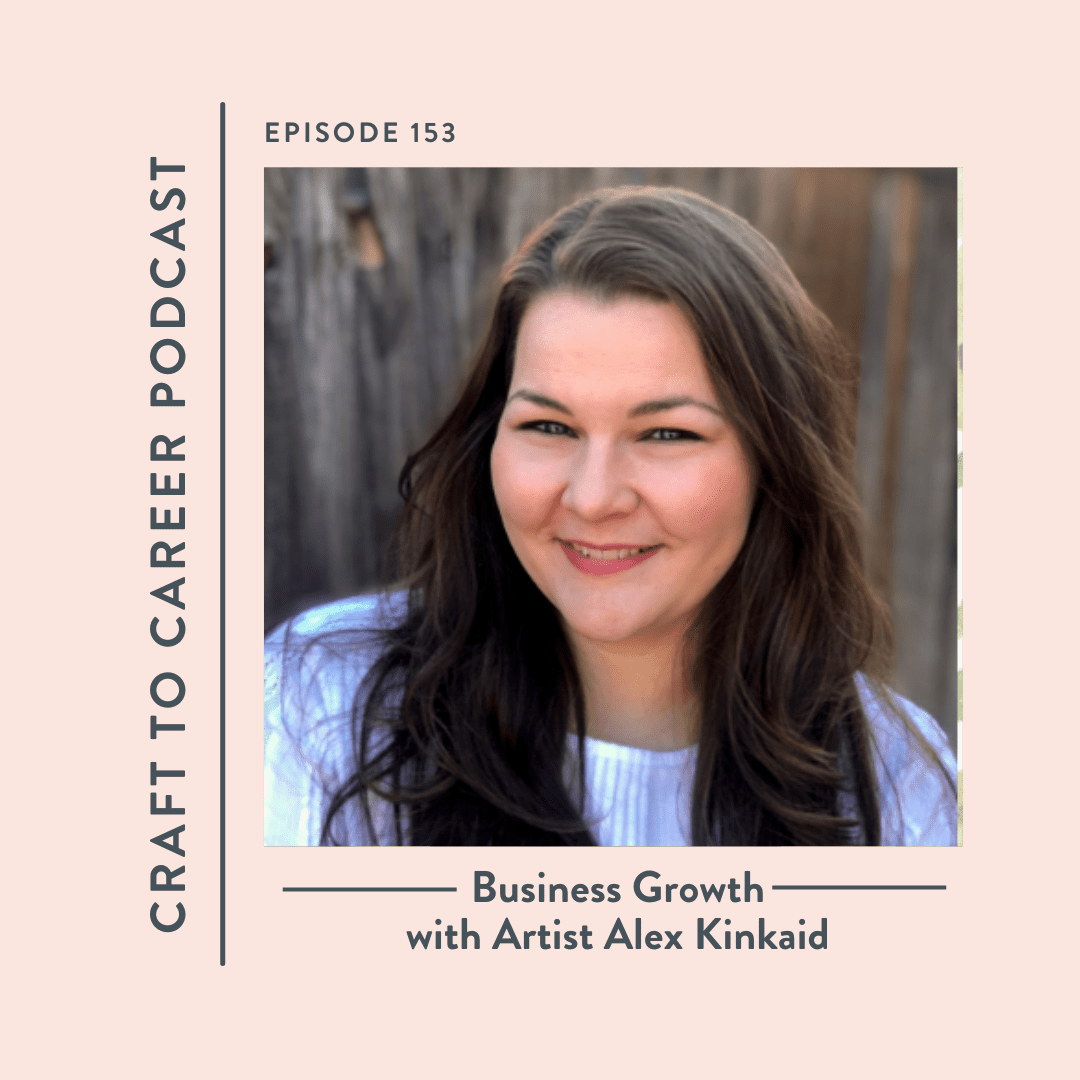
Business Growth with artist Alex Kincaid Alex is a floral watercolor teacher who sells and licenses her art. Her business has grown a LOT in recent years. She shares what has made the difference, what entrepreneurs can learn about memberships, surrounding yourself with other successful individuals, and what makes (and what doesn’t) make a difference […]
tune into the
Craft to Career
Podcast
Each week get insights on how to turn your craft into a successful career. With both guest speakers and tips from myself, you get valuable, free education on the Craft to Career podcast!


