• Home
  • Membership
    • Learn More
    • Quilters Candy Membership Login
    • Craft 2 Career Club Login
  • Courses
    • Course Login
    • Quilt Pattern Writing Course
    • Craft To Career
    • FREE mini Pattern Writing Course
    • Quilt Pattern Templates
  • Shop
    • Quilt Patterns
    • My Book
    • Wholesale Patterns
    • Pattern Corrections
  • Blog
  • Podcast

Quilters Candy

Split Quarter Square Triangles Blog Post
Tutorials
/
February 28, 2023

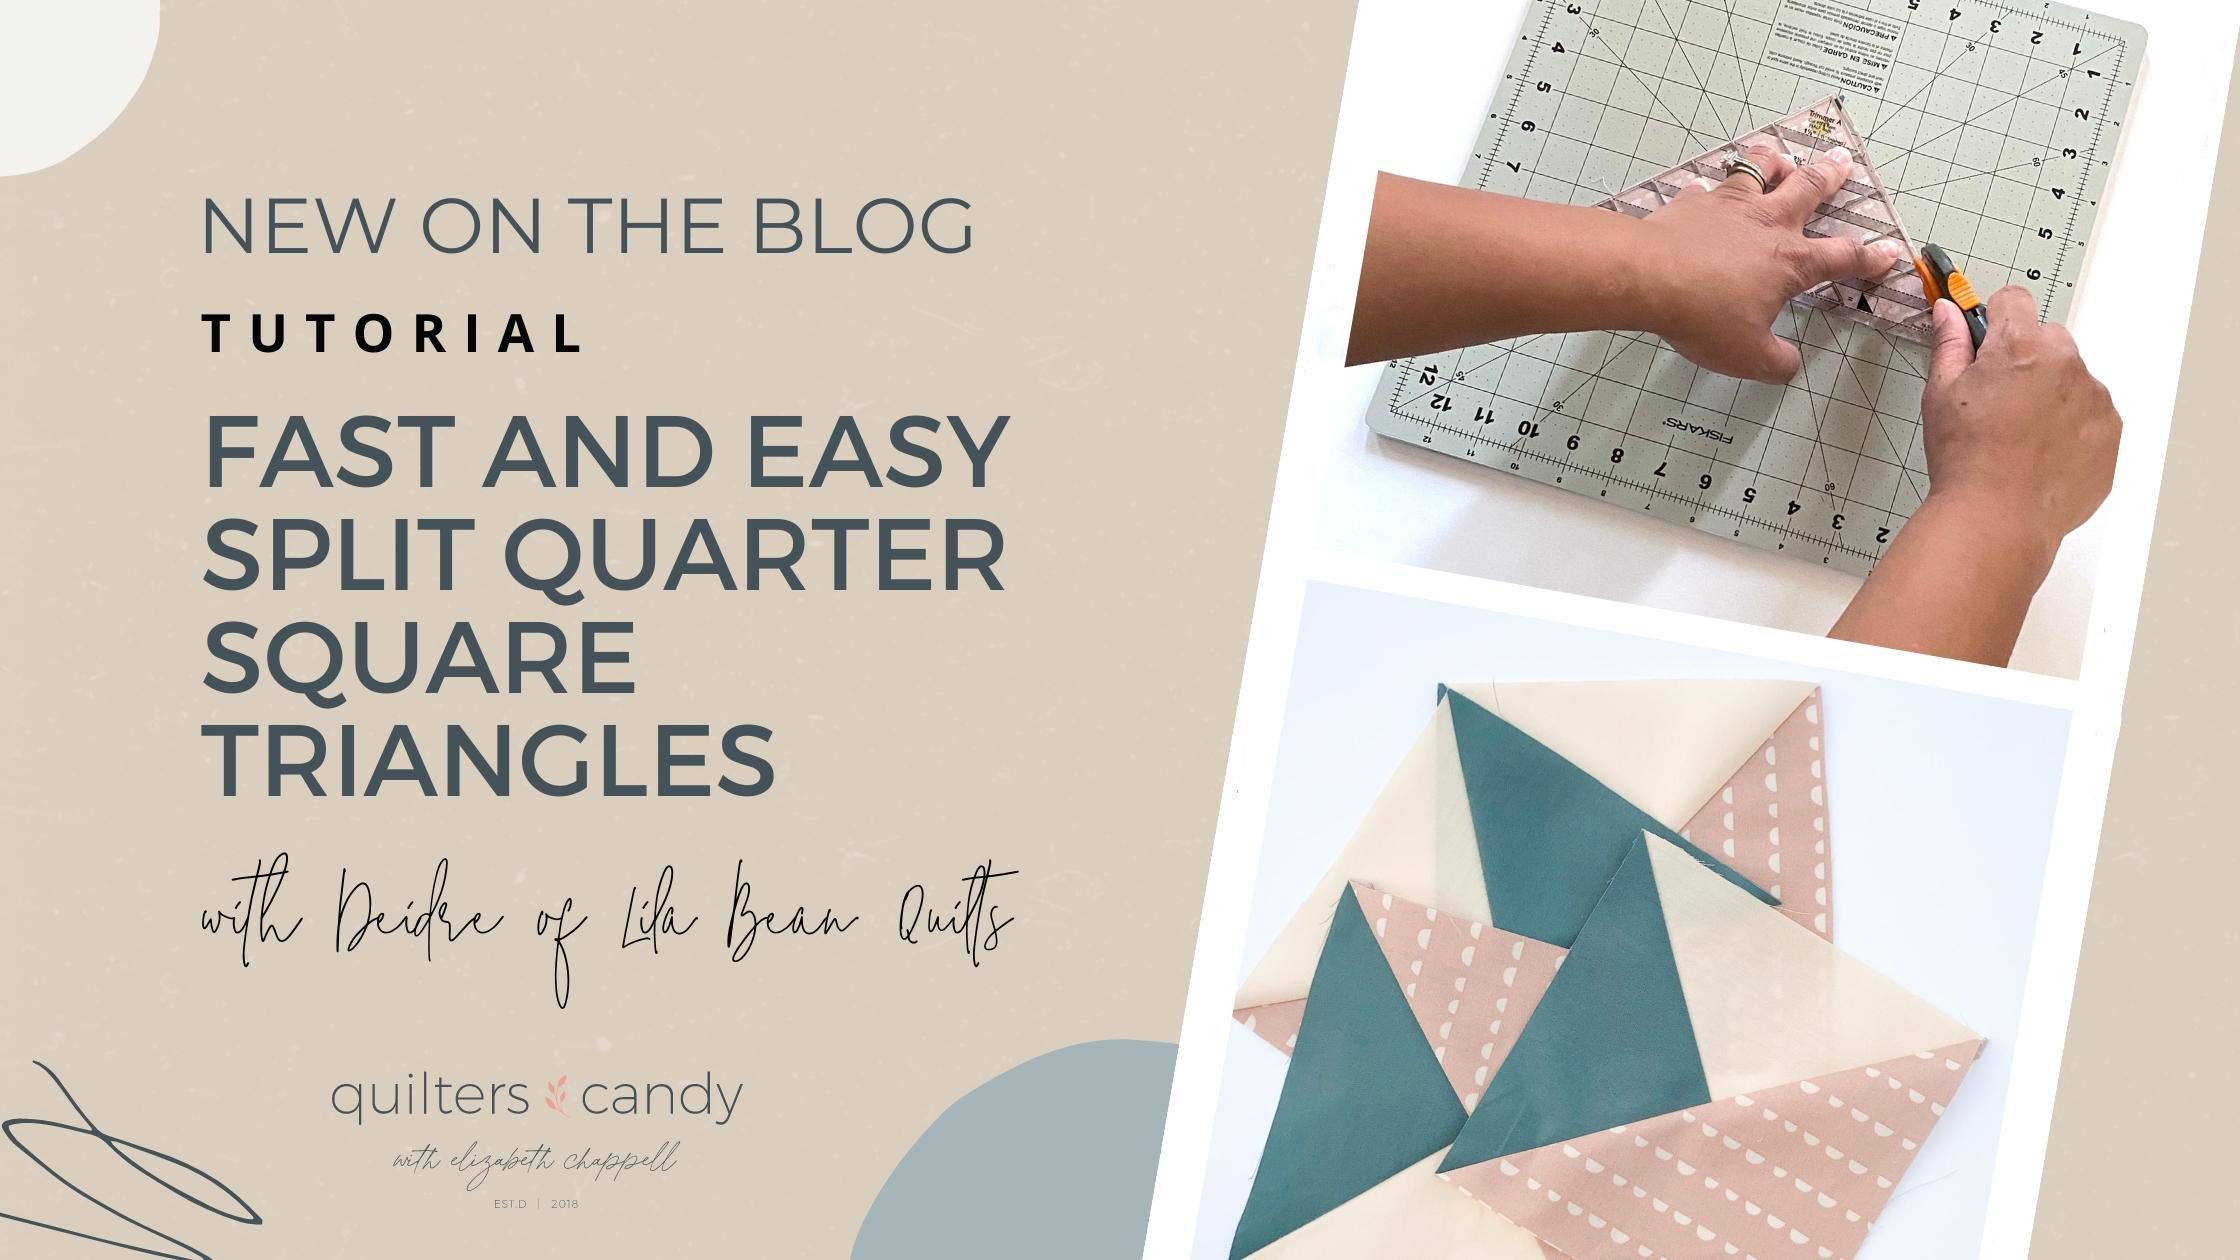
Fast and Easy Split Quarter Square Triangles
Hi everyone! I am Deidre, the pattern designer and quilter behind Lila Bean Quilts. I am thrilled to be a guest blogger for Elizabeth’s blog.

Learn a little about me. I am a wife and mother of 3 small children in North Carolina. Before staying at home with my kids I worked as a Registered Nurse. I have been making quilts for over 10 years. My passion for quilting has turned into my night job since my day job is taking care of the kids.

I released my first pattern, Primley, in March 2022. The Primley quilt pattern gave me the push I needed to do more in the quilting realm. 

I am going to show you how to make a Split QST using my Ultimate Quarter Square Triangle Chart.

free ultimate quarter square triangle chart

Grab my free ultimate quarter square triangle chart. The best part about the chart? The math is already done for you!  It will give you the measurements for cutting and trimming any type of QST. With one chart you can make 4 different kinds of QST’s!

Making a Split Quarter Square Triangle (Split QST) has never been more simple. Follow along and you will be done in no time. A QST consists of 2 Half Square Triangles (HST). This Split QST is 1 HST plus a solid square. 

What you will need:

  • Ultimate Quarter Square Triangle Chart
  • Fabric 
  • Ruler
  • Sewing Machine
  • Iron 
  • Cutting mat and Rotary blade
  • Square ruler or Clearly Perfect Slotted Trimmer

1.     The first step in making a Split QST is making a HST. After downloading the Ultimate Quarter Square Triangle Chart, locate the finished size you would like to achieve. You will need to cut 2 colors for your HST and 1 color for the other half of your Spilt QST.

Keep in mind that 1 HST makes 2 QST.

Step 1

2.     MAKING YOUR HST 

On one of your two squares, draw a line on the wrong side of the fabric. Place your squares right sides together (RST) and sew ¼”, on both sides of your drawn line.

Step 2

3.    Next you will cut along the line that you drew. After your cut is made, press open your seams. When making HST it’s best to make sure all seams are pressed in the same direction. Pressing seams in the same direction makes all your HST look uniform. If you want to decrease stretching the fabric when ironing, try finger pressing your seam open before pressing with an iron. It works like a dream!

Step 3

Now you have 2 HST!

4.     COMPLETING YOUR SPLIT QST

You are almost to the finish line! A few more steps and you will be a Split QST expert.               To finish your Split QST, take your third square and draw a line corner to corner and sew ¼” along both sides of your drawn line. Be sure to sew your line perpendicular to the seam of your HST.

Step 4

5.    As you did when making the HST, you will cut along the drawn line. Do not press seams open. Your 3rd block you sewed on will be bigger than your HST. NO WORRIES! It’s supposed to be that way. Cutting all the squares to one size at the beginning helps streamline your process.

TRIMMING YOUR SPLIT QUARTER SQUARE TRIANGLE

6.     Take a peek at your Ultimate Quarter Square Triangle Chart and find your finished size and see what size your Spilt QST should be trimmed to. 

Depending on what kind of ruler you have to trim HST, determine if you will press open your seam or if you will leave it as a triangle while trimming. I personally love using the Clearly Perfect Slotted Timmer. Not only is using the Clearly Perfect Slotted Timmer quick and easy but it is also a huge time saver.

Step 6 of Creating split quarter square triangles

FINISHING TOUCHES ON YOUR SPLIT QUARTER SQUARE TRIANGLE

7.     Press open your seams and VOILA you have finished making your Split QST. Congratulations! You can now configure them in a variety of different ways to make new quilt blocks!

Step 6 of Creating Split Quarter Square Triangles

Deidre Wilson

www.lilabeanquilts.com

On Instagram: @lilabeanquilts

MORE BLOG POSTS LIKE THIS ONE


Did you enjoy this tutorial? Be sure to check out these free tutorials: 

Sew & Flip Extra Triangles

Perfect Half Square Triangles with Slotted Trimmers

32 Half Square Triangles At Once

0 Comments
Share

You May Also Like

February 18, 2022

Glue Basting Tutorial

November 29, 2021

Scrappy Fabric Christmas Ornament

November 8, 2022

The Ultimate Gift Guide for Quilters

Leave a Reply Cancel reply

This site uses Akismet to reduce spam. Learn how your comment data is processed.

Previous Post
Where Is She Now? Follow Up with Amy Lollis
Next Post
Why You Should Go To Trade Shows with Liza Taylor
Hi there, I’m

Hi there, I’m

elizabeth

I am a Minnesota born girl living in Texas with my husband and 3 kids. If I could tell my 13 year old self I was a quilter, I would have laughed in disbelief.  However, a few years ago I discovered how cool quilting really is!  I want to share how cool quilting is with others.  Join me in my online modern Quilters Candy Membership, or check out my quilt patterns.  I even offer a course once a year teaching you how to write and sell your own quilt patterns. I am excited to be quilty friends!

Join the Membership

Shop Quilt Patterns

Check out the Courses

Quilting Tutorial Videos

Categories

  • Craft to Career
  • Digital Downloads
  • Patterns
  • Podcast
  • Quilt Alongs
  • Quilt Questions
  • Tutorials
  • Uncategorized

Recent Posts

  • Tips on Sewing a curved quilt

    March 14, 2023
  • Perfect Point Triangles

    Perfect Points when sewing Equilateral Triangles

    March 7, 2023
  • Split Quarter Square Triangles Blog Post

    Fast and Easy Split Quarter Square Triangles

    February 28, 2023

Latest Video

Latest Video Latest Video

Subscribe to My Channel

Follow Quilters Candy on Instagram

Are you joining? QAL for #gardenharvestquilt is co Are you joining? QAL for #gardenharvestquilt is coming up, and these lovely versions are great inspiration! Click the link in my bio to join the quilt along that starts April 17th. ⁣
Makers in order of appearance:⁣
1. @magnoliaridgequilts⁣
2. and 3. @honey.spun⁣
4. @sandiego.sewn⁣
5. @bohoquiltco⁣
6. @becca.plymale.creative
Are you joining? I can’t wait to share the grand Are you joining? I can’t wait to share the grand prize! Hint: @babylocksewing There are also some amazing fabric bundles being put together by different shops. Join the #gardenharvestqal in the link in my bio to get all the details!
I love getting updates from my past students! This I love getting updates from my past students! This update from @vogonverse was too exciting not to share. Having the courage to apply and move forward pays off! Well done Nik! 🎉🎉🎉
Free coaching? That’s right! I’m giving a free Free coaching? That’s right! I’m giving a free one month business coaching session and one free 1 hour coaching session to any 2 people! This is to celebrate 100 episodes of the @crafttocareer podcast! 🎉 To enter: leave a review of the podcast on Apple Podcasts or my website for episode 100, DM me a screenshot of your review. Deadline: Wednesday at midnight. 3-22-23. Winners will be announce Friday on the podcast!
Invisible binding? That’s right! @quilterscandym Invisible binding? That’s right! @quilterscandymembership join me Monday at 10 am CST and guest @bluebeaglequilts will teach us how to face our quilts. Can’t make it? Don’t worry - this will be recorded and members can watch it later. Raise your hand if you’re excited to learn how to face your quilt! 🤚 Quilt: Sampler made with by some alumni who came to @artgalleryfabrics with me! Shirt: made with my #agfgayleloraine fabrics ❤️
The perfect curves… for your quilts! @lynsavenue The perfect curves… for your quilts! @lynsavenue gives you all the help and tips you need to get those intimidating curves to come out looking perfect every time! Visit my blog for the free tutorial.
  • About
  • Contact
  • Pattern Corrections
  • Terms And Conditions

Copyright © 2022 | Quilters Candy Site Powered by Pix & Hue.