Quilt Satchel (Quatchel)
October 24, 2023

quilt satchel

Hi! Hey! Hello! My name is Chelsey Cobabe, and I’m the boss babe over here at Cobabe Co. I have the firm belief that a quilt is incomplete without a book. If there is a book nearby, grab a quilt and snuggle under it to maximize your reading experience. If you find yourself with a quilt, make sure you get the most out of it by finding someone you love, cuddle and read together!

But … what if you find yourself on a pleasant sunny autumn afternoon at the park with a book to read and no quilt? What if you are at the library surrounded by multiple publications without a quilt? What if you plan to travel across the country (via plane, train, or automobile) with a plethora of novels loaded on your phone and no quilt? What if you are going on a campout and don’t have enough room to pack your favorite quilt and your beloved bedtime story? There are so many dire quilt-less literary situations that could really put you in a pickle! Fret not! I have found a solution.

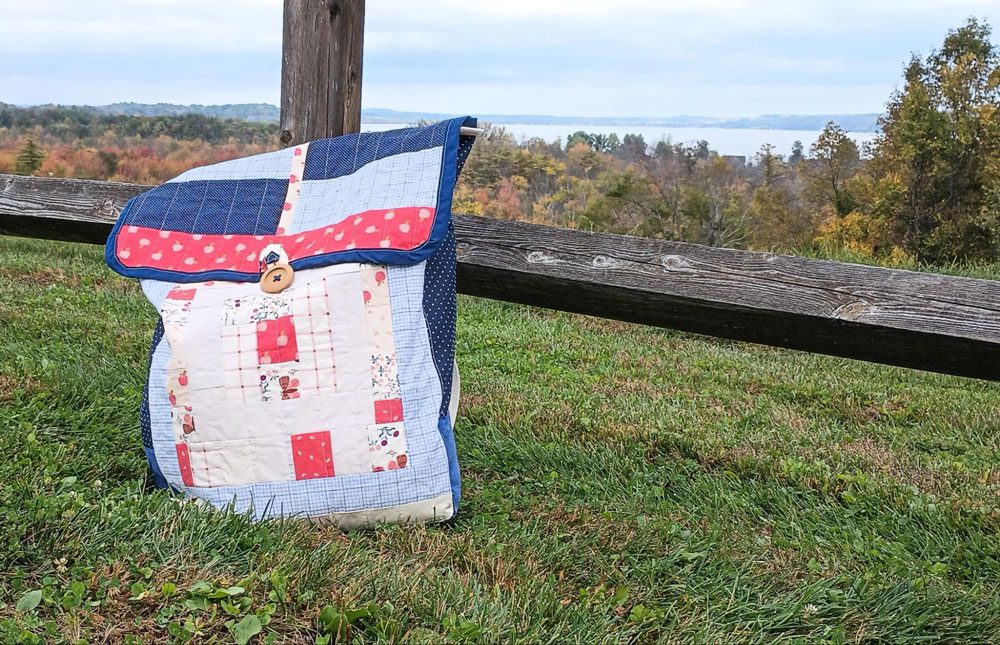
Behold, zee Quatchel (pronounced: coo-AT-chull); the quilt + satchel solution for all your reading needs. This revolutionary Quatchel has been engineered to fit a large quilt with extra room for books and snacks; what else do you need, really? One of the many great things about the Quatchel is that it is built into your quilt! No extra bags, duffles or loose quilts jamming up stroller wheels! Think “Quillow” and take it up fifty notches- that’s the Quatchel. 

This time of year you might be finishing up your quilty gifts for the upcoming holiday season and want to put a super special spin on the quilt you have almost completed. Maybe you have a hard time finding the motivation to bind that quilt you created with your blood, sweat, and tears. The Quatchel is perfect for you! It’s the optimal gift for anybody who needs a quilt (ahem…that’s everybody). The Quatchel comes together quickly, all it takes is an unbound quilt. Quatchels are great for traveling, going to the library, camping trips, overnighters, picnics, or just to carry your preferred quilt around with you at all times. Quatchels put the “security” in “security-blanket.”

Let’s get started!

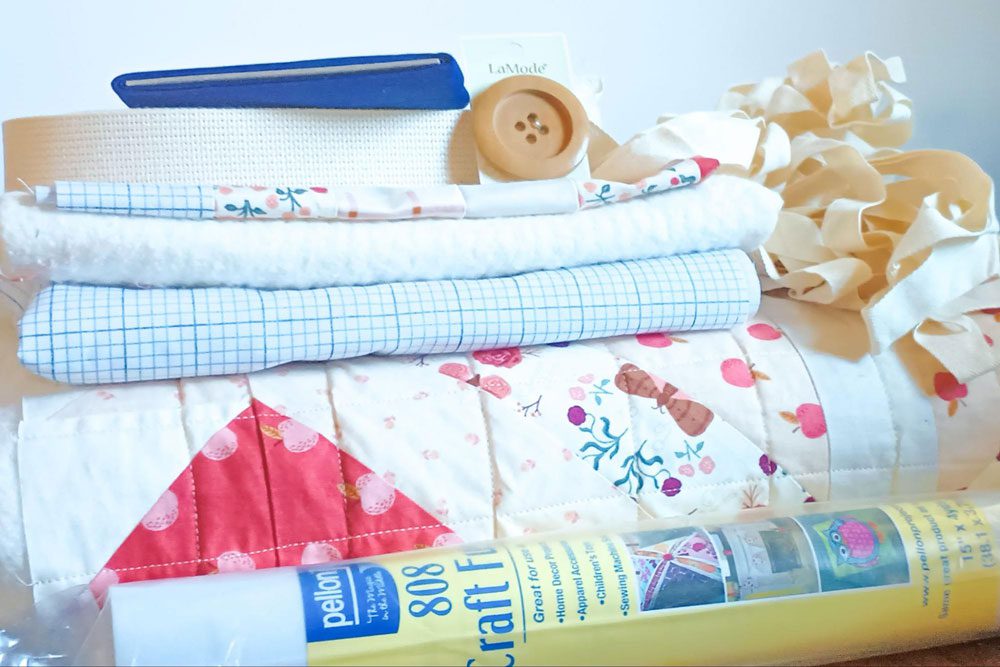
Quatchel Materials:

  • unbound quilt
  • spare quilt blocks/quilt scraps
  • bias binding
  • craft stabilizer
  • cotton webbing
  • backing/lining fabric of your choice
  • batting
  • twill tape
  • large button
Quilts for satchels

Step 1: Determine Quatchel Size

Fold your unbound quilt to the smallest size that can double as a comfortable sized satchel. Lay your spare quilt block on top of the folded unbound quilt, there should be at least two inches of overage. Use the scraps from your unbound quilt and improv piece (or add strips) to make the spare quilt block bigger to fit the required two inch overlap, or trim down to size. This will be the front panel of your Quatchel.

Step 2: Prepare Backing and Lining

Take the backing/lining fabric of your choice and cut two panels the same dimensions as the front panel, with one being two inches larger. This will be the Quatchel pocket lining and backing panel, respectively. Review stabilizer instructions and apply accordingly to both the pocket lining and the backing panel.

Step 3: Prepare the Lid

Cut backing/lining fabric of your choice for the Quatchel lid lining, half the length of the pocket lining (same width).

Step 4: Prepare the Gusset 

Take the backing/lining fabric of your choice and cut two strips of fabric that are long enough to cover three of the four sides of your front panel at a perpendicular angle, with an inch of overage on each side. These fabric strips are the gusset (lining and exterior panel) of your Quatchel pocket. The gusset determines the width of your Quatchel. 

To figure out the depth of your gusset, refer to your folded unbound quilt (see step one). Measure the depth of the folded unbound quilt and add a half inch to the measurement to find the width of the gusset panels. Cut gusset panels to size. Per label instructions, add stabilizer to the gusset lining to only one of the two panels.

gusset clipped

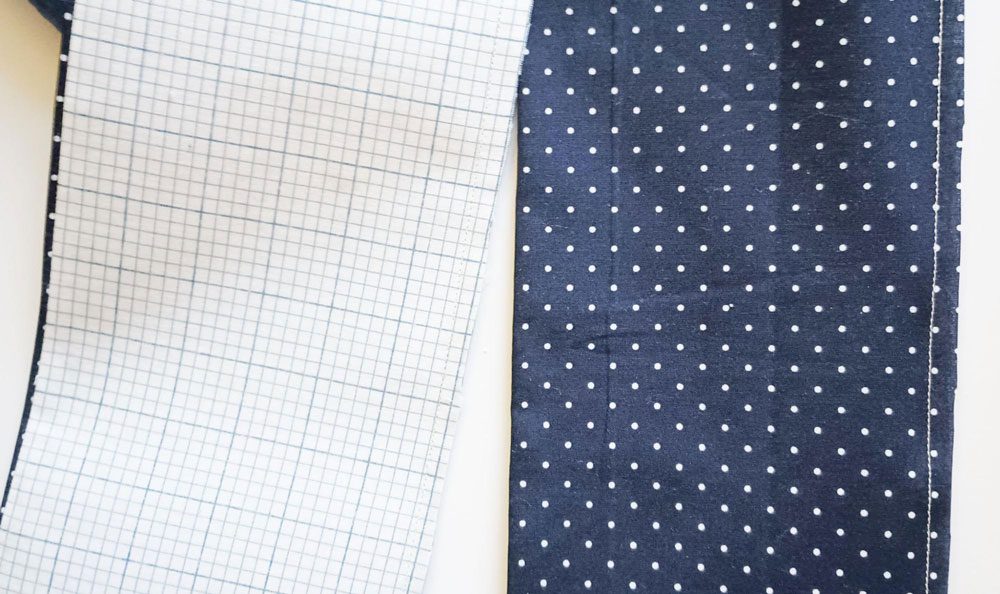
Above is what the gusset will look like.

peice of fabric in blue and white color

Step 5: Create the Gusset

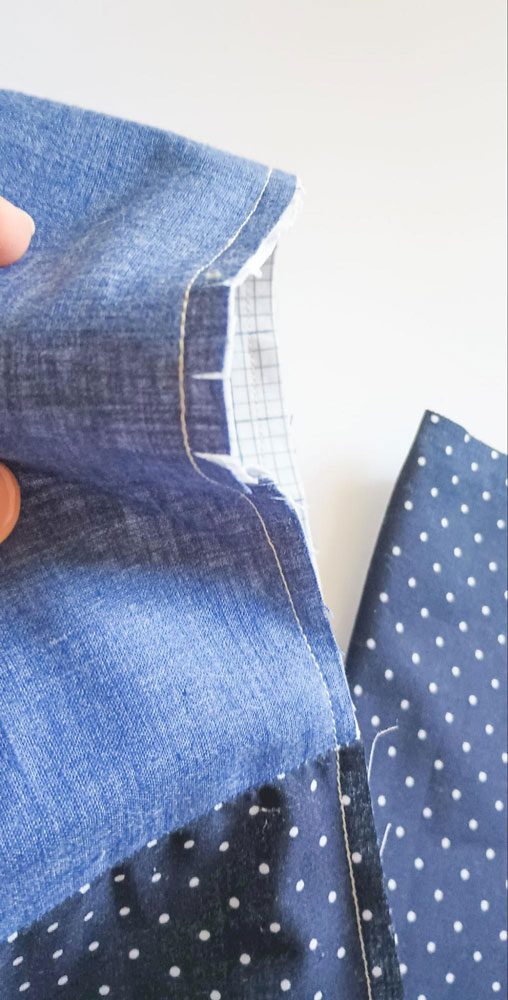
Sew the gusset lining and the gusset exterior panel right sides together. Press. Make sure the exterior panel is slightly higher on the fold than the gusset lining fabric. 

Trim excess seam allowance.

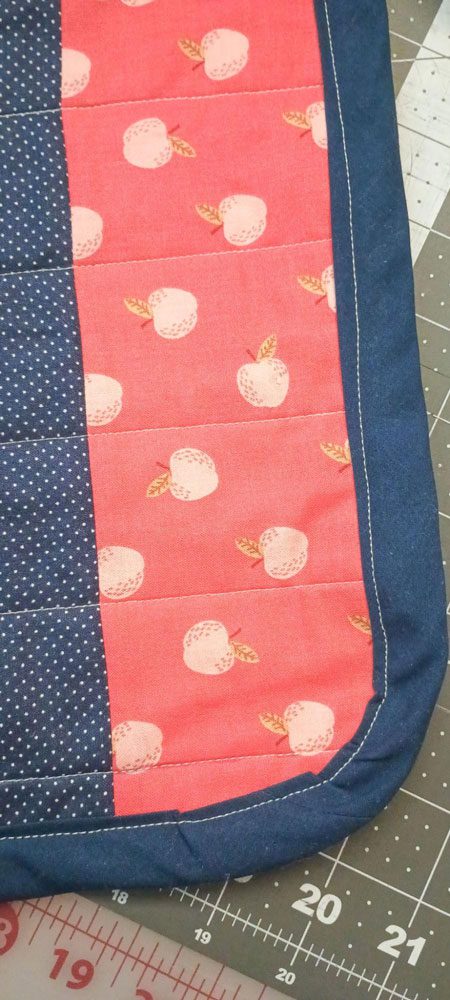
rounded corner

Step 6: Create the Front Panel of Quatchel

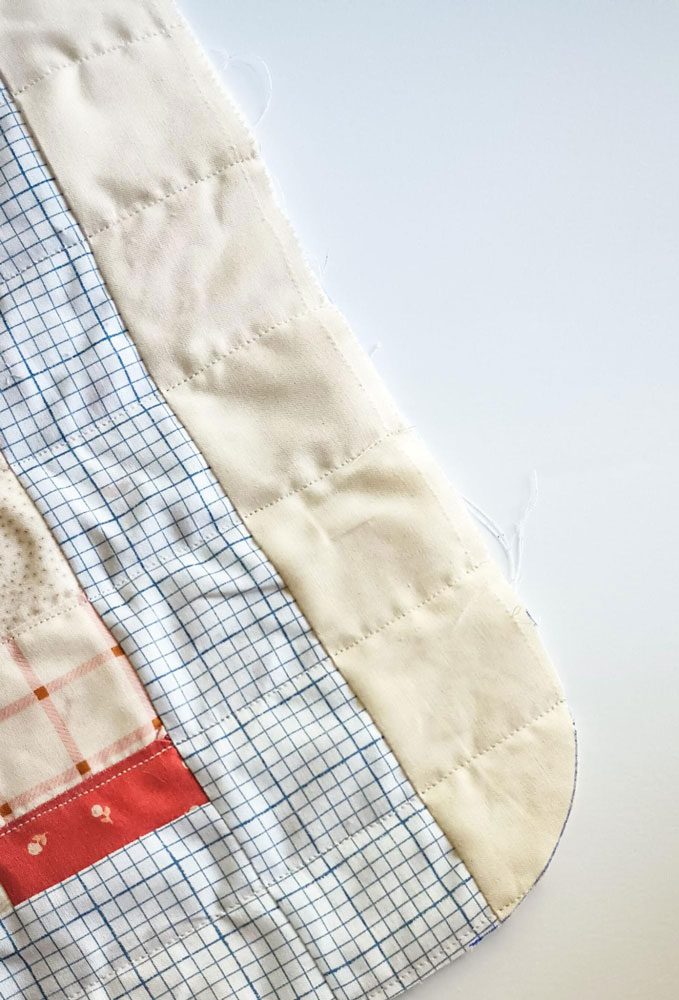
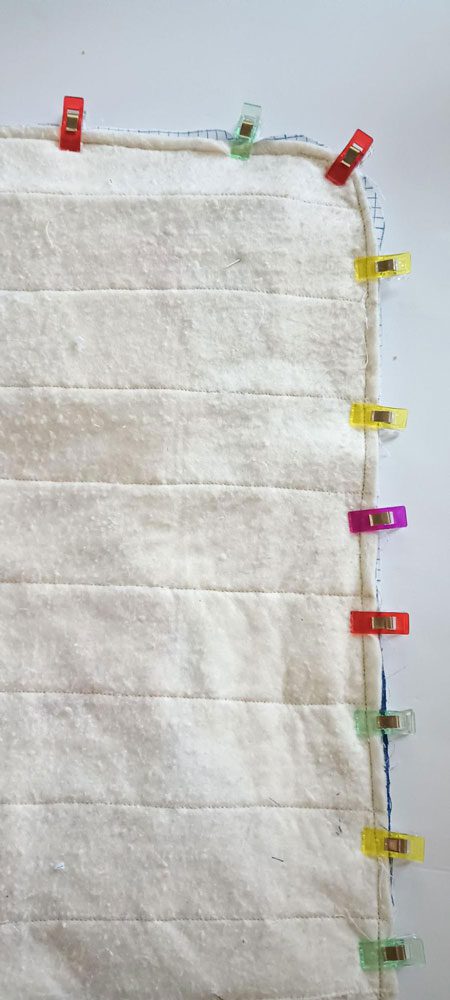
Cut batting with two inches of overage and baste wrong sides together to the front panel of the Quatchel. Quilt as desired. Curve the bottom corners of the front panel by tracing a bowl or another circular object. Cut.

clipping corner

Step 7: Attach Gusset to Front Panel

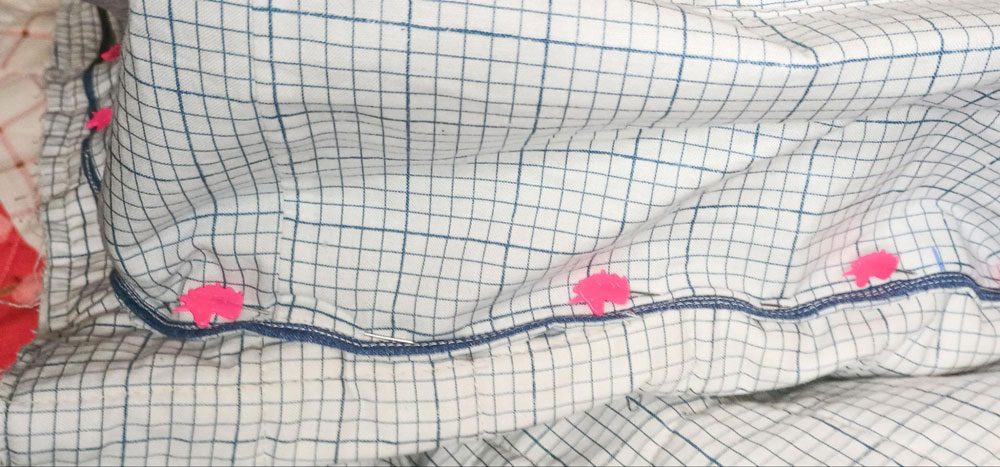
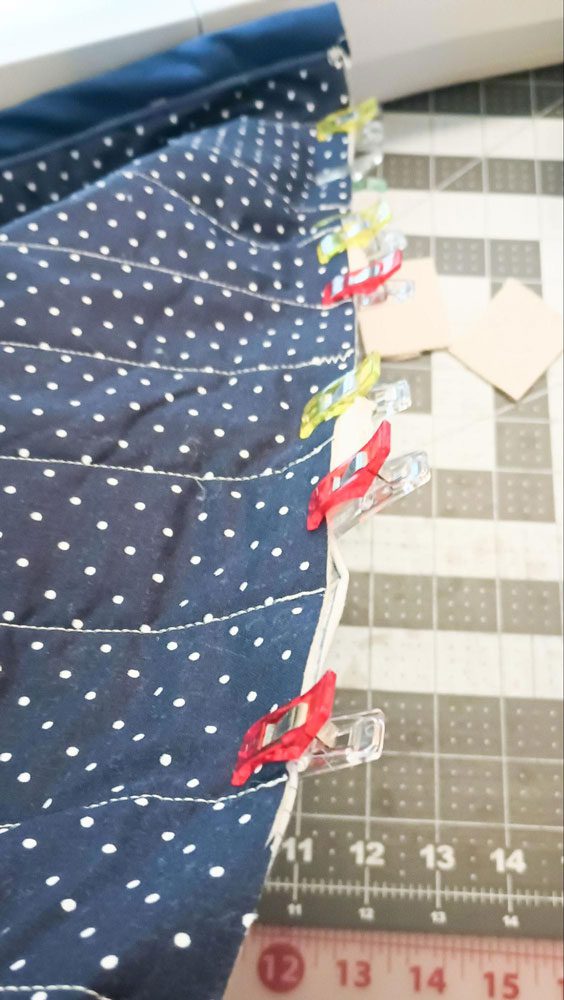
Take the raw edges of the gusset and front panel, right sides together, and line up the centers. (To find the centers take each piece individually, fold in half, and mark the fold with a pin.) Pin together. At the top of the Quatchel, there should be an inch of overage on each side; fold the overage over the top and pin to the back. On the bottom curves of the Quatchel, snip little notches up to the seam allowance to permit better flexibility. Sew. Trim down seam allowance.

clipping the corners
gusset clipped

Step 8: Add the Quatchel Pocket Lining

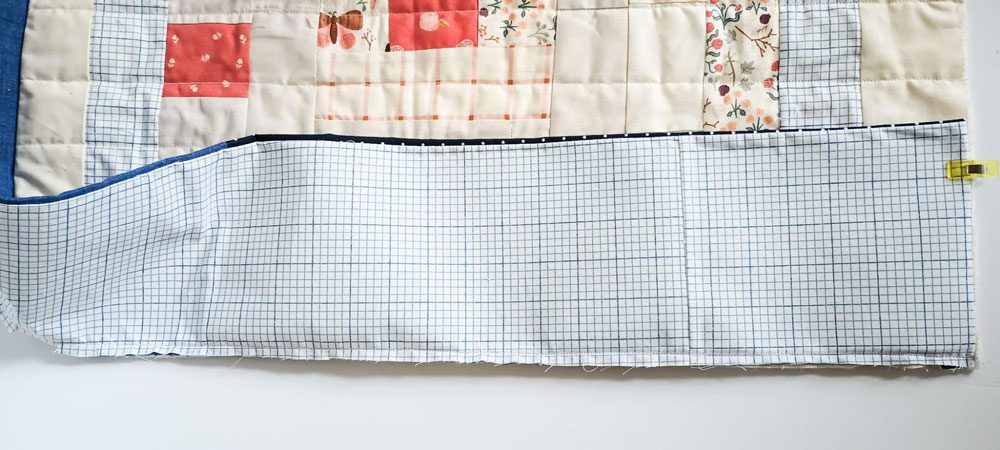
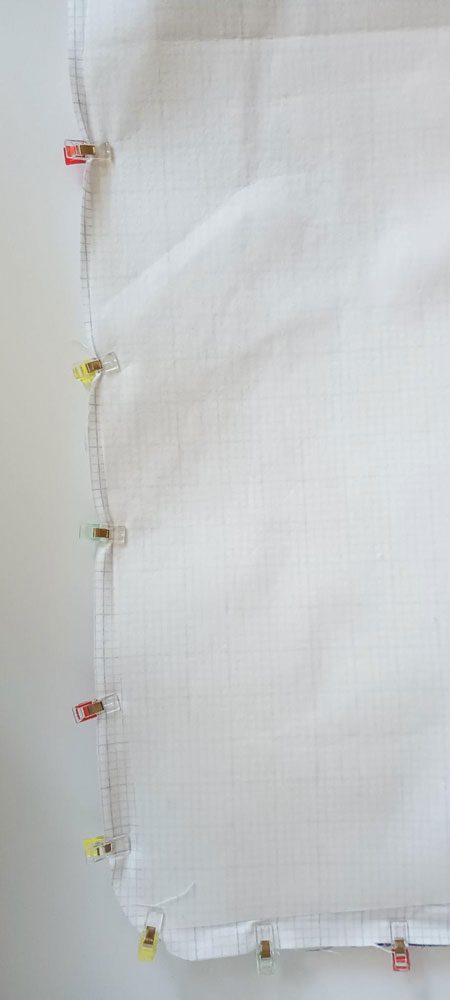
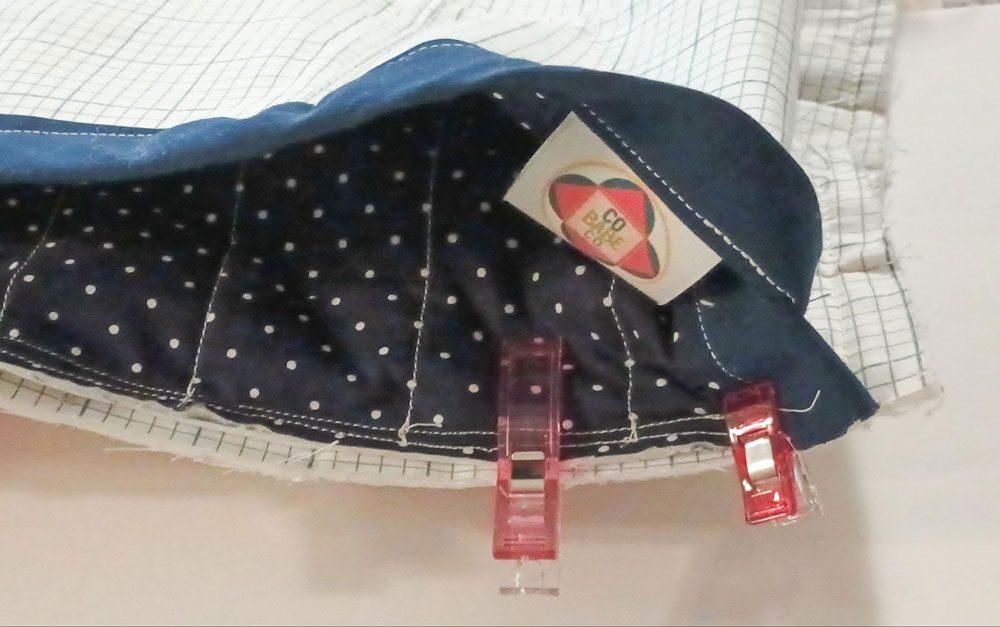
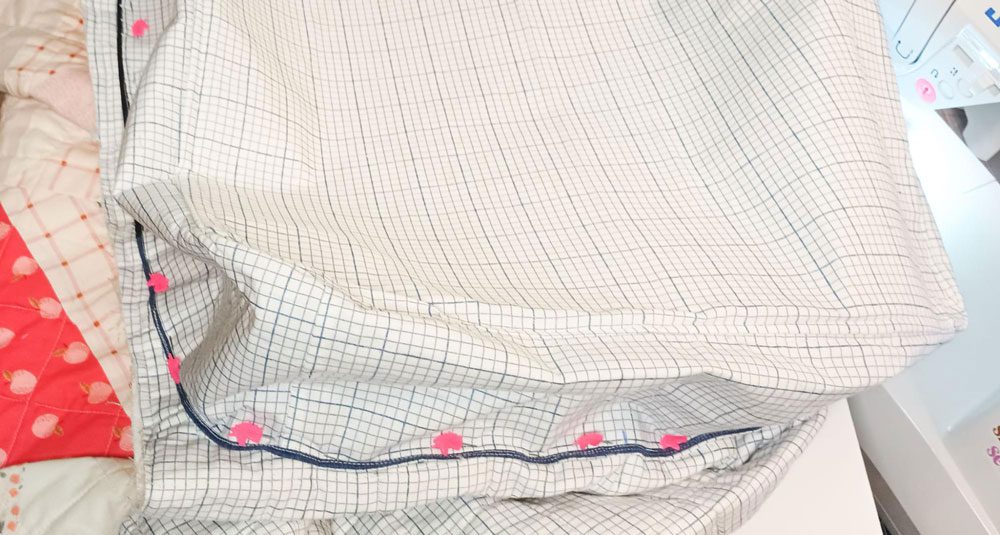
Pin the attached gusset to the front panel to keep it out of the way. Take the pocket lining panel from step two, and pin it to the front Quatchel panel, right sides together. Make sure it lies flat. Sew together directly in the existing seam around the bottom three edges, leaving the top open. Turn the Quatchel pocket through the top and check for creased seams in the fold. Trim seam allowances.

white sheet with several pins
clipping batting
fold fabric

Step 9: Finish Up the Quatchel Pocket

Sew binding to the raw edge (top) of the Quatchel pocket. Top stitch the front and side panels.

satchel pocket

Step 10: Sew the Quatchel Straps

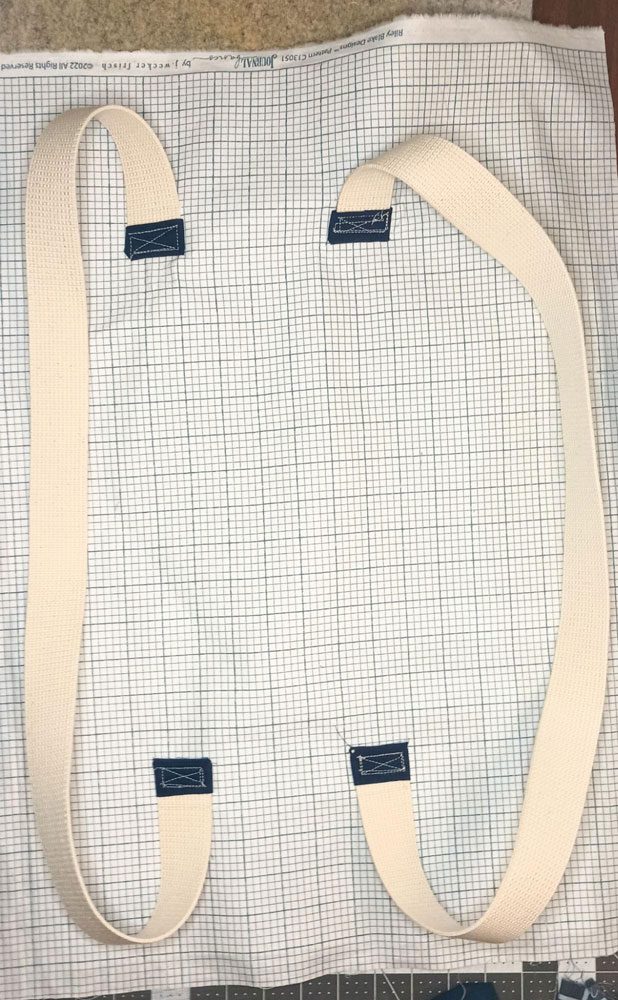
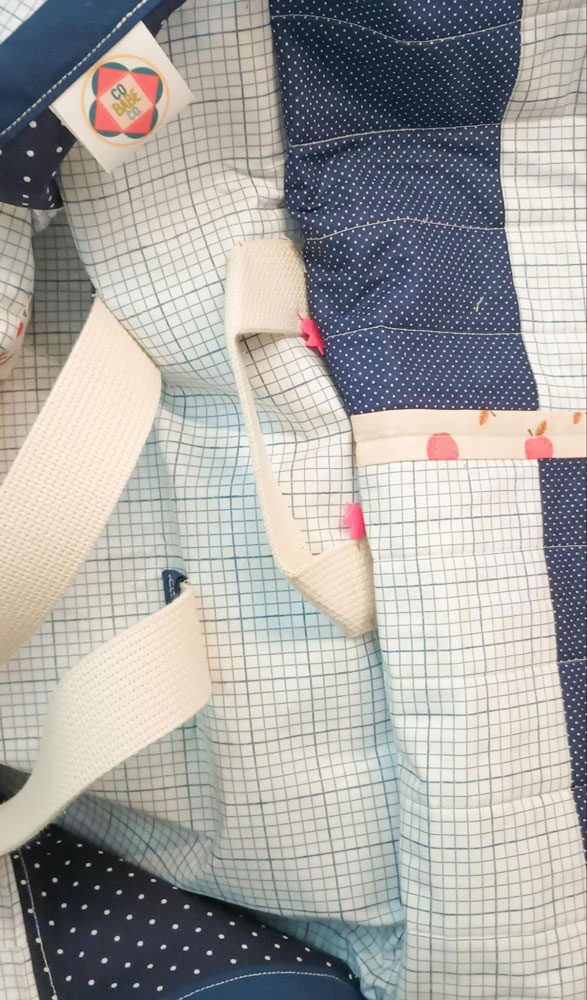
Measure and cut two comfortable lengths of cotton webbing to act as a straps. Sew binding on raw edges of the cotton webbing. On the right side of the slightly larger, stabilized backing panel from step two, find the center, and sew each strap equidistant from the sides. Gather the straps to the center of the backing panel using clips or pins.

sewing the straps

Step 11: Attach the Backing Panel

Pin the backing panel to the Quatchel pocket, right sides together. (It helps to start pinning on the bottom in the middle so that the curves can lie flat on the backing panel.) Sew.

back panel

Step 12: Sew the Quatchel to the Quilt

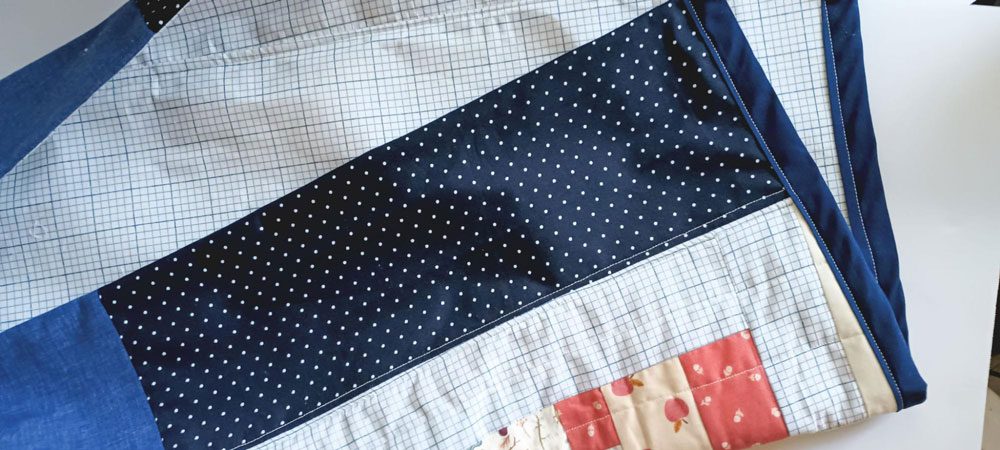
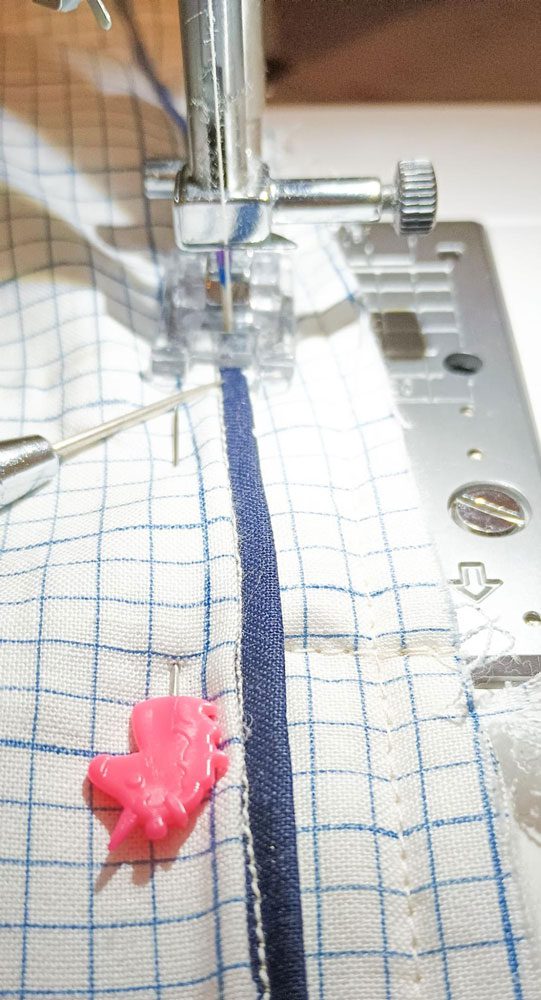
Align the top of the Quatchel pocket to an edge in any corner of your quilt (about an inch away from the side). Fold the raw edge of the backing panel of the Quatchel pocket under and pin to a corner of your quilt, making sure the quilt is smooth underneath with no wrinkles. Sew the right side of the lid/back of the Quatchel panel to the quilt. Stitch on the raised exterior panel of the gusset (made in step four).

pin inside
sewing satchel
pinning satchel

Step 13: Make the Lid

Using the lid lining (made in step two) as a size reference, create a lid using an existing orphan quilt block or improv-piece a block with fabric scraps. Cut batting to be sandwiched in between the lid lining and the pieced quilt lid. Quilt as desired. Curve the bottom corners of the Quatchel lid by tracing a bowl or another circular object. Cut. Use quilt binding to cover the bottom three raw edges.

satchel lid

Step 14: Create the Lid Buttonhole

Measure the button width with twill tape, triple the length and cut. Bind the raw edges of the twill tape to ensure the ends don’t unravel. Mark the center of the lid. Loop the twill tape and sew a straight line a third from the ends onto the lid.

lid button hole

Step 15: Attach Lid to the Quachet

Cut roughly six inches of cotton webbing and create a loop by pinning it in the middle of the raw edge of the Quatchel. Pin the right side of the Quatchel lid (assembled in step twelve: the pieced and quilted part) to the edge of the back of the quilt, directly above the Quatchel pocket. Sew. Reverse stitch over the handle to reinforce.

clipping together
handles

Step 16: Bind the Quilt

When binding your quilt, make sure to go slowly over the thick seams that are used to create the Quatchel. I recommend using your sewing machine for binding the quilt for the sake of your hands and fingies!

button

Step 17: Secure the Button

You’re about ready to cross that finish line! Fold up your quilt (like you did in step one), leaving the Quatchel corner on the topmost layer. Turn the Quatchel inside out and adjust the quilt inside to your liking. Flip the lid and center the buttonhole. Mark with a fabric pen where the button should go and sew on your button.

quilt satchel

Step 18: Enjoy!

Sign up for emails to get the pattern for the Quatchel and for more information about upcoming pattern releases, events, book recommendations, and coupons!

quilt

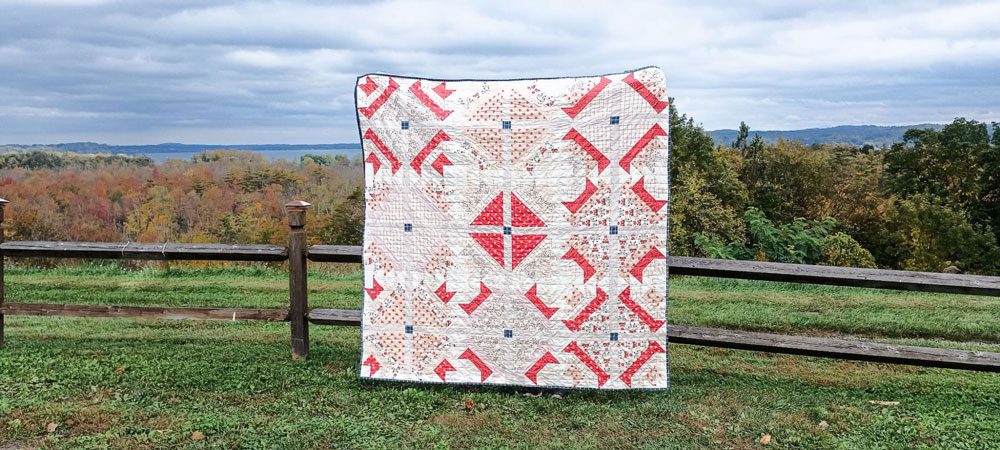
This Quatchel was made with the Orienteer Quilt Pattern by Cobabe Co. (78” x 78” size quilt) using Rachel Erickson’s Sweetbriar fabrics from Riley Blake Designs. All of my quilting patterns are inspired by children’s literature. Check out www.cobabeco.com for a list of recommended kids books to carry with you in your new Quatchel!

MORE BLOG POSTS LIKE THIS ONE

Did you enjoy this tutorial? Be sure to check out these free tutorials: 

Quilted Tote Bag

Fabric Pottery Bowl

Charm Pack Tote Bag

or SEARCH THESE

Popular categories

Craft to Career
Digital Downloads
Patterns
Podcast
Quilt Alongs
Quilt Questions
Tutorials
back to the top

Copyright 2024 Quilters Candy  |  Terms & Conditions