Hey there, crafty friends! I’m Amber of Espresso Stitches. I live in Northern Arizona with my husband and our four kiddos. I enjoy sewing practical items for my family and friends. Today I have a great free pattern for you that I hope you enjoy!
If you’re looking for a simple sewing project, you’re in for a treat. We’re diving into the wonderful world of zipper pouches today. These little fabric wonders are not only practical but also make fantastic gifts for friends, family, teachers, or even just for treating yourself.

Materials needed:
- Fabric of your choice
- Fold over elastic
- Zipper
- Thread
- Sewing machine
- Scissors
- Pins or clips
Step 1: Choose Your Fabric
Let’s kick off our zipper pouch journey with a burst of creativity! Pick out two pieces of fabric that make your heart smile. They can be complementary colors, funky patterns, or whatever sparks joy in you.
Step 2: Measure and Cut
Measure and cut out two identical squares from your chosen fabrics. These will be the exterior and interior panels of your pouch.
Step 3: Prepare the Zipper
Place your exterior fabric piece right side up. Lay your zipper face down on the top edge of the fabric. Take your other piece of fabric and place it right side down, aligning it with the top of the zipper, creating a zipper sandwich.
If you’re worried about the zipper getting caught in the sewing machine, you can use a few pins or clips to hold it in place. Stitch along the edge to secure the zipper.
Flip your fabric right sides out and gently press your sewn fabric edge.
Step 4: Stitch the Second Side of the Zipper
Grab the bottom edge of your fabric and fold it up to the other edge of the zipper. Flip over and do the same for the second piece of fabric.
Sew along the edge, and voilà! Your zipper is now attached.
Step 5: Finishing Touches
Reach through your fabric roll and unzip your zipper about halfway. This is important – don’t skip this step, or you’ll be stuck with an inside-out pouch forever. Turn your fabric so you see right sides out and the back side of your zipper. Lay your pouch flat so that the zipper is centered then slide your elastic under the zipper. Sew on the open edge of one side. Be careful not to sew over the metal zipper stops!
Your elastic will be longer on one side, that’s good! Make sure you tuck it in towards the center of your pouch so the elastic lines up with your fabric, then sew your opening closed.
Step 6: Trim and Turn
Trim any excess fabric and loose threads. Now comes the grand moment: turn your pouch right side out. Gently poke out the corners with a pencil or your finger to give your pouch a clean shape.
Step 7: The Big Finish
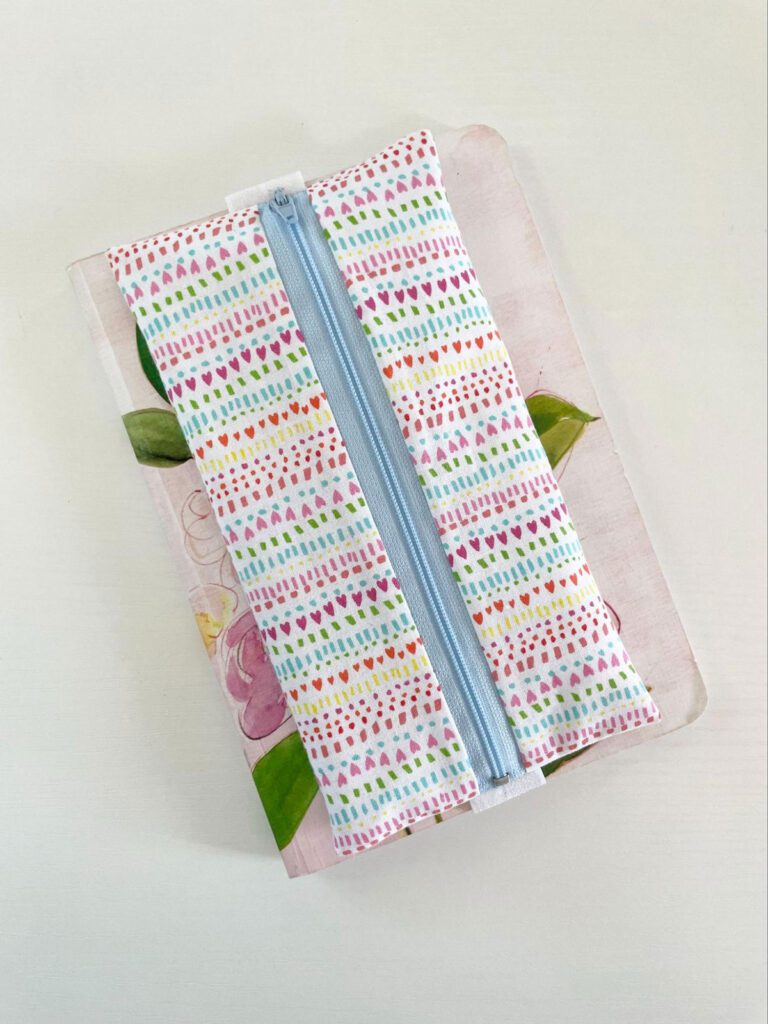
Give your pouch one final press with the iron to make it crisp and neat. Grab your favorite notebook and slip the elastic over the cover. Stand back and admire your creation – you’ve just created a fabulous zipper pouch that’s as unique as you are! Bask in your craftiness!
There you have it, friend – your very own easy notebook pencil pouch, crafted with love and creativity. This tutorial is just the beginning; you can experiment with different fabrics, sizes, and even add embellishments like buttons or embroidery. Whether you use it to organize your makeup, store art supplies, or keep your favorite trinkets, your zipper pouch will always remind you of the magic of handmade creations. So go ahead, sew on, and create a notebook pencil pouch for everyone!
Find Amber on her website, Espresso Stitches or on Instagram, @espresso_stitches.
MORE BLOG POSTS LIKE THIS ONE
Did you enjoy this tutorial? Be sure to check out these free tutorials: