How to Make a Fabric Key Fob Wristlet
October 25, 2026

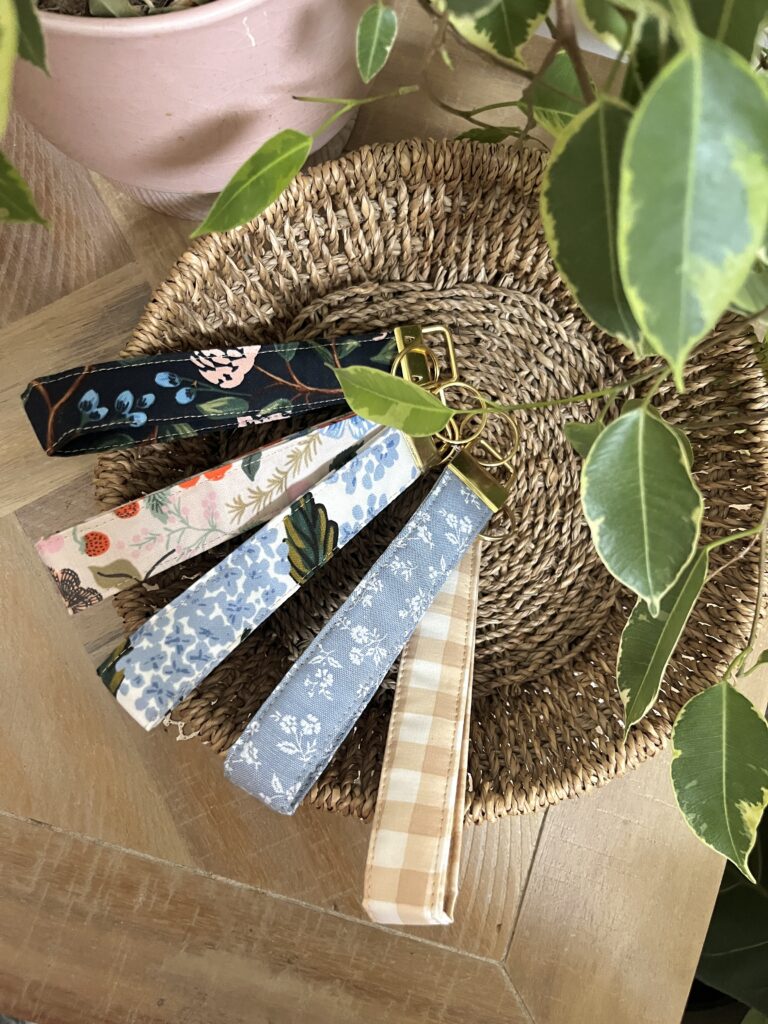
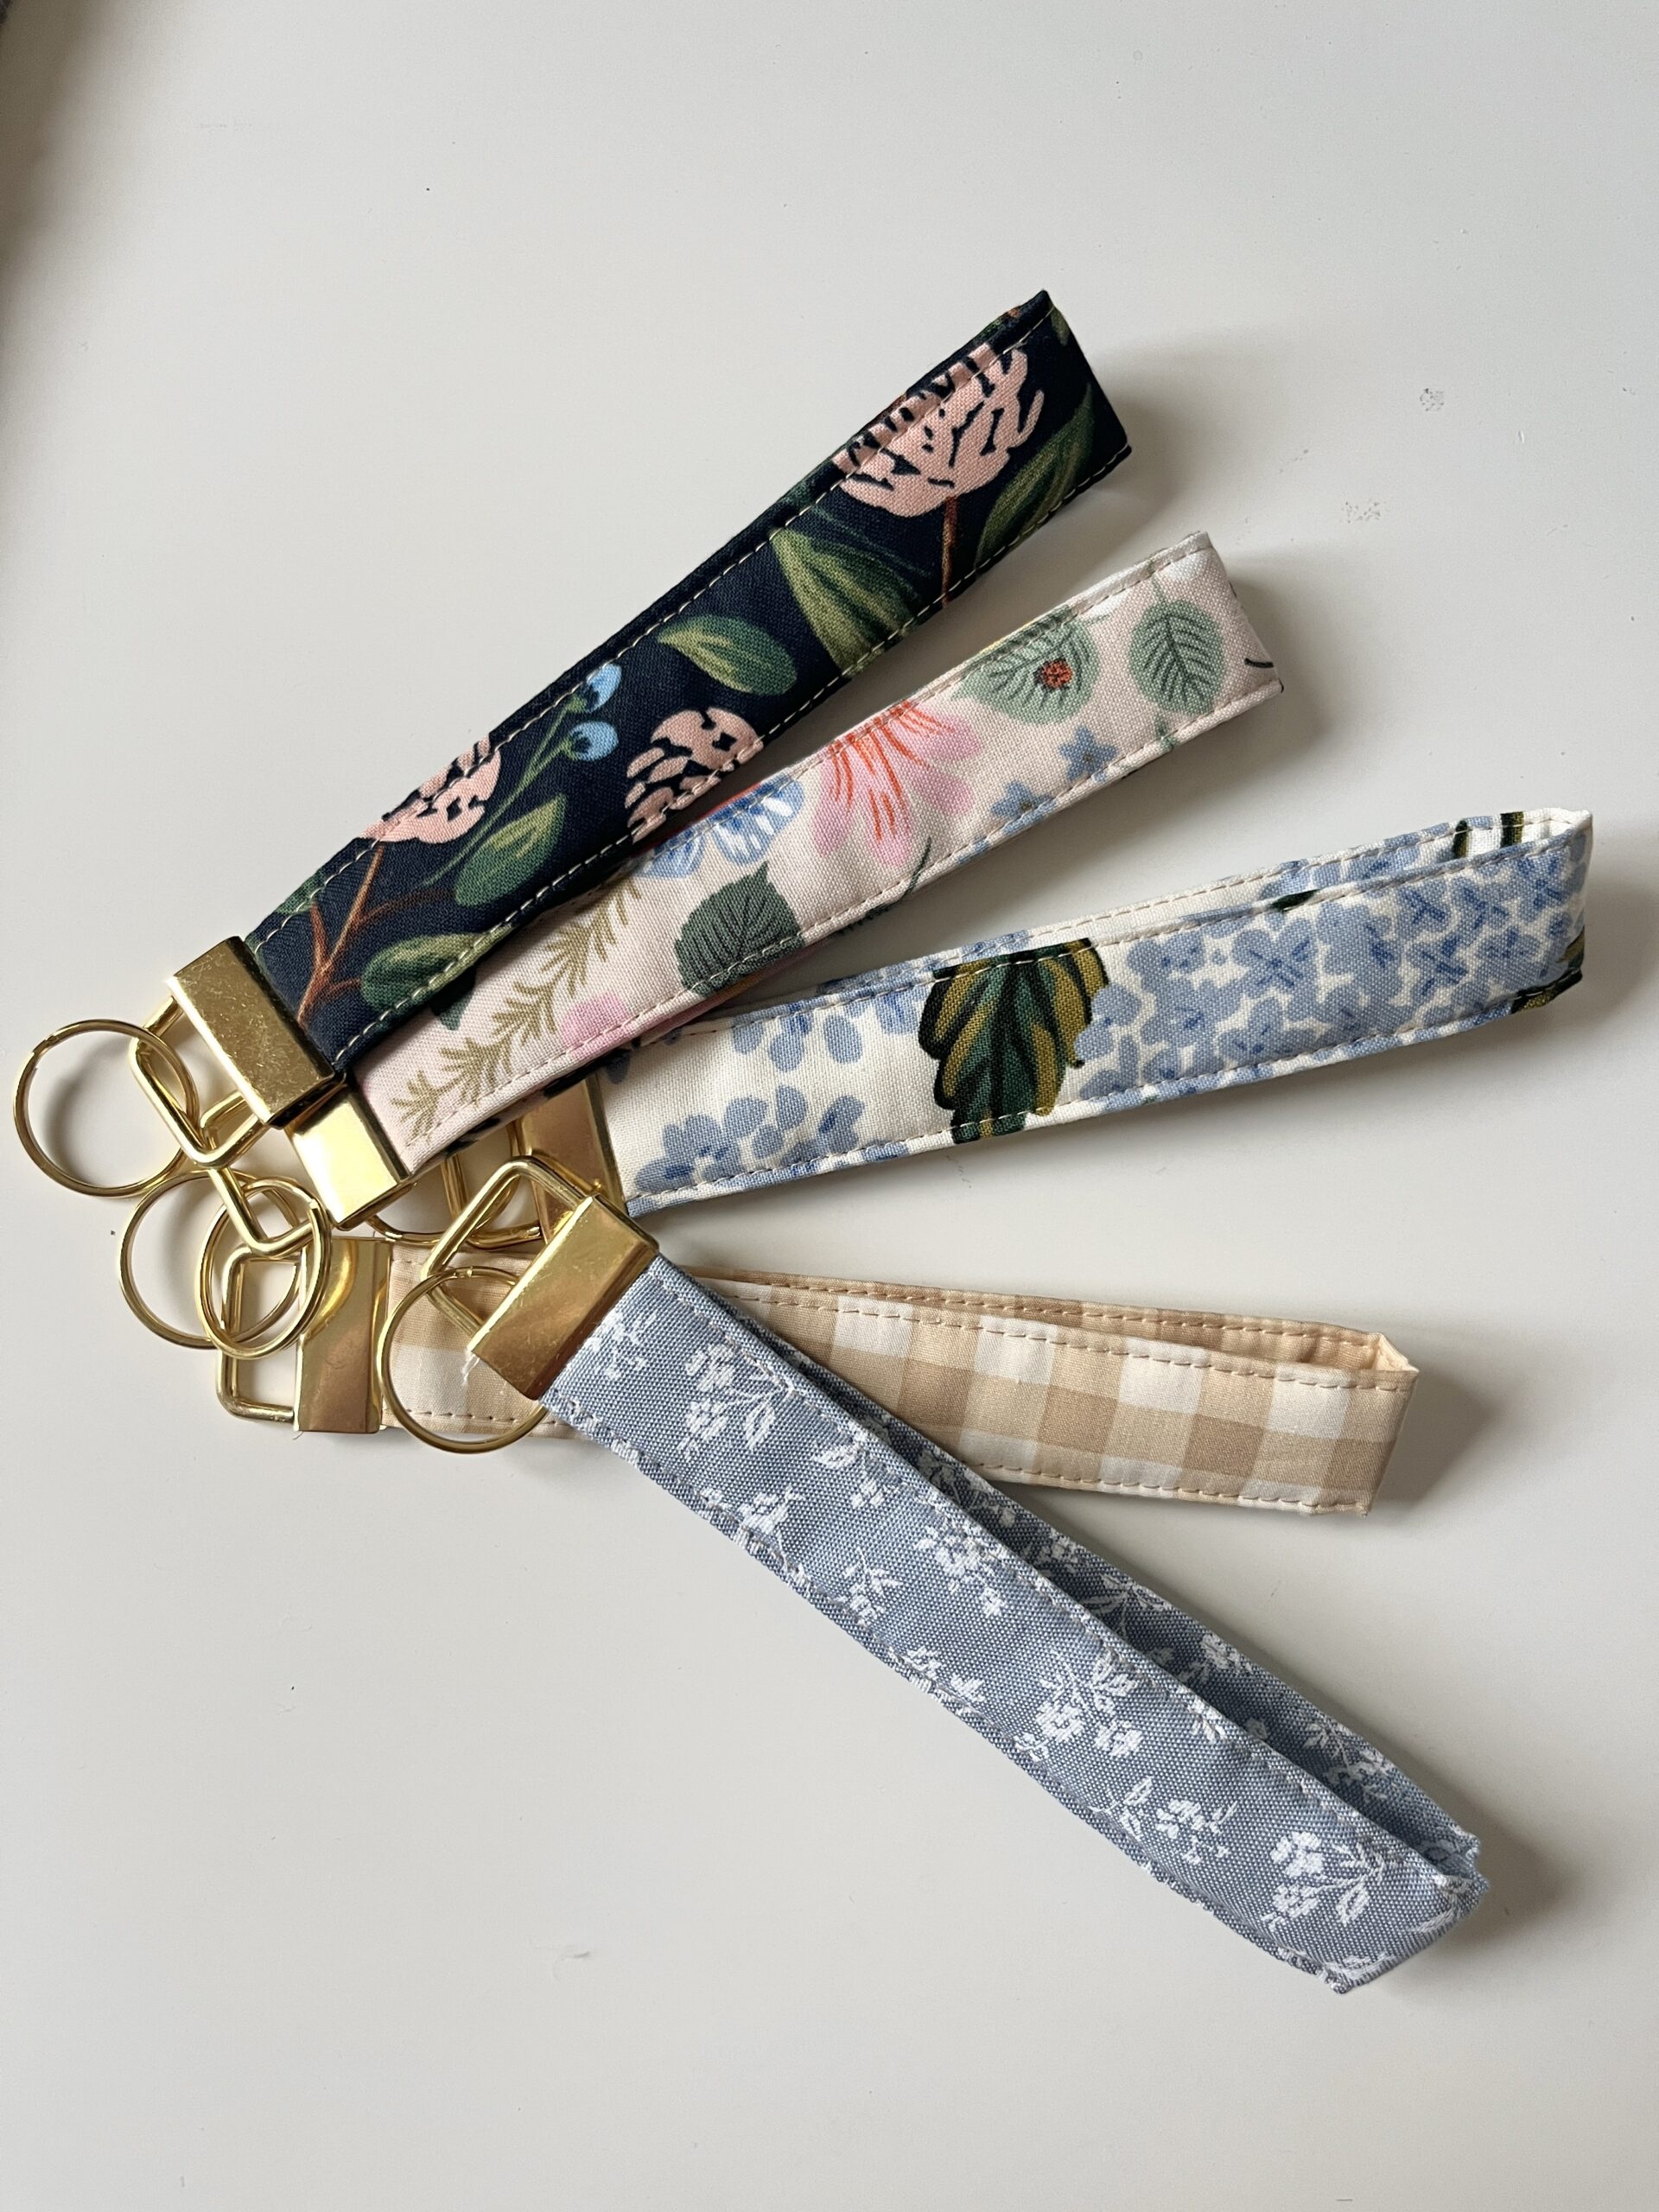
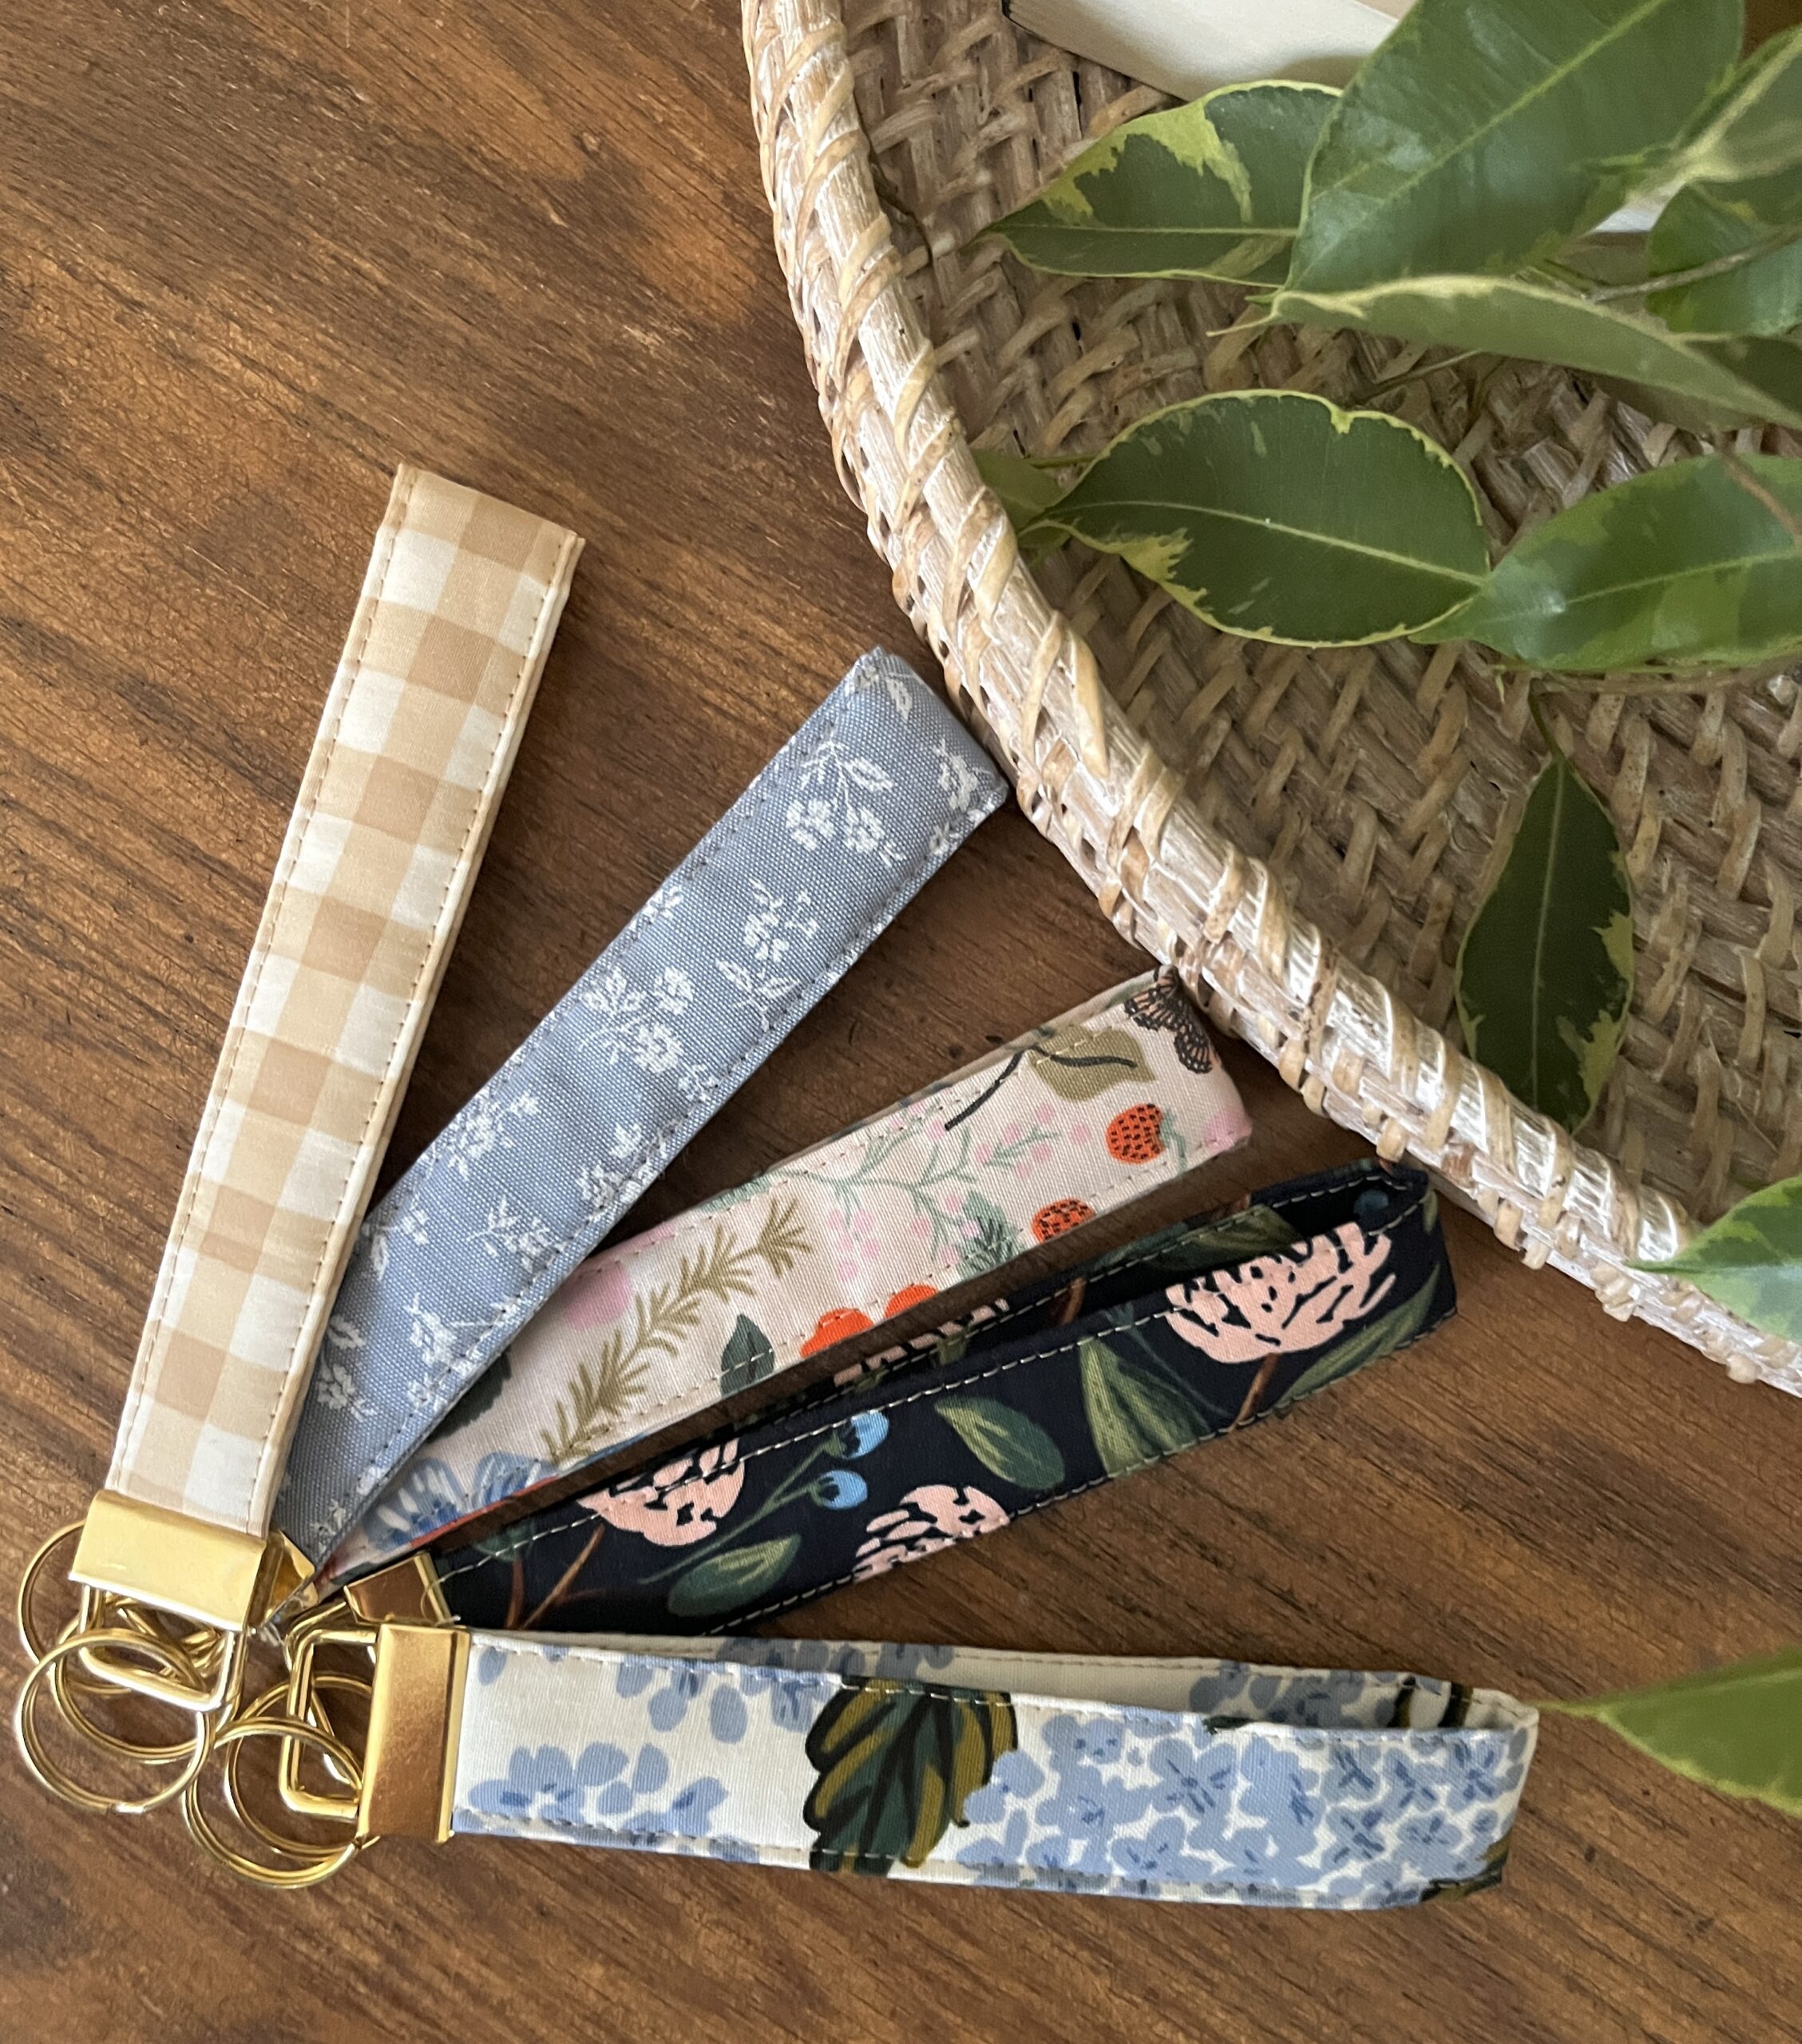
Fabric key fob wristlet tutorial cover with five floral and gingham key fobs with gold hardware on a wood table

A Finn & Thread Co. pattern, shared on the Quilters Candy blog

Hi, I’m Danae, the maker behind Finn & Thread Co.! I’m a mom of three littles with a heart for quilting and a love for creating beautiful things by hand. As an alumna of Elizabeth Chappell’s Quilt Pattern Writing Course, I love the art of quilting and the joy of sharing what I create.

In this busy season of motherhood, I’ve been drawn to smaller, approachable sewing projects that fit into the little pockets of time I have. I love turning fabric scraps into something beautiful, meaningful, and useful, and this key fob wristlet tutorial is one of my favorite ways to do it.

I’d love for you to join me! Follow along on Instagram at @finnandthreadco for more quilting inspiration and scrap-friendly projects.

This project turns one small fabric scrap into a quilted strap you’ll use every day. It uses a single strip of fabric, and finishes with gold hardware that makes it look store bought.

These make sweet stocking stuffers, teacher gifts, and craft market items. Once you make one, you’ll want one in every fabric you love.

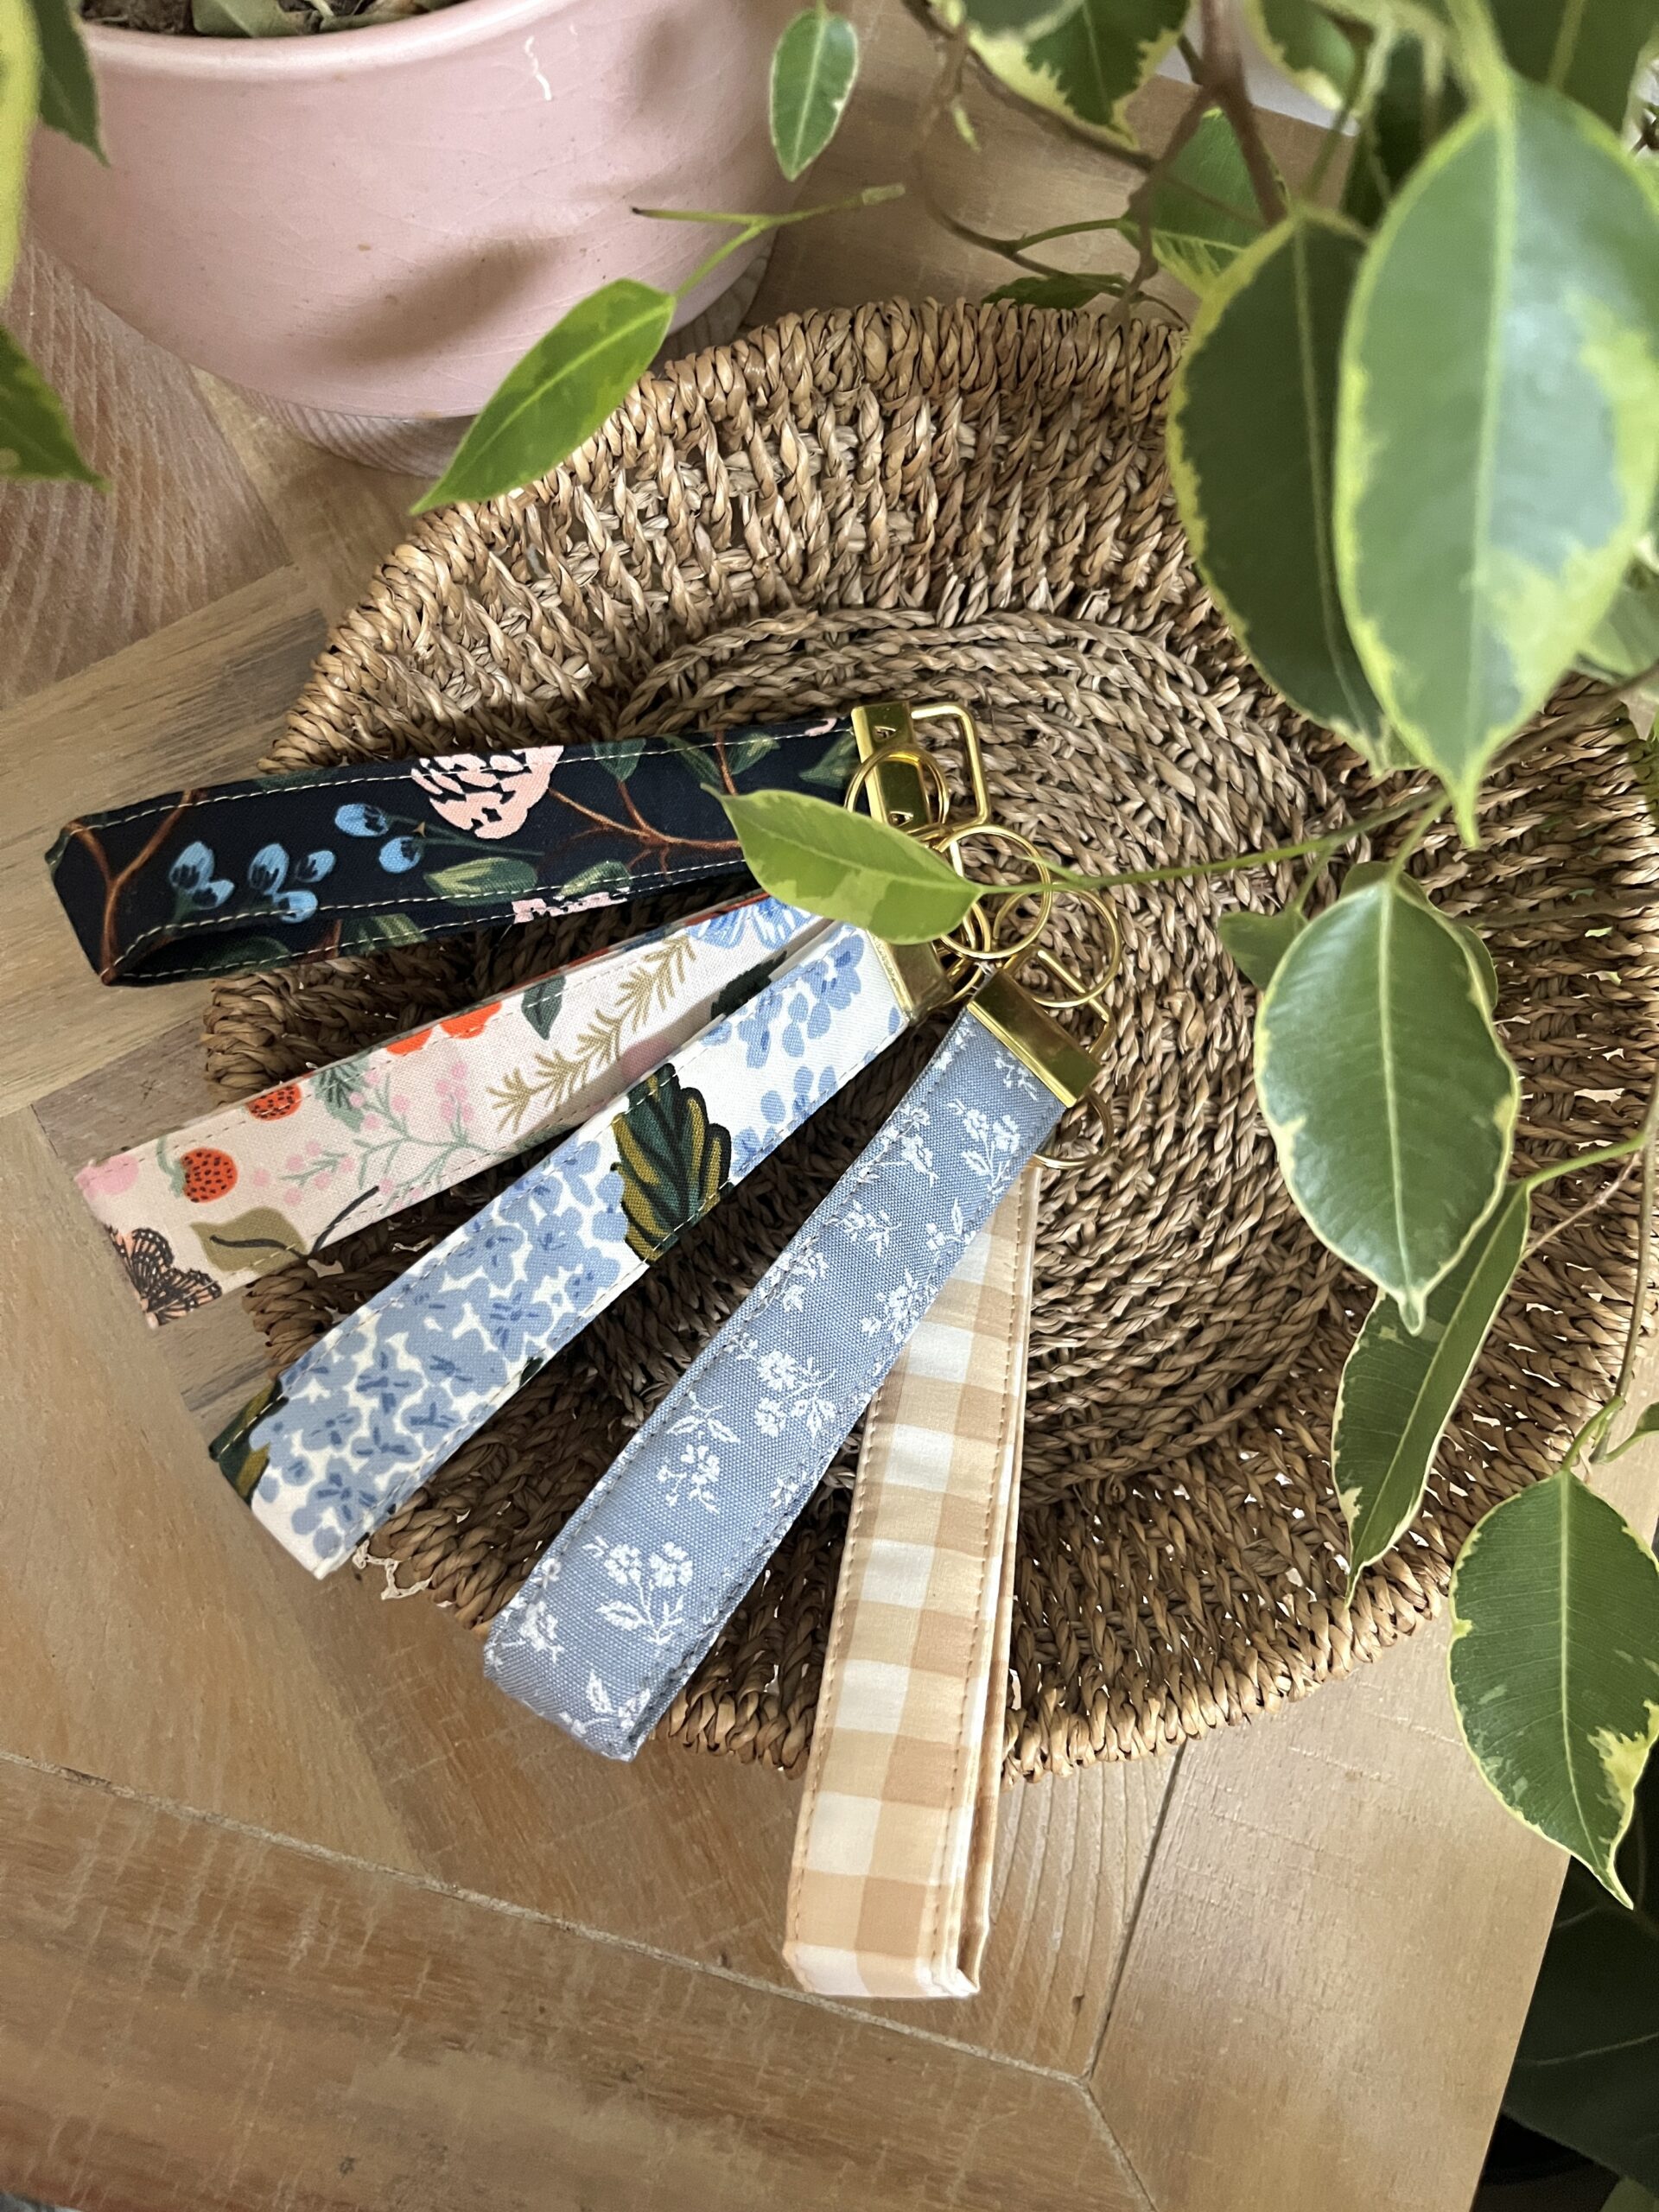
Scrap fabric key fob wristlets in a seagrass basket with a green plant

What You'll Need

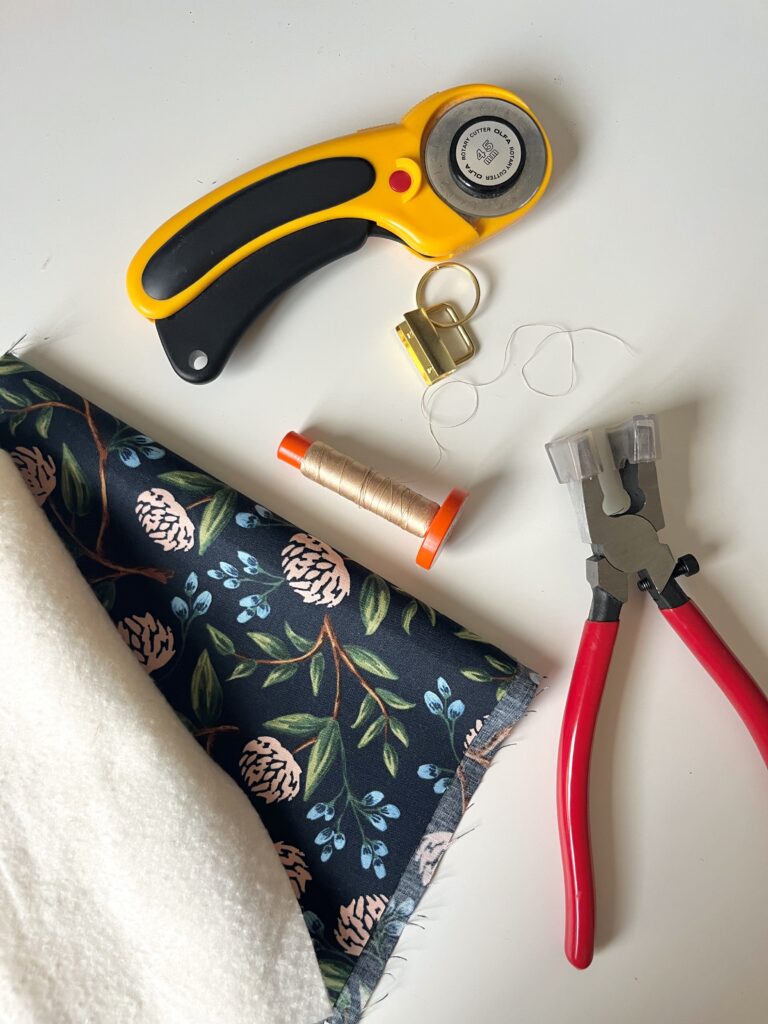
Key fob wristlet tutorial supplies: rotary cutter, gold key fob hardware, thread, floral fabric, batting, and key fob pliers
  • Scrap fabric: 1 piece, 3 3/4″ x 12″
  • Batting or interfacing: 1 piece, 3/4″ x 12″
  • Key fob hardware: shop here
  • Coordinating thread
  • Basic sewing supplies: sewing machine, iron, ironing board, rotary cutter, and cutting mat
  • Key fob pliers (optional, but recommended): shop here or here

BEFORE YOU BEGIN

  • Test your hardware first. Hardware widths vary. Fold one strip and check that it fits the opening before you make a batch.
  • Using fusible interfacing? Apply it following the manufacturer’s instructions.
  • About the pliers. I tried closing my first one without key fob pliers, and it took a lot of effort. I finally bought a pair, and I recommend them. They make this step much easier and give you a neat, secure finish.
  • Skip regular pliers. They will scratch the finish on your hardware. Ask me how I know.
  • Keep your fingers clear of the crimping area, and use a tool made for your hardware.

Key Fob Wristlet Tutorial: Step by Step

Step 1: Cut Your Fabric

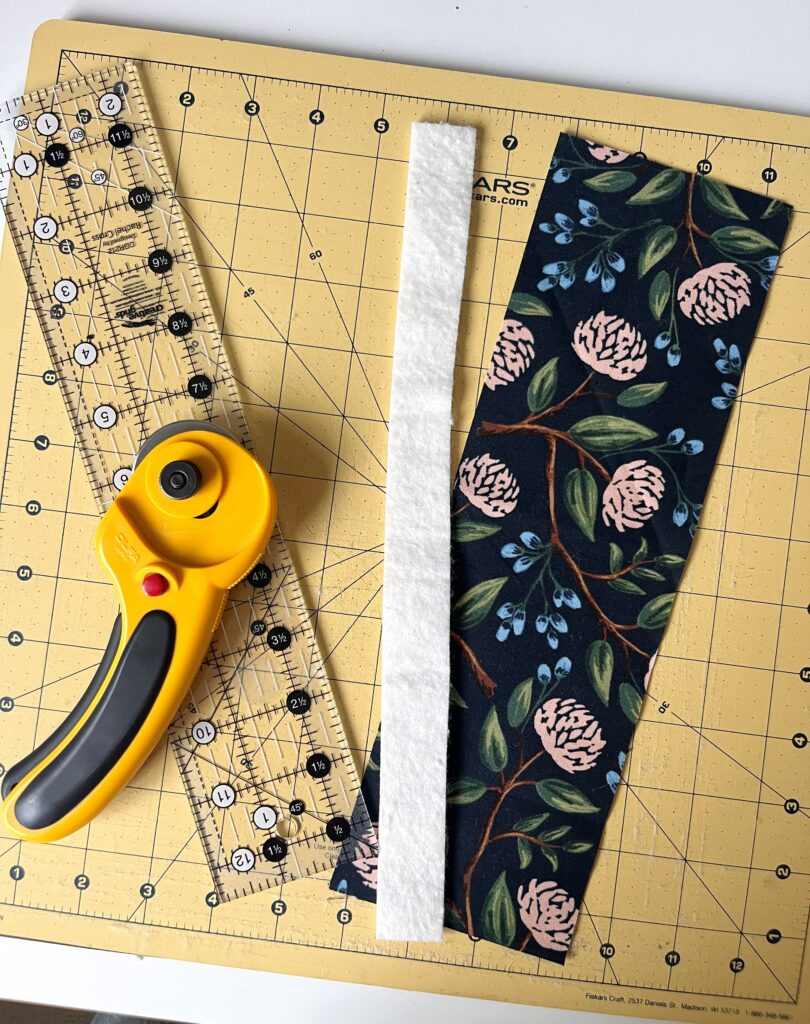
Cut 1 piece of fabric 3 3/4″ x 12″ and 1 piece of batting or interfacing 3/4″ x 12″.

Step 2: Fold and Press

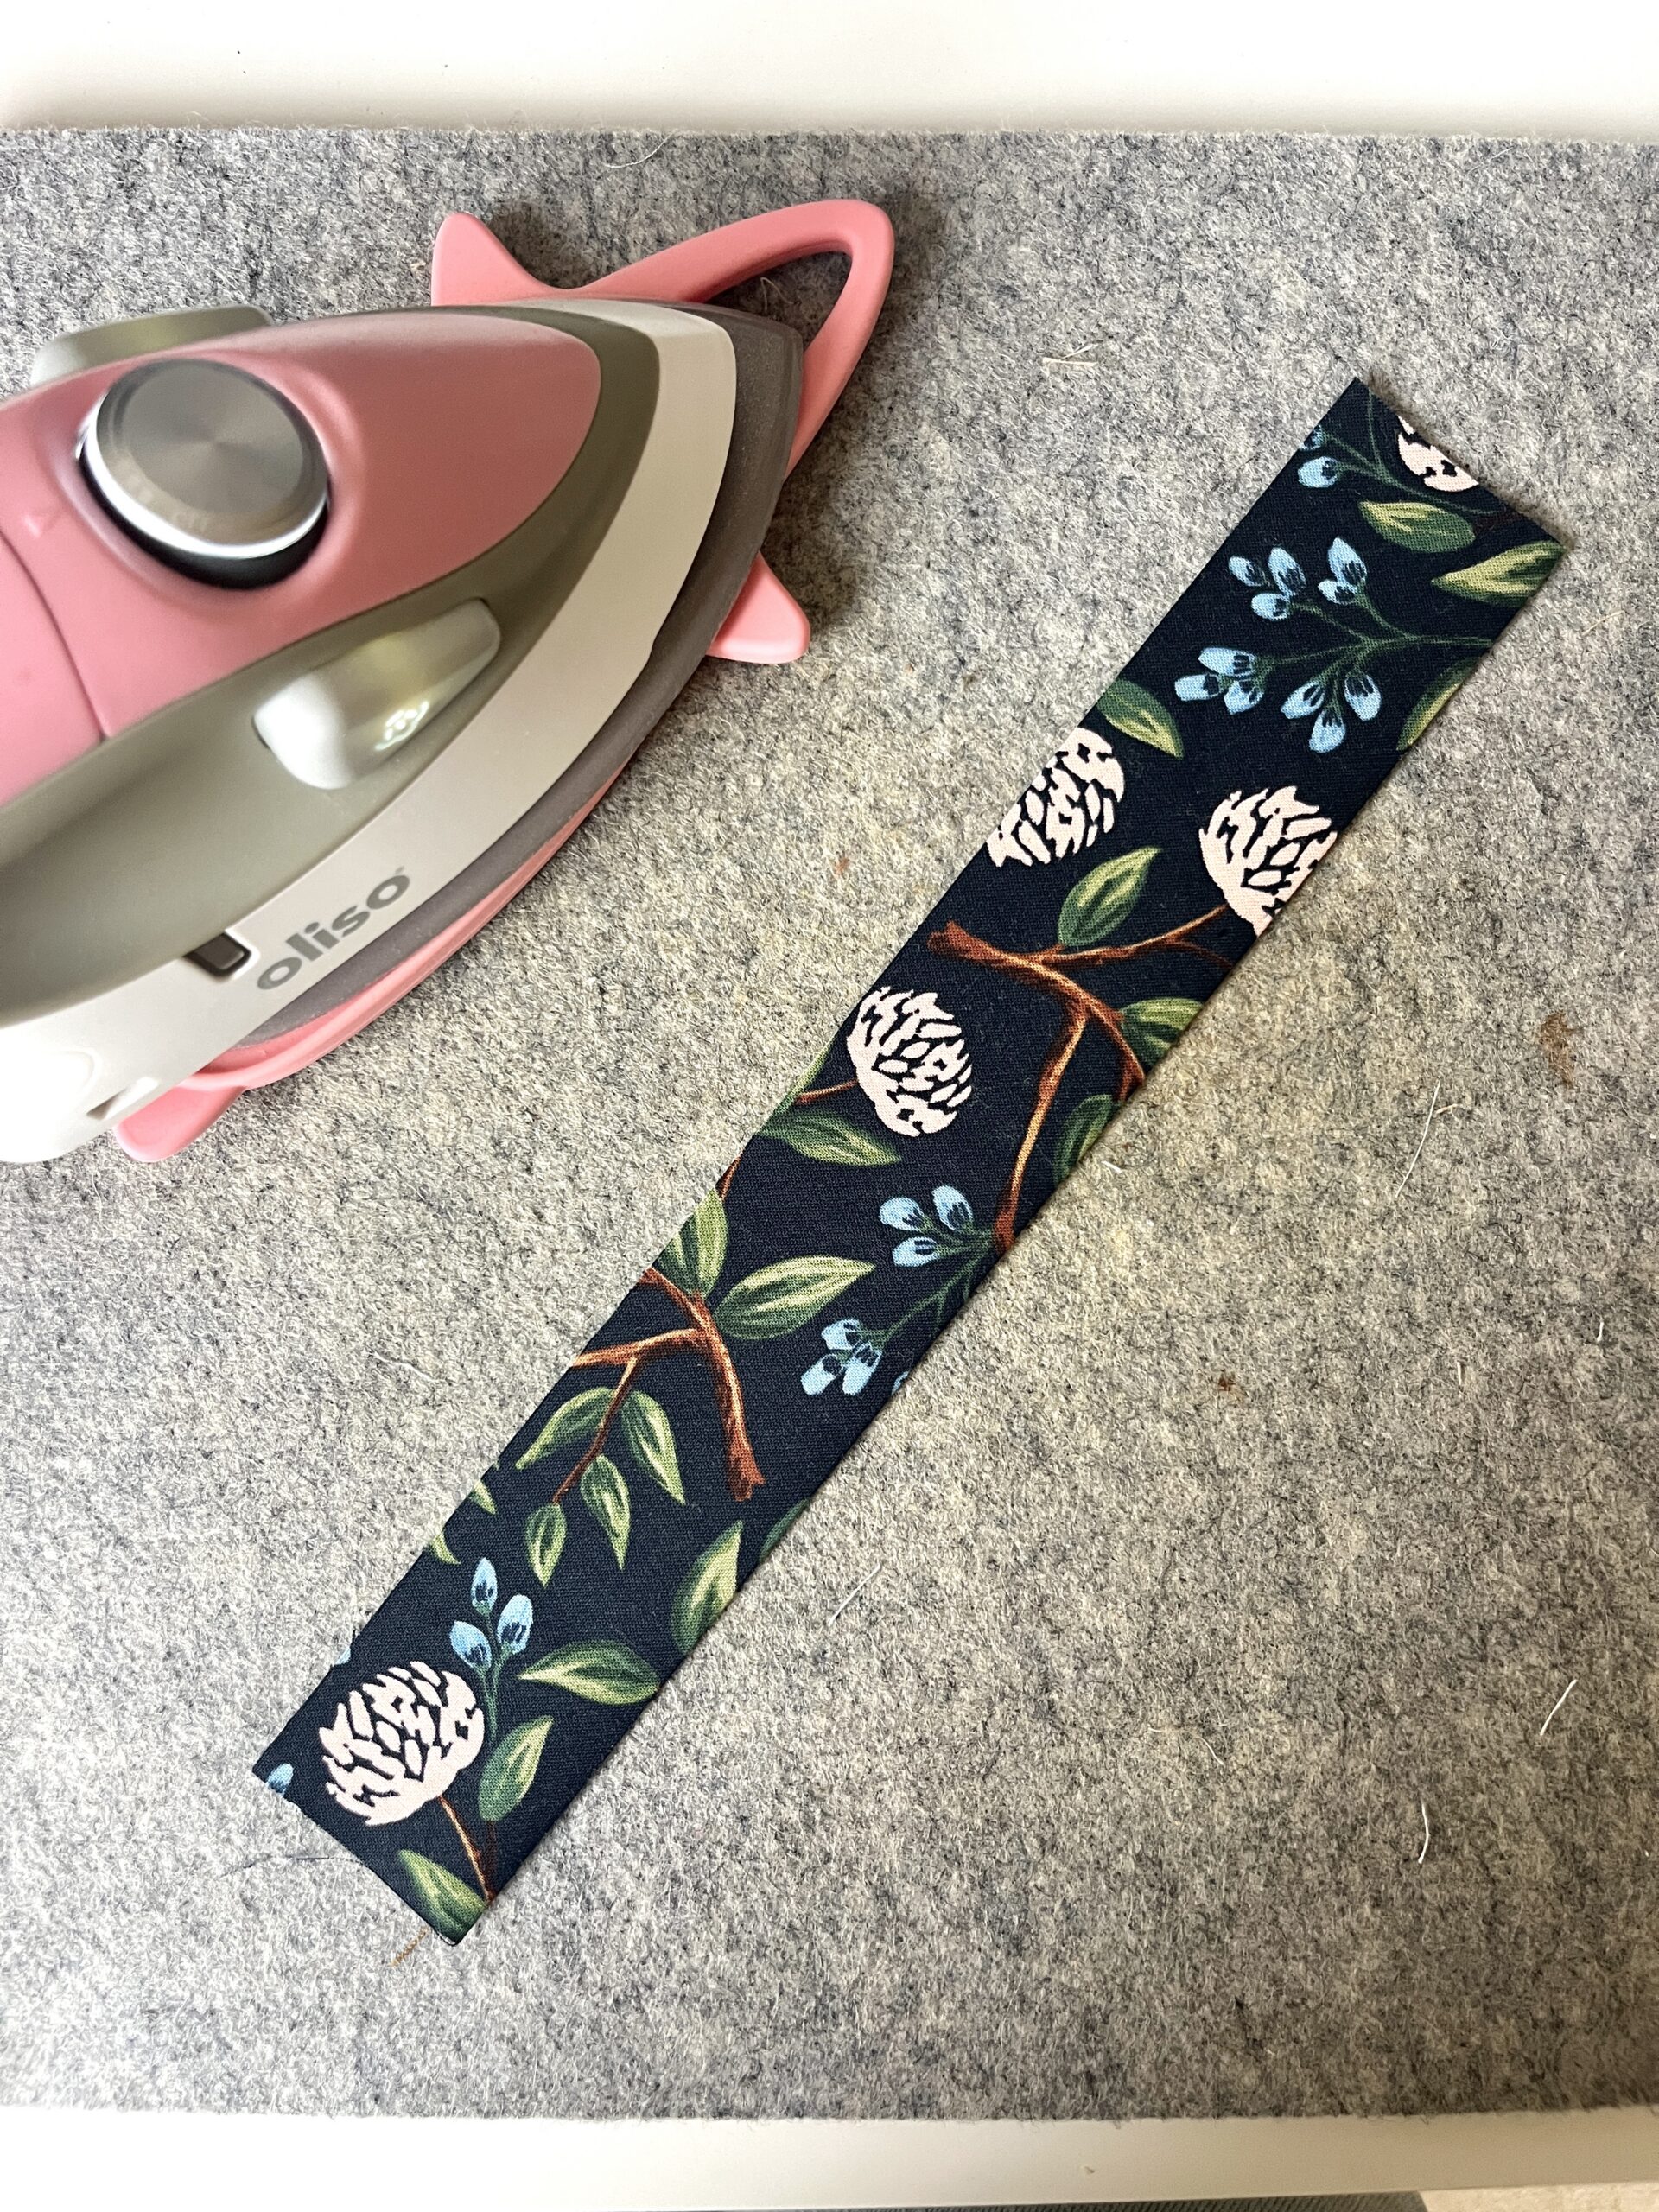
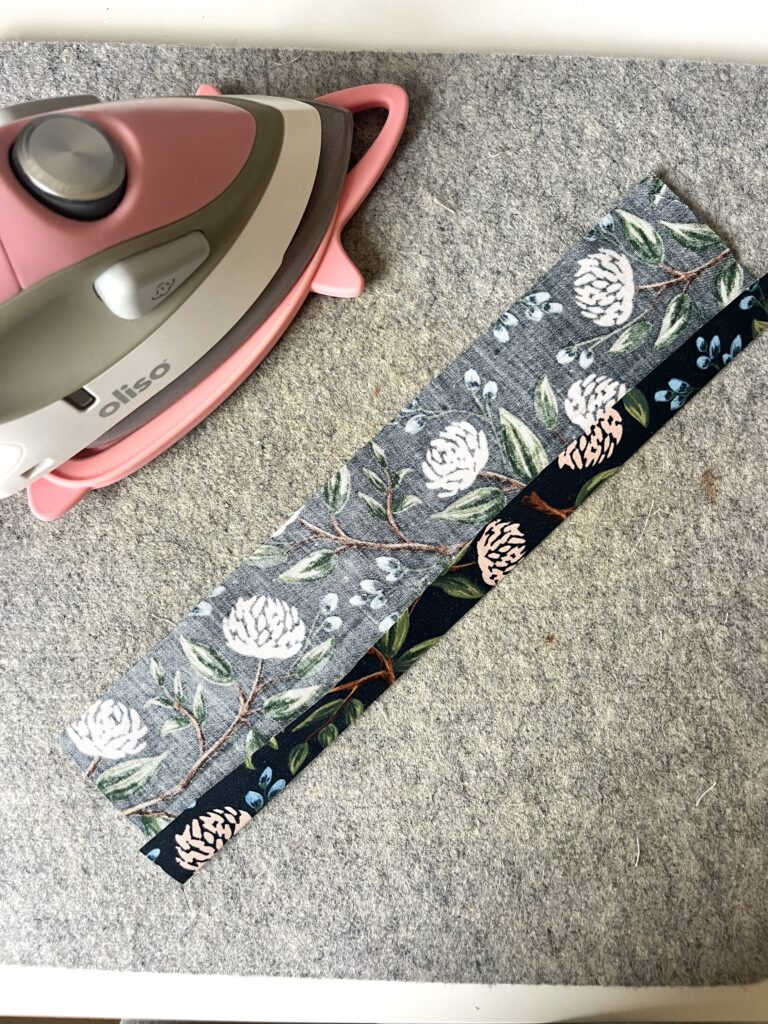
Place your fabric strip wrong side up. Fold it in half lengthwise and press to make a center crease. Open it back up.

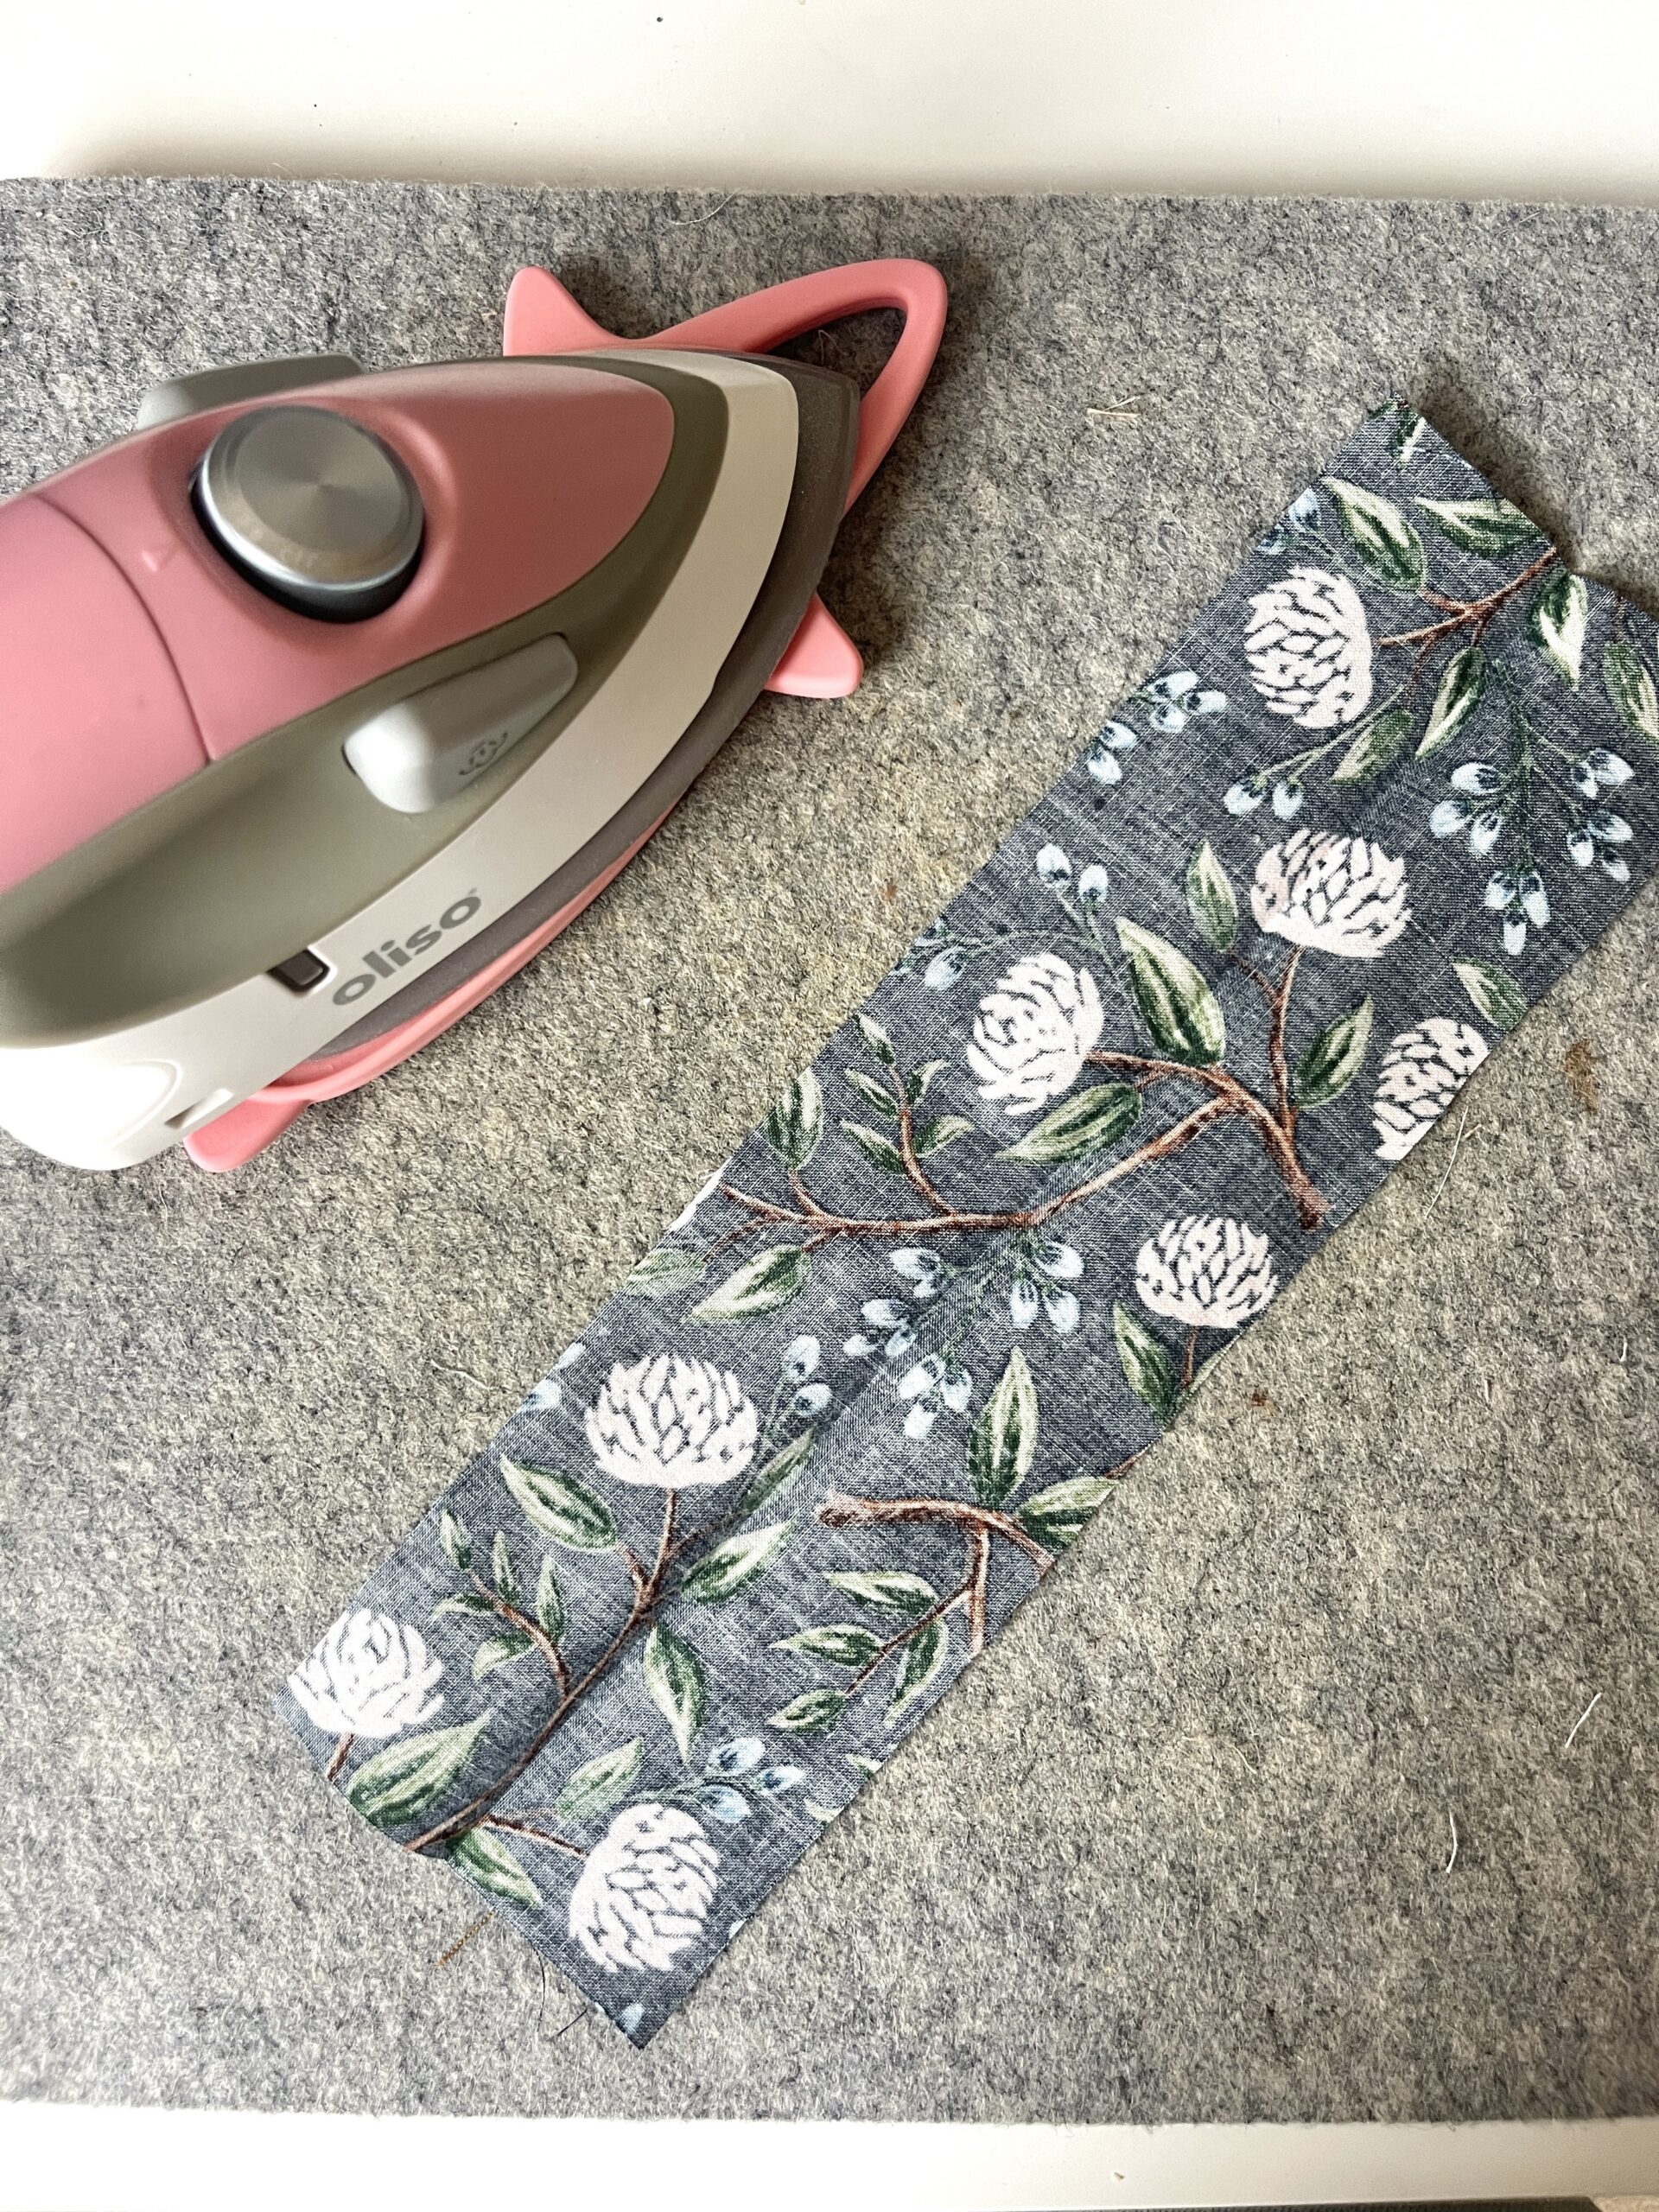
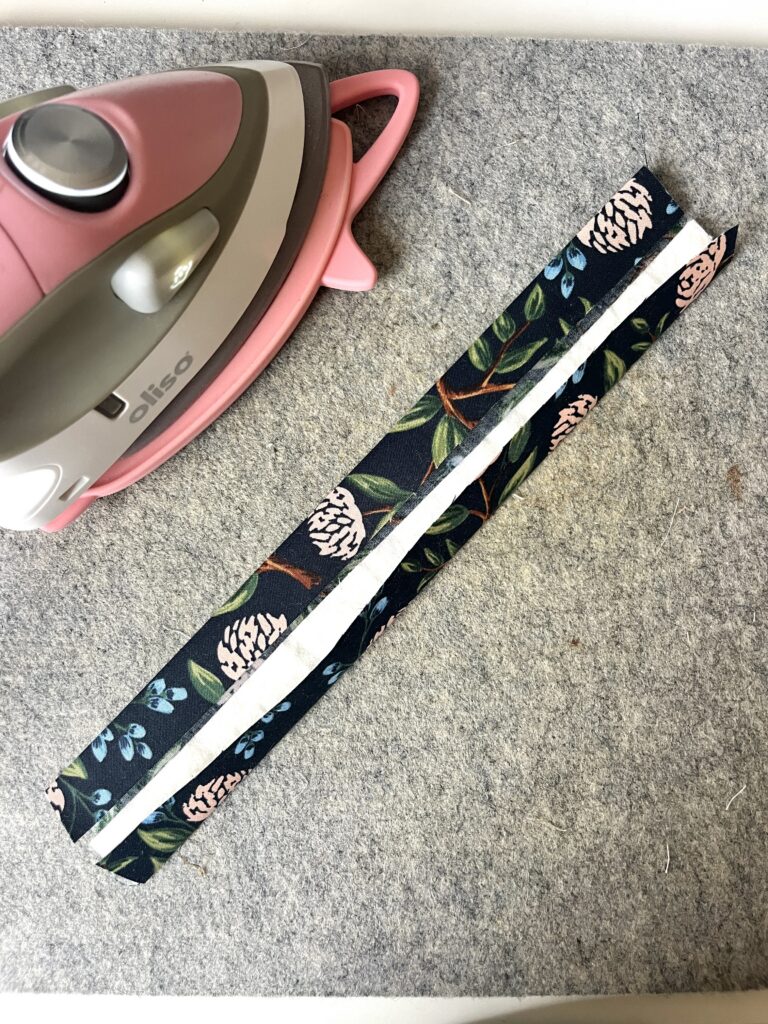
Fold both long raw edges in to meet the center crease, then press.

Long raw edges of a fabric strip folded in to meet the center crease and pressed

Tuck the batting or interfacing inside the folds. If your interfacing is fusible, press it in place following the manufacturer’s instructions.

Fold the strip in half again along the center crease. This encloses the raw edges and the batting. Press well.

Step 3: Topstitch the Edges

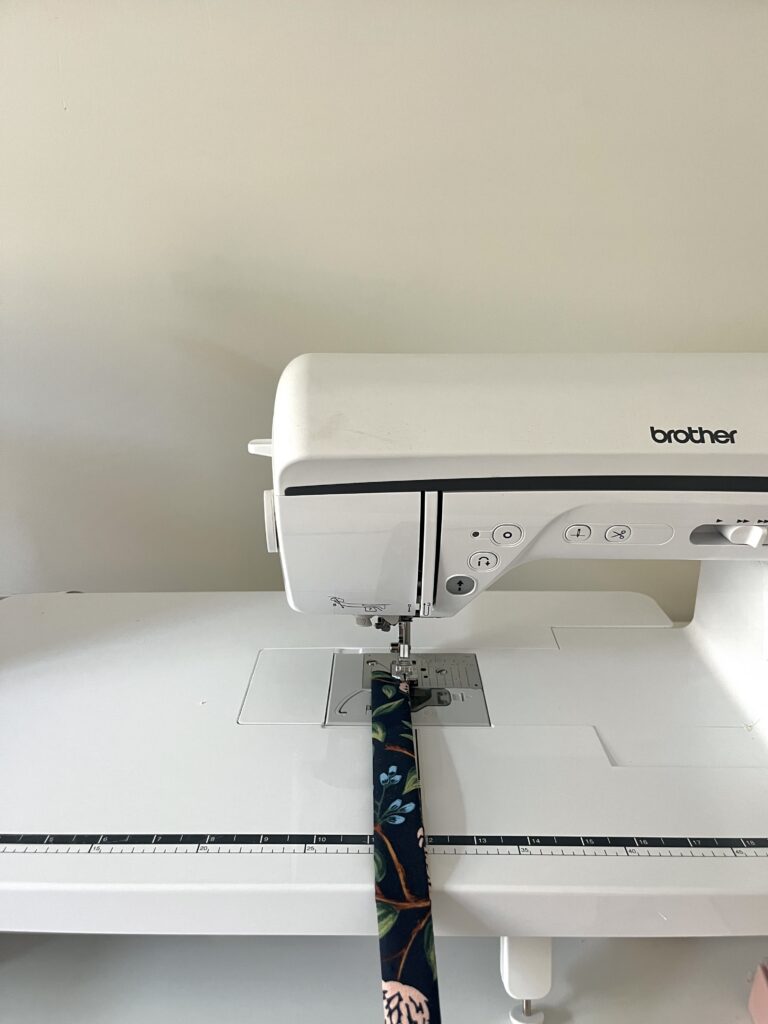
Sew a line of stitching along each long edge of the strip with coordinating thread. This holds the folds in place and gives your wristlet a clean, finished look.

Topstitching the long edges of a floral key fob wristlet strap on a Brother sewing machine
Step 4: Sew the Loop

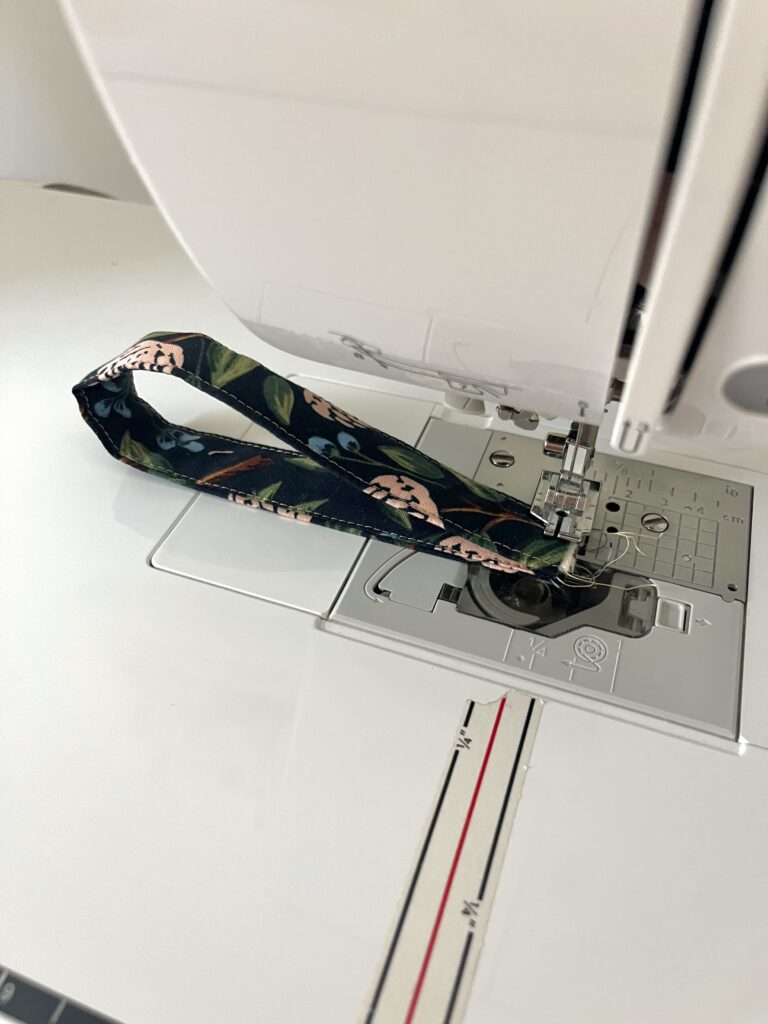
Bring the two short ends together to form a loop. Line up the raw ends and sew them together with a 1/4″ seam allowance. Trim any loose threads or frayed edges. This seam will be hidden inside the hardware.

Short ends of a fabric key fob strap sewn together with a 1/4 inch seam on a sewing machine

Want a more accurate 1/4″ seam? My free Conquer the Quarter Inch Seam class walks you through it. Get the free class

Step 5: Insert the Hardware

Slide the sewn end of your loop all the way into the key fob hardware. Make sure the fabric sits evenly inside the opening, with the seam tucked inside.

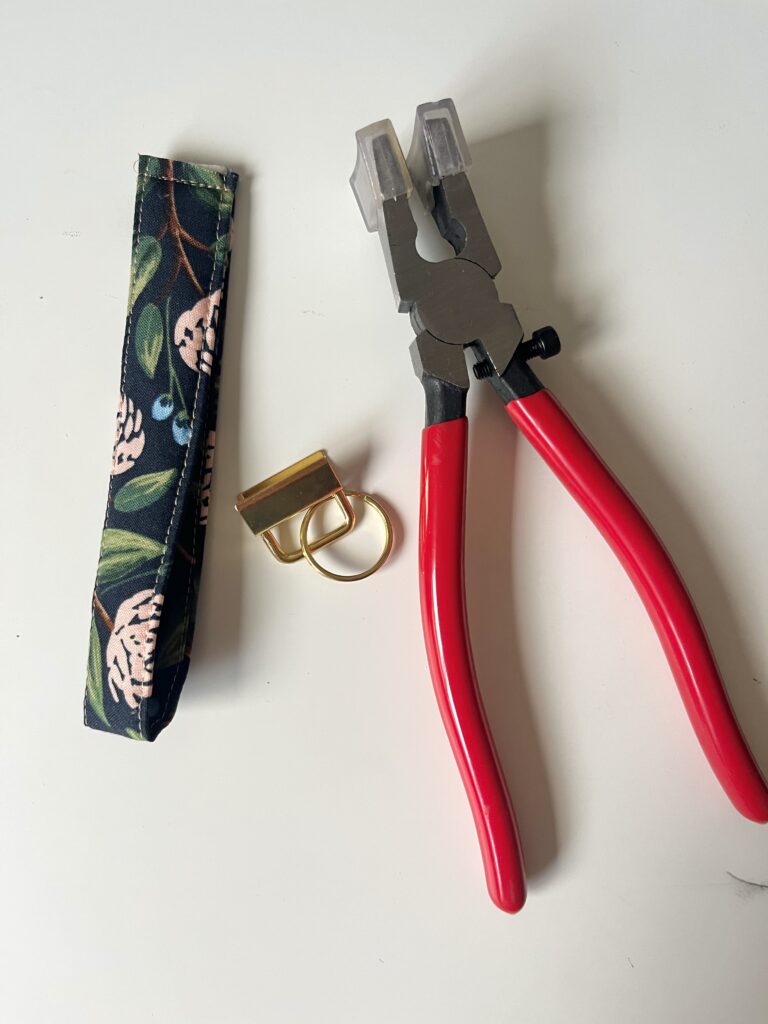
Sewn fabric wristlet loop next to gold key fob hardware and red-handled key fob pliers
Step 6: Secure the Hardware

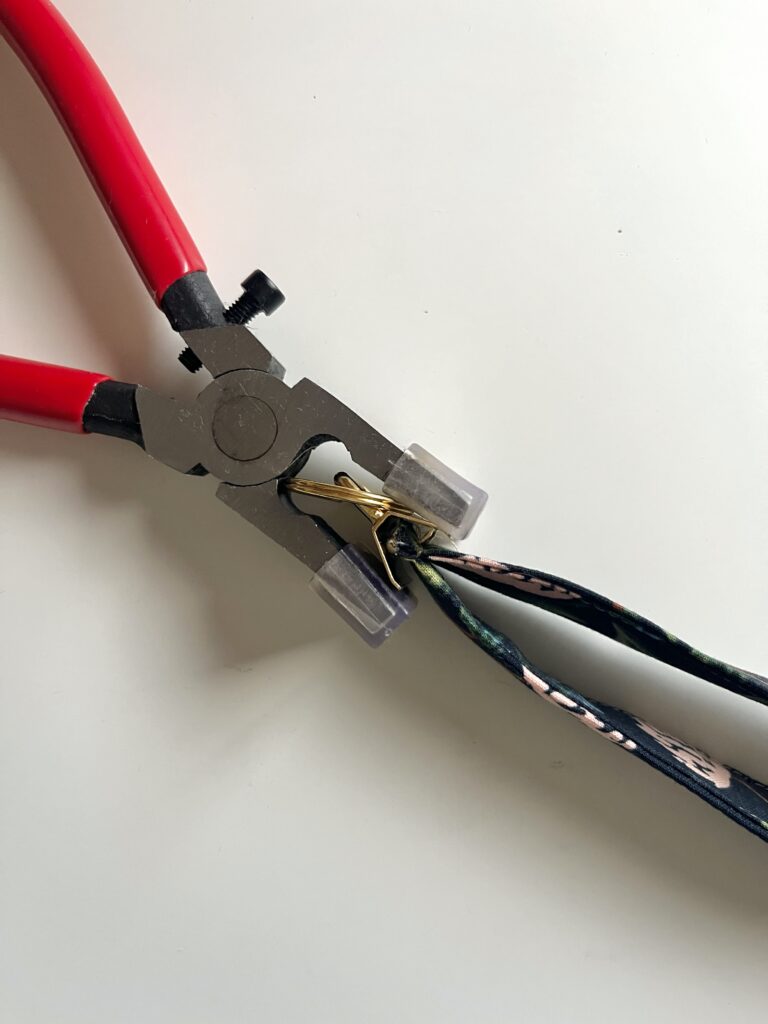
Squeeze the hardware closed with your key fob pliers until it grips the fabric. Give the wristlet a gentle tug to make sure the fabric doesn’t slip out.

Key fob pliers squeezing gold hardware closed over the end of a fabric wristlet
Step 7: Make More!

Now for the fun part. Dig through your scrap pile and make a few more. These little wristlets are perfect for stocking stuffers, teacher gifts, market prep, or just because.

Key Fob Wristlet FAQs:


  1. What size fabric do I need for a key fob wristlet? One strip of fabric cut 3 3/4″ x 12″, plus a 3/4″ x 12″ strip of batting or interfacing.
  2. Can I make a key fob without key fob pliers? You can, but it takes a lot of effort to close the hardware evenly. Regular pliers also scratch the hardware finish. Key fob pliers give a neater, more secure result.
  3. Should I use batting or interfacing? Either works. Batting gives a soft, slightly quilted feel. Fusible interfacing gives a flatter, firmer strap.
  4. What fabric works best? Quilting cotton scraps work well. Check that your folded strip fits your hardware before you sew.

Follow Along

Find more quilting and sewing projects from Finn & Thread Co. on Instagram: @finnandthreadco

If you make a key fob wristlet, tag @quilters_candy and @finnandthreadoco
so we can cheer you on.

Looking for your next project? Try these popular tutorials:

or SEARCH THESE

Popular categories

Craft to Career
Digital Downloads
Patterns
Podcast
Quilt Alongs
Quilt Questions
Tutorials
back to the top

Copyright 2026 Quilters Candy  |  Terms & Conditions