
How to Attach the Binding to a Quilt


RECENT BLOG entries
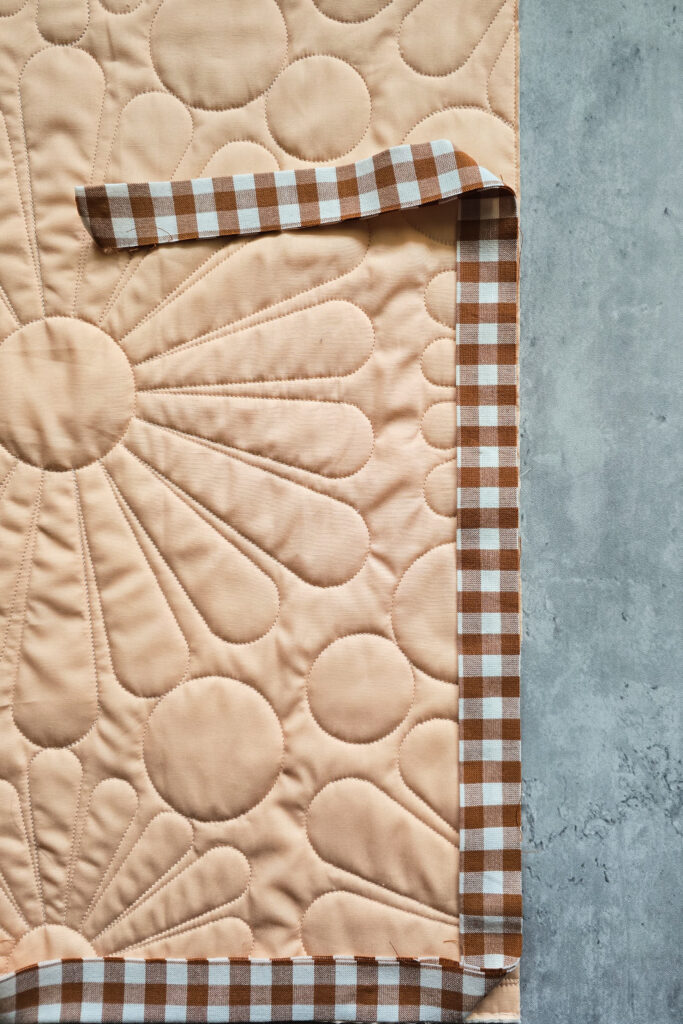
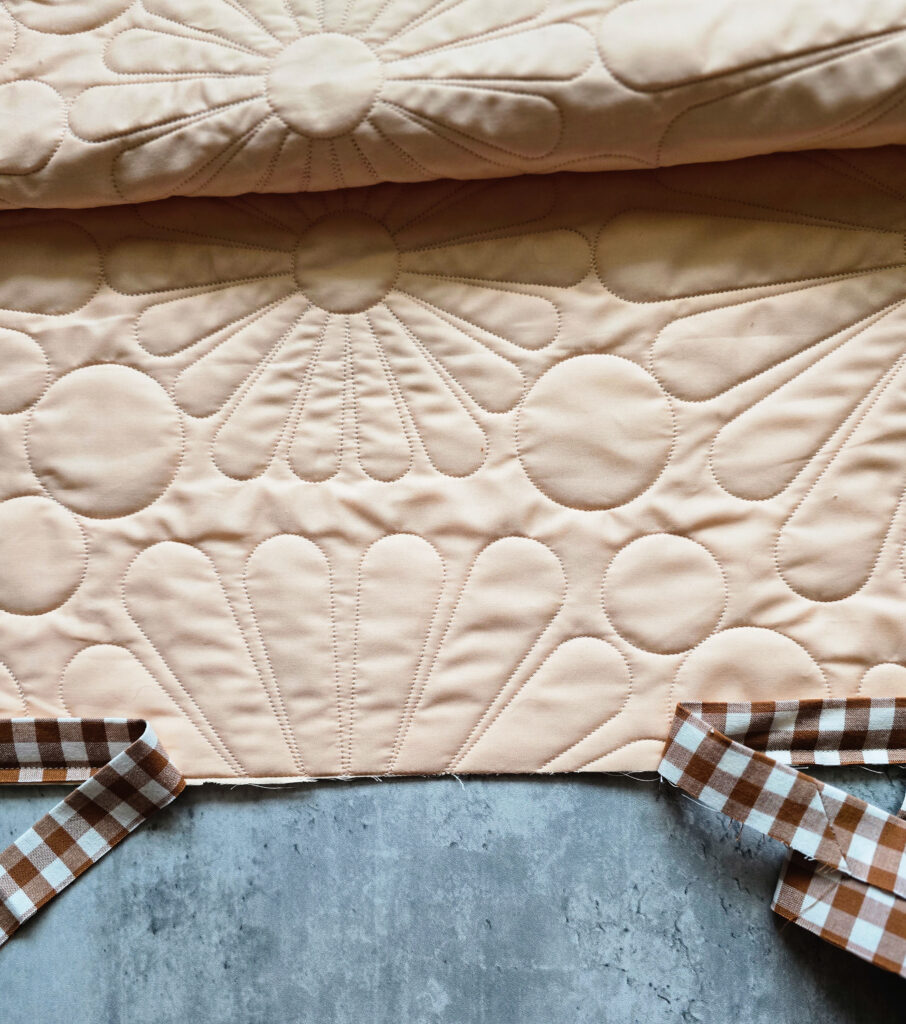
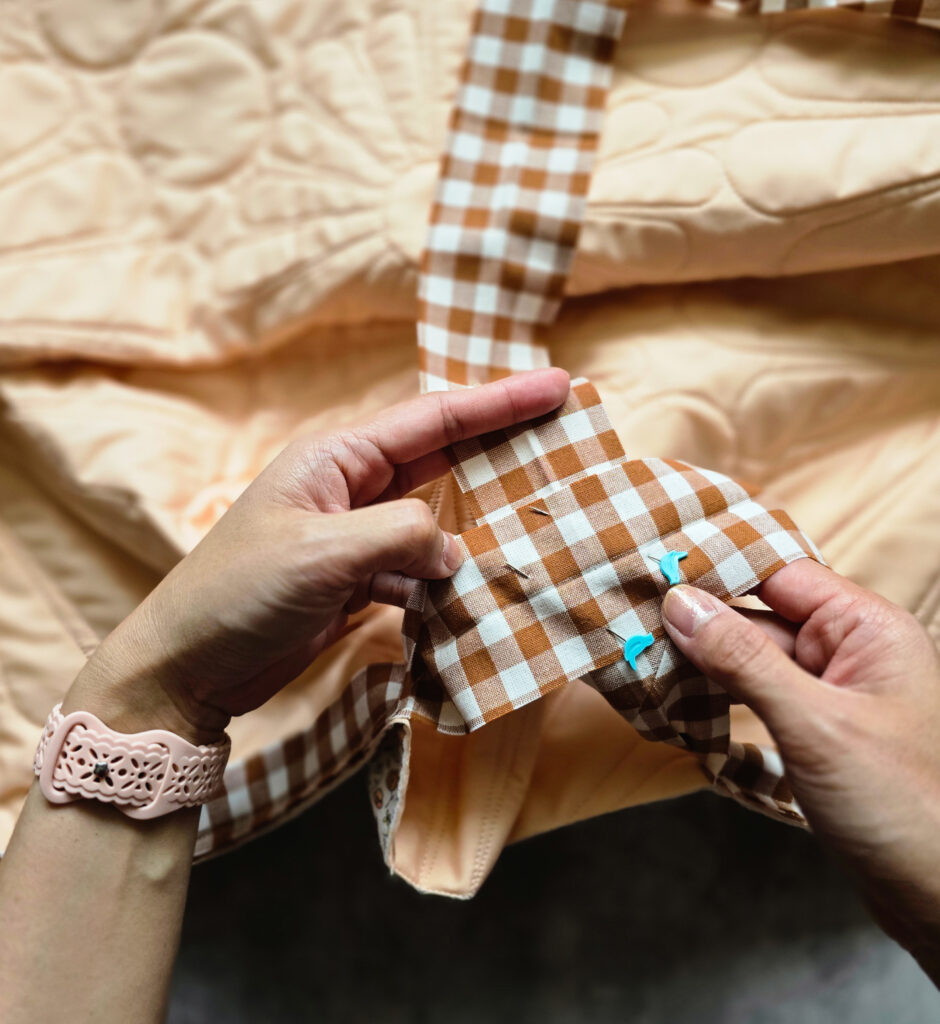
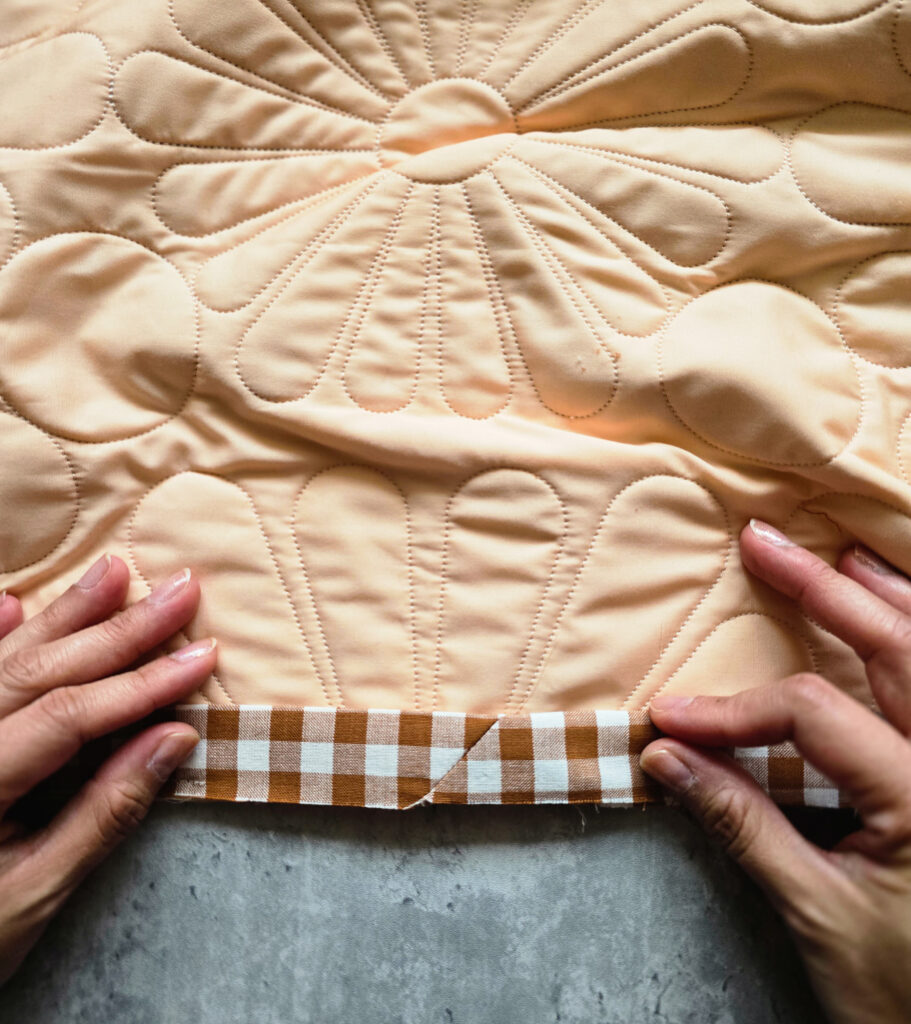
How to Attach the Binding to a Quilt

How to Attach the Binding to a Quilt
How to Attach the Binding to a Quilt
How to Attach the Binding to a Quilt
How to Attach the Binding to a Quilt
How to Attach the Binding to a Quilt

the latest
June 5, 2026
Mim Jenkinson sells stickers, and she has grown that into a business earning over $1 million a year. In this episode of Craft To Career, Mim opens up about what she sells, how her business has grown year after year, and the choices that made the biggest difference. She talks about the role her courses […]
tune in
tune into the
Craft to Career
Podcast
Each week get insights on how to turn your craft into a successful career. With both guest speakers and tips from myself, you get valuable, free education on the Craft to Career podcast!
or SEARCH THESE
Popular categories
Craft to Career
Digital Downloads
Patterns
Podcast
Quilt Alongs
Quilt Questions
Tutorials


