
DIY Bunny Banner: A Cute & Easy Sewing Project for Spring

RECENT BLOG entries
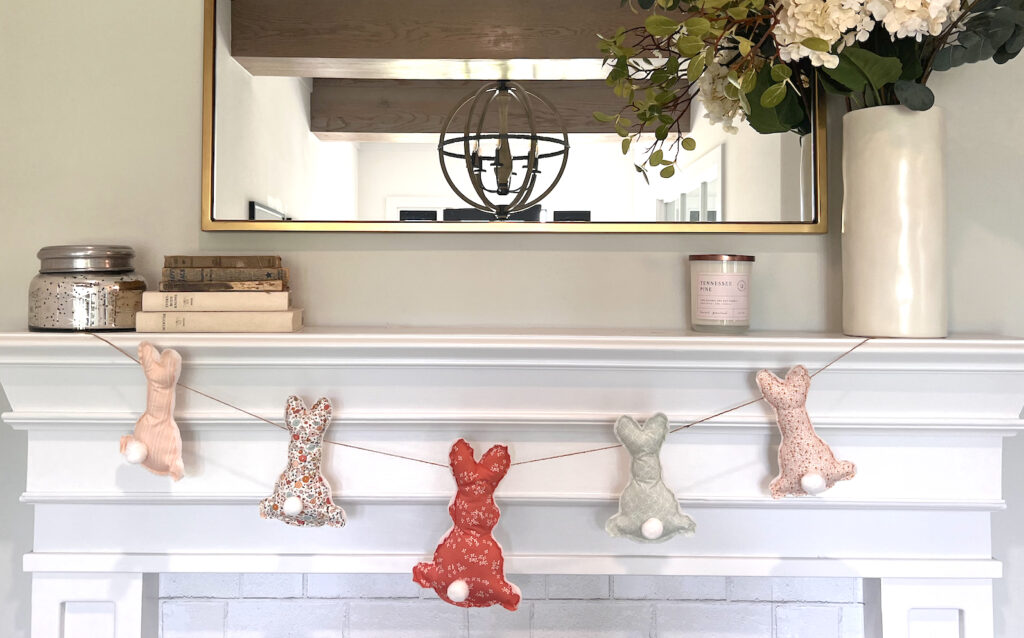
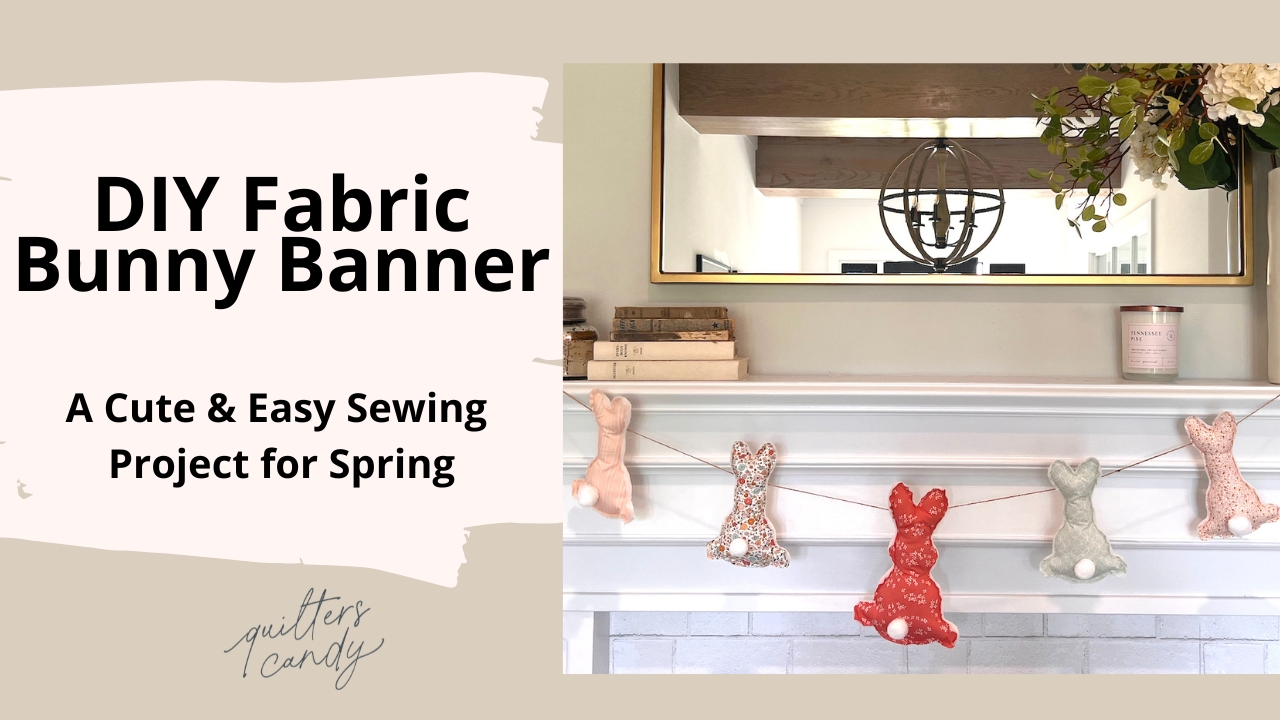
DIY Bunny Banner: A Cute & Easy Sewing Project for Spring
DIY Bunny Banner: A Cute & Easy Sewing Project for Spring
DIY Bunny Banner: A Cute & Easy Sewing Project for Spring
DIY Bunny Banner: A Cute & Easy Sewing Project for Spring
DIY Bunny Banner: A Cute & Easy Sewing Project for Spring
DIY Bunny Banner: A Cute & Easy Sewing Project for Spring
the latest
February 12, 2026
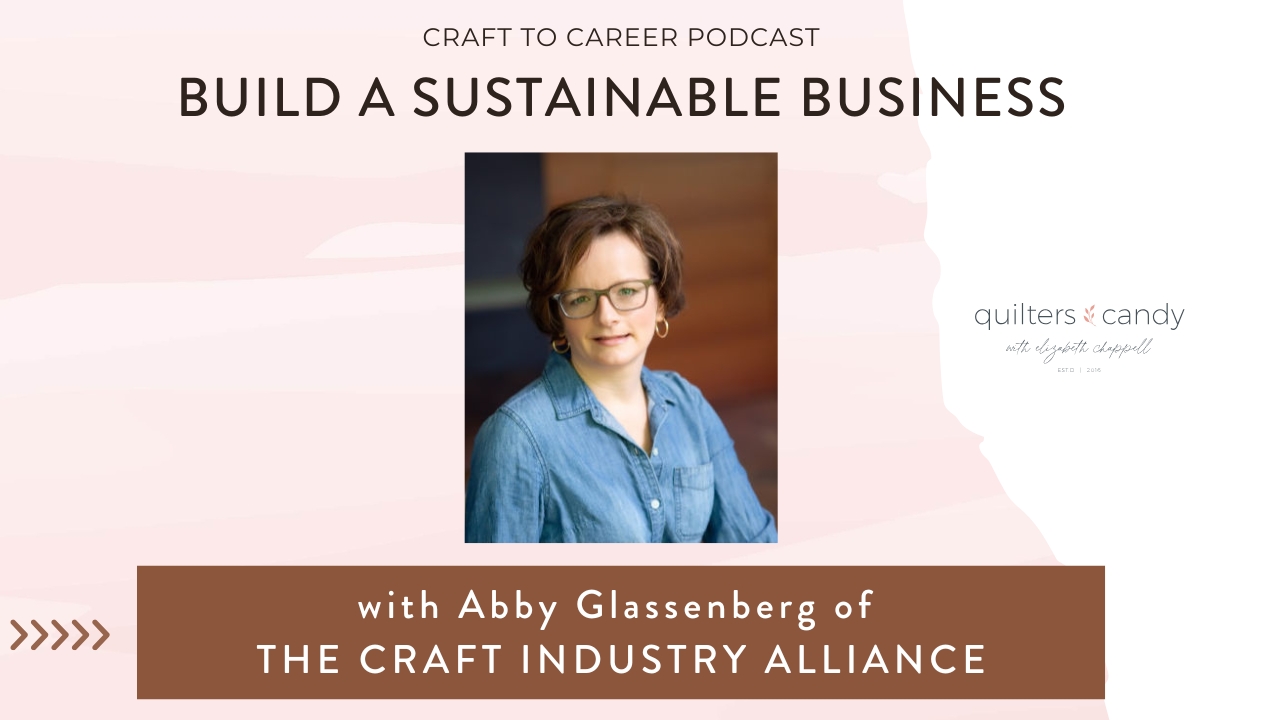
In this episode of the Craft to Career Podcast, I’m joined by Abby Glassenberg, founder of the Craft Industry Alliance — an organization created to help makers, designers, teachers, and creative entrepreneurs build real, sustainable businesses. Many creatives start with a love of making, but quickly discover that success requires much more than talent. It […]
tune in
tune into the
Craft to Career
Podcast
Each week get insights on how to turn your craft into a successful career. With both guest speakers and tips from myself, you get valuable, free education on the Craft to Career podcast!
or SEARCH THESE
Popular categories
Craft to Career
Digital Downloads
Patterns
Podcast
Quilt Alongs
Quilt Questions
Tutorials


