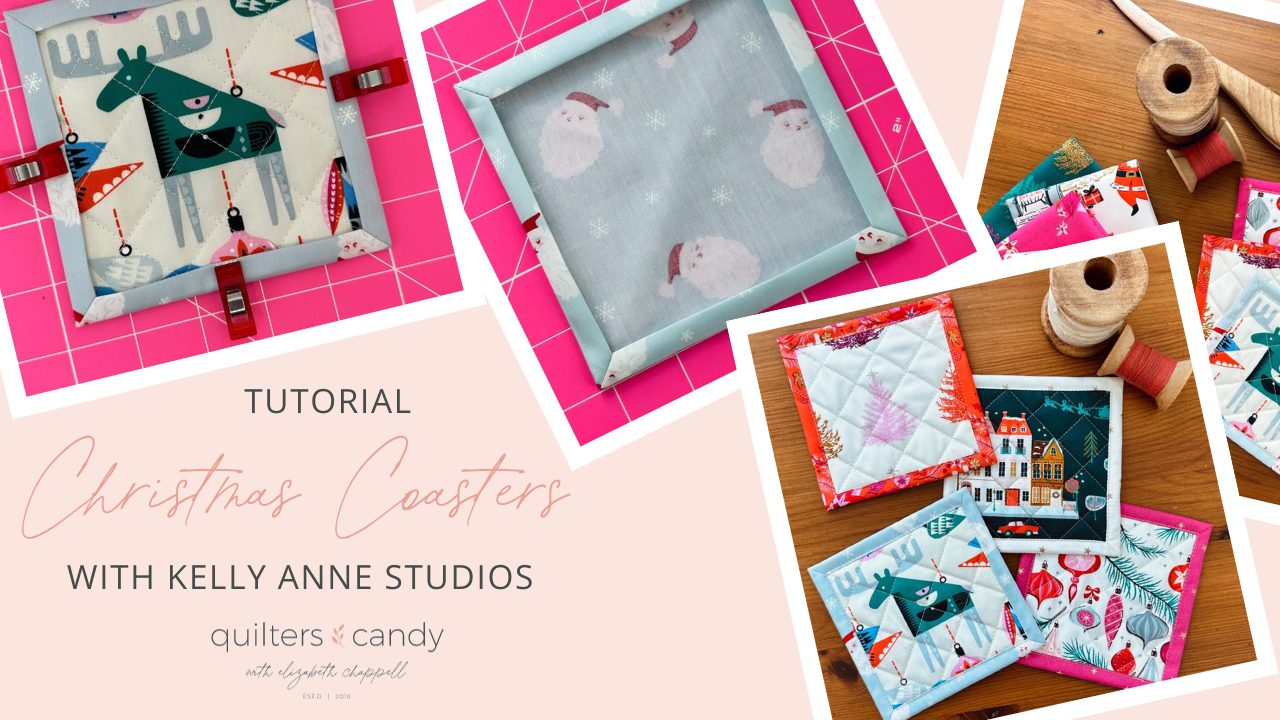
Christmas Coasters

December 5, 2023

Quilted Christmas Coasters

Hello! I’m Kelly, the artist and designer behind Kelly Anne Studios. I am honored to be a guest blogger for Elizabeth today! I am an ever growing artist, always working on me. I have been sewing since a young age and I enjoy seeing things I envision come to life. I first took Elizabeth’s Quilt Pattern Writing Course in the fall of 2022, and I’m excited to announce that my first quilt pattern will come out next year! Today I am sharing a fun tutorial for Mitered Corner Framed Coasters, with practically perfect points. I love the look of the framed front and then the simple plain back, highlighting the fabric. Let’s get started on making these little beauties.

Supplies:

Front Coaster Fabric -(1) 4 ½” x 4 ½” square

Backing Fabric – (1) 6 ⅜” x 6 ⅜” square

Batting – (1) 5″ x 5″ square

Scrap Fabric – (1) 5″ x 5″ square

Abbreviations:

RST = Right Sides Together

WST = Wrong Sides Together

Making the Mitered Frame Backing Piece

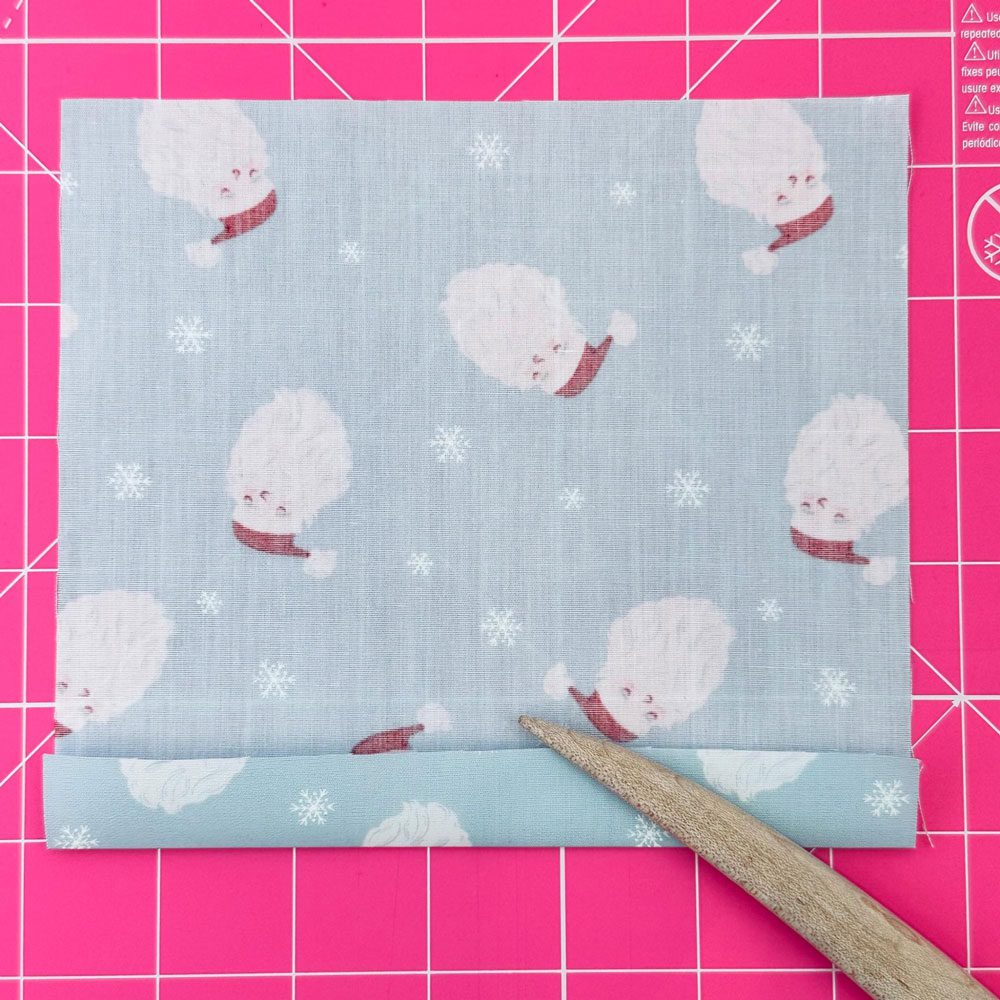
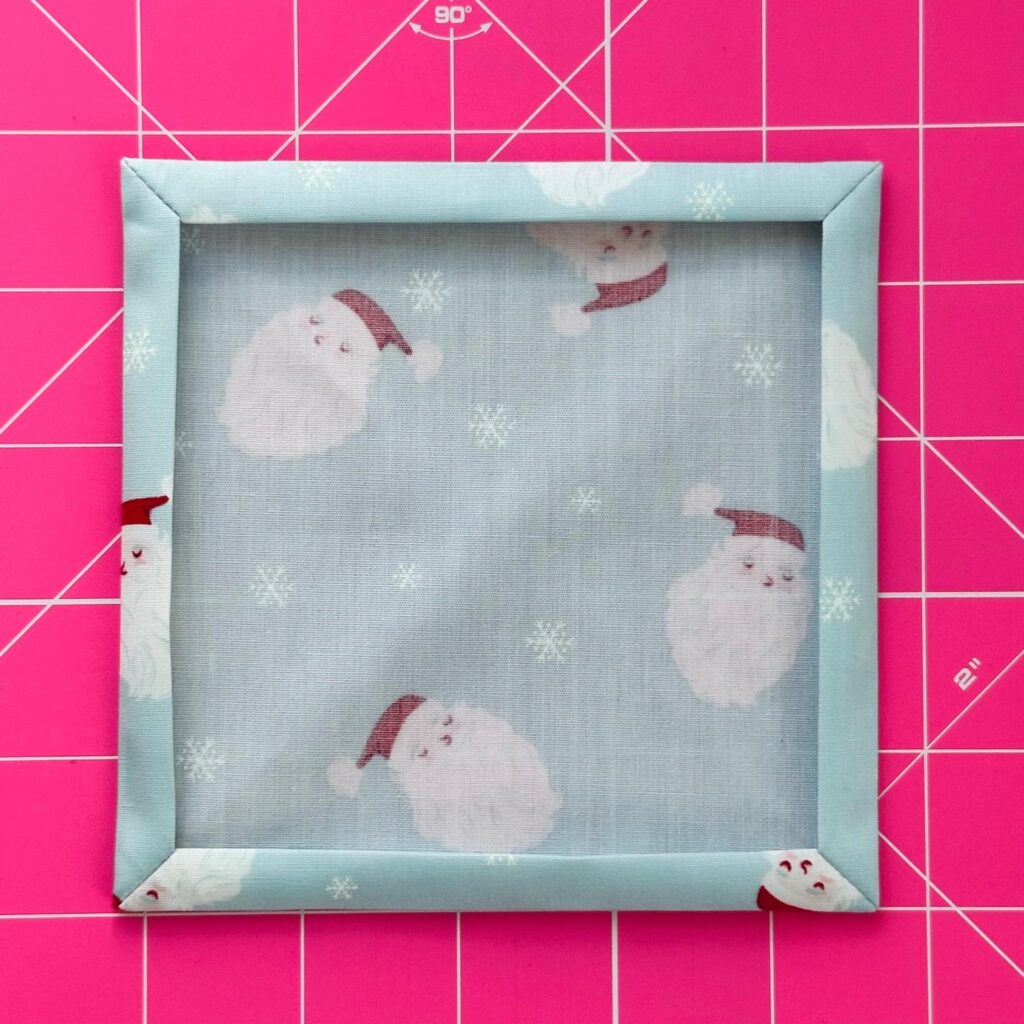
The goal is to create a ⅜” frame on the front of the coaster.  To achieve this, you will start by folding WST, each edge up ¾” and press.  Unfold for the next step.

folded edge

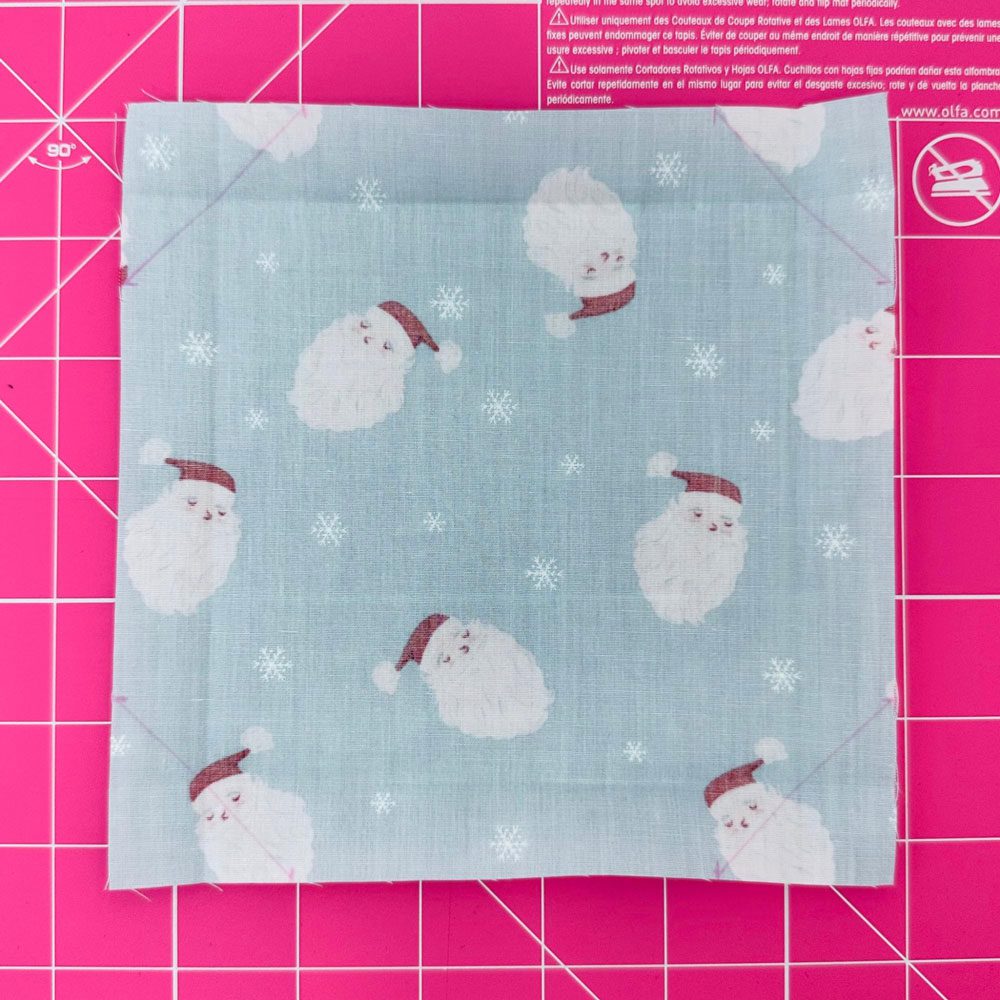
We will be marking a diagonal line to guide us with our mitered edge.  To figure out the markings, you double the amount that you first pressed your edges up.  In this instance we pressed up ¾”, so our marks will be at 1 ½”.   

From one corner point, measure 1 ½” along each edge and make a mark.   Repeat on all corners.

marking the corner

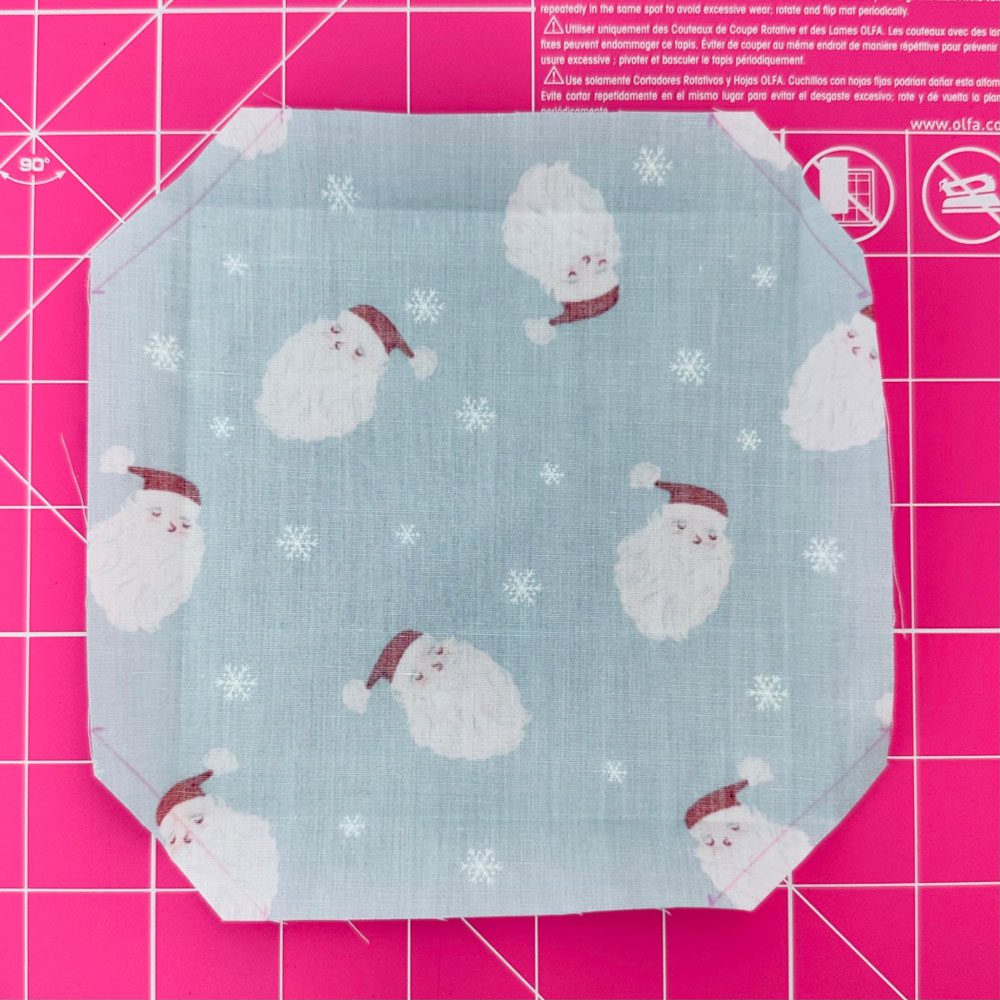
Now draw a diagonal line connecting the marks.  The diagonal line should pass through the intersection of the first pressed lines.  Cut the corner off, ¼” away from the drawn line.  Repeat on the remaining corners.

marked corners
clipped corners

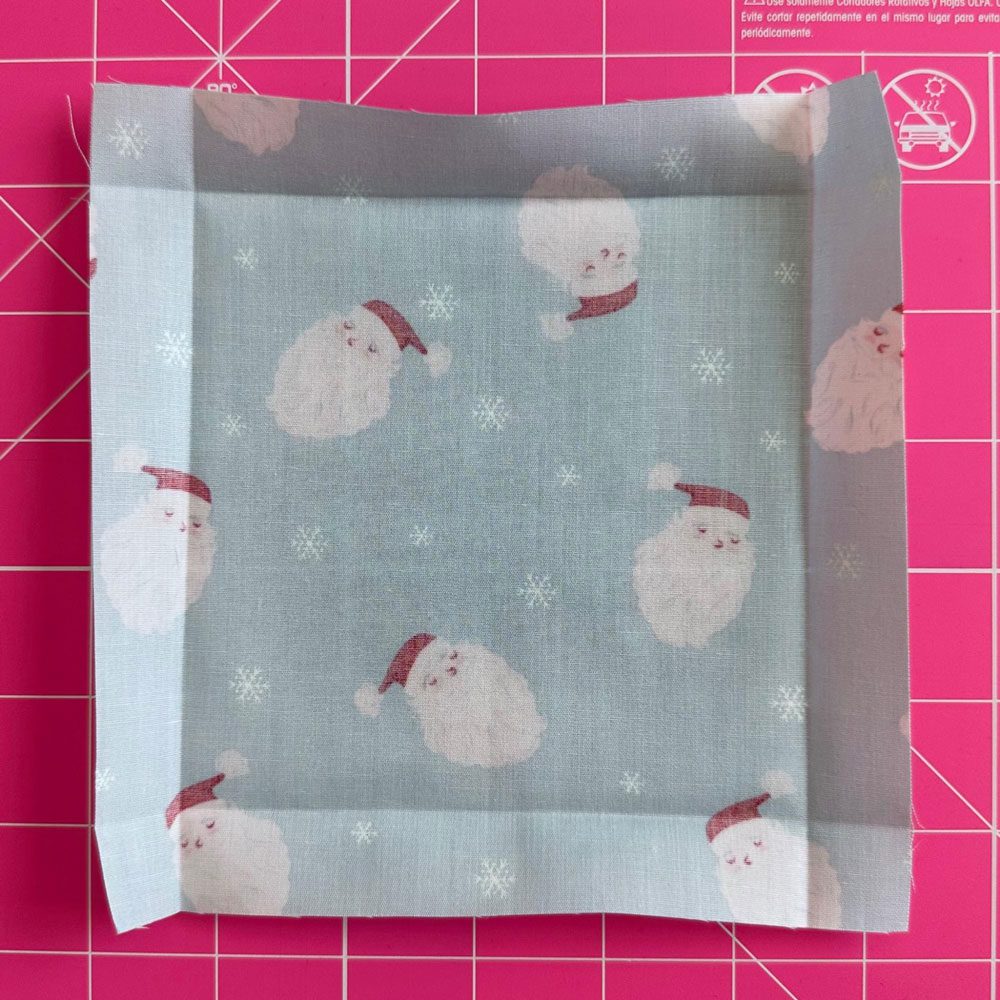
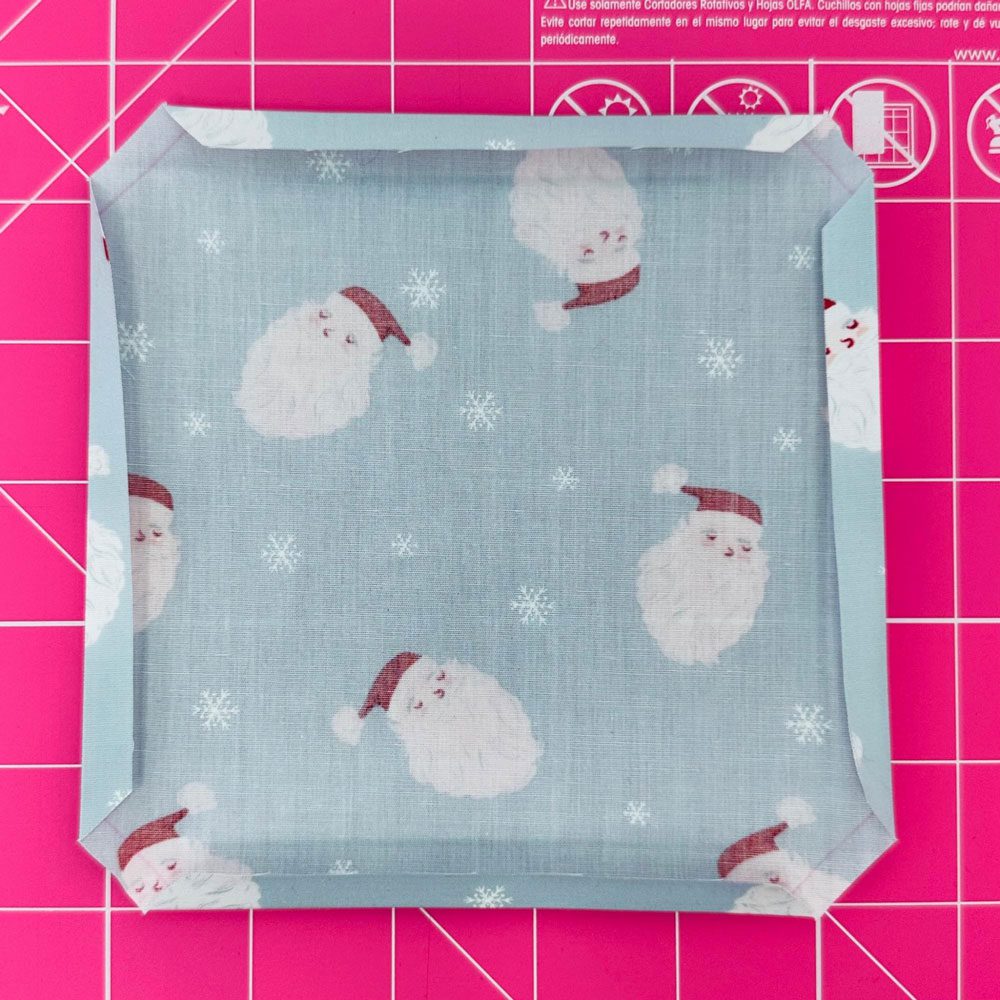
Fold and press, WST,  the raw edge up to just before the first pressing line (slightly more than ¼”, approximately), giving the ⅜” width you want for the framing.  Note: I like to double check with a ruler to see just how much I should fold the fabric up.  Repeat on the remaining sides.

folded sides

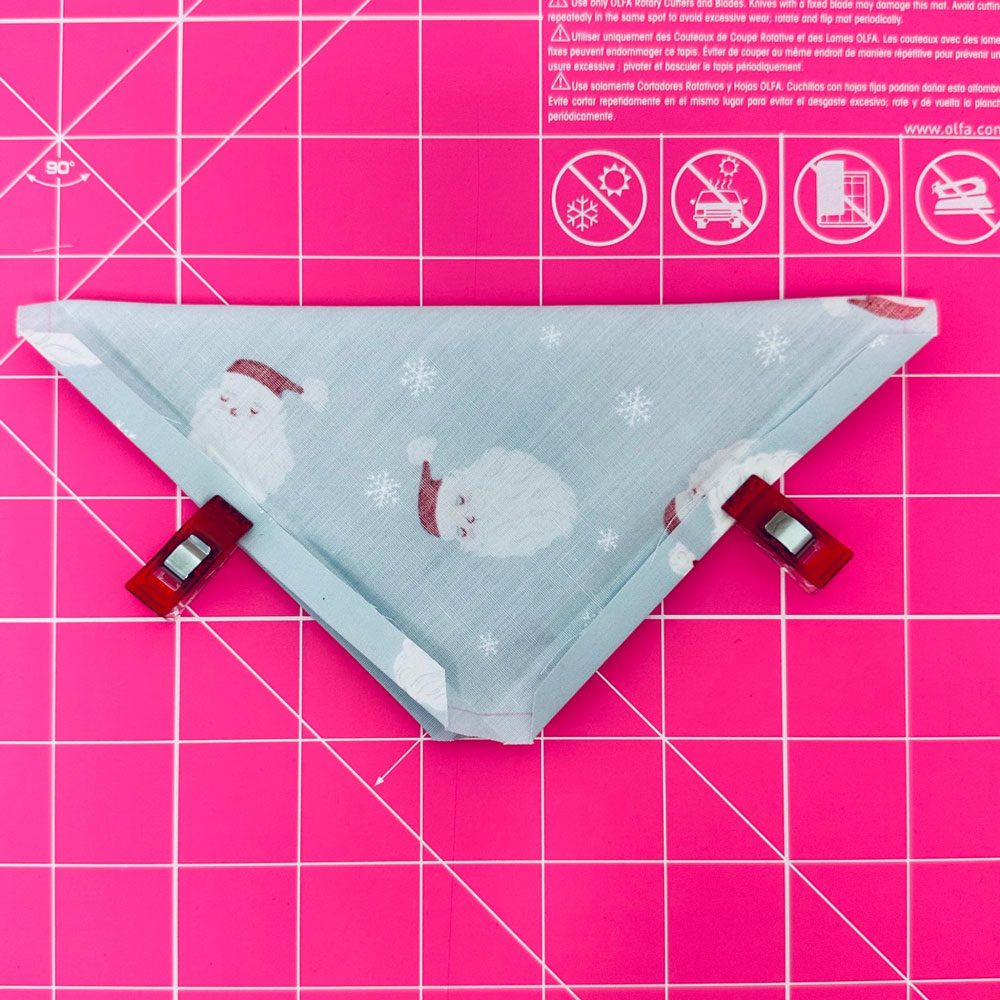
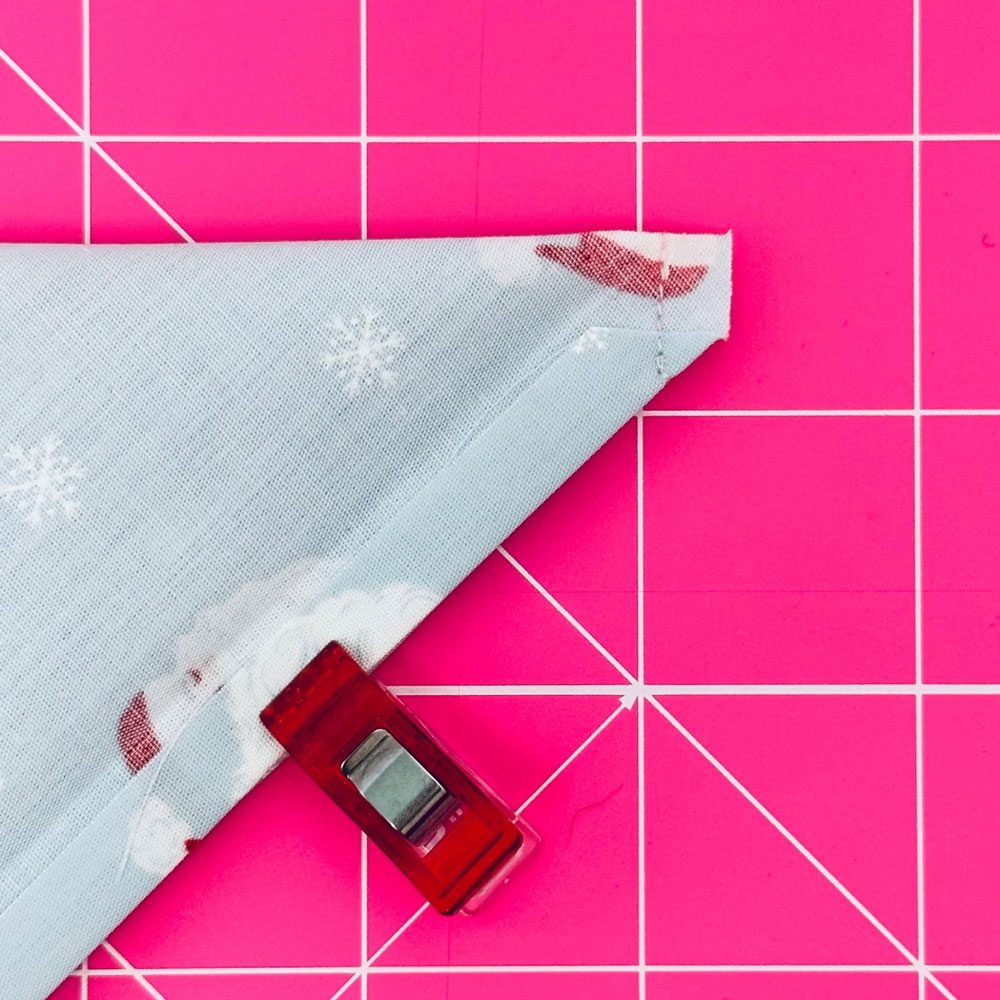
Fold the entire backing piece RST diagonally to line up a cut corner.  Match up edges having the second pressed hem in place.  Stitch ¼” in from the cut corner edge,(on drawn line), from diagonal fold to outer hem edge.  Be sure to back tack the stitches, at the start and ending.  Repeat on the remaining corners.

folded
sewn corner

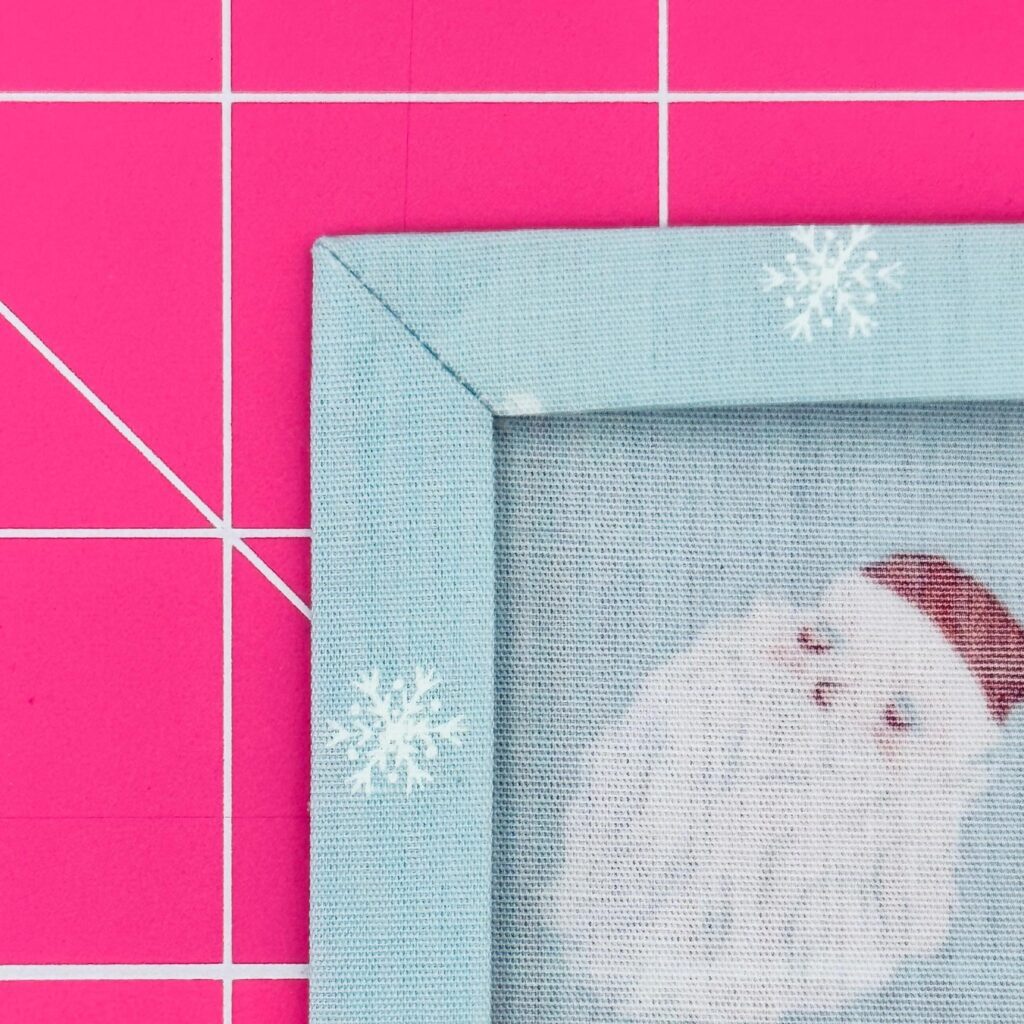
Give the corners a little press, this can be a finger press if you like, opening the seams and creating a little pocket on top of the seam.  *This is my favorite little trick to getting nice sharp points.*  

corner detail

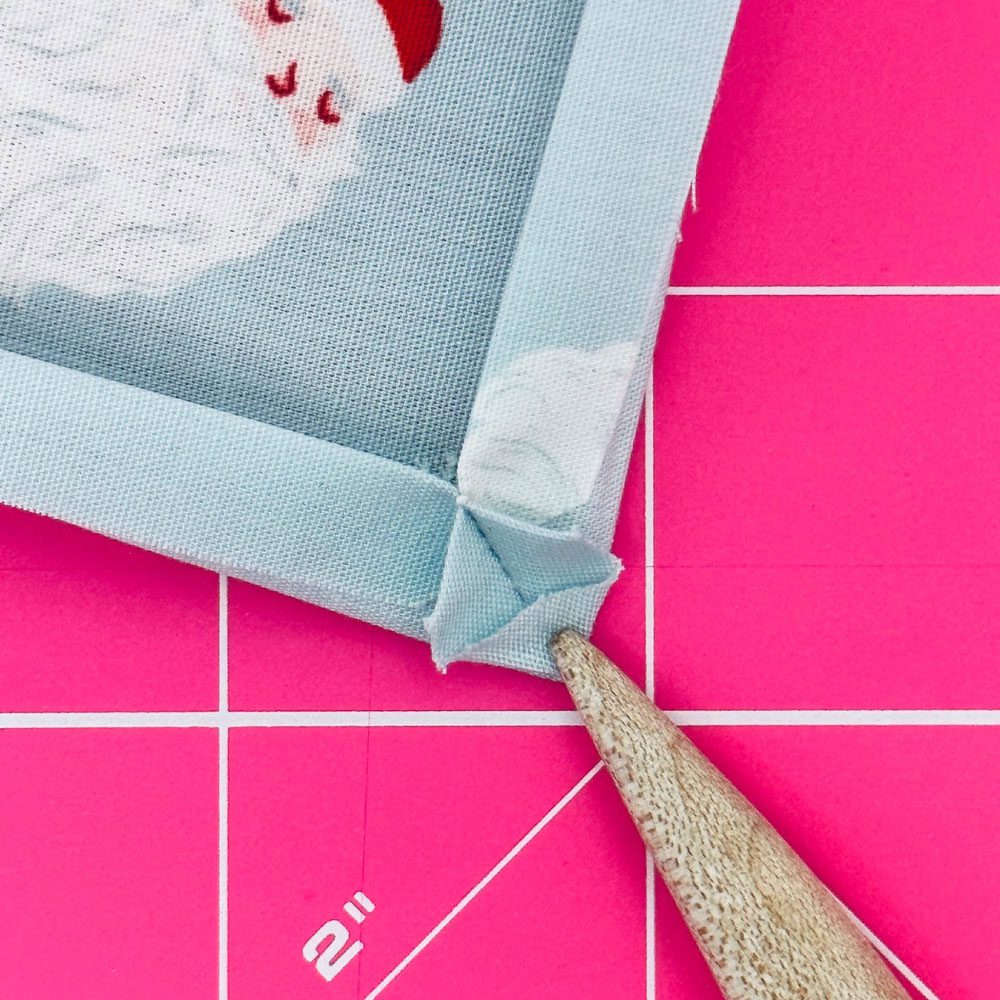
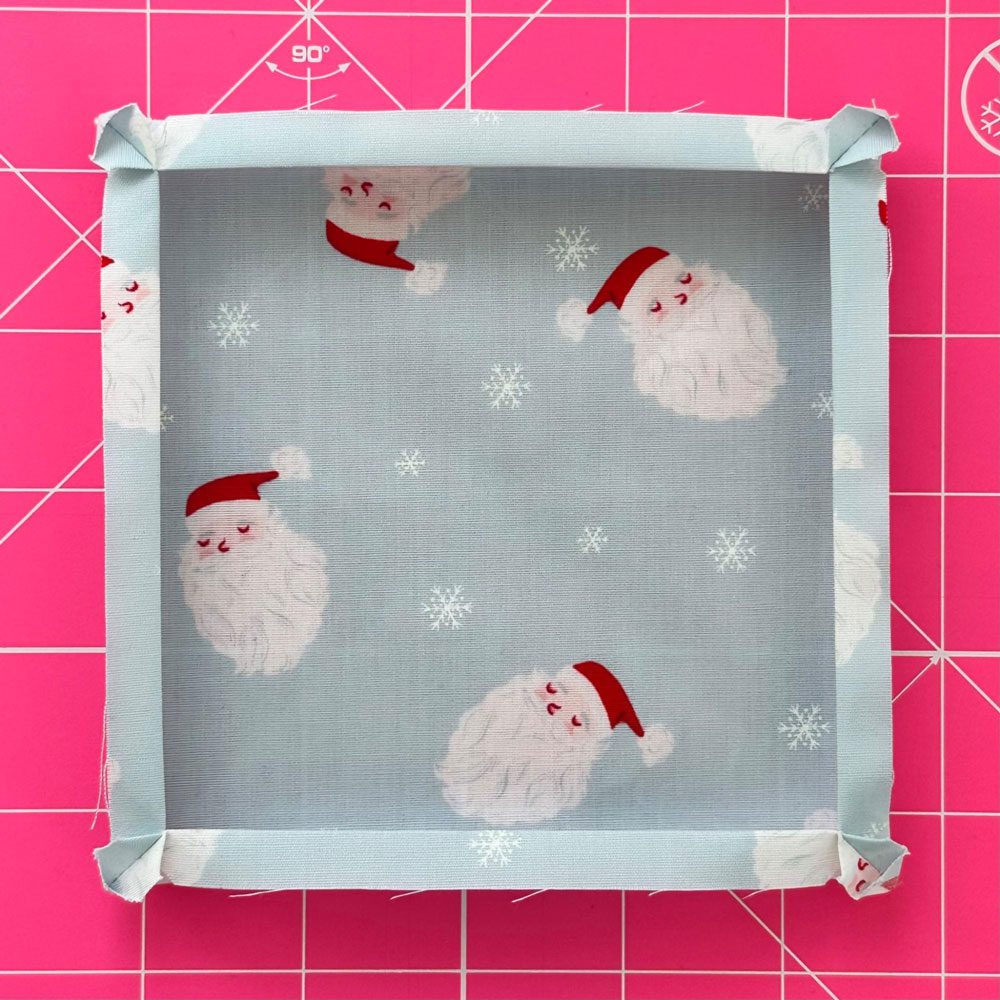
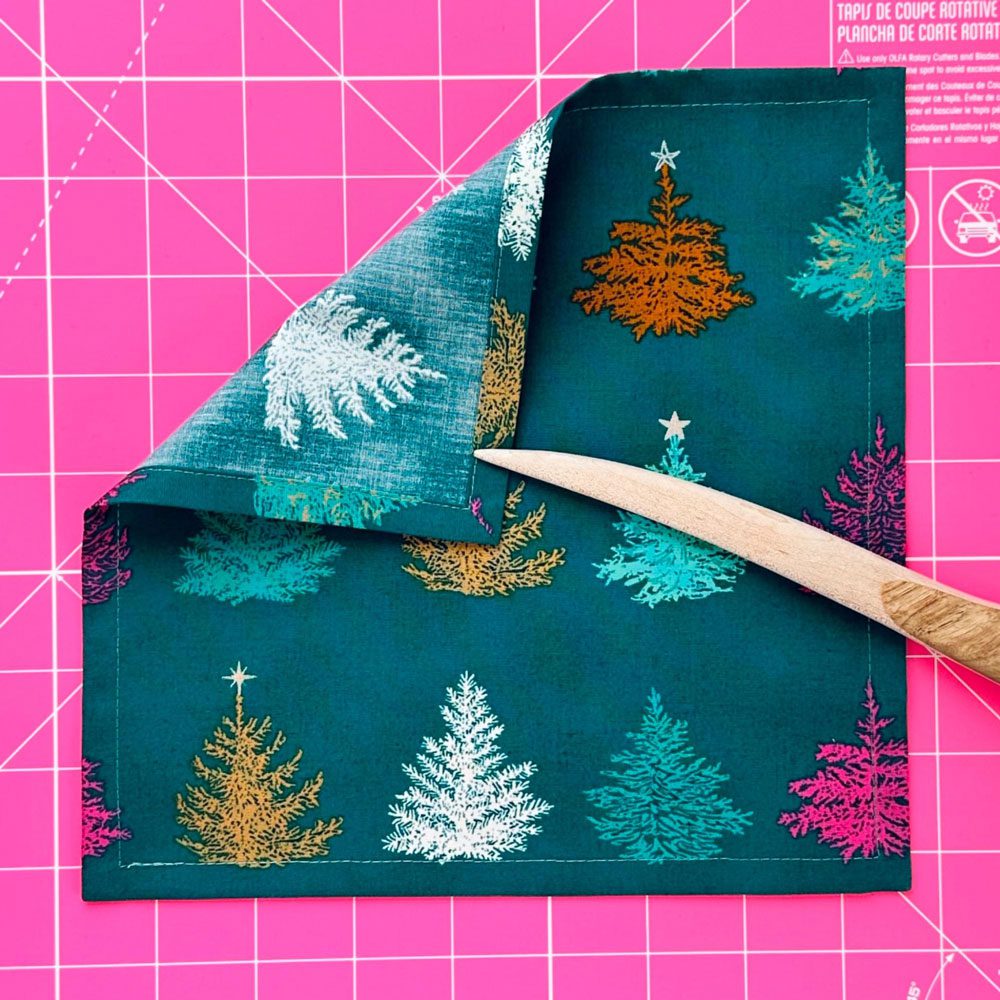
Turn the points right side out.  Take your favorite point turner and place it in that little pocket and push your point out.  Voila, practically perfect points.  Press all the corners and frame edges to set in place.

Corner detail
Corners

Making the Coaster Front

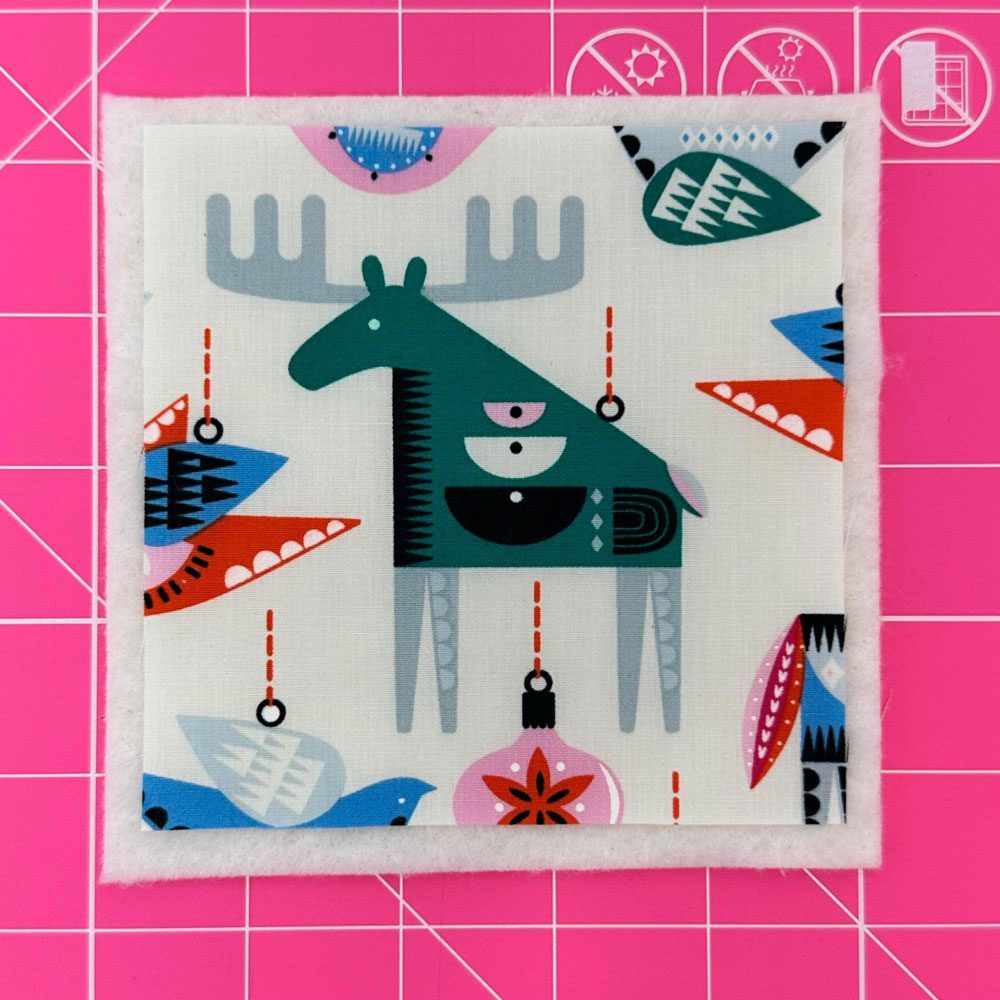
This is the fun part where you can fussy cut your favorite image, or sew up some scraps to make a pieced front.  Whatever you choose, you will cut your front square to 4½” x 4½”.

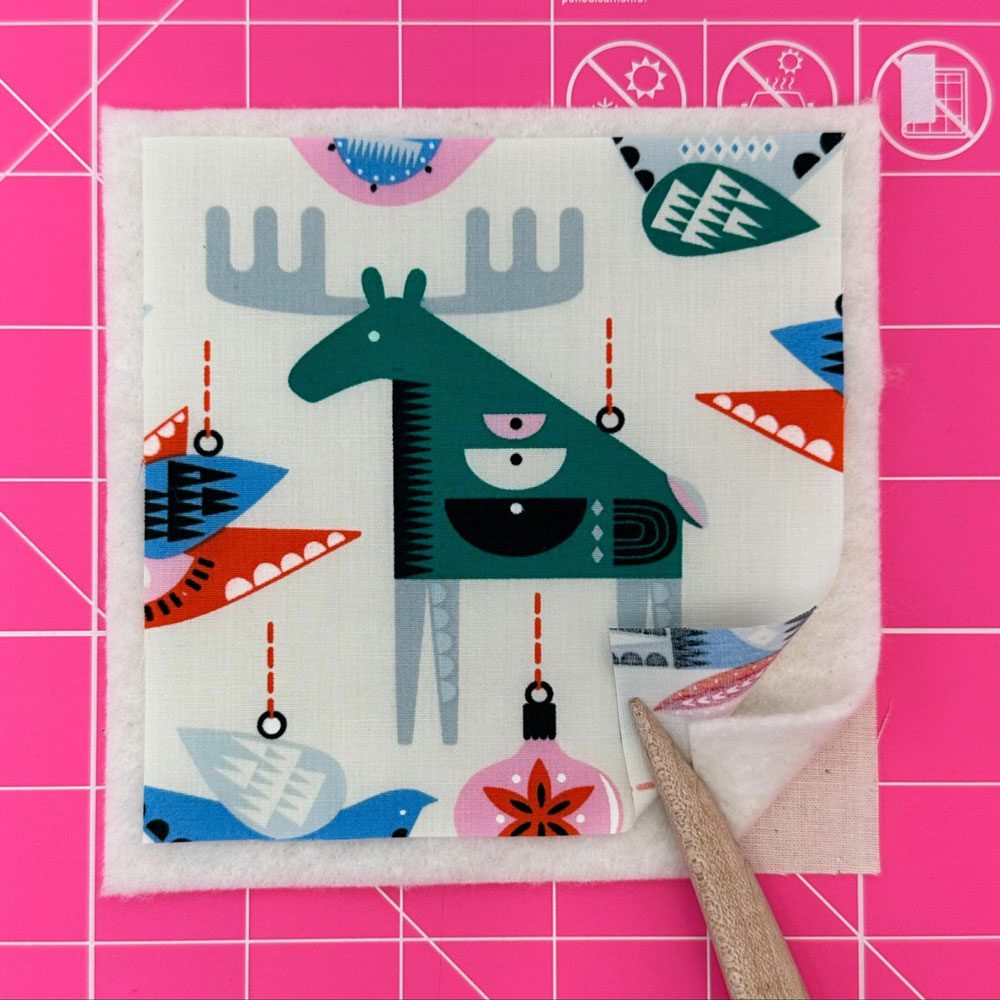
Now make a little quilt sandwich.  Place your scrap fabric down first, place the batting piece on top, and now center the front piece on both.

batting cornter
batting

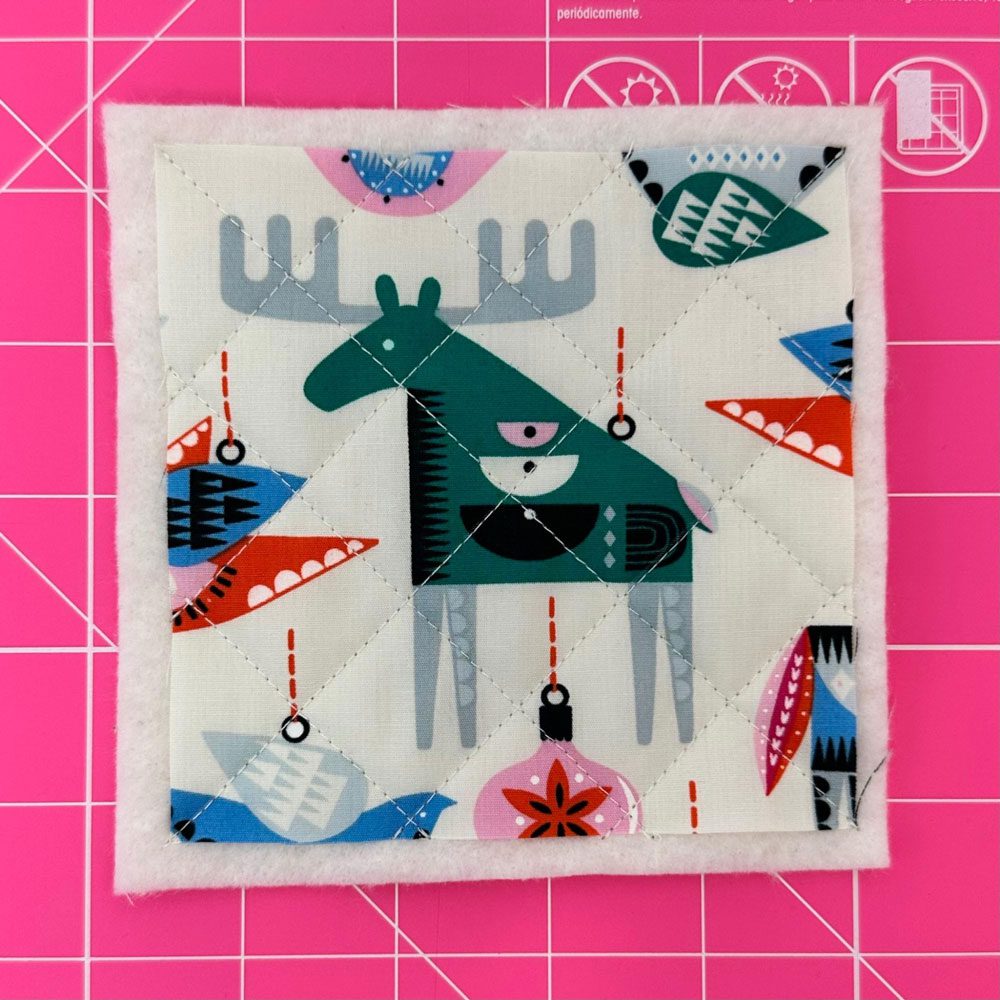
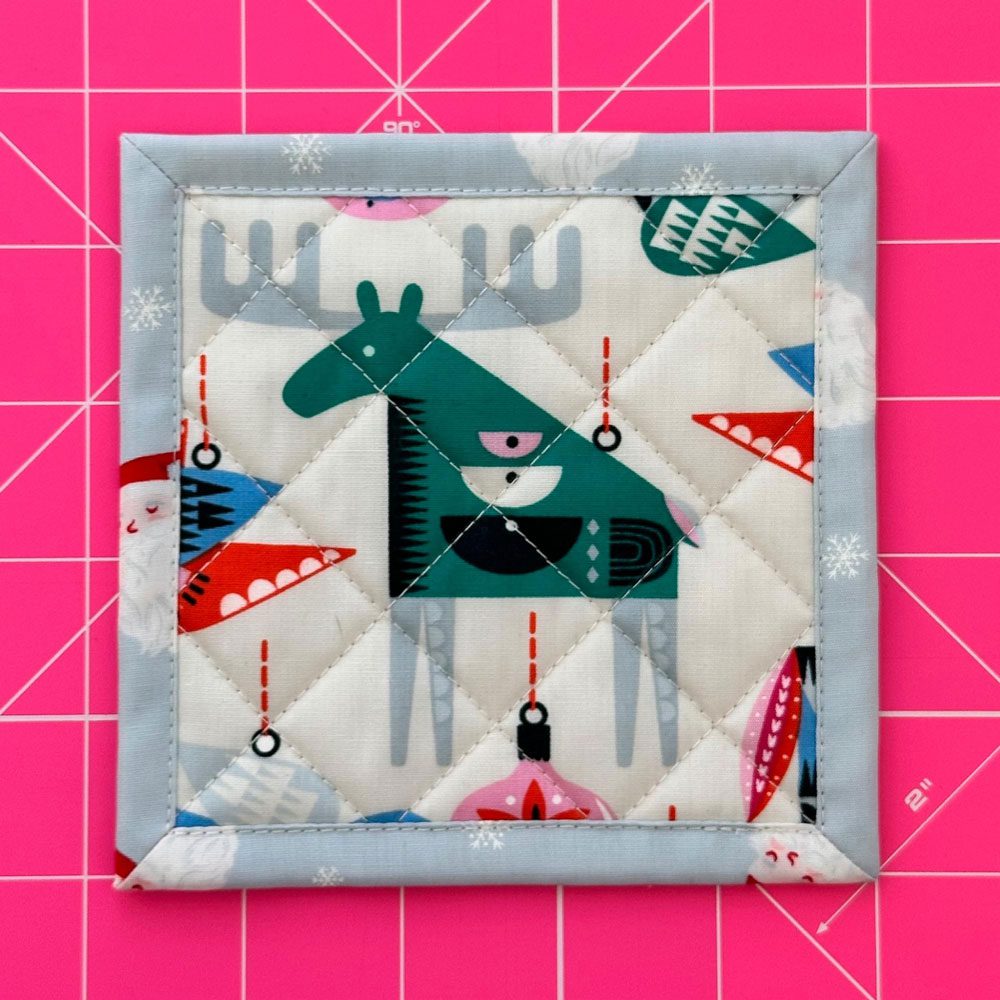
Baste if needed and quilt as desired. Note: These are small so I chose not to baste mine and went with a simple diagonal quilting.

quilted lines

Putting it all Together

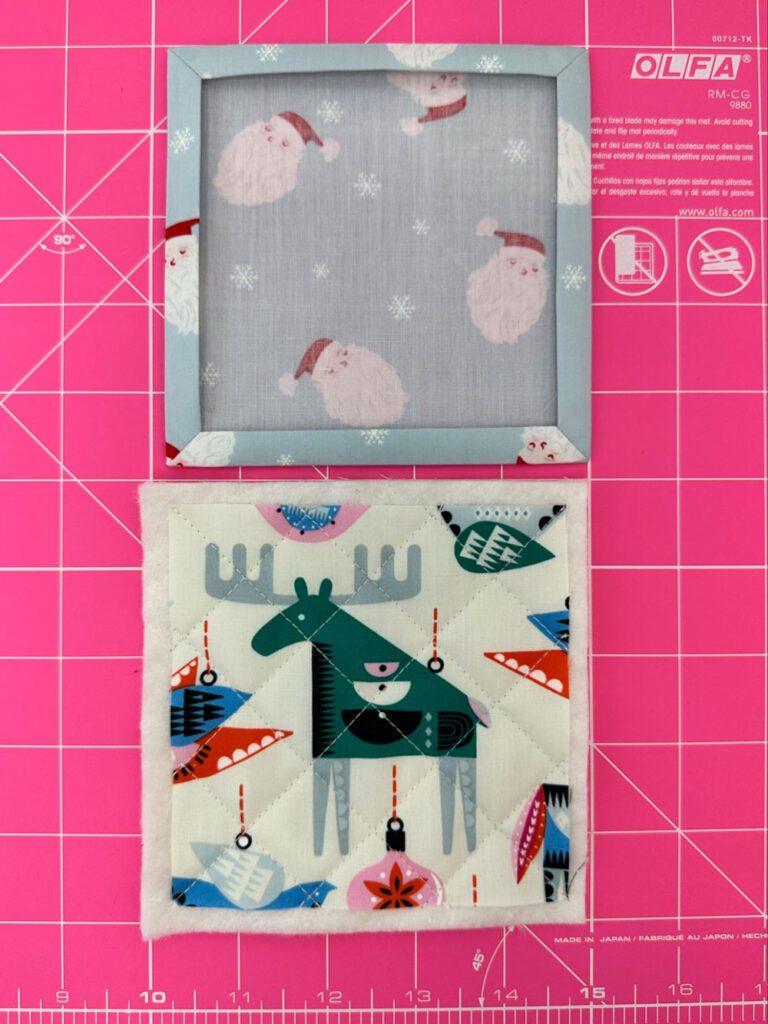
Your quilted piece will be larger than the finished frame backing piece.  Measure your frame backing piece and trim your front to match that measurement.  Be sure to trim your front, so your fabric piece remains centered. 

assembling

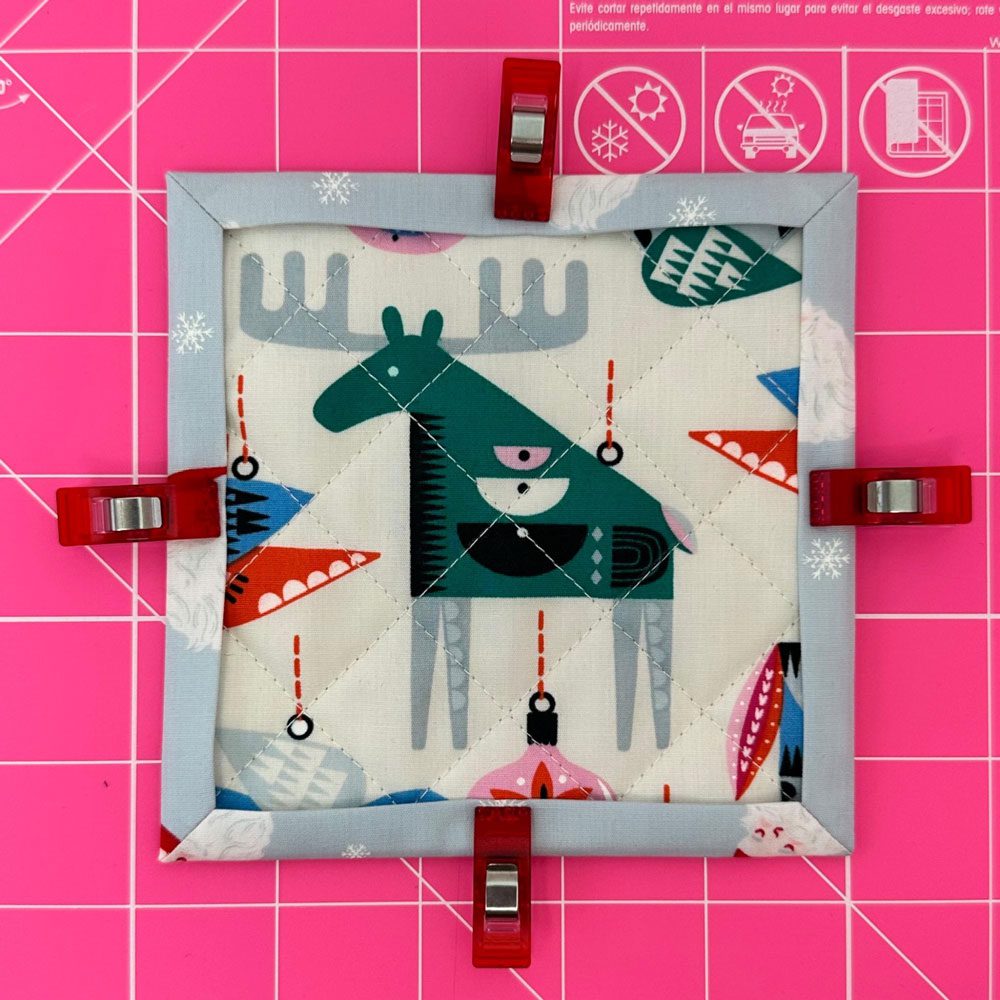
Place the front quilted piece, WST on top of the frame backing piece.  Tuck in all the corners and edges.  Use your point turner again to tuck in the corners, if needed.  Clip or pin frame edges in place. 

All that is left to do is to topstitch close to the inner frame border.

top stitch

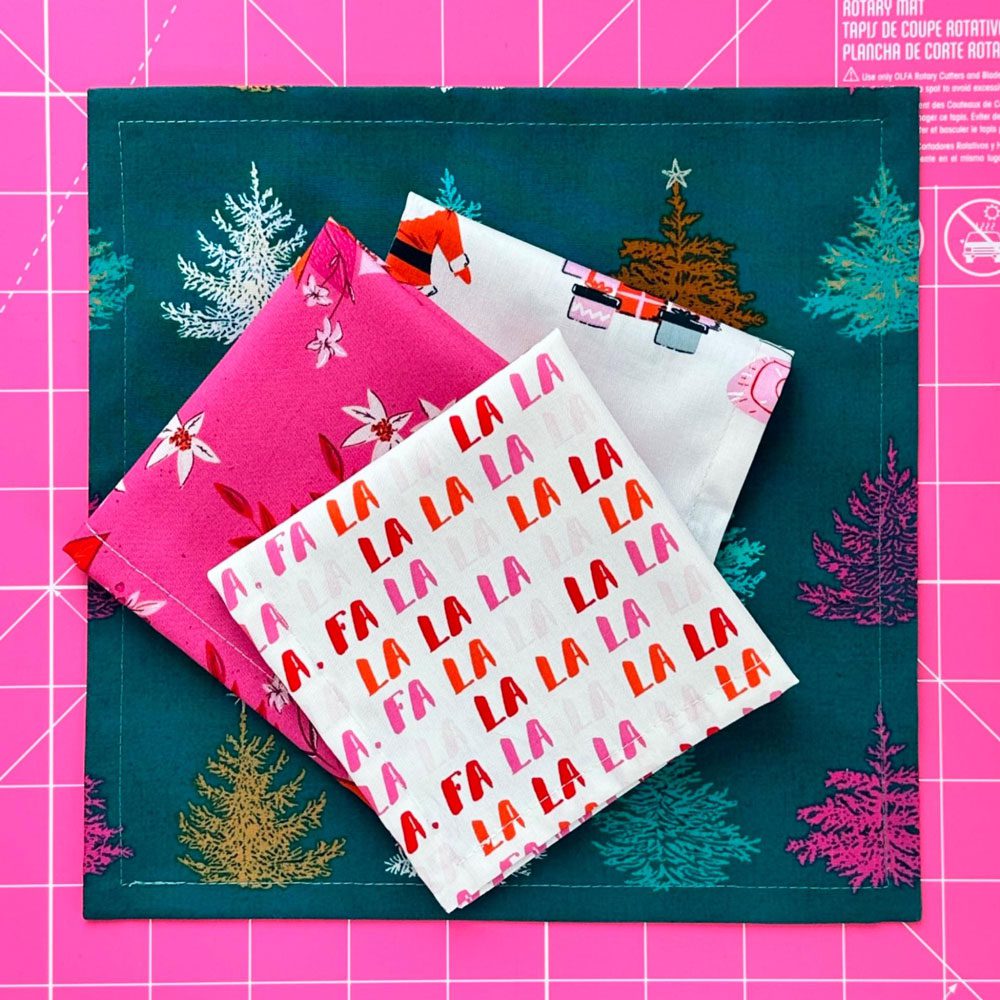
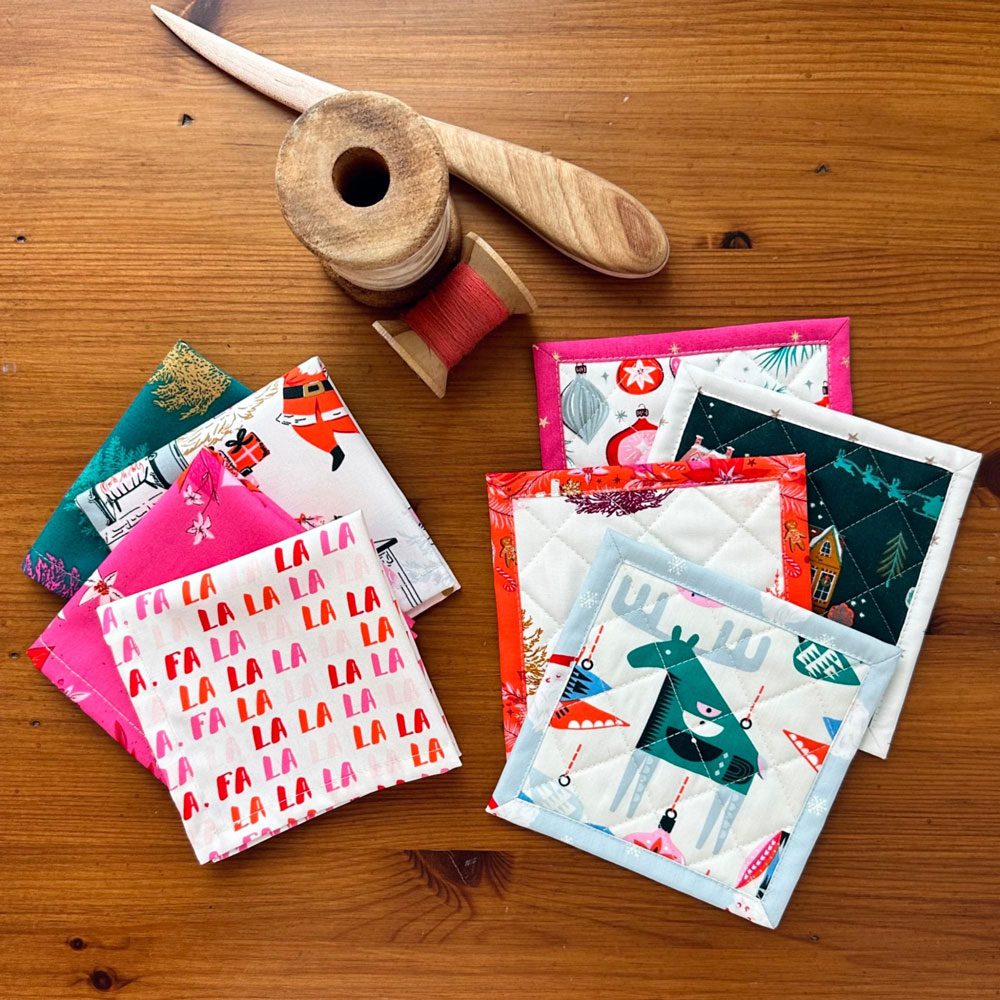
Ta da, your coaster is done!  The more you do, the easier they are and you won’t want to stop!  This is a great way to use up those small pieces and place a little dent in your stash, or grab some new favorite fabrics, which is always fun.  Once you know this technique you can play with the width of your ‘frame’ and use it for other things like napkins and placemats.  I used a layer cake to make the coasters in this tutorial and decided to make some matching cocktail napkins out of the layer cake pieces and I just love how they turned out!   Have fun playing with your favorite fabrics and see what you can create!

top corner
holiday napkins

I hope you enjoyed this project!  Don’t forget to get the Free Pattern PDF Here.

I would love to see what you create, share with me on Instagram @kellyannestudios, and with the hashtag #miteredcornerframedcoaster!  Have fun and if you have any questions, feel free to reach out to me at hello@kellyannestudios.  Enjoy!

Quilted Christmas Coasters
Kelly Anne Studios

MORE BLOG POSTS LIKE THIS ONE

Did you enjoy this tutorial? Be sure to check out these free tutorials: 

Quilting Ornaments

DIY Christmas Stocking

Tree Skirt Pattern

or SEARCH THESE

Popular categories

Craft to Career
Digital Downloads
Patterns
Podcast
Quilt Alongs
Quilt Questions
Tutorials
back to the top

Copyright 2024 Quilters Candy  |  Terms & Conditions