Cute Scrap Project: Baby Sensory Toy
September 15, 2025

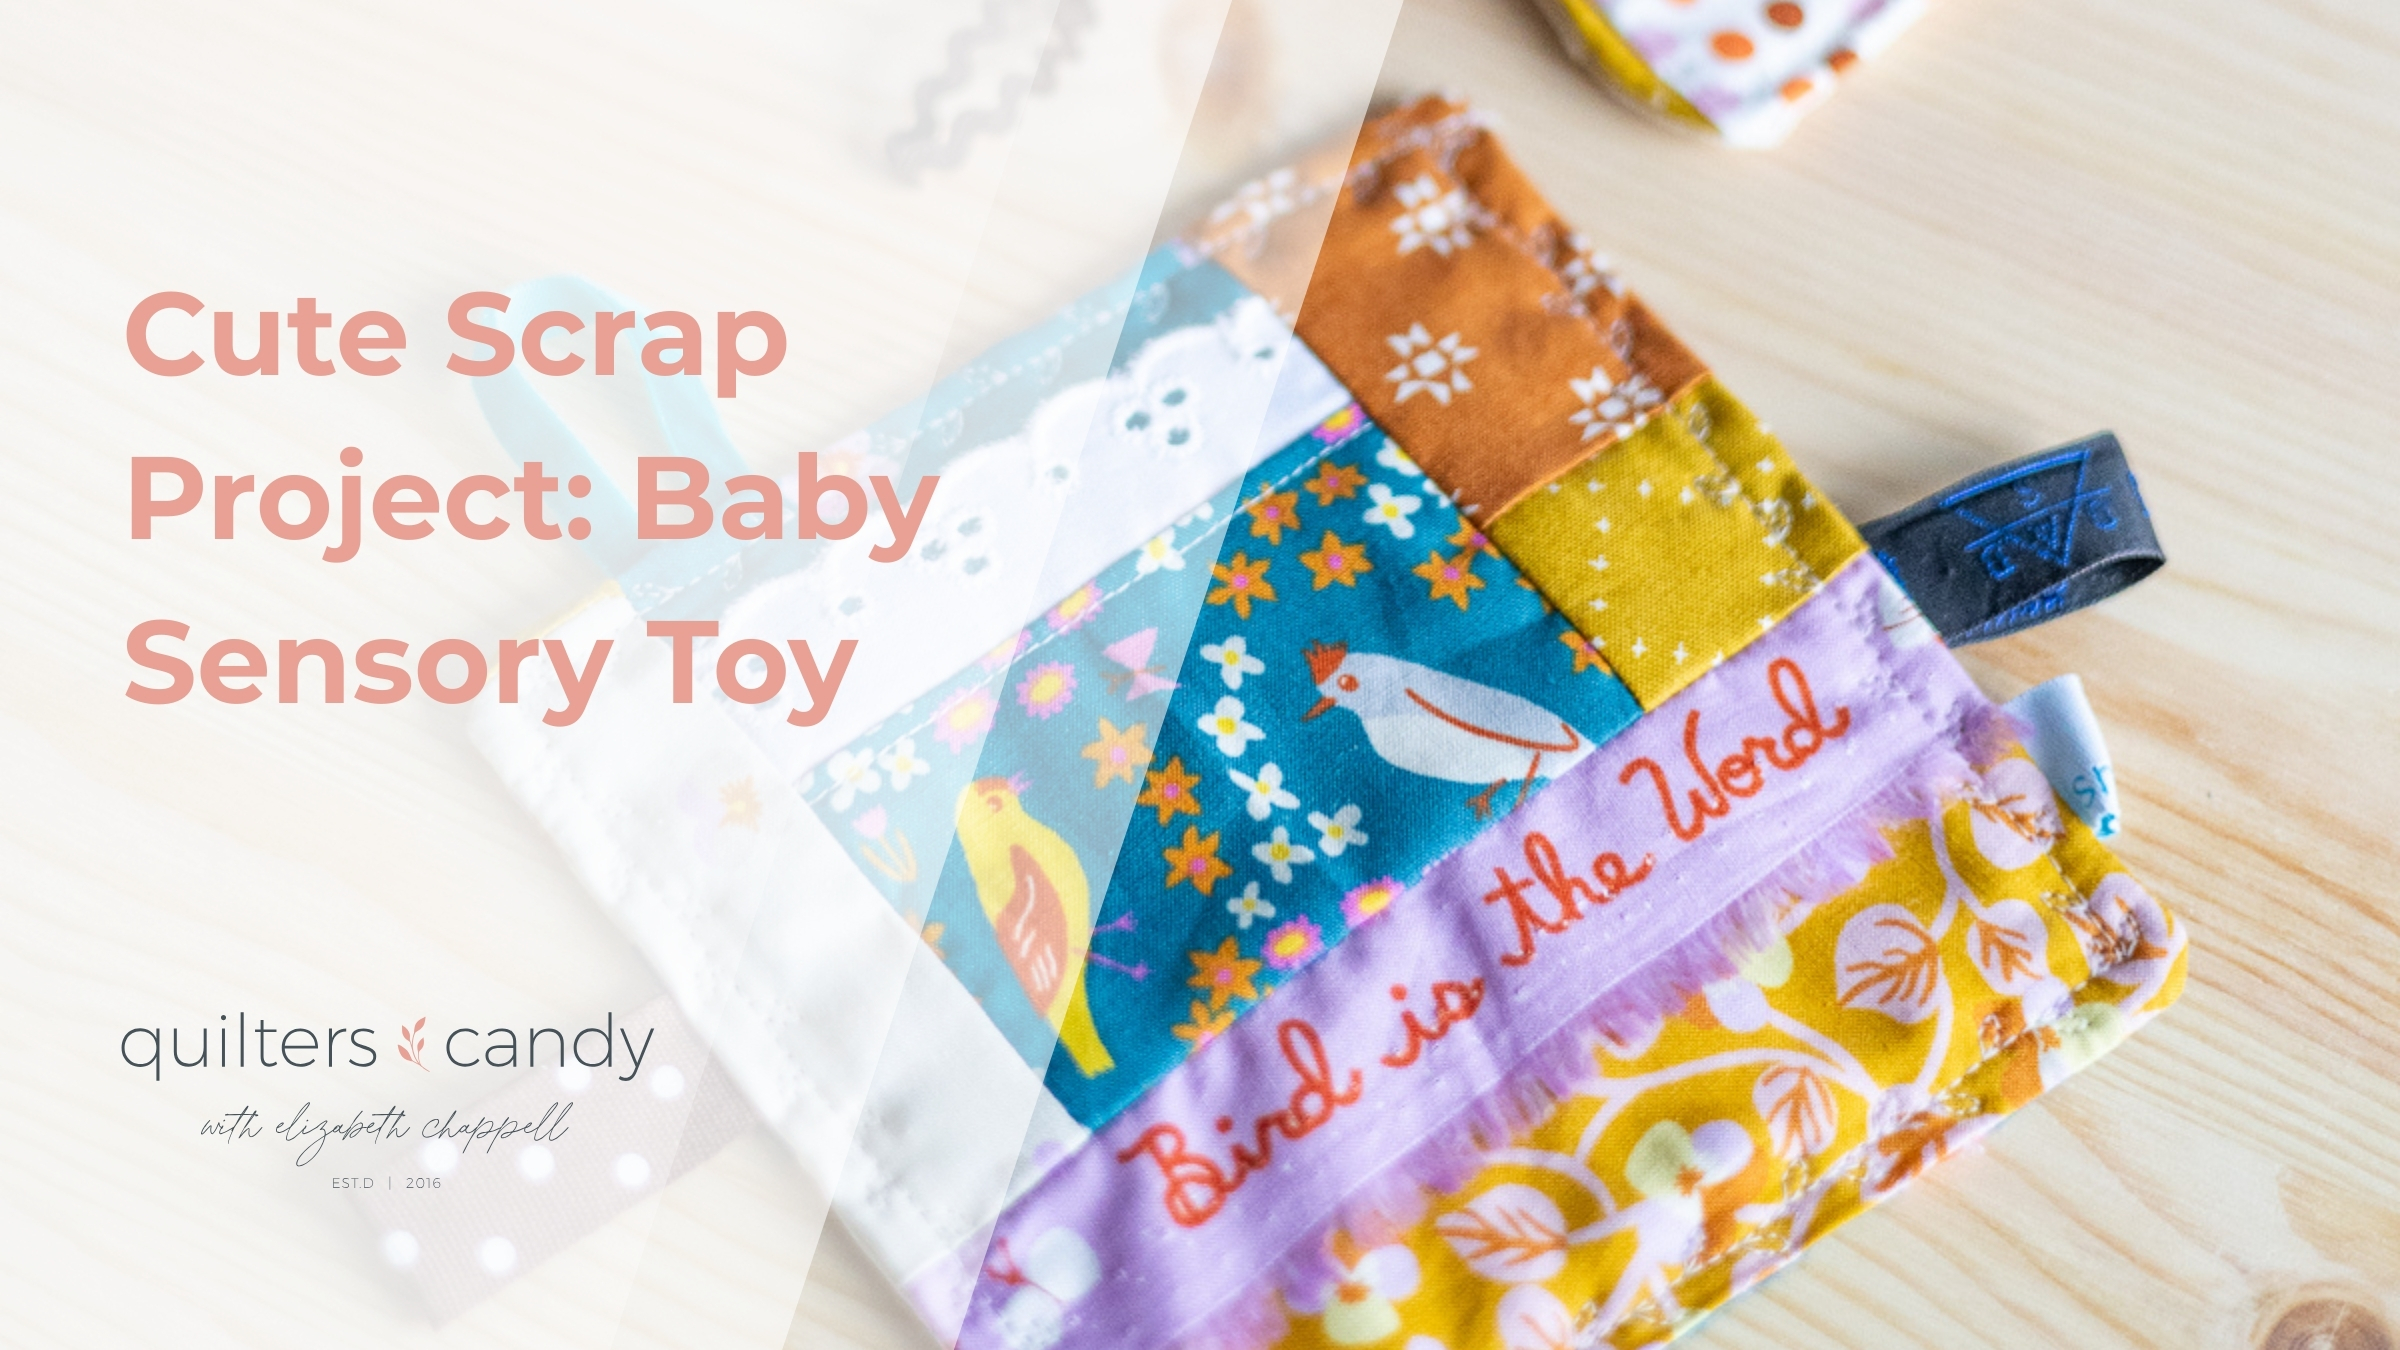
Cute Scrap Project Baby Sensory Toy

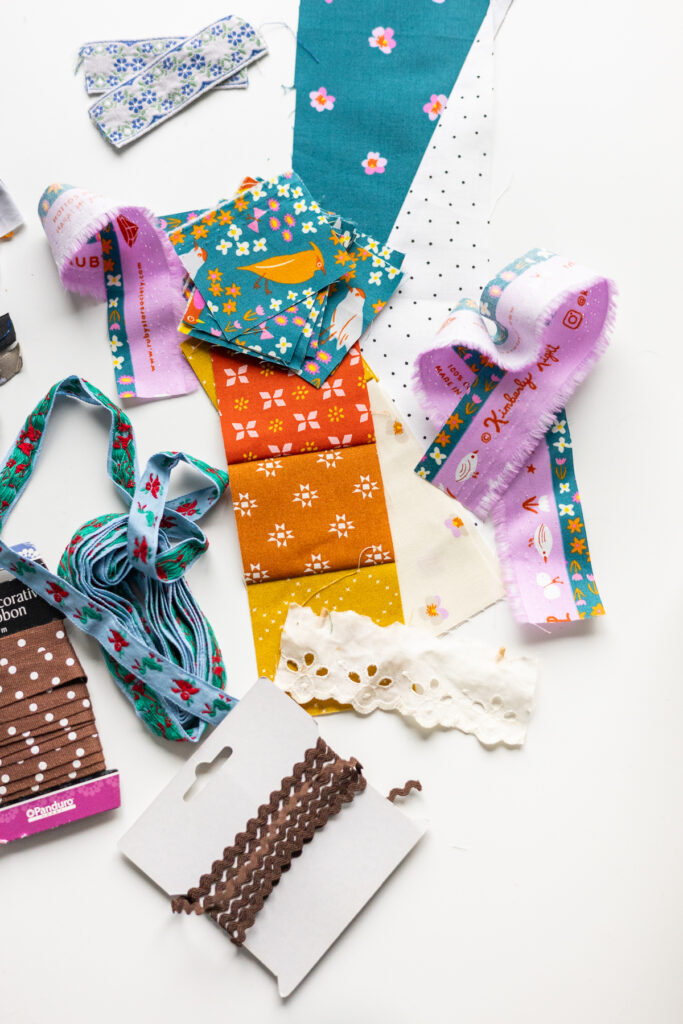
Looking for a super quick, super cute scrapbuster project? ✨ These soft sensory toys are perfect for little baby hands! They’re a great excuse to finally use up those scraps, orphan blocks, and random ribbons you’ve been saving “just in case.” (This is the case!)

They make sweet handmade baby gifts and are such a fun, fast sew. Bonus: They don’t require any fancy supplies—just your scrap bin, some trims, and your usual sewing setup.


What You’ll Need

  • Scraps: quilt leftovers, orphan blocks, or even worn-out clothes

  • Trims: labels, ric rac, velvet ribbon, patches, lace, or other tactile goodies

  • General sewing equipment (machine, pins, thread, scissors)

  • A small piece of batting (approx. 6″ x 6″)


How to make it

Sensory Toy Step 1

1. Find Some Scraps

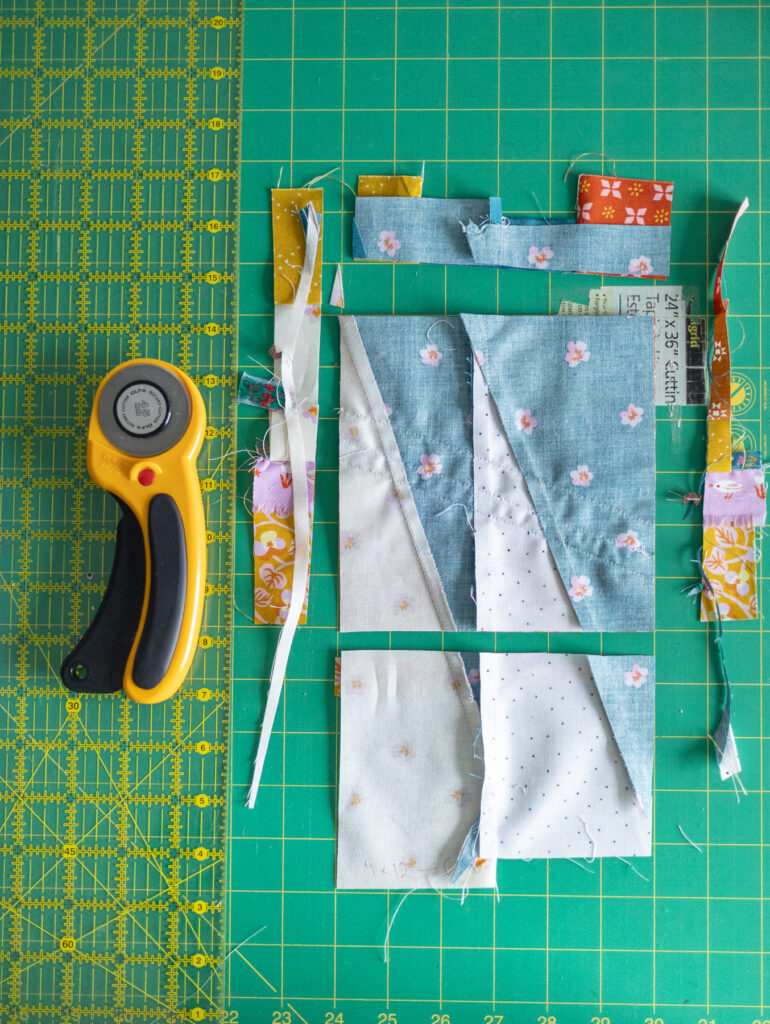
If you’ve got orphan blocks lying around, they’re perfect! Otherwise, sew scraps together freestyle to form two squares about 6″ x 6″. (Any size works, but this is a good baby-hand-friendly starting point.)

Want to add extra fun? Insert labels, ric rac, fluffy selvages, or other bits between your scraps so they pop up in the finished toy.

Sensory Toy Step 2

2. Trim It

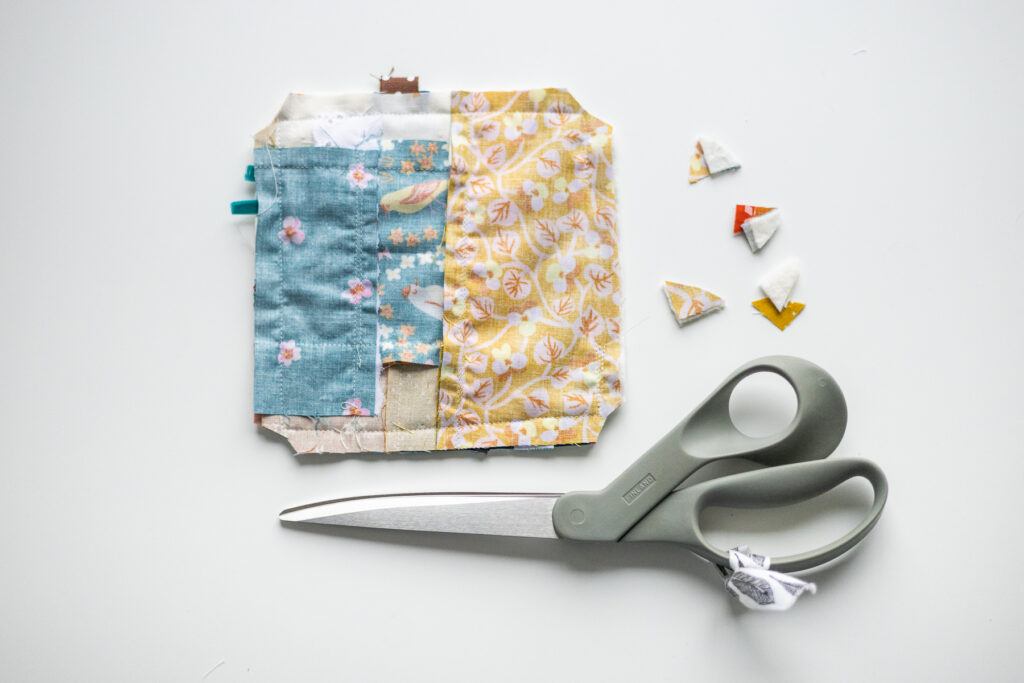
Stack your patchwork squares right sides together and trim around the edges so they match. Cut your batting to the same size. (You can even trim all three layers at once.)

Sensory Toy Step 3

3. Prepare Your Square

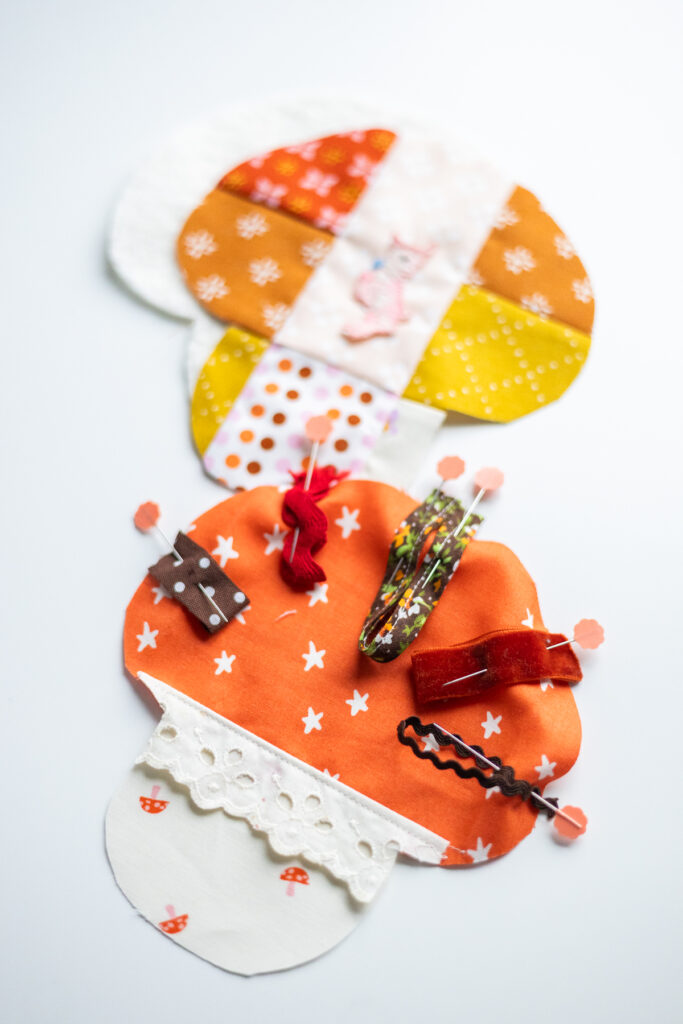
Take one patchwork square, right side up. Pin ribbons or trim pieces along the edges, pointing toward the center of the square. These will stick out when the toy is finished.

Sensory Toy Step 4

4. Sandwich Time

Layer your pieces in this order:

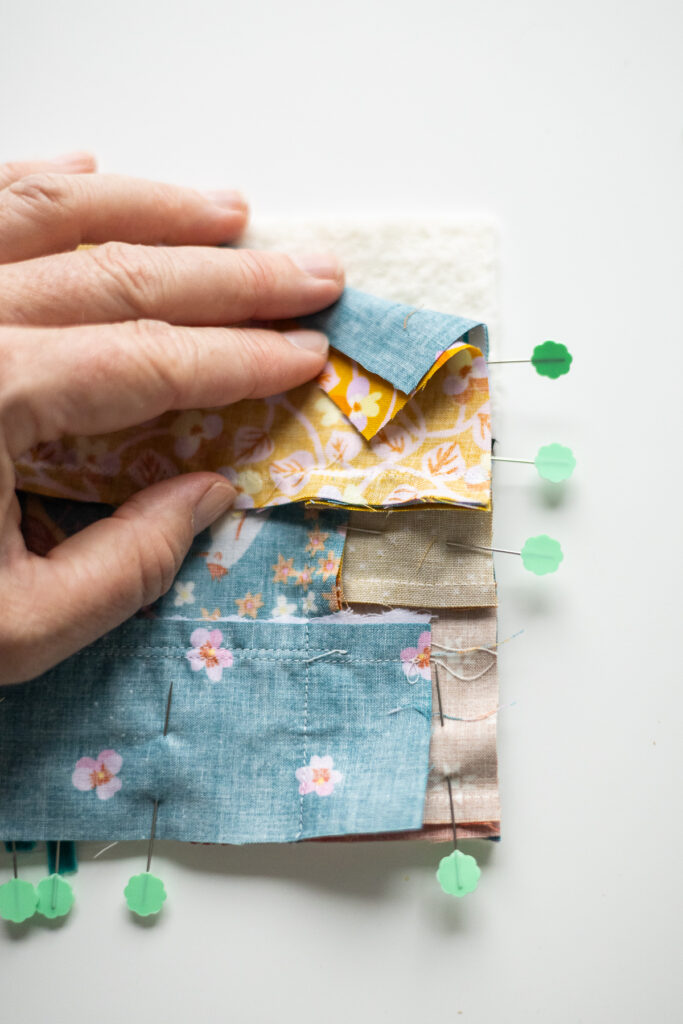
  1. Batting (bottom)

  2. Square #1, right side up

  3. Square #2, right side down

Pin all the way around.

Sensory Toy Step 5

5. Sew It Up

Sew around all four sides with a ½″ seam allowance, leaving a 2–3″ gap on one side for turning. Trim corners to reduce bulk.

Quilted Baby Sensory Toy

6. Turn & Poke

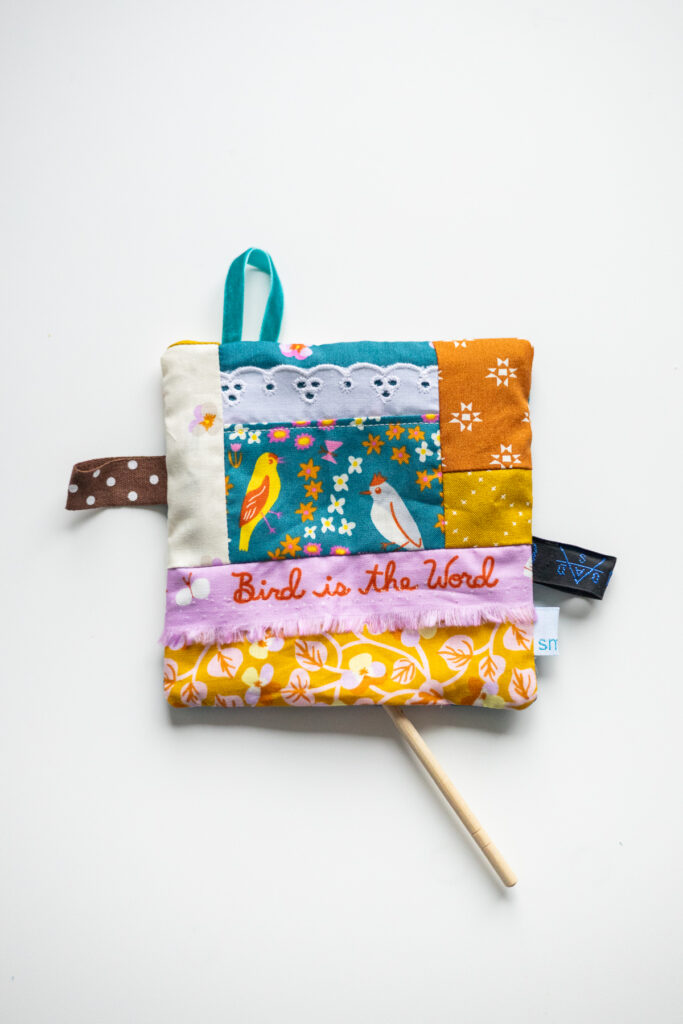
Turn the toy right side out through the gap. Use a blunt stick or chopstick to gently push out the corners.


7. Close It Up

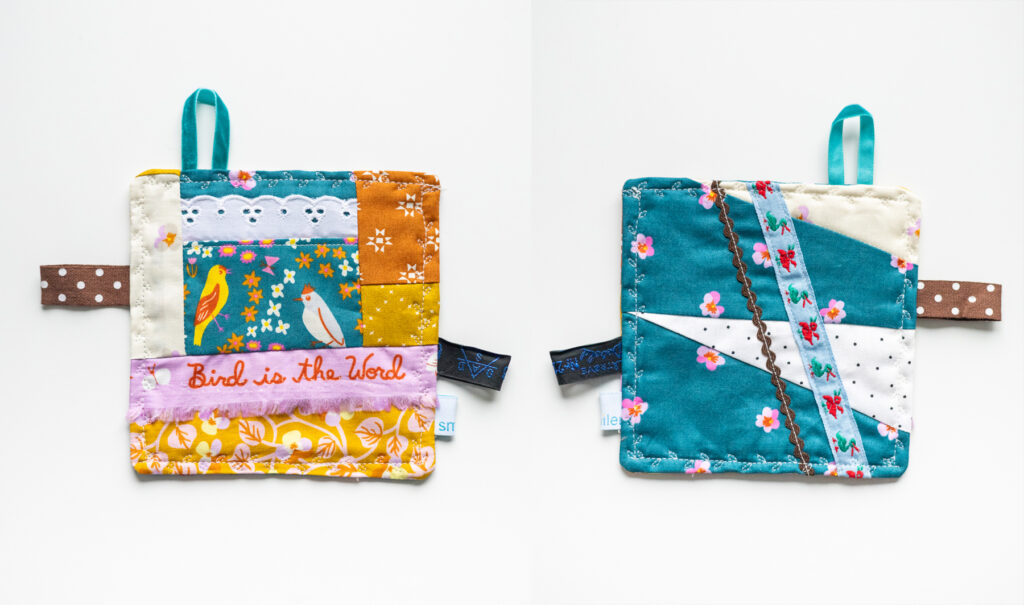
Fold in the edges of the opening, pin, and topstitch all the way around. This secures your ribbons and gives the toy a neat finish. (I used a decorative leaf stitch, but a simple straight stitch works too!)

Quilted Scraps Baby Sensory Toy

That’s It!

Your squishy, scrappy, sensory masterpiece is ready to delight a baby. 🎉


Important Safety Note

Skip buttons or small pieces that could come loose. Babies are professional chewers, and we want no choking hazards! Stick with securely sewn ribbons and trims.


Extra Tips

  • Don’t lose it: Fold a ribbon loop along one edge so you can clip the toy to a stroller with a carabiner.

  • Bonus shapes: Who said toys have to be square? Try a mushroom, cloud, or fish! (Download my free printable below!)

MORE BLOG POSTS LIKE THIS

If you enjoyed this blog post, you will love these tutorials!

or SEARCH THESE

Popular categories

Craft to Career
Digital Downloads
Patterns
Podcast
Quilt Alongs
Quilt Questions
Tutorials
back to the top

Copyright 2024 Quilters Candy  |  Terms & Conditions