Quilt Block Holiday Gift Bag
November 30, 2024

Quilt Block Gift Bag

Hi here, and welcome to my guest blog post for Quilters Candy. I’m honored to contribute and I’m so happy you’re here! If you’re looking for quilty gifts for your bff, and if you happen to have orphan quilt blocks begging for their opportunity to shine, you’ve come to the right place. I’m Rhonda Canning of Prime Time Quilt Co and I have designed a lovely, cylindrical gift bag that you can use for gifting lovely things such as small vases, candlesticks and/or candles, or your favorite bubbly (or non-bubbly) beverage. Let’s dive in! And if you would like to have an actual pattern that is more detailed with tips, log on to my website and pick up the PDF pattern for free. The finished bag measures 3″x4″x12½” tall and is made with

  • one 12½”x12½” quilt block
  • one 12½”x17″ piece of coordinating fabric
  • one 12½”x12½” piece of fleece that is fusible on one side
  • one 36″ long piece of ¾” wide ribbon
  • sewing thread

Quilting room supplies you will need include:

  • Your favorite sewing machine
  • A steam iron
  • Cutting mat and rotary cutter
  • Stiletto
  • Rotary Cutter
  • Scissors

Cutting Fabric

  • Trim edges of the quilt block, if needed, to measure 12½”x12½”.  This is for the outer part of the bag.
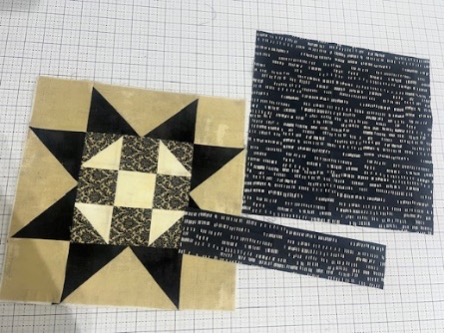
  • From the 12½”x17″ piece of coordinating fabric , cut a 2½”x12½” strip from one narrow end, leaving the largest piece of the complimentary fabric measuring 12½”x14½”.  This is for the bag lining.
quilt block

Begin Construction!

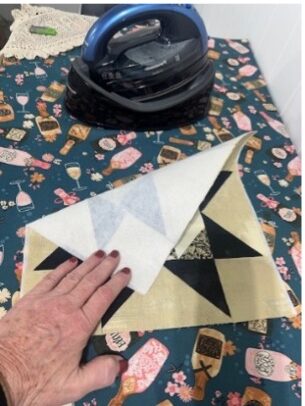
  • Following the directions accompanying the fusible fleece, fuse to the wrong side of the quilt block.
fusible fleece
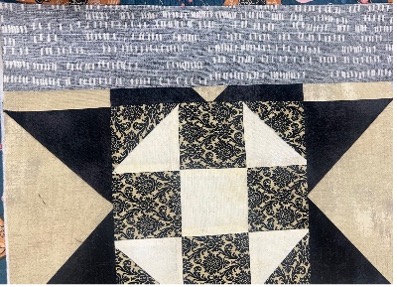
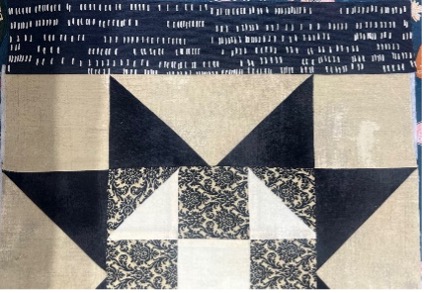
  • Next step is to place the 2½”x12½” strip of fabric, right sides together, aligning edge to edge along one side of the quilt block. Sew a ¼” seam along the edge. Press the 2½”x12½” strip away from the quilt block.
fabric strips
fabric edge
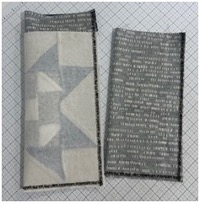
  • Fold the quilt block, with strip of complementary fabric at top, in half, folding on the long side, aligning edges and pin or clip to secure. Also fold the 12½”x14 ½” piece of coordinating fabric in half lengthwise and again pin or clip to secure aligned edges. Sew ¼” seam as marked below.
folded block
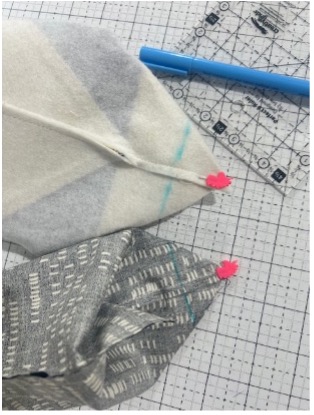
  • To create the boxed corners on the external bag and the lining, fold each corner together so that it forms a point. Measure 1¼” from the point and draw a line from edge to edge. Sew along the drawn line. Trim ¼” away from the sewn line.Repeat on opposite corners of each piece so that you have two boxed corners in the outer bag and the lining.
marked corners
corners
  • Turn the external bag right side out, using a stiletto to push the corners out, if needed. Finger press seams. DO NOT turn the lining right side out yet! Slip the bag lining over the outer bag, leaving right sides together.
  • Align the raw edges at the top of both pieces and secure with pins or clips. Sew a ¼”seam ½ to ¾ of the way around the top. The unsewn space needs to be just large enough to pull the external bag and lining of the bag through, one at a time.
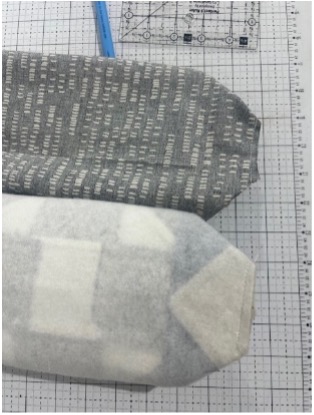
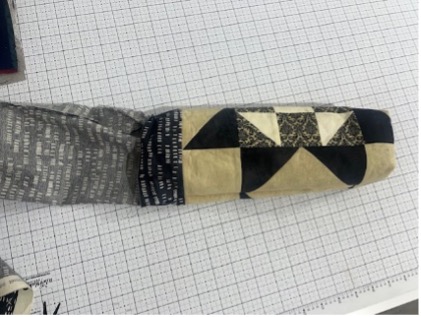
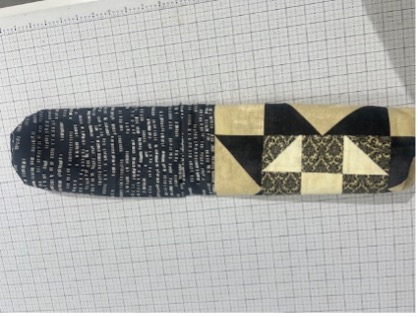
  • Once sewn, pull the outer bag away from the inside of the cylinder that has been created. It will look like the photo below.
bag
inside bag
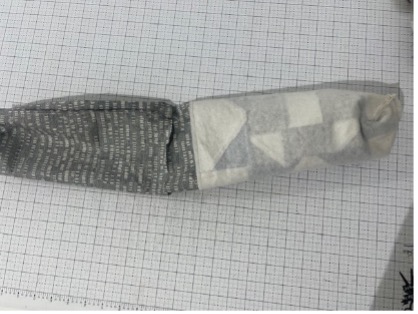
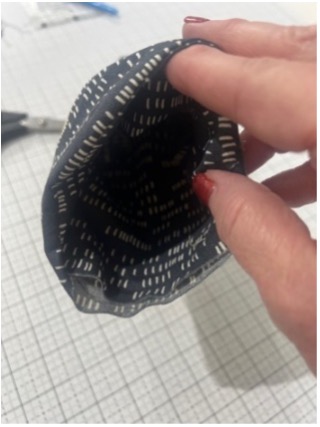
  • Now the fun part! Slip your fingers through the unsewn opening, grab the end of the external bag and carefully pull it through the unsewn opening. Next step is to slip your fingers through the unsewn opening again, grab the end of the lining and pull that through the unsewn opening.
pull bag through
opening
  • If you want to press your seams, now is a good time to do so. Next step is to insert the lining into the bag, just far enough so that the top seam and the unsewn portion of the seam are at the very top of the bag.
  • Fold in ¼” of the raw edges at the top of the bag and press. Align the edges, clip or pin if needed, and topstitch ⅛” from the edge, all around the top of the bag.
raw edges
top stitch
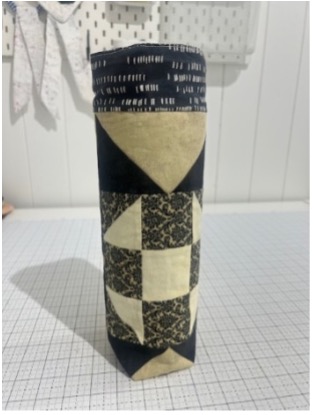
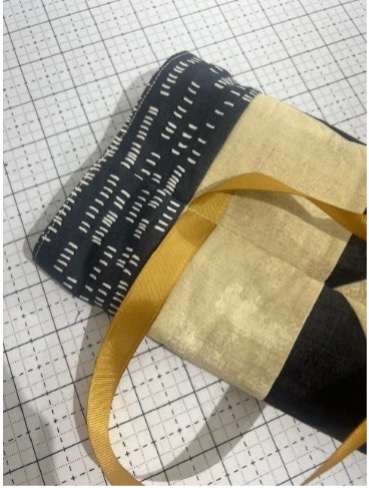
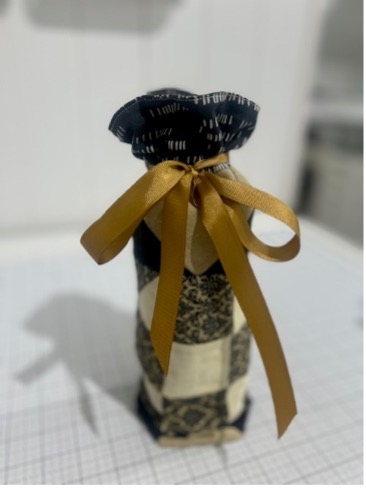
  • The last step is attaching the ribbon to the bag. I prefer to position the ribbon so that it ties at the center front of the quilt block. To do so, find the center front of the block. Place the ribbon at the opposite side, positioned as sewn in the photo below. Stitch a vertical line through the ribbon. Backstitch to secure. When ready to gift your bag, place the present inside. Gather up the top and distribute the excess fabric evenly around the bag and tie the ribbon.
sew ribbon
final bag
  • There you go! You have created a gift bag that is a gift in itself. Again, for a bit more detailed information, you can get the pattern on my website. Thanks so much for following along!

Did you enjoy this tutorial? Be sure to check out these free tutorials: 

Harvester Poncho Tutorial

DIY Reverse Applique Sweatshirt

It Takes a Village Play Mat

or SEARCH THESE

Popular categories

Craft to Career
Digital Downloads
Patterns
Podcast
Quilt Alongs
Quilt Questions
Tutorials
back to the top

Copyright 2024 Quilters Candy  |  Terms & Conditions