5 TIPS FOR BETTER PHOTOS

May 17, 2021

5 Tips For Better Photos with Quilters Candy

By guest: Karen Wade of Bessie Pearl Textiles 

I am excited to have Karen from Bessie Pearl share 5 tips for better photos!

Maybe you’ve launched your business.  Maybe you’re still dreaming about it.  Either way, having good quality photos is KEY to your success.

You might have the best product on the planet, but if you don’t have good photos, you won’t sell.  It really is as simple as that.

Consistent quality and a consistent look in your photos builds your brand and gives customers confidence in you and your products.

Easy Photography Tips

TAKING BETTER PHOTOS IS EASIER THAN YOU THINK -

Don’t worry!  Getting good photos is easier than you think.

I’m sharing 5 easy, practical steps to improve your photos.

These won’t break your bank and anyone can do them even with zero photography experience.

These tips are things that I’ve learned over the past 6 years of running my own bias tape and quilt binding business, Bessie Pearl Textiles.  When I started, ya’ll my photos were ROUGH. 

I had been taking portrait photos for years.  I had even shot a few weddings for friends.  But product photography is a different ballgame and it took me a while to work out the look I wanted and how to achieve it. 

I hope these techniques make it easier for you!

5 Easy Product Photo Tips

5 TIPS FOR BETTER PHOTOS

1.LIGHTING – TIPS FOR BETTER PHOTOS

Essentially, a photo captures how light plays on a space.  Bottom line – it’s all about lighting.  If you can master this, your photos will improve dramatically.  When you photograph anything – products, people, landscapes – you want to be aware of the light in the space.

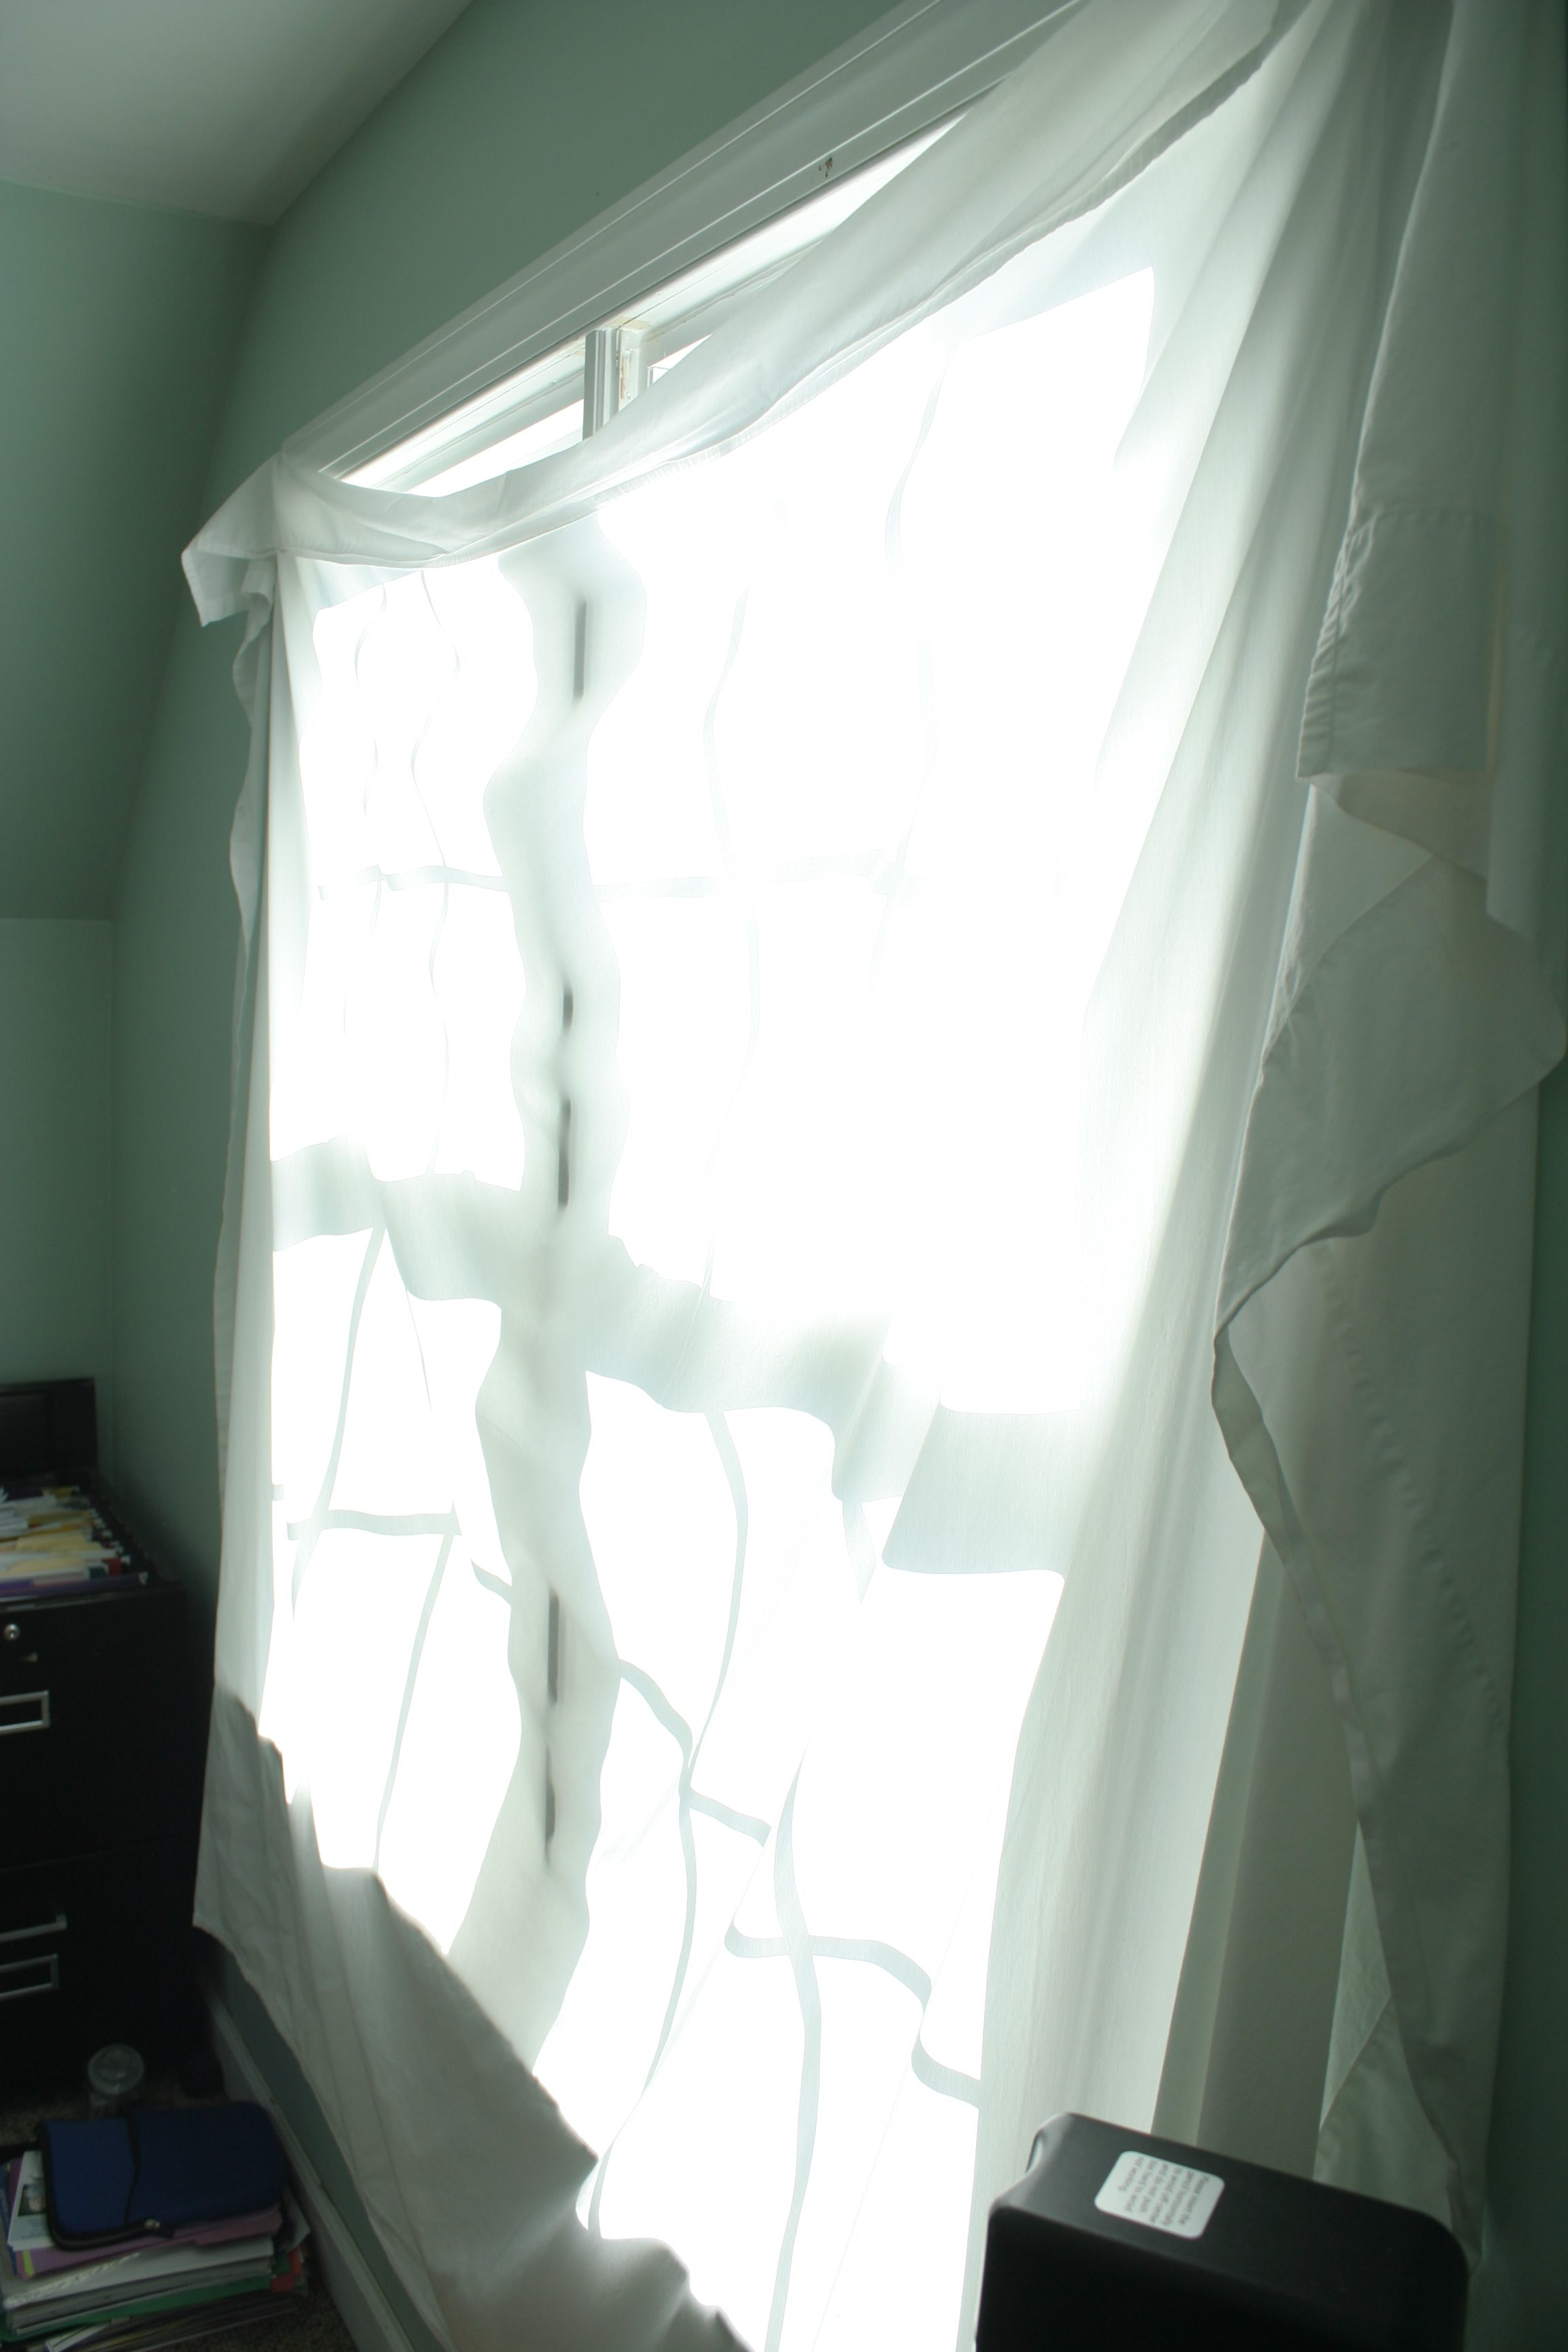
Natural lighting is ideal (and will save you from spending money on an expensive studio setup).  If you can, set up your shots near a window or door.  The trick though, is to have the light be diffused, not shining directly on your product (hello harsh shadows!) so I fix that by hanging a thin white sheet over my window.  I get nice bright light on my product but without the harshness of direct sunlight.

What about rainy days?  It may be tempting to take a photo on a rainy day, but DON’T DO IT!  Remember, consistency is vital in product photos.  This enhances your brand. 

Taking photos in different lighting may be a short-term solution but long term it isn’t helping you.

Instead:

  • Take your photos in the same spot, around the same time of day. This will help your lighting be consistent.  I keep my mini studio set up all the time and take my photos from 9-11 am.
  • Purchase additional portable lights with soft boxes (for that nice, diffused light) to mimic sunlight on overcast or rainy days. These are what I use, and I love them!  My bias tape is small but if you’re shooting a larger product, just get bigger soft box lights.
  • Turn off all the other lights in your room! Having other lights on will affect the lighting in your photo.  You just want sunlight and/or your soft box lights.

Here’s the same product photo, taken with three different types of lighting so you can see how the diffused natural light and soft box lights make for the most even, well-lit photo.

2. USING BACKDROPS – TIPS FOR BETTER PHOTOS

You’ve got your lighting figured out, now let’s think about backdrops. 

A backdrop is anything that is in the background of your photo.  This can be a wall, a sheet, trees, anything! 

But it is important that your backdrop be clear and uncluttered.  You don’t want it visually competing with your product.  Only helping it to stand out.

Personally, I am super low tech.  I have two white-washed wood boards for the base and a white foam core board in the background.  I wanted a seamless white and airy look with just a bit of texture for interest so this worked for my budget when I was starting out and is in line with my brand. 

There are great, affordable professional backdrops also if you don’t want to DIY it.  I’ve been eyeing @stileandco for a possible upgrade. 

I suggest experimenting with different things and seeing what you like best – a wood cutting board, a sheet of white bead board or a lightly patterned sheet are all easy places to start!

MY LOW-TECH SET UP

Simple Photography Tips Set up

3. CAMERAS AND EDITING SOFTWARE

When I started my business, I would have never dreamed of using my phone to take product photos.  But phone cameras have come a long way!  I know plenty of shop owners who exclusively shoot with their phones. 

I started years ago learning on a film camera (and now you know how old I am!), upgraded to a digital SLR (digital single lens reflex) and love it. 

Both phones and DSLR cameras have pros and cons, but here’s my tip – whatever you use, understand how to use its features. 

PHONE – 

Make sure it has a good camera and watch some tutorials specifically about your phone’s features. 

DSLR –

You don’t need it to be a super expensive, professional camera.  We’re not Annie Liebowitz here people!  Something like the Canon Rebel is a great camera for product photos and costs less than a new iPhone.  Take the time to learn how to shoot it on manual and you will see huge improvements in your photos.  Once more for the people in the back – DO NOT SHOOT IN AUTOMATIC MODE.  Okay, thanks.  [Steps down from soapbox.]

EDITING –

A camera’s best friend is its editing software.  Especially when you are starting out, most of your photos will need to be edited and that’s okay! 

I have a terrible habit of taking slightly crooked photos but thanks to the straightening tool, you’d never know it.

Great editing choices are:

  • Lightroom by Adobe

  • Picasa from Google (free!)
  • And even the photo editing software on your phone

A final tip on photo editing – like all good things in life, there is such a thing as an over edited photo. 

Editing should help your photos to ensure they accurately capture the look and feel of your product.  Over edited or filtered photos often don’t show the true colors of a product and can leave your customer dissatisfied with their purchase once it arrives.

4. SHOWING SCALE, USE AND DETAILS – TIPS FOR BETTER PHOTOS

The purpose of your product photos is to:

  1. Show off your item and
  2. Help your customer understand its value.

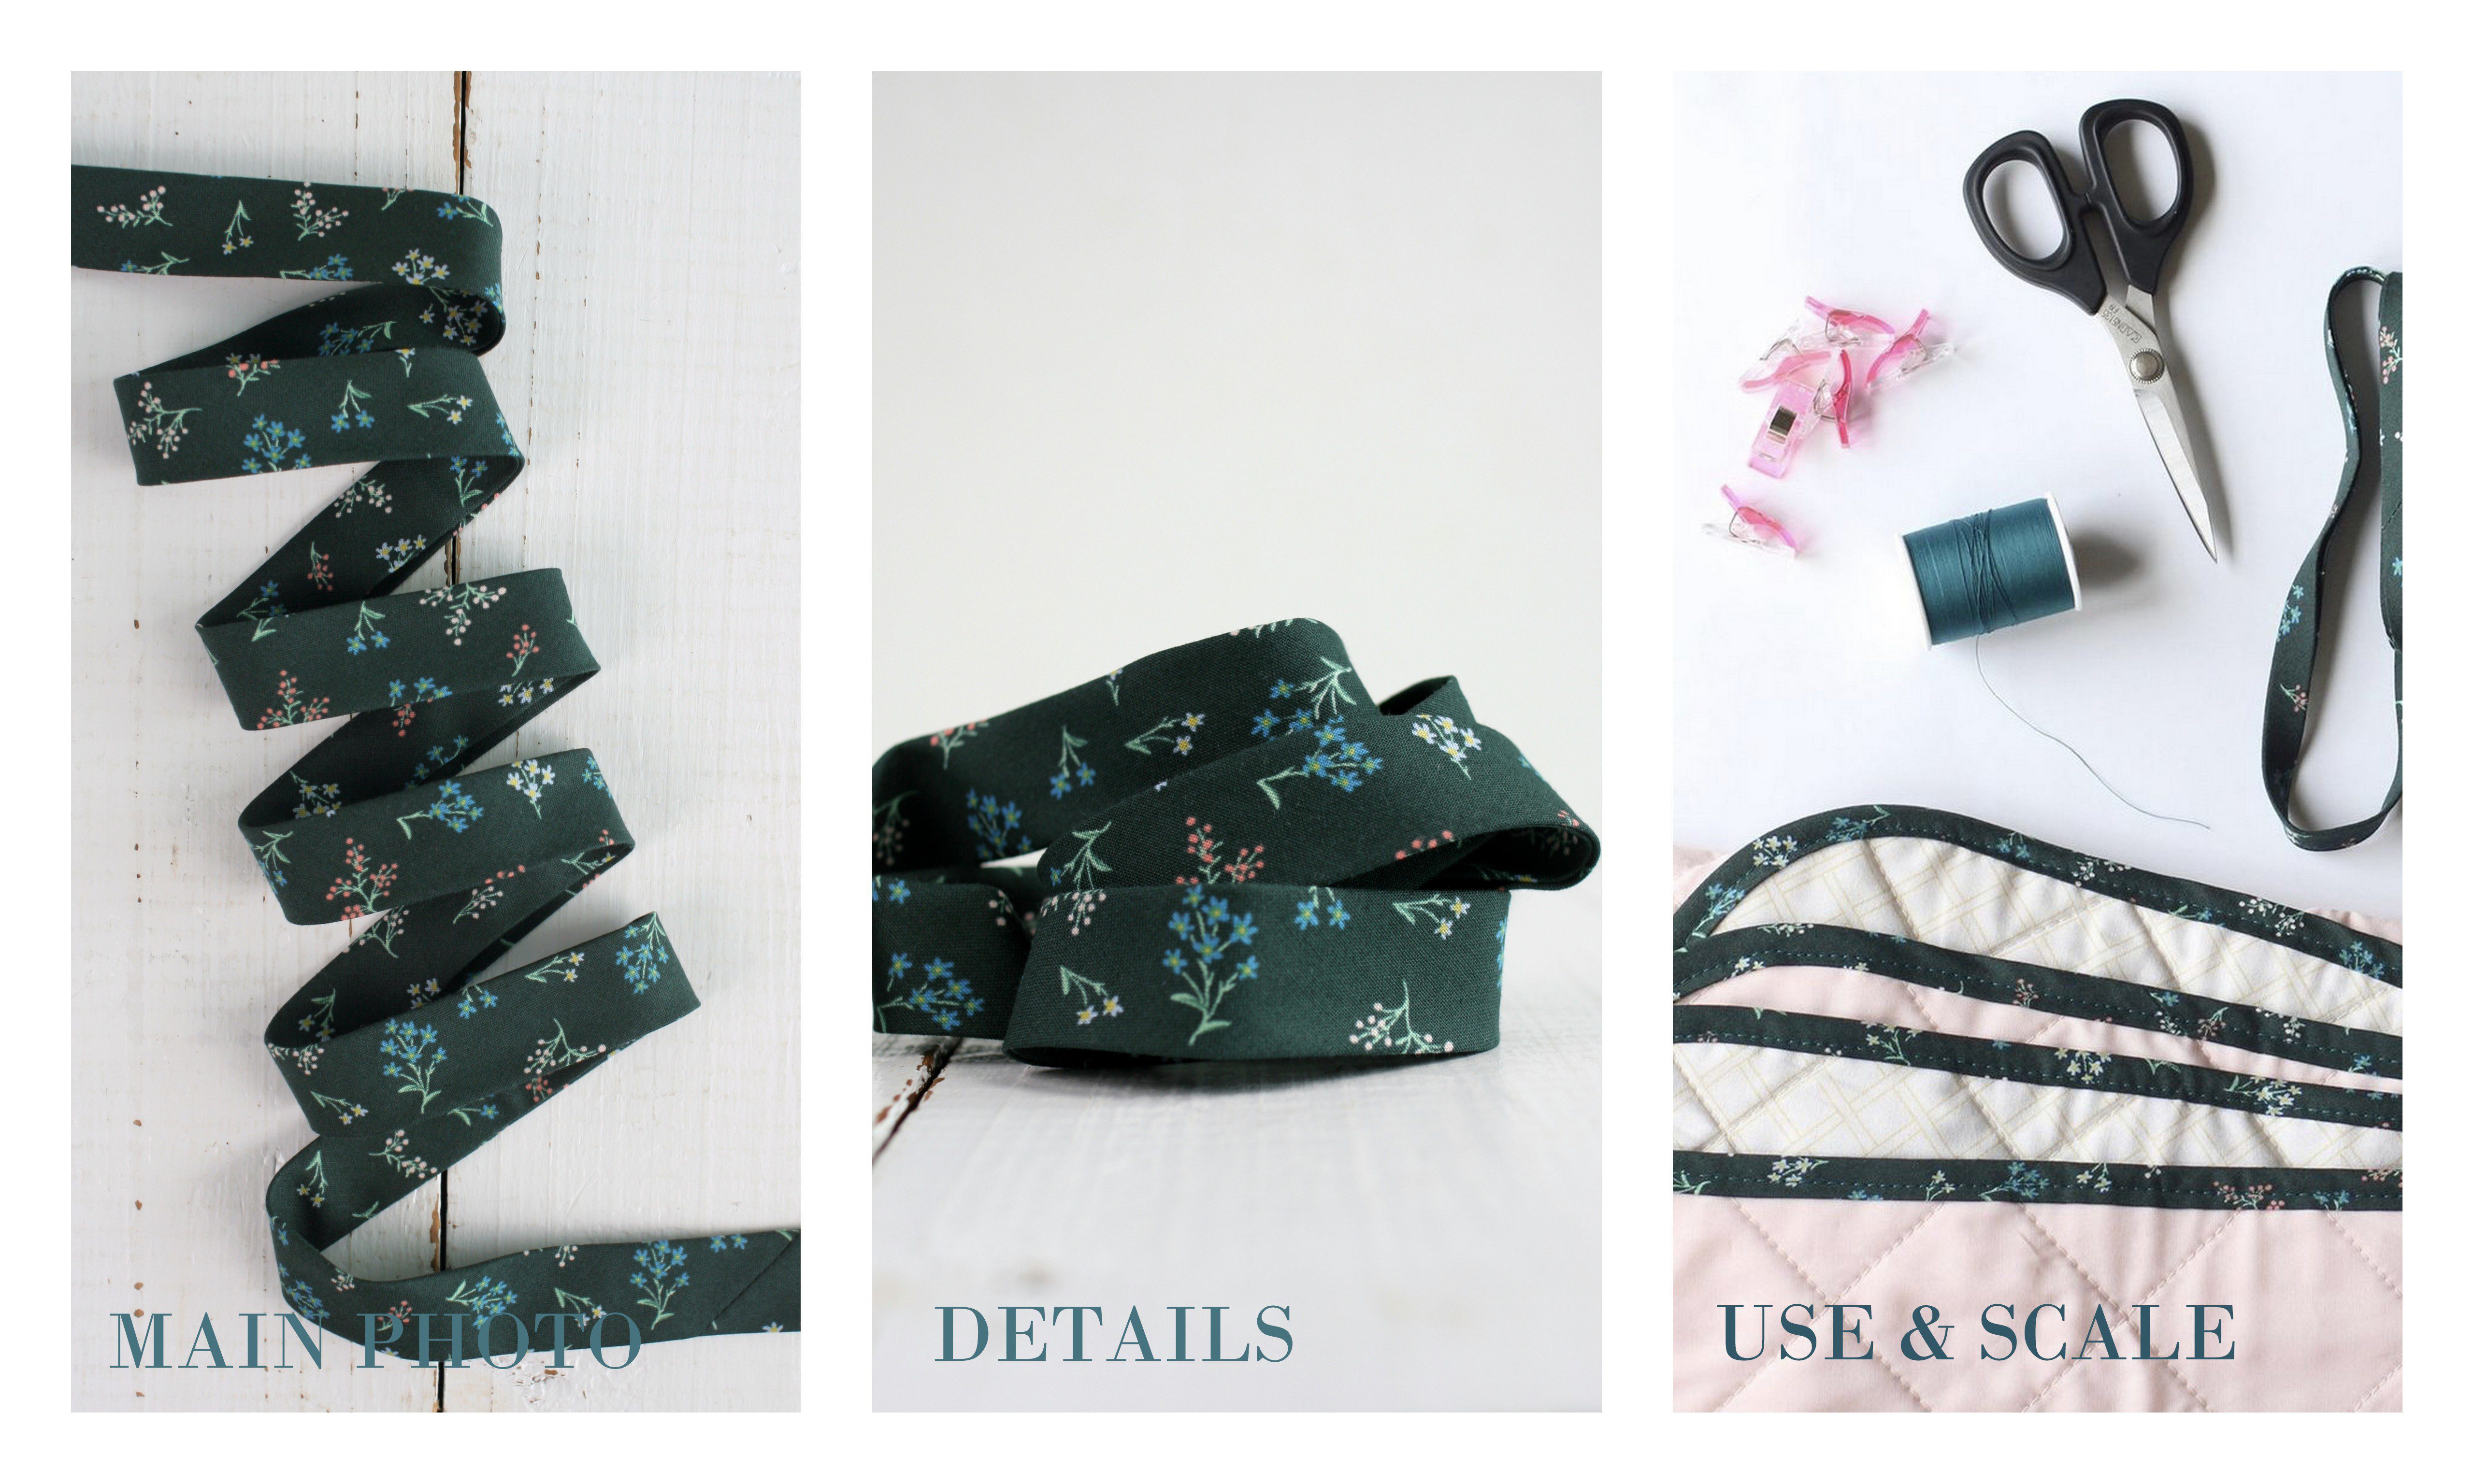
Think of it as telling a story with your photos.  By varying what your photo focuses on you can help your customer understand the scale, details and uses for your product.  Having different photos adds interest to your listings and builds buyer confidence.

5 Easy Product Photo Tips

We’ve all had those moments when an item we ordered is way smaller than we imagined.  Scale matters! 

Be sure to add a prop to help show the size in relation to another object. 

Maybe have someone model the new necklace you made so a customer can see how far down it hangs or show your quilt outside so it’s easy to understand how large it is.  You get the idea.

Add in some close up shots so customers can really see the fine details of your product. 

I sell quilt binding in my shop and fabric texture is really important to my customers.   I always include a close up shot of the fabric so customers know exactly what they are getting and feel confident in their purchase. 

Photos are your chance to show customers all the great ways your product can be used and how valuable it is! 

While all the different ways your awesome new zipper pouch can be used is obvious to you, don’t assume it is obvious to your customer.  

Ideas:

  • Shoot your product filled with hand quilting supplies.
  • As a makeup bag. 
  • Show your hand tied hair bows clipped to a baby headband
  • Show how they can be changed to a clip for bigger kids.

Letterfolk is a company that does this all so well with their fun, hip, tile floor mats. 

See? Photos that show different colors, features and styling ideas work.  I don’t know about you but I want to buy myself one! All photos credited to Letterfolk.

LOOK & LEARN – APPLYING 5 TIPS FOR BETTER PHOTOS

I still do this all the time.  Find other businesses whose photo style you love.  Learn how to analyze their photos and implement some of their ideas into your own style. 

Am I saying outright copy what they’re doing?  Absolutely not! 

But it’s okay to take principles from others’ work and apply them to your brand and photo style.

So start scrolling and when you find some photos you like ask yourself:

  • What type of lighting are they using?
  • What type of background do they have?
  • How is their product styled to tell its story or highlight a detail?
  • What are they using to show scale?

Lastly: practice, practice, practice!  And give yourself some grace.  This will take time.  It will take 100 shots to get one that you like.  Still I hope that you’ll see that it’s worth it when you have photos that show the world the beautiful product you worked so hard to create.

I hope you enjoyed these 5 tips for better photos.

Best,

Karen

@bessiepearltextiles

or SEARCH THESE

Popular categories

Craft to Career
Digital Downloads
Patterns
Podcast
Quilt Alongs
Quilt Questions
Tutorials
back to the top

Copyright 2024 Quilters Candy  |  Terms & Conditions