Mixed Media Mini Quilt
February 1, 2024

Mixed Media Mini Quilt

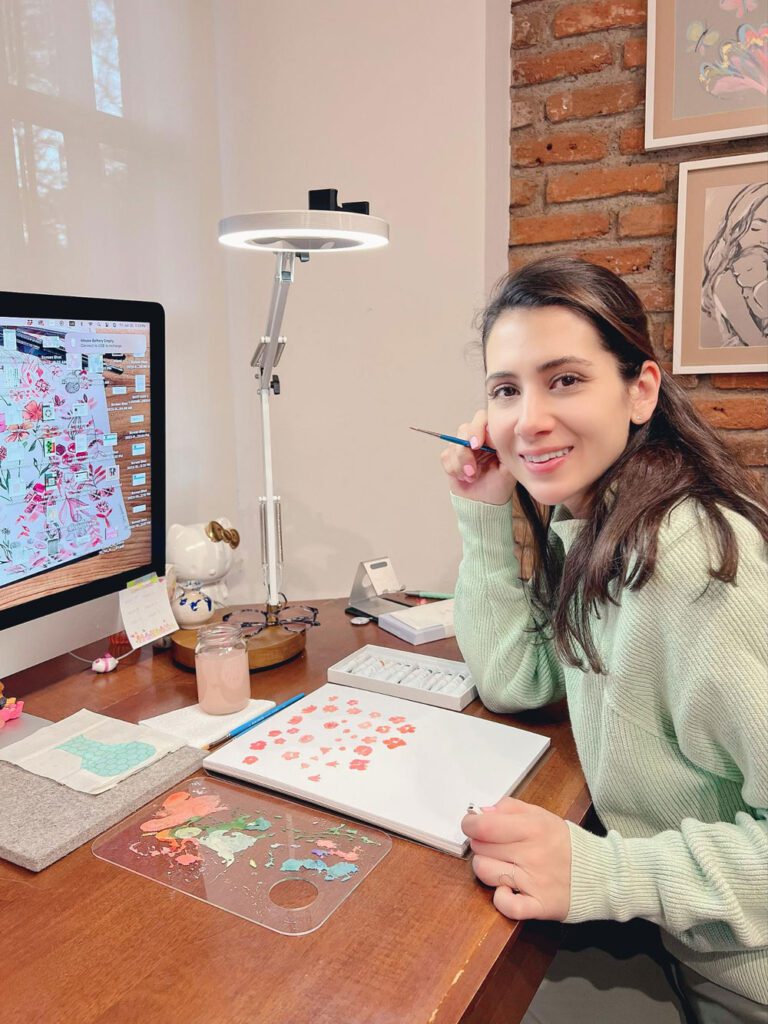
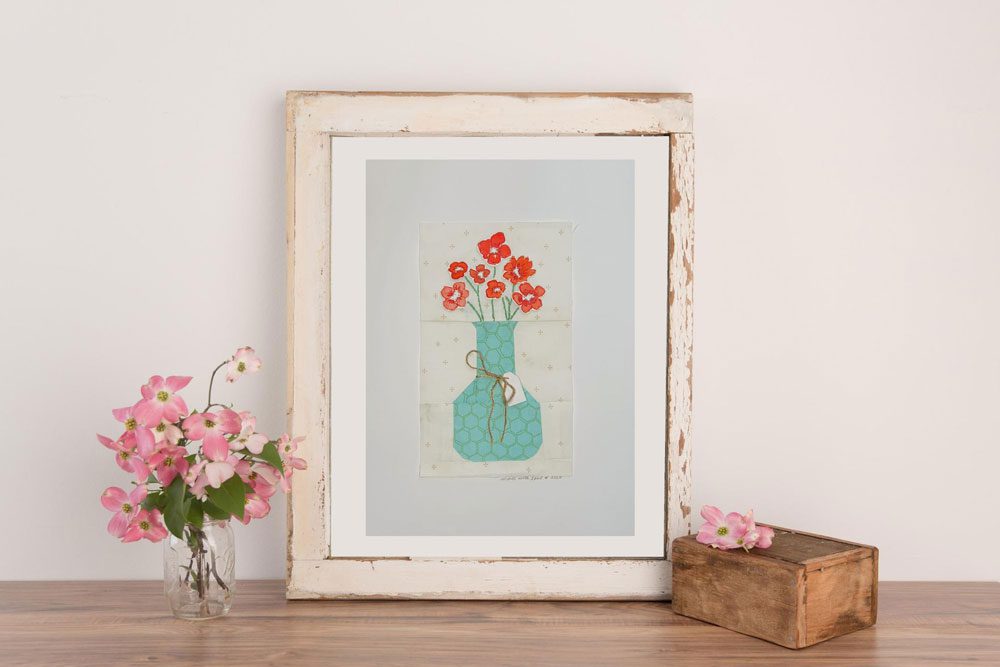
Patty of Patti Basemi shares how to make a mixed media mini quilt.

Embarking on a sewing project can be both thrilling and rewarding. Today, we’re diving into the delightful world of mixed media mini quilts, where sewing meets painting in a beautiful symphony of creativity. Whether you’re a seasoned crafter or a curious beginner, follow along as we break down the steps to craft your very own mixed media mini quilt to gift this Valentine’s day.

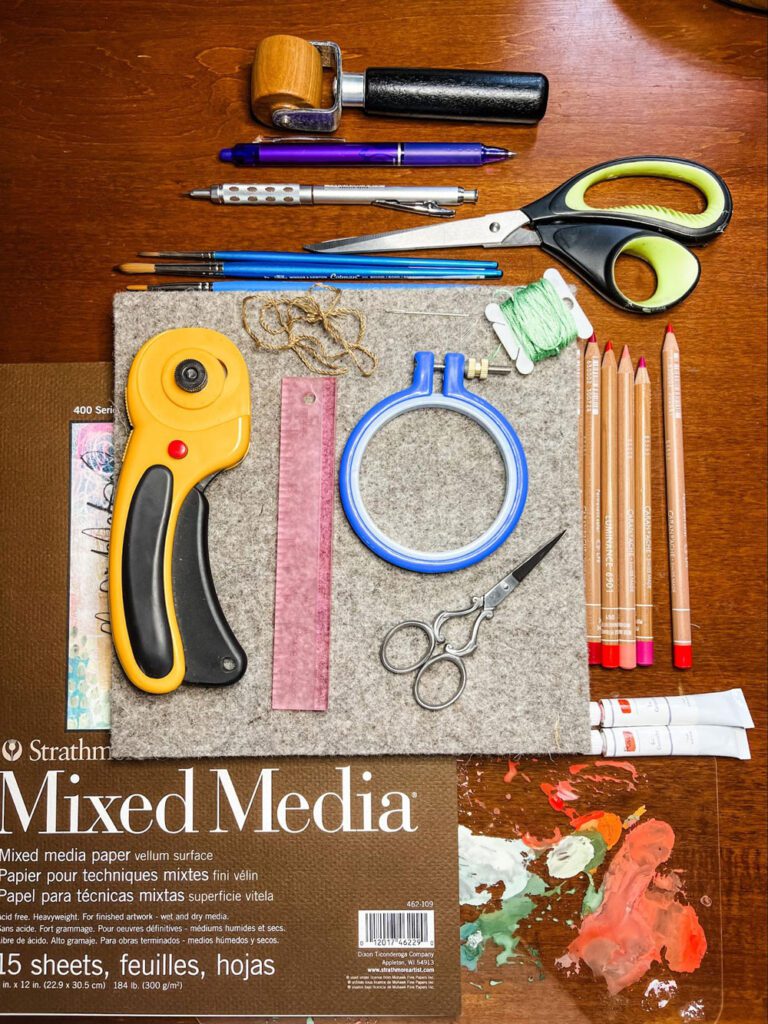
supplies

Supplies:

  • FPP Pattern
  • Fabric
  • Sewing materials (thread, rotary cutter, iron, 1/4 ruler, sewing machine, cutting mat, starch, ruler)
  • Thick watercolor paper (300-500 weight, e.g., Strathmore Mixed Media 300gsm – this is the one I used)
  • Gouache or watercolors
  • Brush
  • Paper scissors
  • Fabric scissors
  • Embroidery needle
  • Small embroidery hoop
  • Friction pen
  • Embroidery threads
  • Adhesive for attaching block to card-stock (Alene’s Fabric Fusion Peel)
  • Thick white card-stock paper
  • Frame (8.5 x 11 inch)

Step 1: Prepare Your Materials

Gather all necessary supplies, ensuring you have everything on hand to begin your project. Prepare your workspace, making sure it’s clean and well-lit.

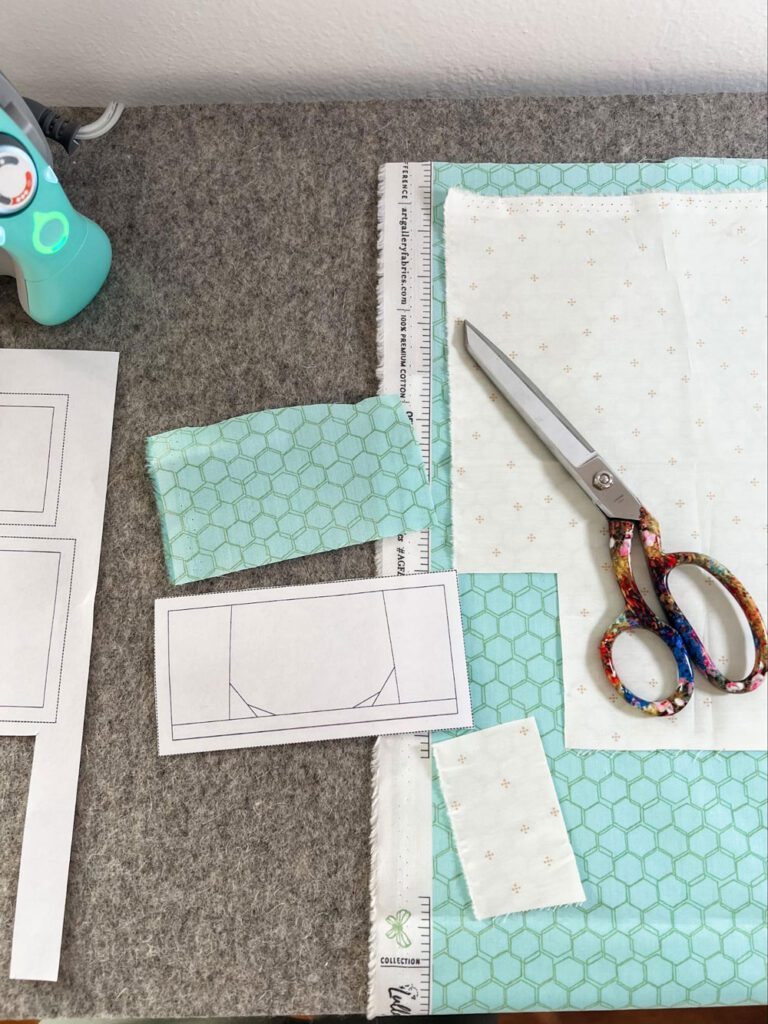
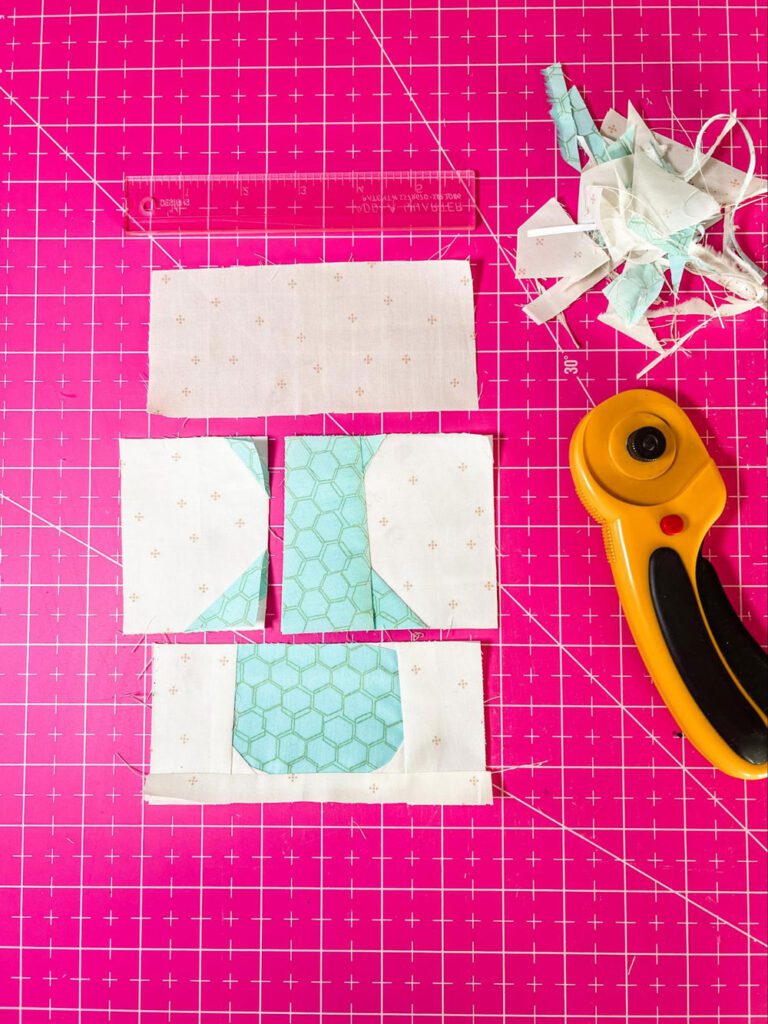
cutting-fabric

Step 2: Creating Your Pattern

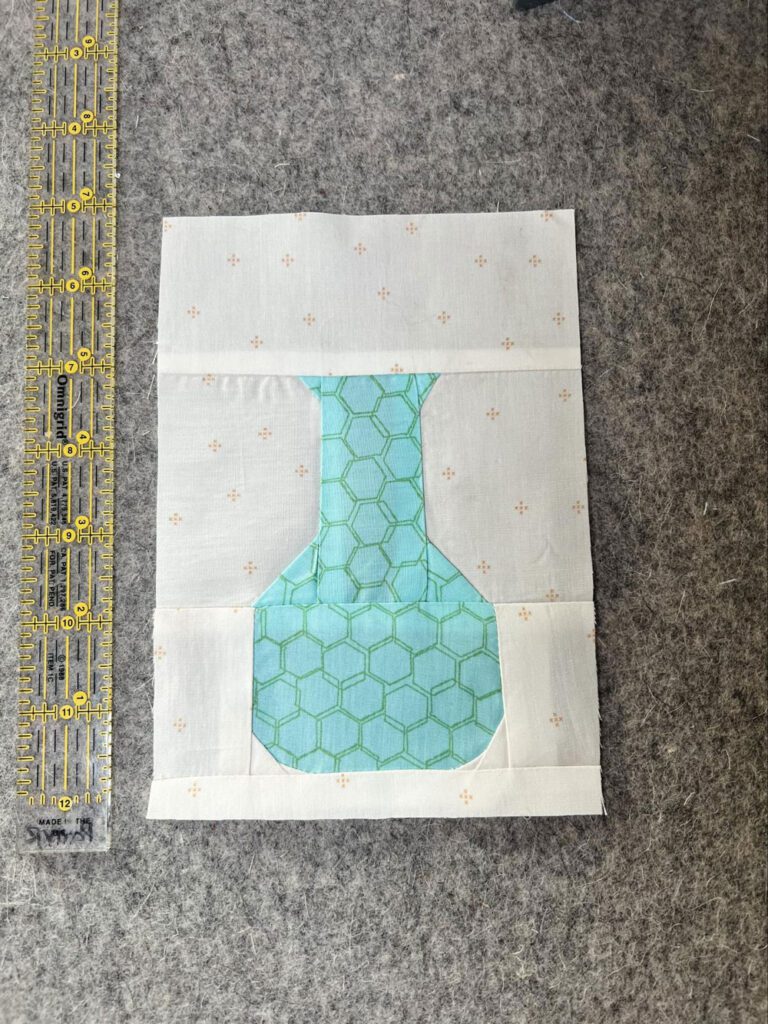
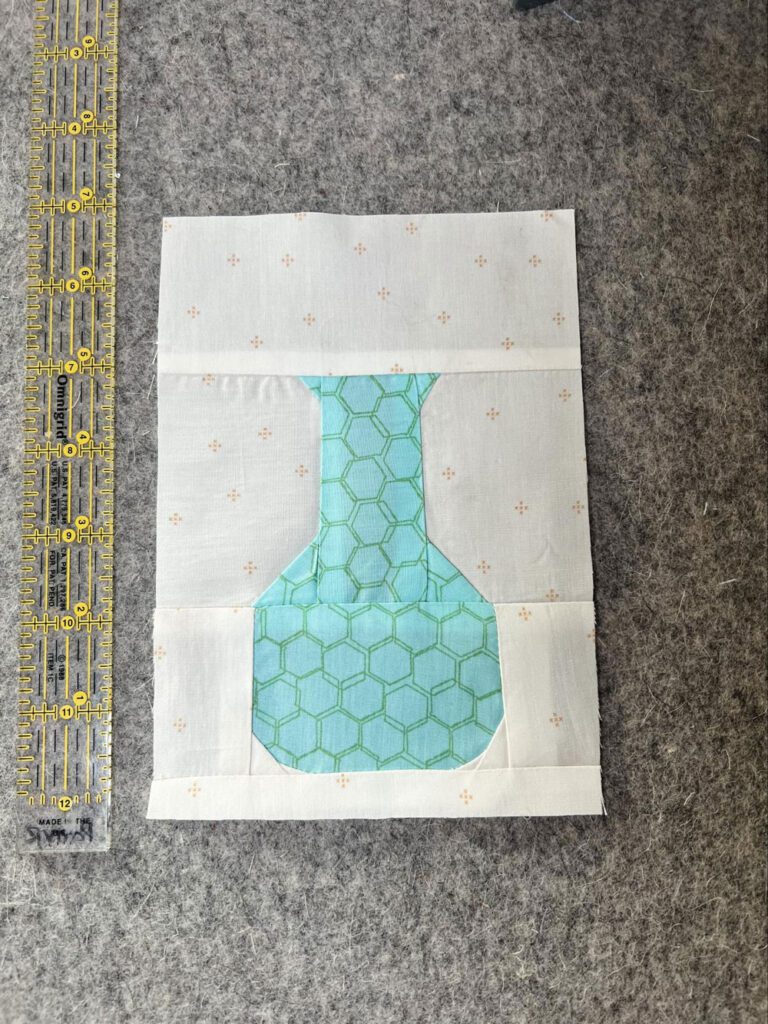
Select fabrics for the vase FPP pattern. Opt for a solid-colored or low-volume fabric for the background to enhance your artwork. Use the Foundation Paper Piecing (FPP) technique to construct your pattern. Consider adjusting the size of the top piece, if desired to accommodate additional elements like taller flowers. I ended up changing the top piece to be a 3 1/4in by 5 1/4in rectangle. (This gave me space to put in larger and taller flowers.)

vase quilt block
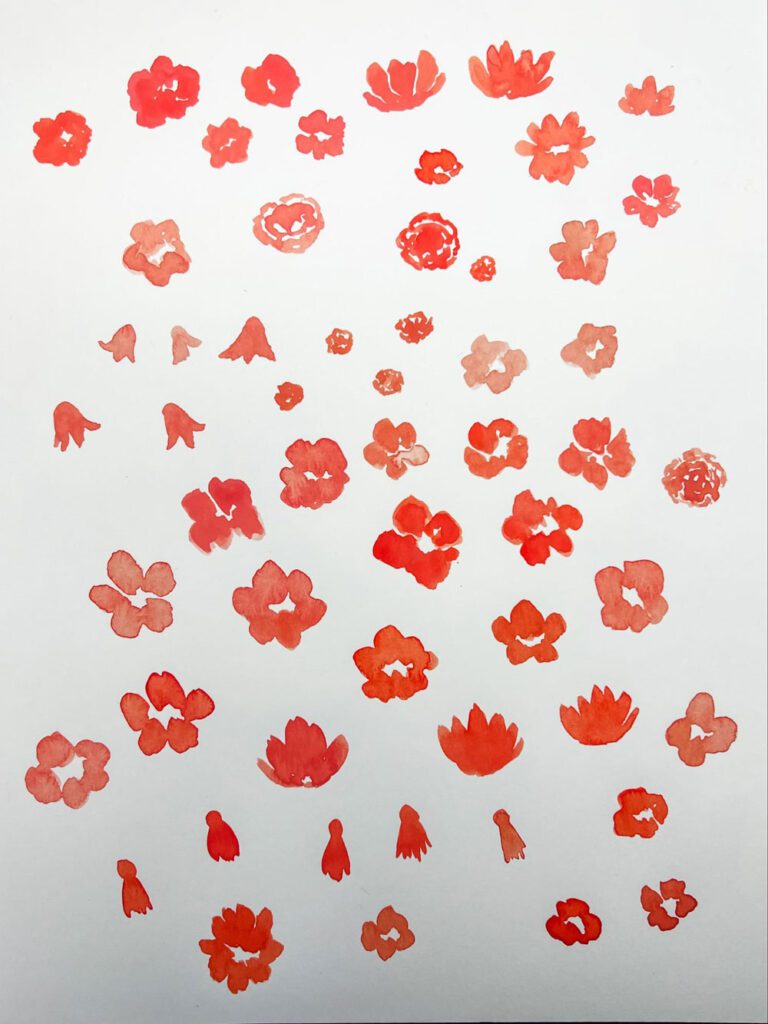
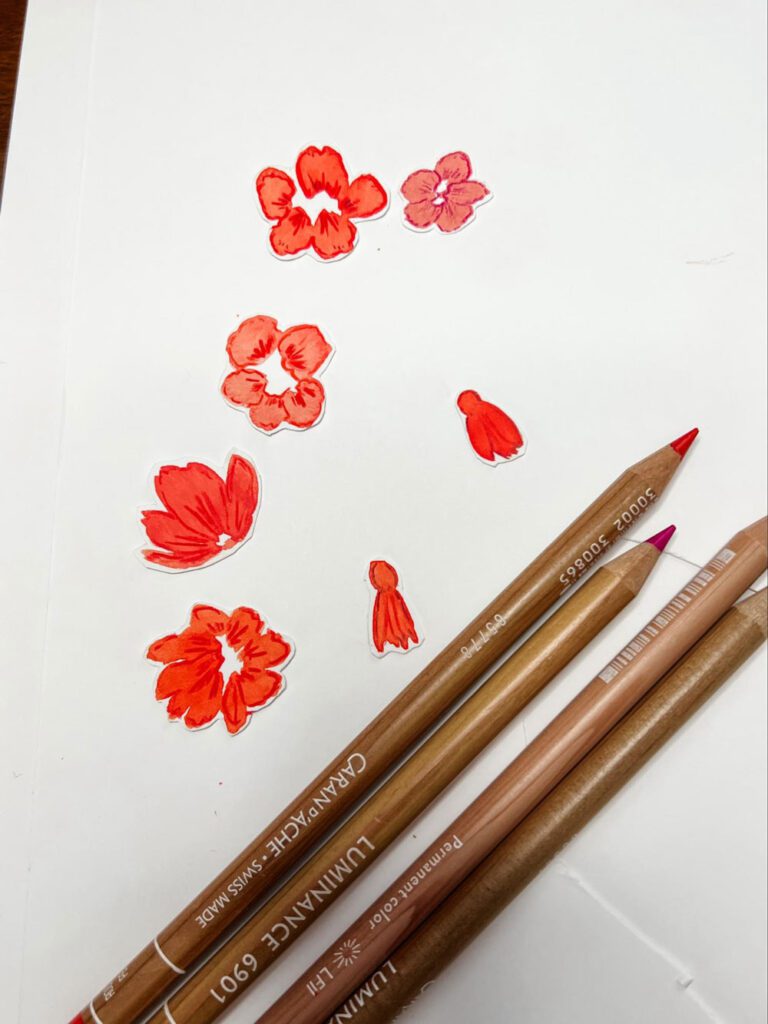
painted flowers

Step 3: Painting Your Masterpiece

Using gouache or watercolors, paint your flowers onto the thick mixed media paper. Experiment with different strokes and color combinations. Allow the paint to dry thoroughly before proceeding. (I will leave you an example of all the different shaped flowers I painted.)

assembling
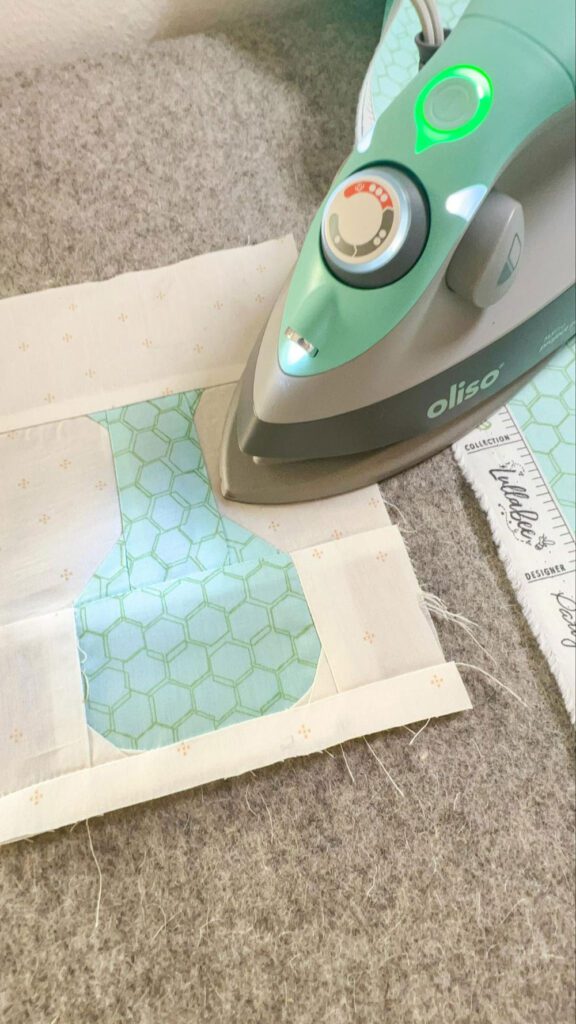
ironing

Step 4: Sewing the Block

Follow the FPP technique to assemble the block, ensuring precision and crispness in every detail. Once stitched together, starch and iron the block for a polished finish. Remember, the finished block size should be 7 x 5 inches, but adjustments can be made to accommodate taller flowers, which can lead the block to be 8 x 5 inches. Remember to use your quarter ruler.

coloring flowers
cutting flowers

Step 5: Adding Details

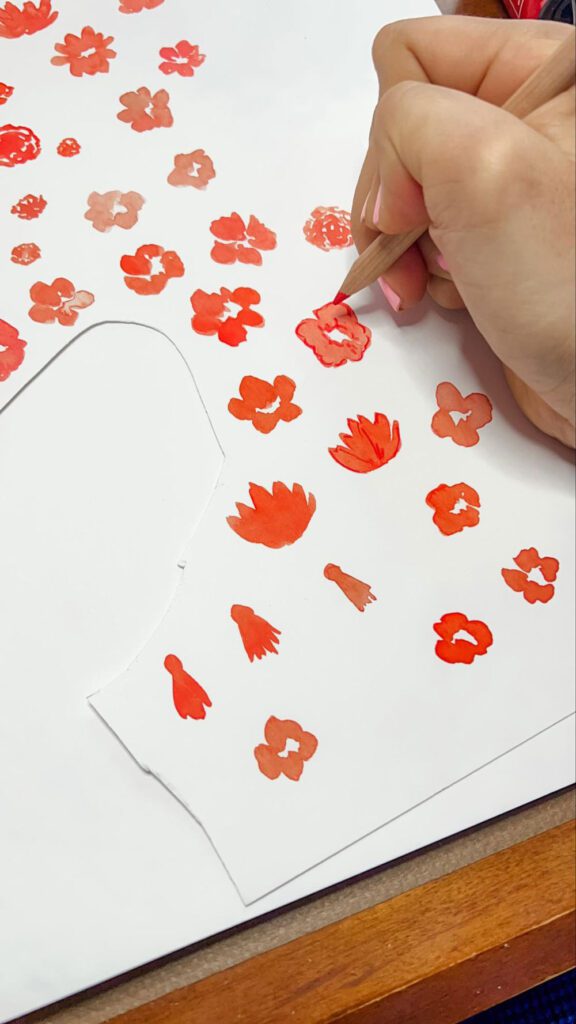
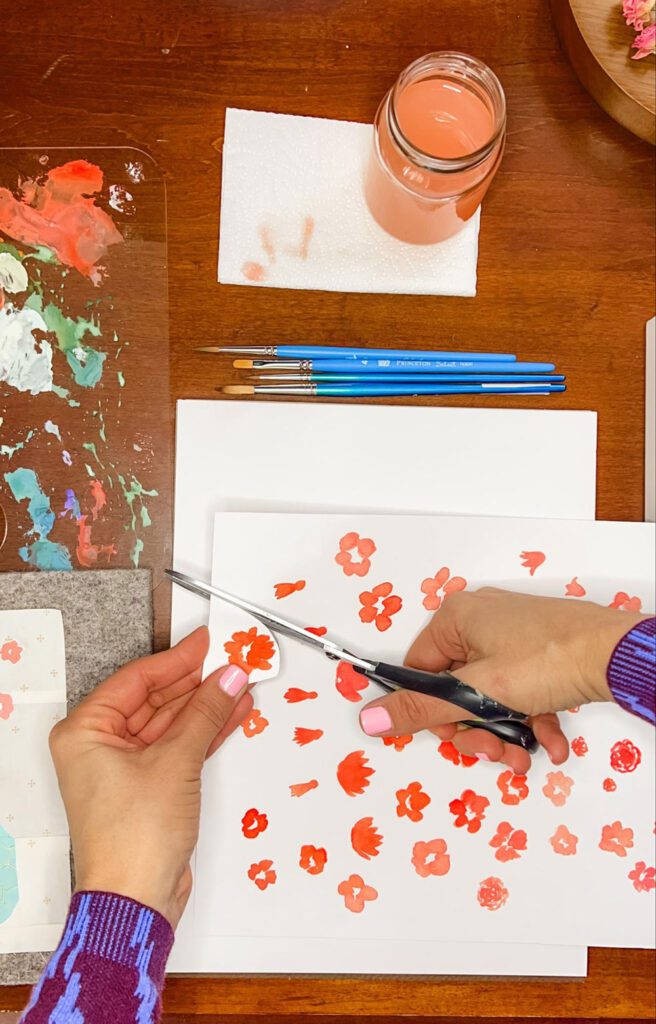
Before cutting out the flowers, enhance them with colored pencils, adding in details and outlines. I like using a darker shade color pencil. Cut out the flowers, leaving a small white rim around each one to distinguish them as a painted element.

media on ironing mat
embroidery
mixed media in the hoop

Step 6: Embroidery and Stems

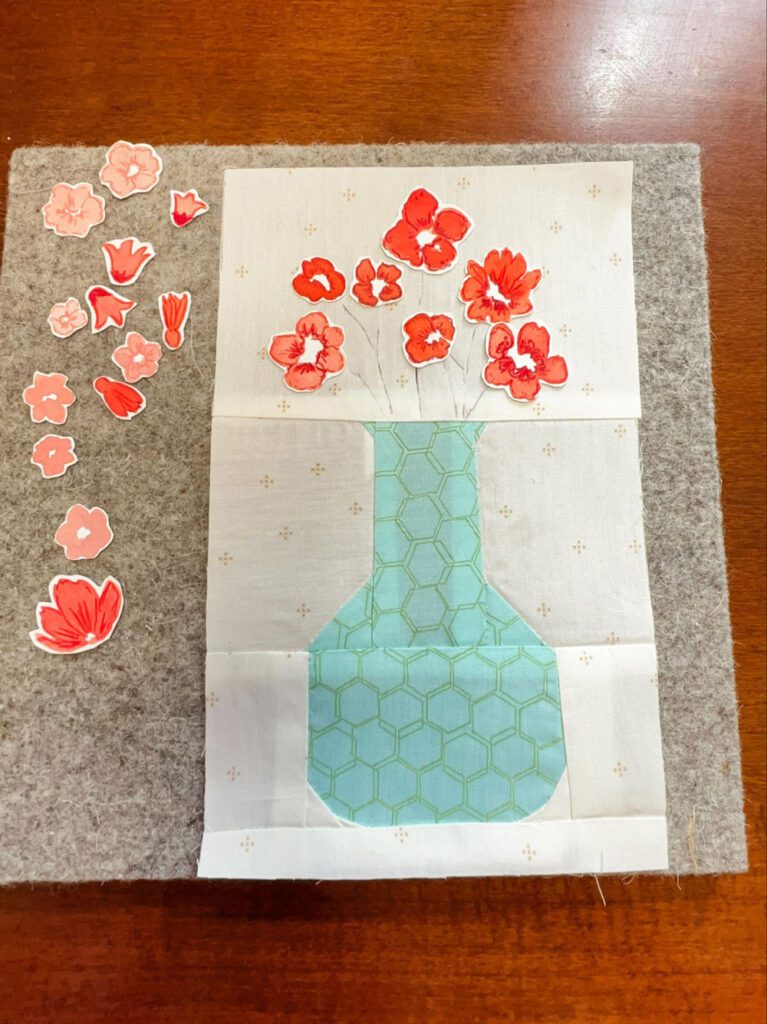
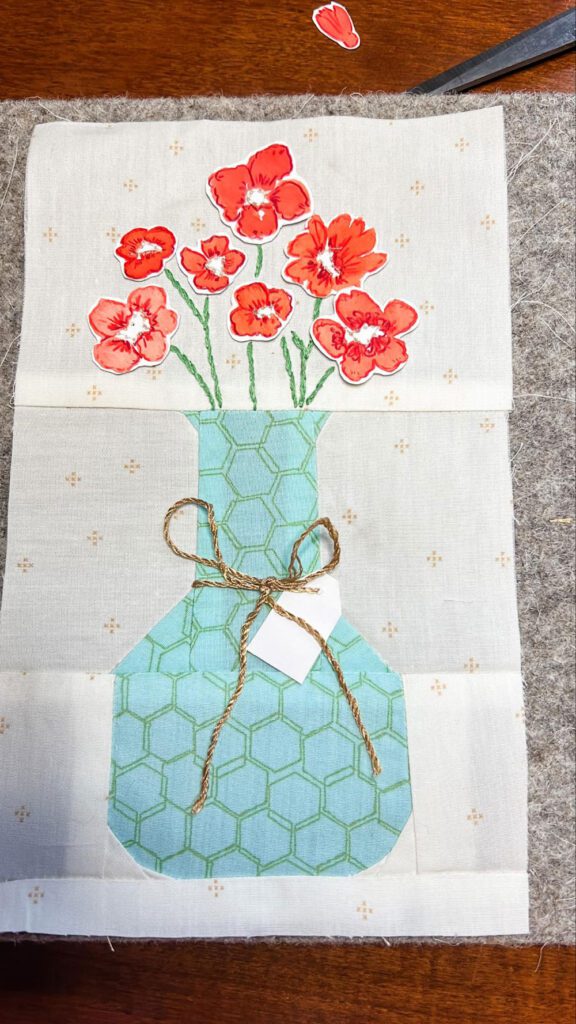
Go ahead and place your flowers where you would like them to go and draw in the stems using a frixion pen. Take a picture so you can use a reference when you are placing the flowers back into place.

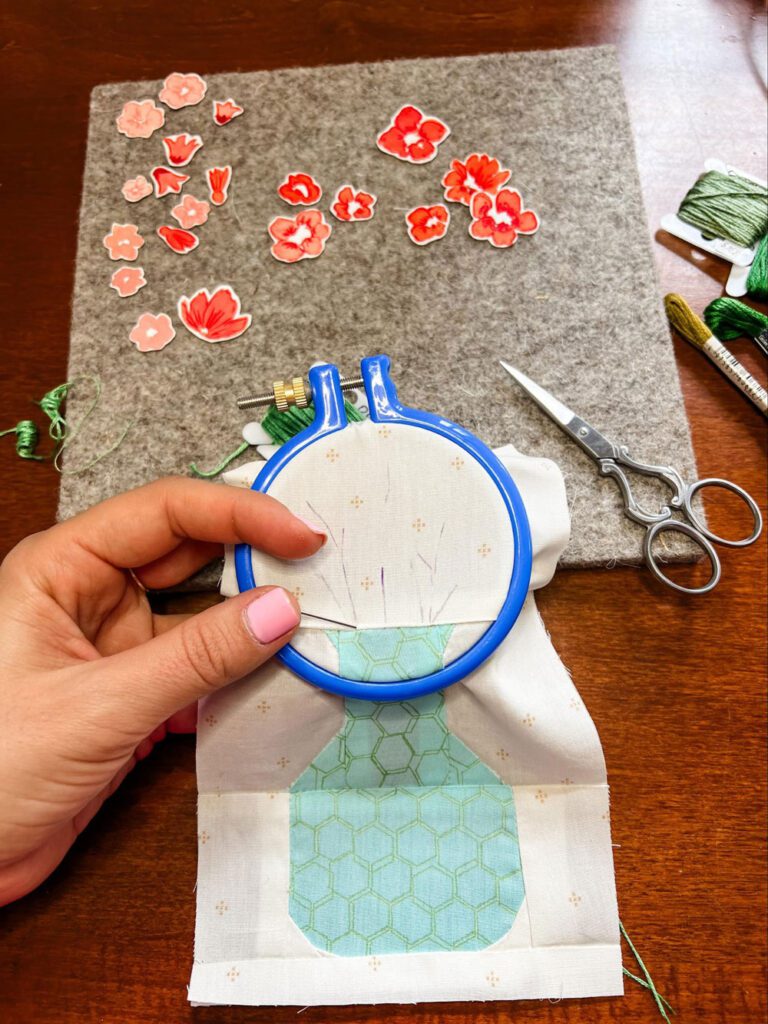
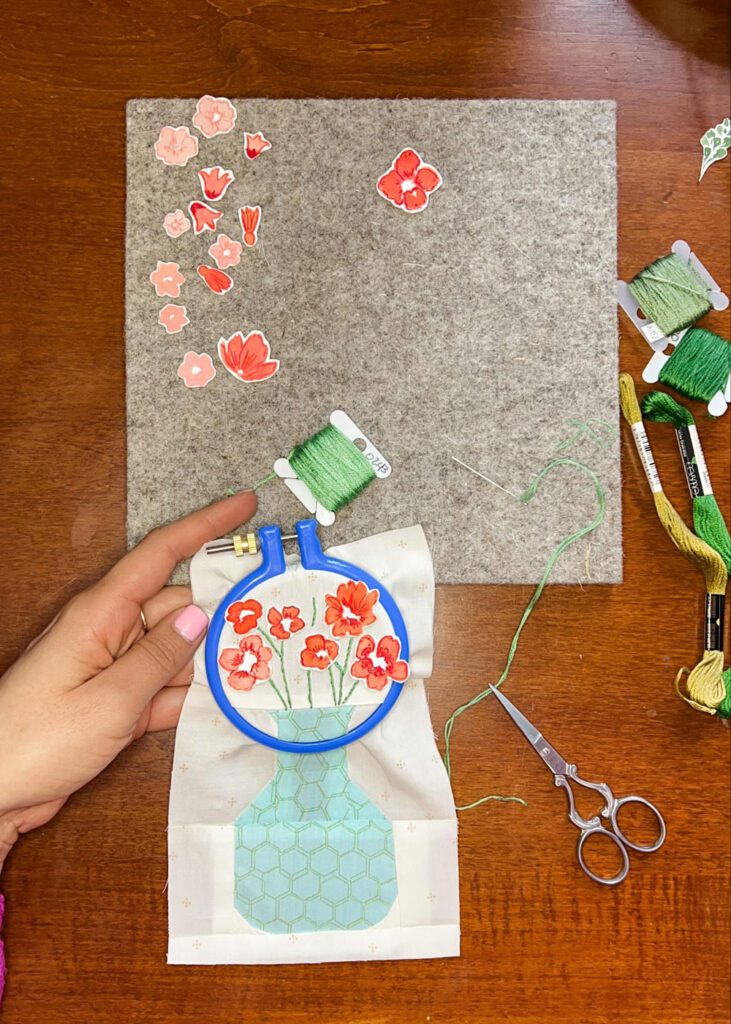
Using an embroidery needle and threads, add stems and additional details to your flowers (the detail depends on you). Experiment with different stitches, such as the Stem stitch, to create lifelike stems. Remember to keep the knots small and non-bulky and try placing them in the seams working your way up, so you can finish off the stitch where the flower will be sewn.

Once you remove the fabric from the hoop remember to iron everything out once again to leave it nice and crisp. TIP: I like placing a piece of fabric on top of the embroidered part just to avoid anything happening to the threads. (Different threads react differently)

sewing at the machine
mixed media block at the machine
sewing mixed media

Step 8: Machine sewing of the Flowers

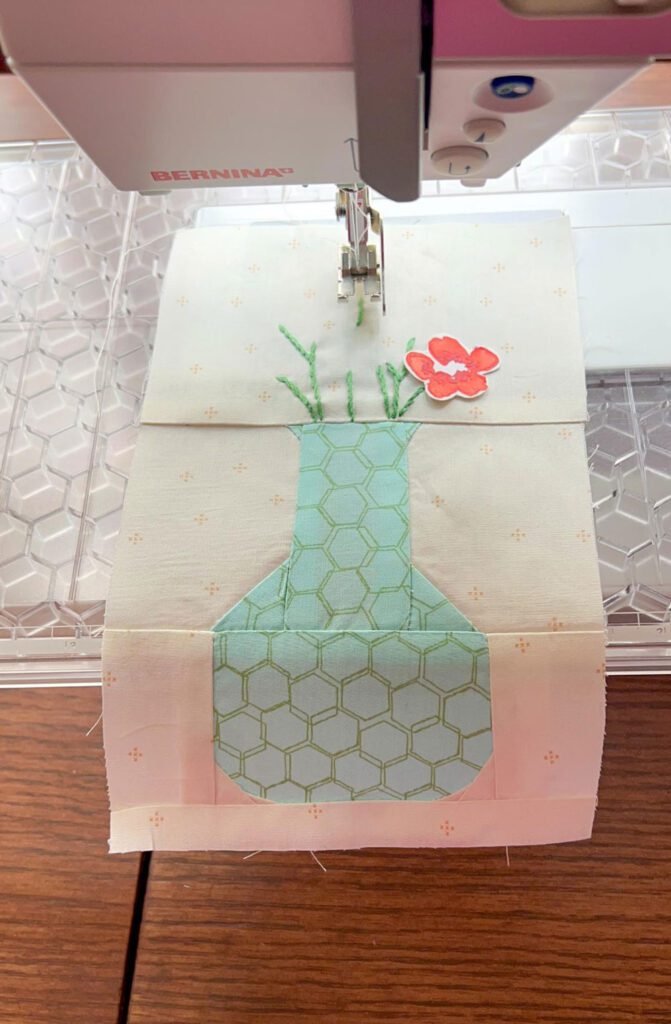
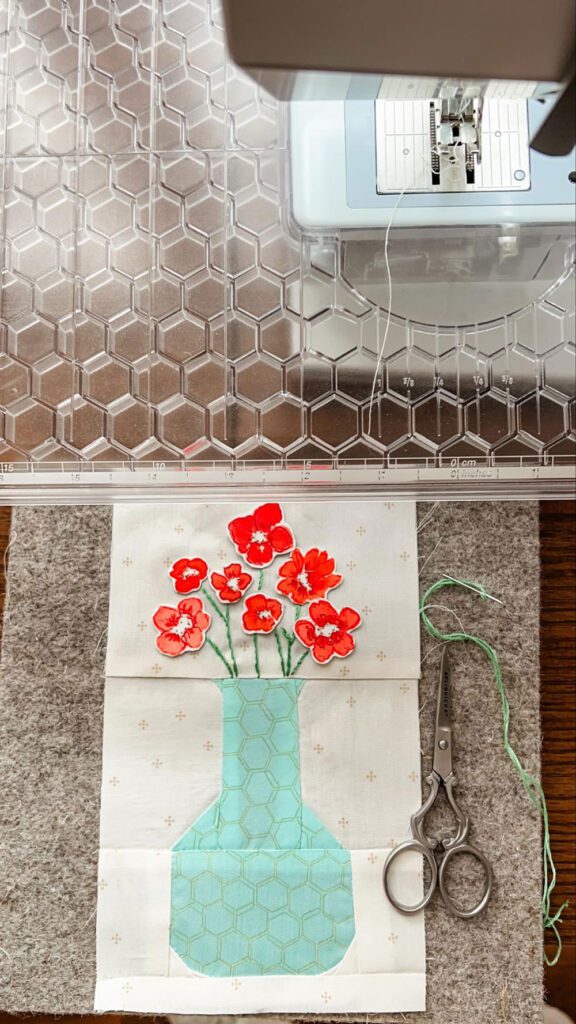
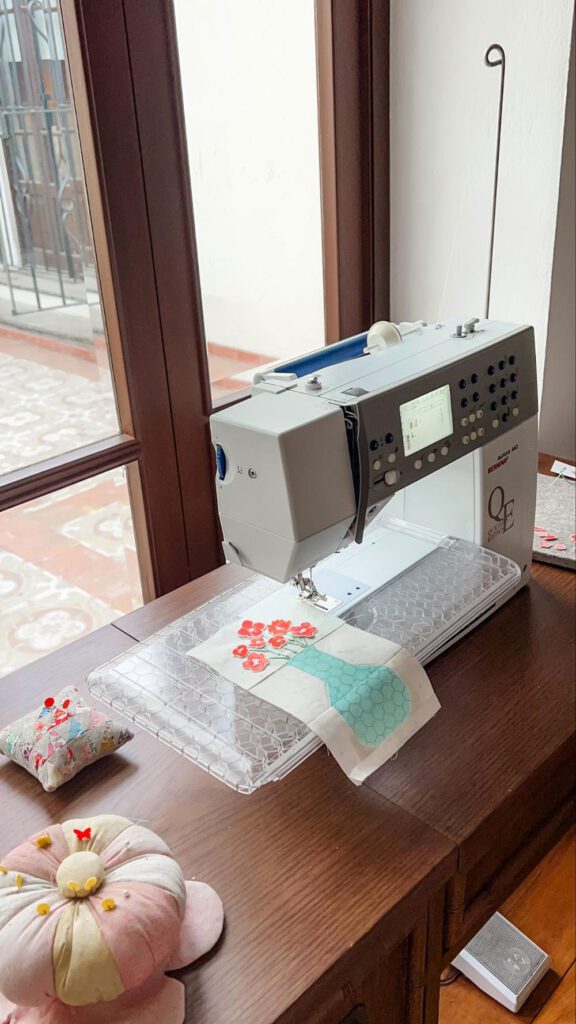
When sewing the flowers onto the block, ensure that you avoid going back and forth on all stitches, as this can cause the paper to weaken. Instead, go over the first stitch twice and do the same with the last stitch, sewing around the center of the flower. Be extra careful when you are pulling and cutting the thread, later on go back and cut all extra threads front side and back side.

block with tag added

Step 7: Final Touches and Assembly

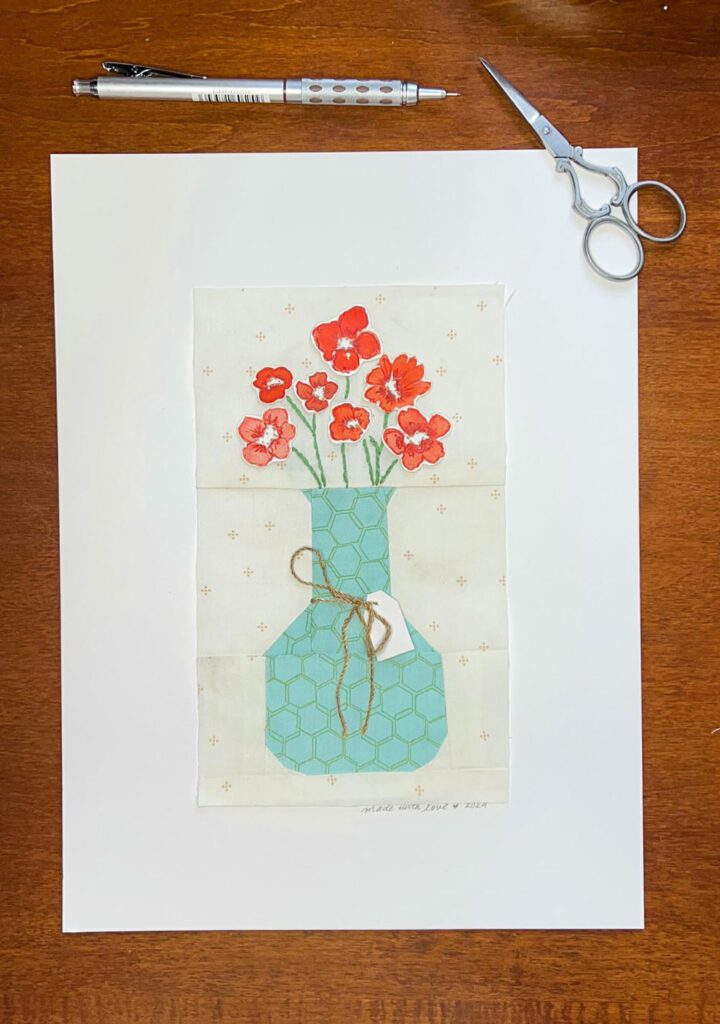
Carefully position the block on your cutting mat and trim to size leaving crisp edges.

attaching the block

Step 8: Mounting and Displaying

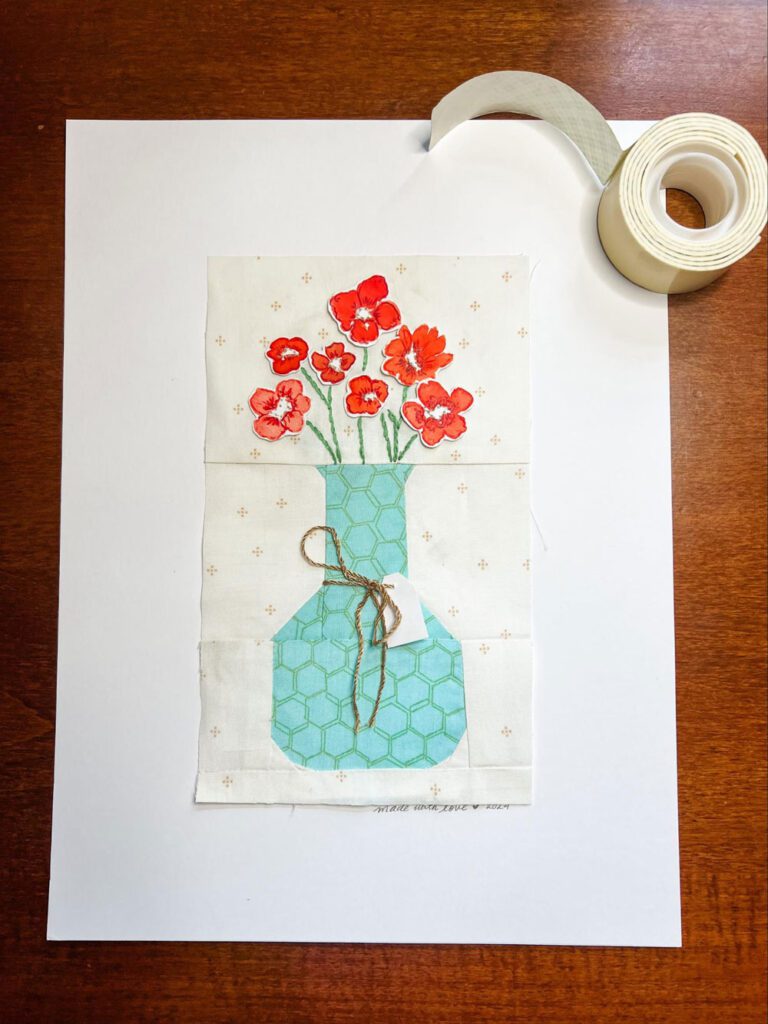
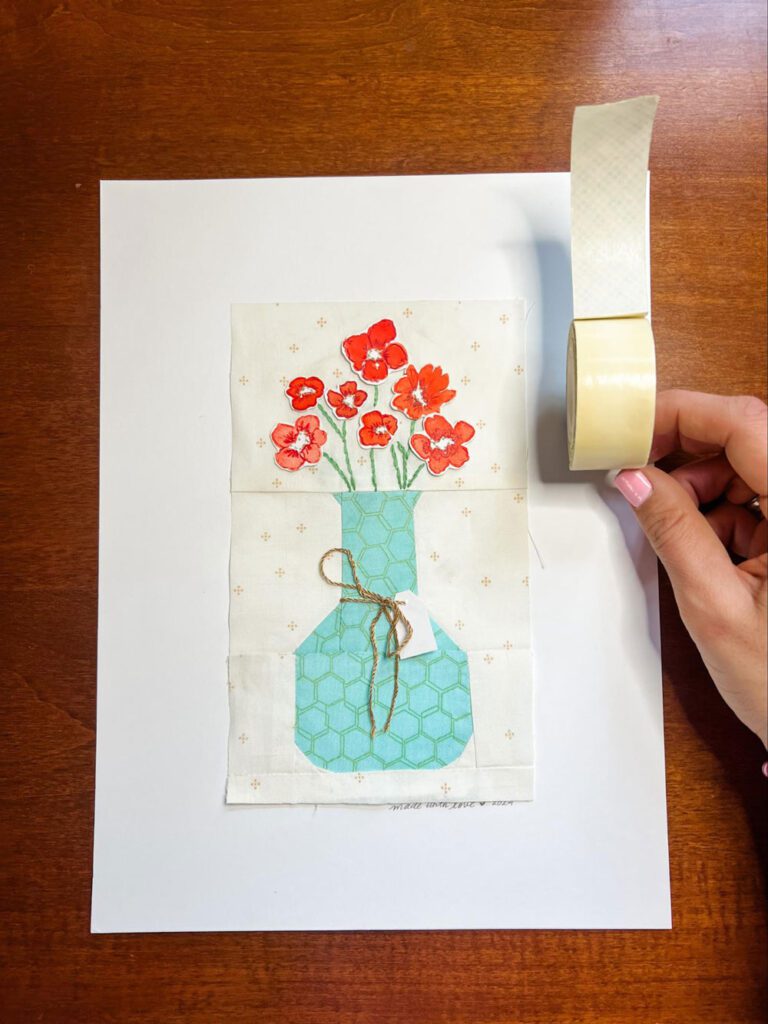
Paste the block onto the thick white card-stock paper, ensuring it’s centered. You can use fabric tape (Alene’s Fabric Fusion Peel) of fabric glue (even stick Elmers glue).

Place the assembly inside the frame (8.5 x 11 inches), and your mixed media mini quilt is ready to be displayed!

attaching
applying adhesive

Conclusion:

Congratulations on completing your mixed media mini quilt! This project beautifully blends the artistry of painting with the precision of sewing, resulting in a stunning piece of decor that’s uniquely yours. It makes a wonderful gift for someone special. We hope you’ve enjoyed this journey into creativity and discovered new ways to express your quilting talents by incorporating mixed media to your block. Until next time, keep exploring, experimenting, and crafting your own stories, one stitch at a time.

Patty Basemi

Please don’t forget to tag me when you share pictures of your creations!

@PattyBasemi

MORE BLOG POSTS LIKE THIS ONE

Did you enjoy this tutorial? Be sure to check out these free tutorials: 

Framing Your Quilts

Embellishing a Quilt

Personalizing Your Quilts with Hand Embroidery

or SEARCH THESE

Popular categories

Craft to Career
Digital Downloads
Patterns
Podcast
Quilt Alongs
Quilt Questions
Tutorials
back to the top

Copyright 2024 Quilters Candy  |  Terms & Conditions