DIY Christmas Stocking

November 13, 2023

DIY Christmas Stocking

Chelsie Smith of Elevation Handmade shares how to make a DIY Christmas stocking on the Quilters Candy blog.

Hello, crafty friends and holiday lovers! Are you looking to add a personal touch to your holiday celebrations this year? Then you’ve come to the right place! Today, I’ll show you step-by-step how to make a Christmas stocking from scratch. This DIY Christmas decoration is perfect for all ages and adds a cozy, homemade feel to any fireplace or mantel. The best part? You can fill it with small gifts, candies, and holiday surprises that make the season even more magical. So, let’s gather our supplies and get started on this fun holiday craft project.


WHAT YOU’LL NEED TO MAKE YOUR OWN STOCKING:

Supplies:

  • Main fabric – (2) 8.5″ x 11″ pieces
  • Lining fabric – (2) 8.5″ x 11″ pieces
  • Coordinating thread
  • Felt scraps
  • Twill ribbon 6 1/2 inches long
  • Printed templates
  • Embroidery floss

Tools:

  • Sewing machine
  • Pins
  • Iron
  • Ironing board or mat
  • Ruler
  • Fabric and paper scissors
  • Hand sewing needle with a big eye and semi-blunt tip


Step-by-Step Instructions:

Step 1 Christmas Stocking

Step 1: Get Your Templates Ready

Print and cut out your templates (stocking, cuff, toe, heel, and letter).

Step 2

Step 2: Cut Your Felt Pieces

Place the heel, toe, cuff, and letter cut templates on top of the felt pieces you want to use. Pin them into place, trace them, and cut the pieces out.

Step 2
Step 2
Step 3

Step 3: Prepare the Fabric

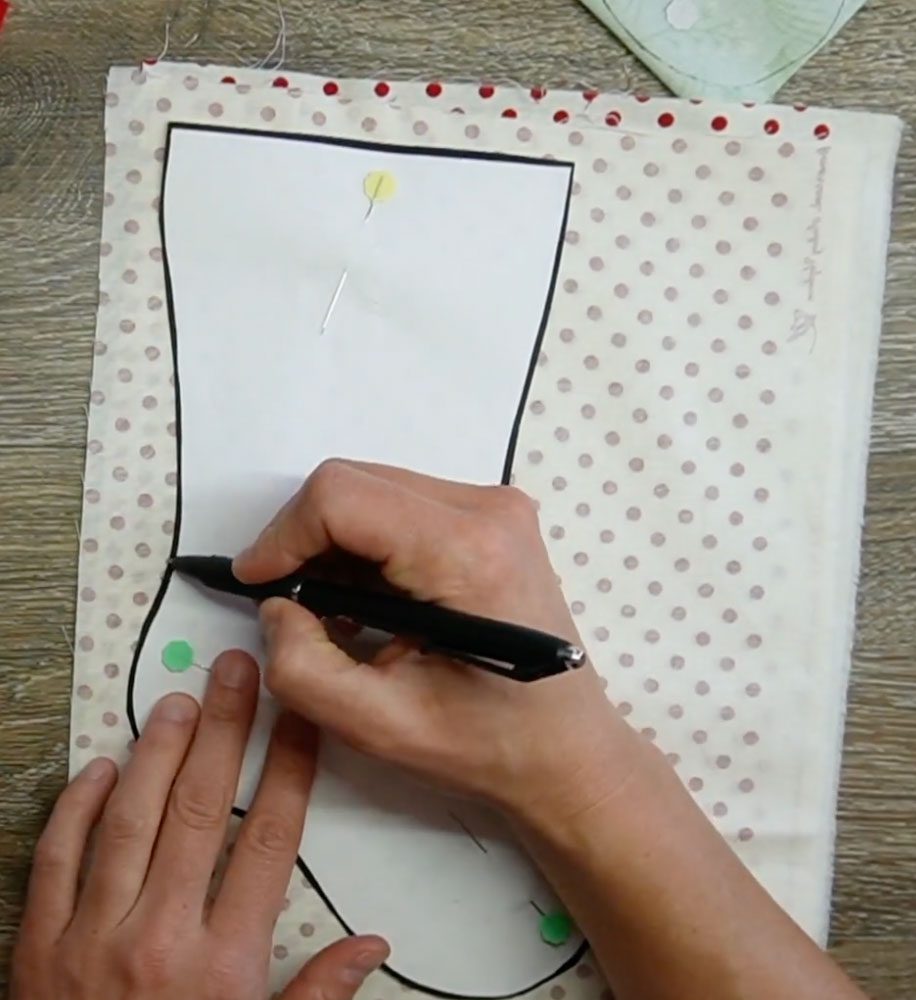
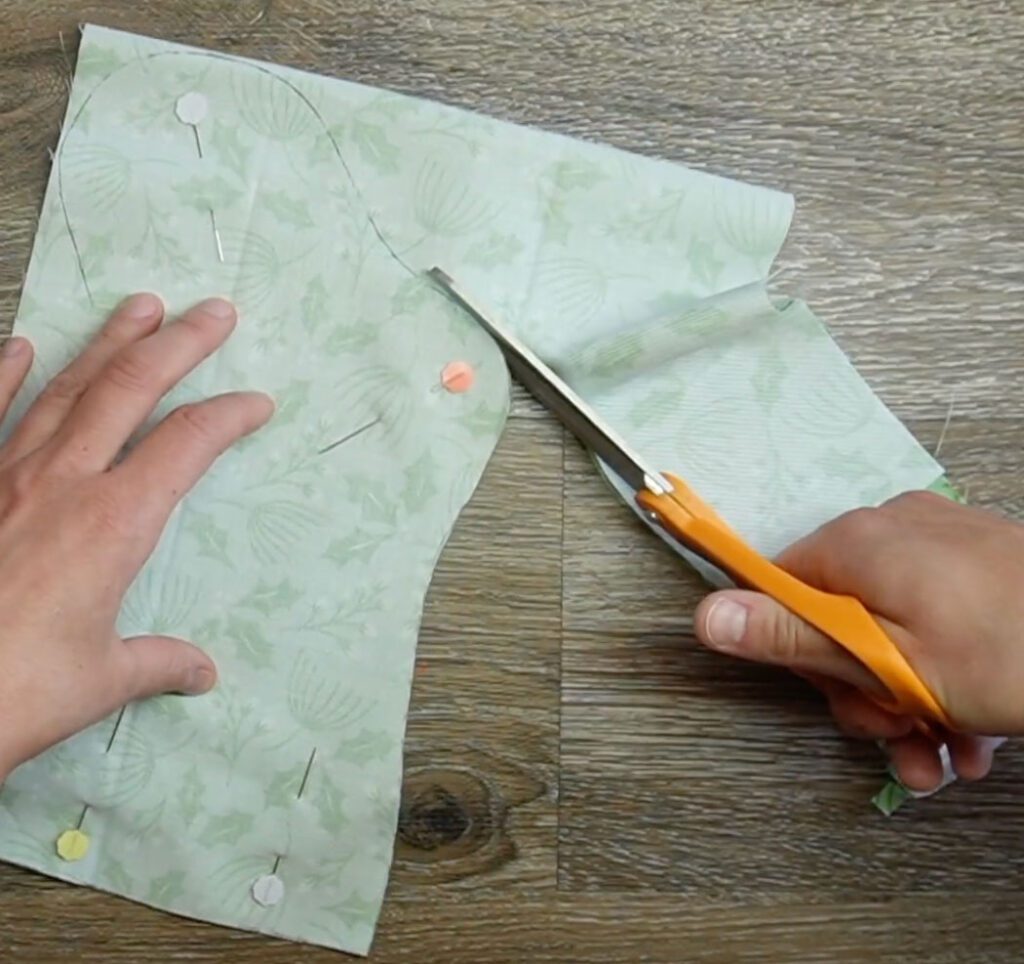
Press your main and lining fabrics. Fold or place the two layers of the main fabric right sides together and lay the stocking template on top, pin in place, trace, and cut the (2) stocking pieces out. Repeat with the lining fabric.

drawing in fabric
cutting fabric piece
DIY Christmas Stocking

Step 4: Sew the Lining

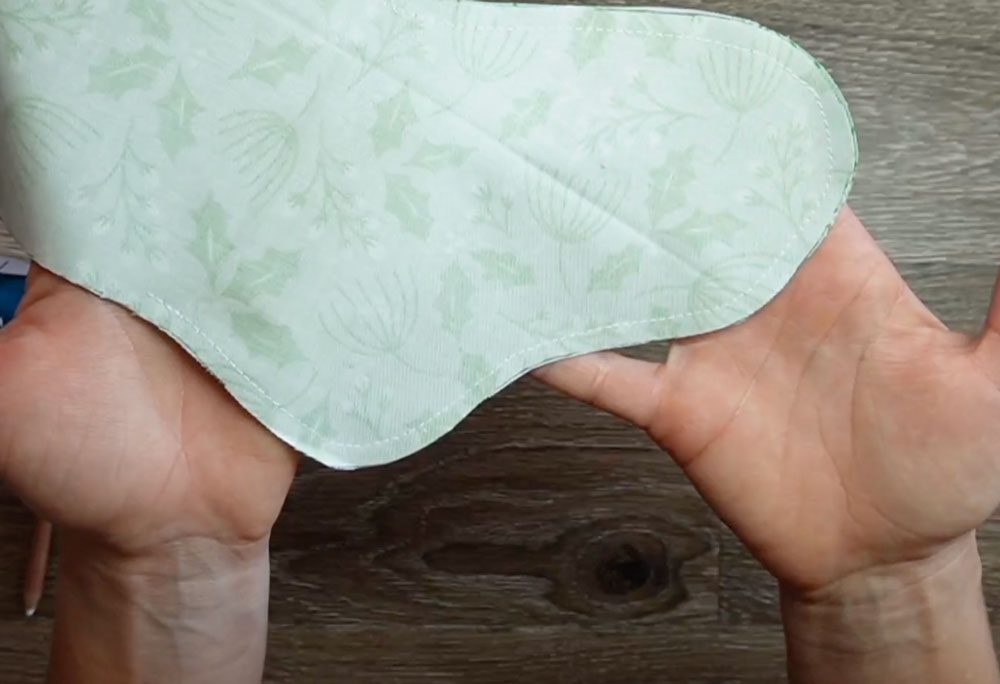
Leave the lining piece pinned, take it to your sewing machine, and sew using a 1/4″ seam allowance around the stocking, leave a 3-4″ opening on one side and leave the top open. Backstitch when starting and stopping.

DIY Christmas Stocking
Step 5

Step 5: Decorate the Main Piece

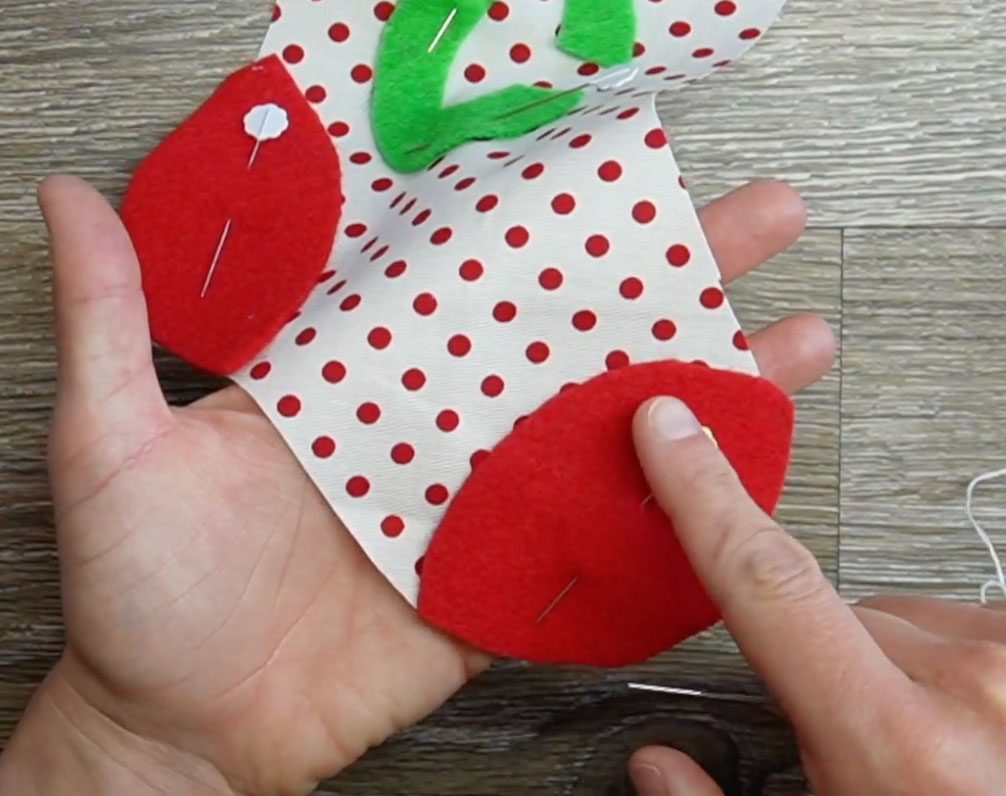
On the right side of (1) piece of main fabric, decide which direction you want your stocking to hang, and then lay your felt pieces on and pin them into place.

Step 6: Thread the Needle

Using (3) strands of embroidery floss, tie a knot at the end and thread your needle.

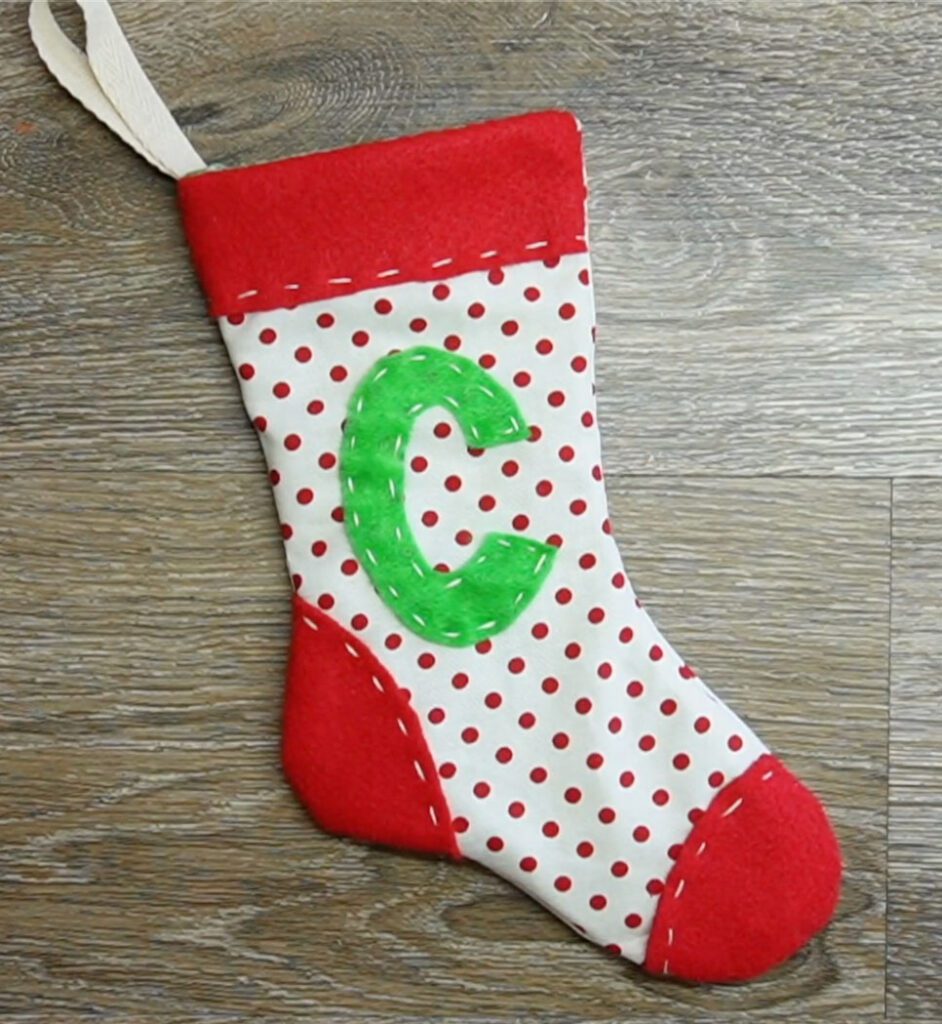
red and white christmas stocking from fabric

Step 7: Stitch the Felt Pieces

You will stitch using the running stitch along the bottom edge of the cuff, the inside edge of the heel and toe, and around the letter. Hide your knot in the back and secure with a knot at the end.

Step 7
Step 7
Step 7
Step 8

Step 8: Trim Excess Felt

Once all pieces have been hand stitched on, you can trim the excess felt off if needed.

Step 9
Step 9

Step 9: Sew the Main Pieces

Place the two main stocking pieces right sides together and pin them in place. Using a 1/4″ seam allowance sew around the stocking leaving the top open.

Step 10

Step 10: Turn It Right Side Out

Turn the main stocking right side out. Cut your ribbon 6 1/2″, and fold in half.

Step 11

Step 11: Attach the Lining

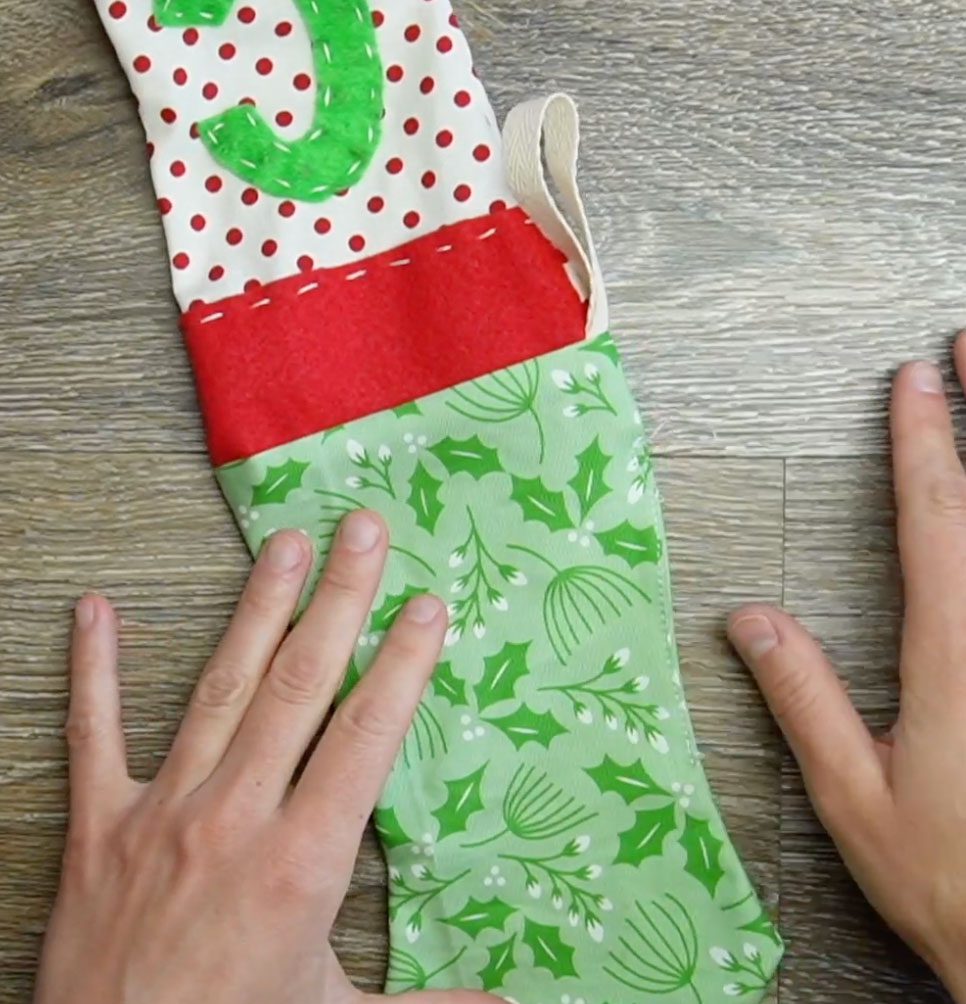
Place the main stocking inside the lining fabric (this will be wrong sides out). Line up the top raw edges and the two side seams, and pin them in place. In between the two layers on the seam of the back edge/heel place the ribbon between the layers line up the raw edges, and pin into place.

Step 11
Step 11
Step 12

Step 12: Finish the Top

Sew the top edge using a 1/2″ seam allowance. Backstitch at the beginning and end.

Step 13

Step 13: The Final Turn

Using the opening in the lining fabric pull the stocking/lining fabric right side out. Fold in the raw edges, finger press and sew the opening closed.

Step 13
Step 13
Step 14

Step 14: You’re Done!

Fold the lining into the main stocking fabric. You are all done!

Step 14
Step 14


Why You’ll Love Making This Christmas Stocking

Making your own Christmas stocking not only allows you to add a personal touch to your holiday decor, but it’s also a fantastic way to spend quality time with family and friends. Plus, it’s a versatile craft suitable for all skill levels. Once you’ve made one, you’ll likely want to make more, perhaps even starting a new holiday tradition. Crafting your own stocking gives you full control over the colors, patterns, and overall design, ensuring it’s uniquely yours. It’s not just a stocking; it’s a keepsake that can be cherished for years to come.

Frequently Asked Questions

What Should a Christmas Stocking Contain?

Before we delve into crafting, it’s good to know what you might want to put in your stocking. Usually, you’d find small gifts, candies, or even little toys. Creating your own stocking makes it extra special for stuffing with holiday goodies.

What Fabric to Use for a Christmas Stocking?

For this project, we will use two types of fabric: a main fabric for the external part of the stocking and a lining fabric for the inside. Suitable fabric types include cotton or felt, which are both easy to work with.

How Many Yards of Fabric Do I Need to Make a Stocking?

You won’t need a lot of fabric. Each stocking requires two pieces of main fabric and two pieces of lining fabric, each measuring 8.5″ x 11″. Less than a yard for each type of fabric should be enough to make a couple of stockings.

Elevation Handmade

Learn more about Chelsie Smith by visiting her website Elevation Handmade or by following Chelsie on Instagram @elevation_handmade.

MORE BLOG POSTS LIKE THIS ONE

Did you enjoy this tutorial? Be sure to check out these free tutorials: 

Scrappy Fabric Christmas Ornaments

Embellishing A Quilt

Tree Skirt Pattern

or SEARCH THESE

Popular categories

Craft to Career
Digital Downloads
Patterns
Podcast
Quilt Alongs
Quilt Questions
Tutorials
back to the top

Copyright 2024 Quilters Candy  |  Terms & Conditions