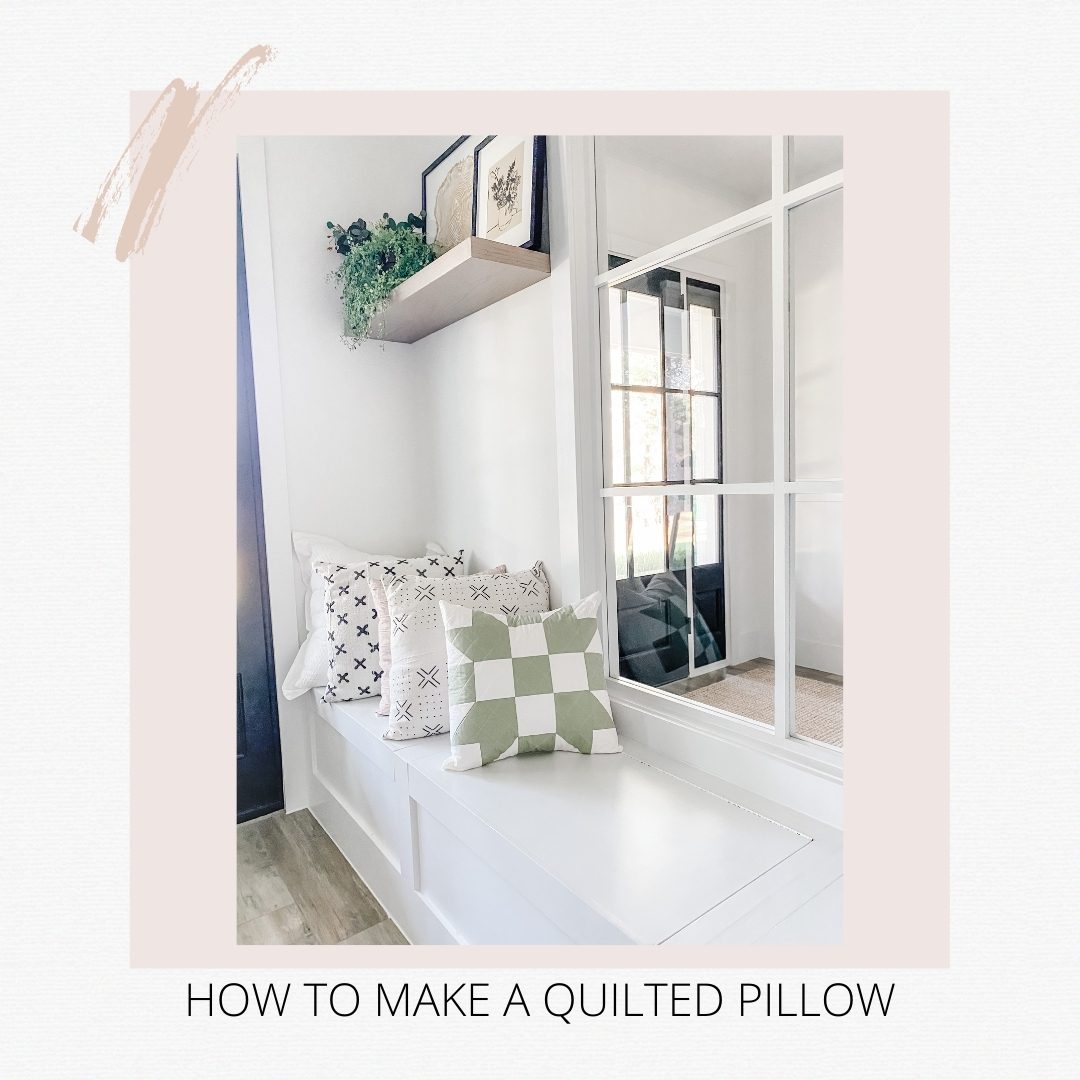
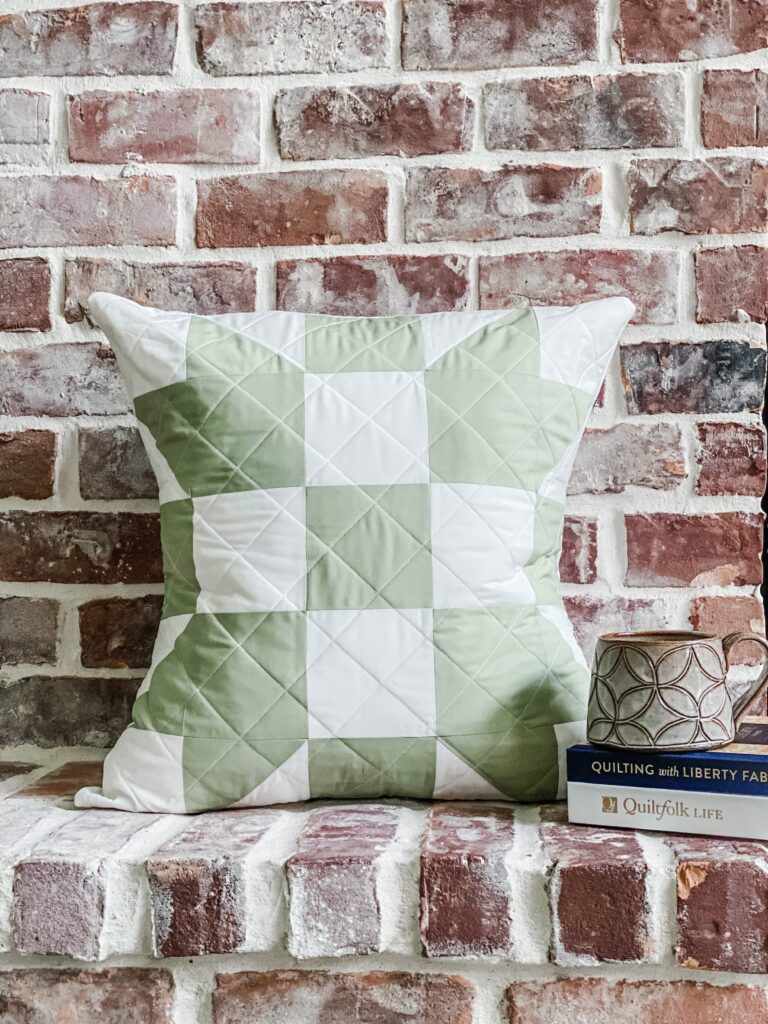
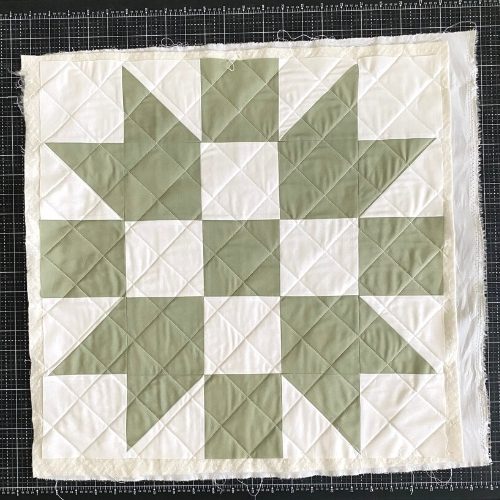
Learn how to make a DIY Quilted Pillow. Take a traditional Churn-Dash block, make it into a 20″ x 20″ quilted pillow top, then add the pillow backing.
Follow along and make your own Churn-Dash Quilted Pillow.
FABRIC FOR PILLOW TOP
PILLOW BACKING / SLEEVES
CUTTING FABRIC
Start by making (8) Half Square Triangles that measure 4 ½” unfinished. Do this by:
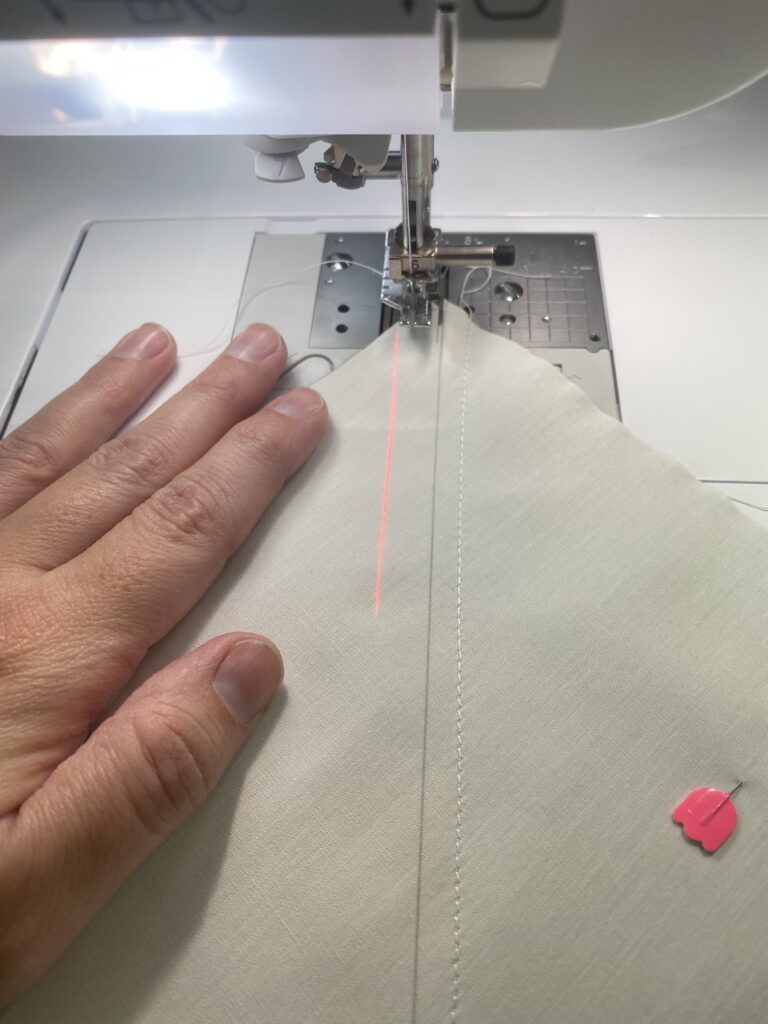
When making (8) at a time half square triangles, it works best to sew on both sides of your drawn line going in the SAME direction.
This helps avoid fabric bunching / puckering.
My sewing machine: Baby Lock Crescendo.
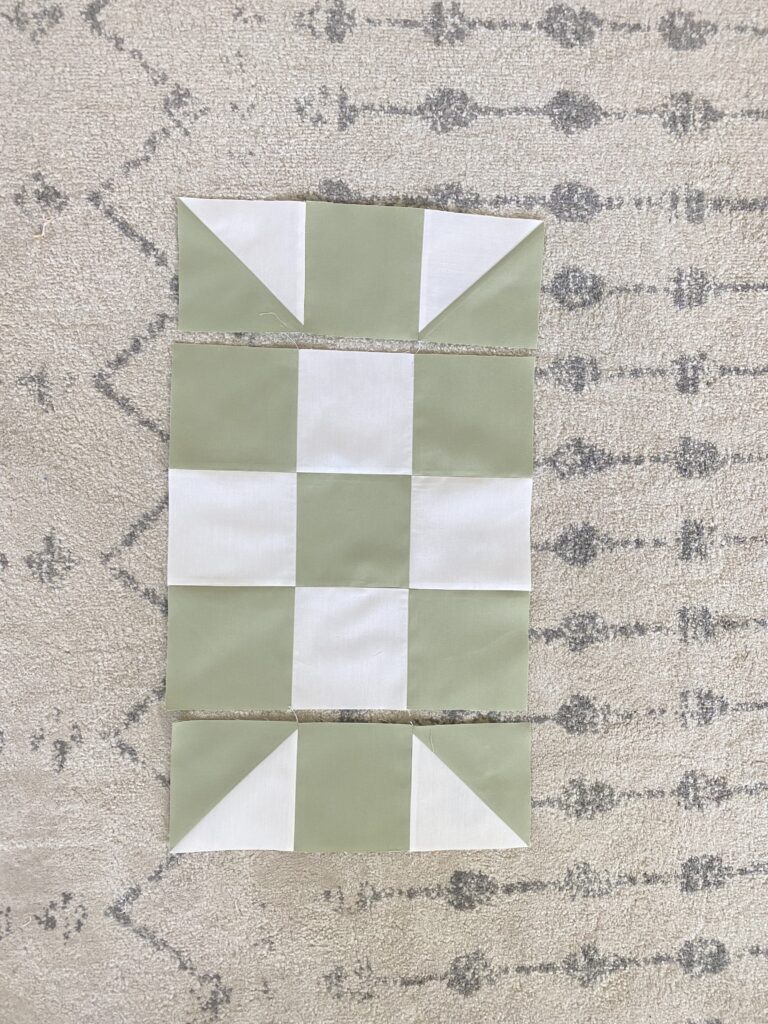
To make a 9 patch block:
This makes (1) row as shown below that measures 4 ½” x 12 ½”. Repeat to make (4) total rows.
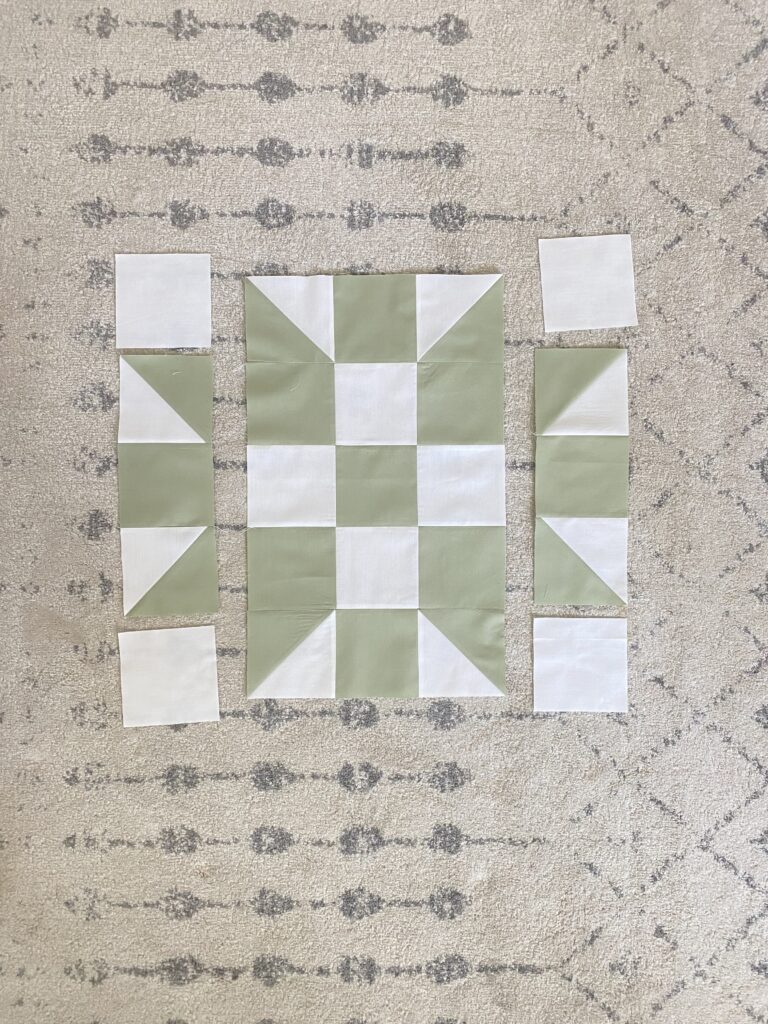
2. Sew (2) rows to the top and bottom of your 9 patch block. Sew right sides together and press seams open.
3. On the opposite ends of your last (2) rows, sew (1) Fabric B 4 ½” square to both the top and bottom of each row. Sew one at a time, right sides together. Press seams toward Fabric B squares. This will make (2) side columns that measure 4 ½” x 20 ½”.
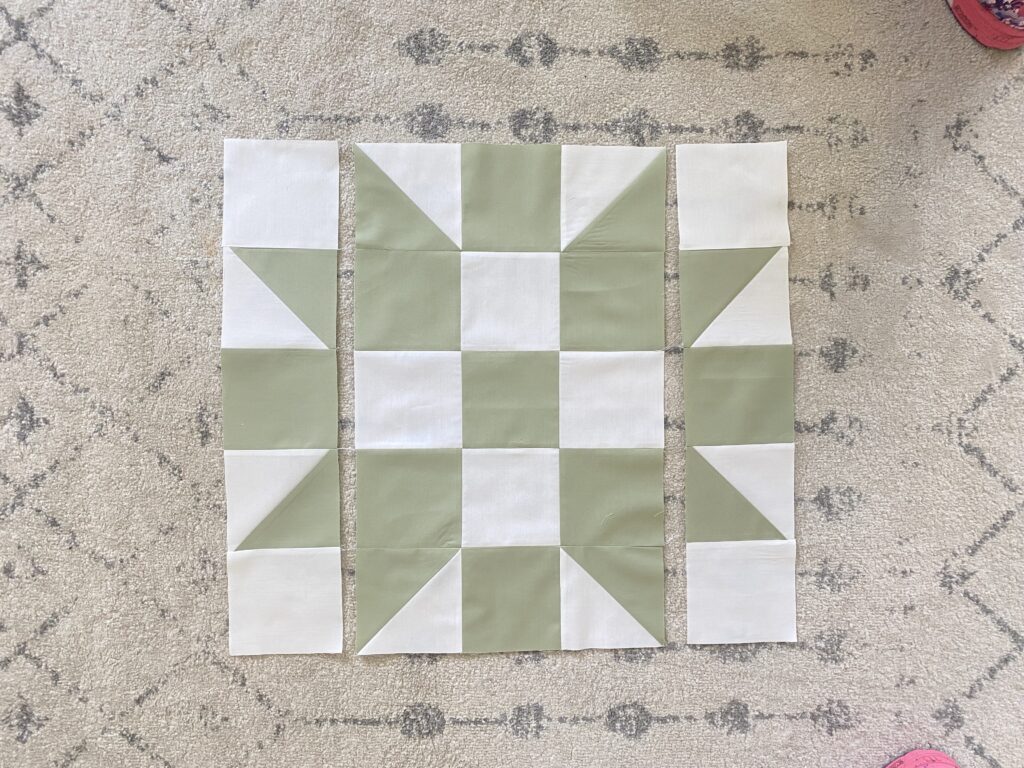
4. Sew right sides together, one at a time, your (2) side columns to your pillow top. Press seams open.
You now have (1) completed Churn-Dash 20 ½” x 20 ½” quilted pillow top.
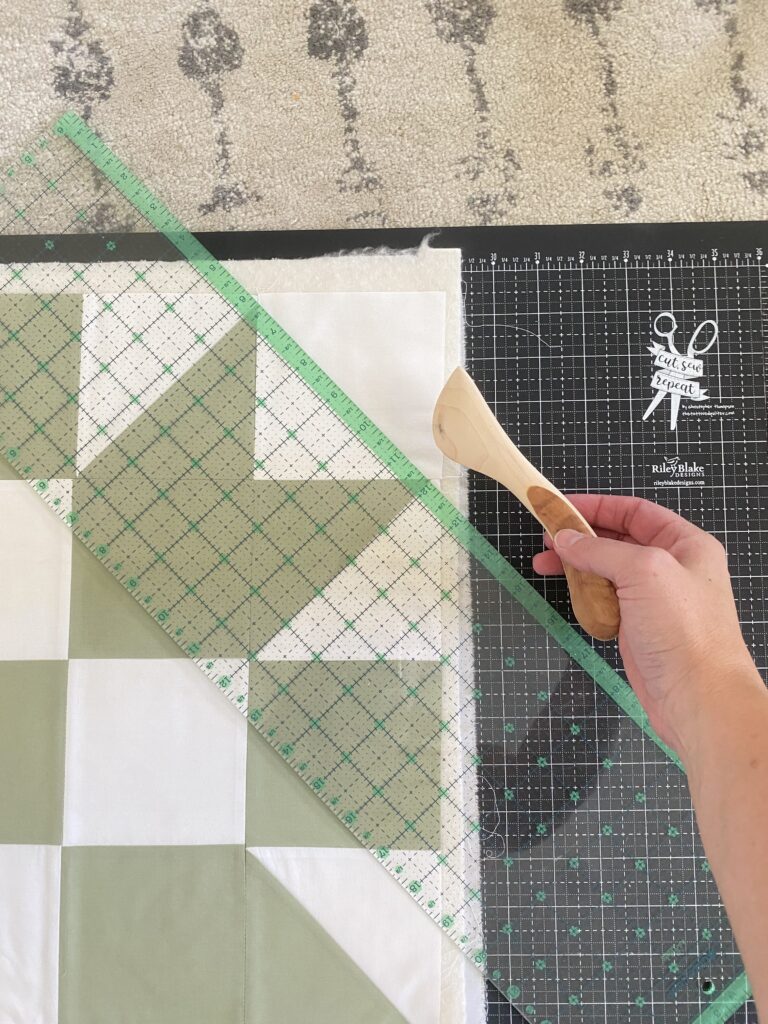
It’s now time to quilt your pillow top. To do this:
NOTE: I used a Hera marker and ruler and did a modern straight line quilt pattern to quilt my pillow.
My quilting lines where spaced every 2″ and were on the diagonal.
I used my Baby Lock Crescendo to quilt my pillow cover.
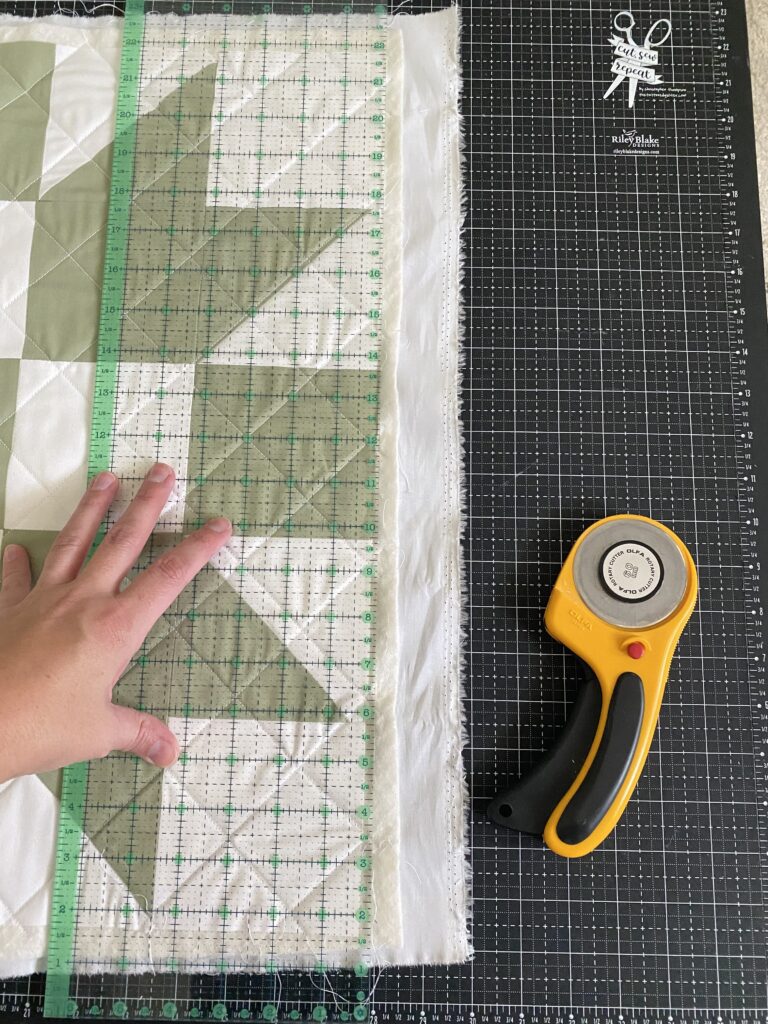
Trim the excess batting and backing, so your quilted pillow top measures 20 ½” x 20 ½”.
I will be back next week with the steps on how to complete your quilted pillow. There will be step by step instructions. tomake your pillow backing.
DIY Fabric Coaster - Quilters Candy
[…] How To Make A Quilted Pillow […]
HOWTO MAKE A PILLOW BACKING - Quilters Candy
[…] Making a pillow backing – Part 2 of ‘How to Make a Quilted Pillow.’ See how to make a quilted pillow top HERE. […]