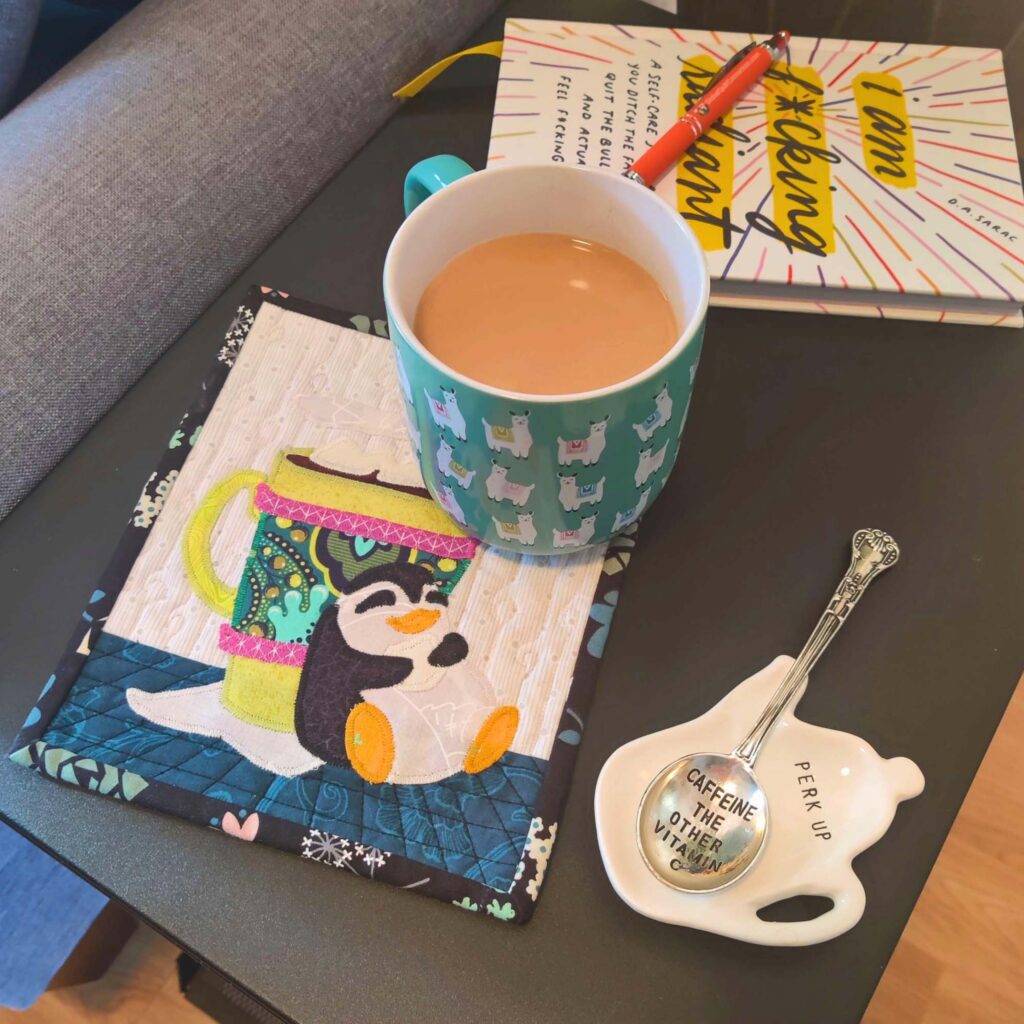
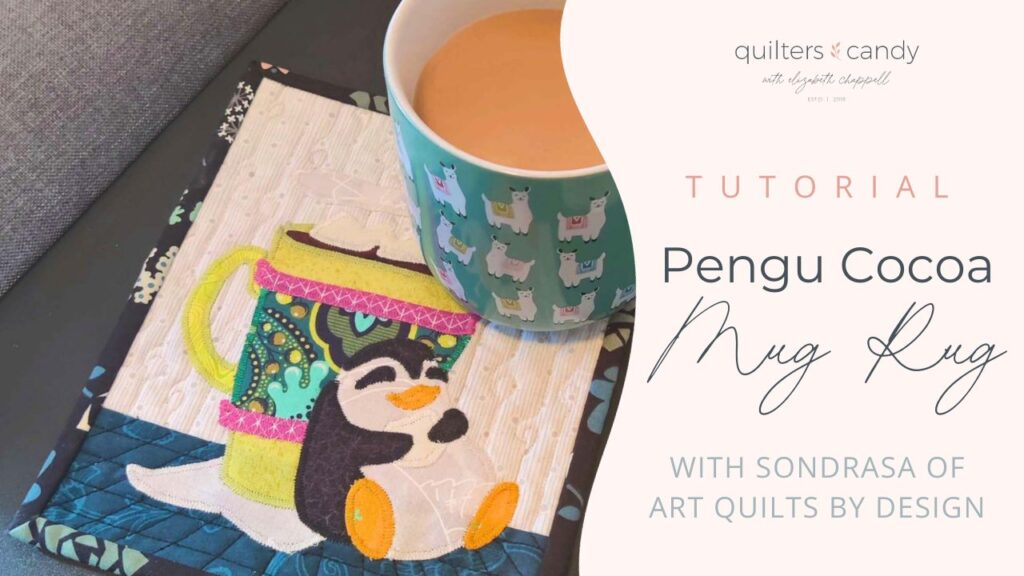
Hey there, quilt lovers! I’m Sondrasa, the creative guru & chief nerd behind the whimsical world of Art Quilts by Design. Picture this: a cozy corner, a warm mug of cocoa, and a dash of creativity—that’s where our journey begins. I’m thrilled to welcome you to the enchanting universe of appliqué, where fabric meets endless imagination. Today, let me introduce you to my latest whimsical creation, the one-and-only Pengu Cocoa Mug Rug. This little buddy is sure to bring a smile to your face on those long cold days. So, grab your favorite beverage, snuggle in, and let’s embark on a journey through fabric and stitches!
Why Applique?
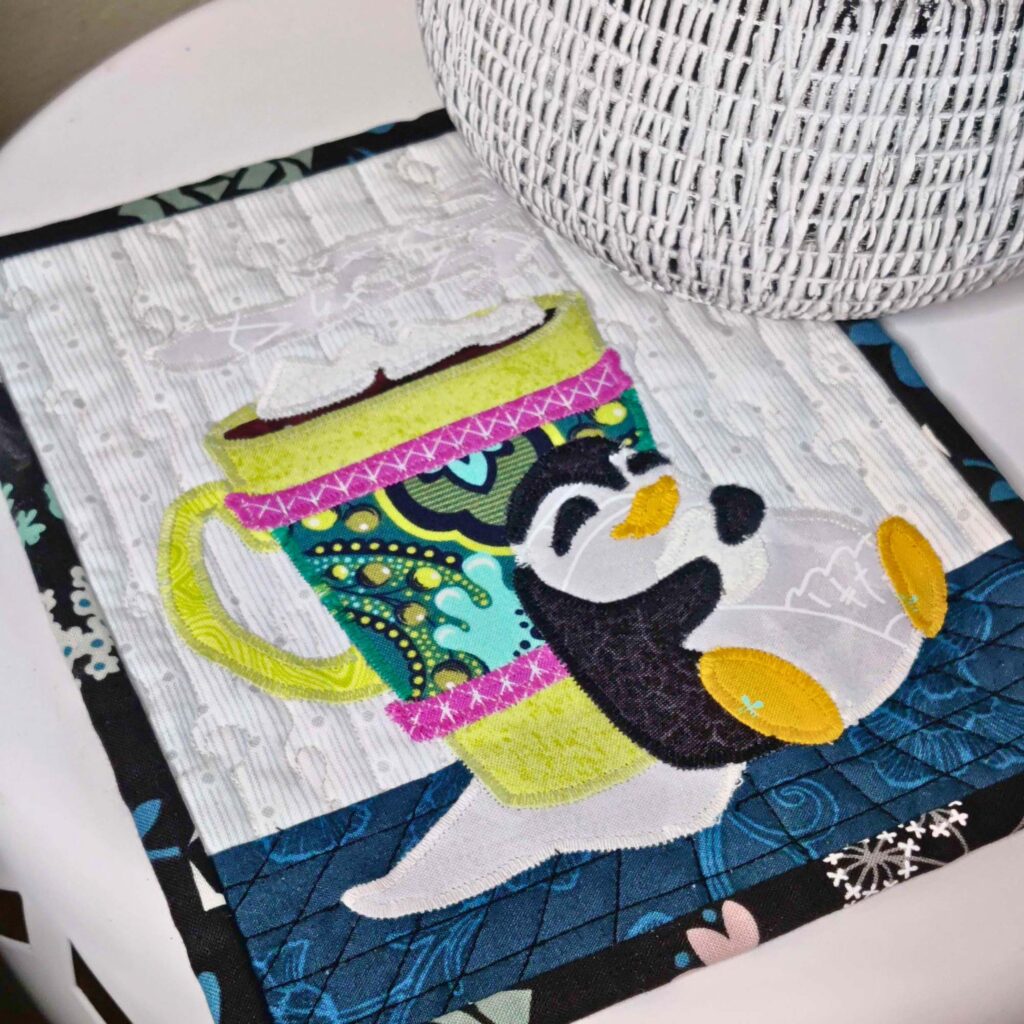
If you’re new to applique, you may be asking yourself: “Why in the world should I try applique?” Well, random internet quilter, I’m so glad you asked! Applique offers such a unique creative experience that allows each quilter the opportunity to express themselves in their own unique way. From adding an applique flower to a pieced quilt block, to full applique scenes, the possibilities are endless. Pengu Cocoa for example- when I first started designing this little friend, I had designed a mug with marshmallows tumbling out. Cute in and of itself…but not the story I wanted to tell. A chubby little penguin hugging a marshmallow? Bingo! The Design became expressive and cozy in all the best ways. But enough from me, let’s dive into our mug rug!
Raw Edge Applique – Fabric shapes whose edges are raw and unbound. Raw edge applique is the simplest and quickest way to create an applique pattern with fabric
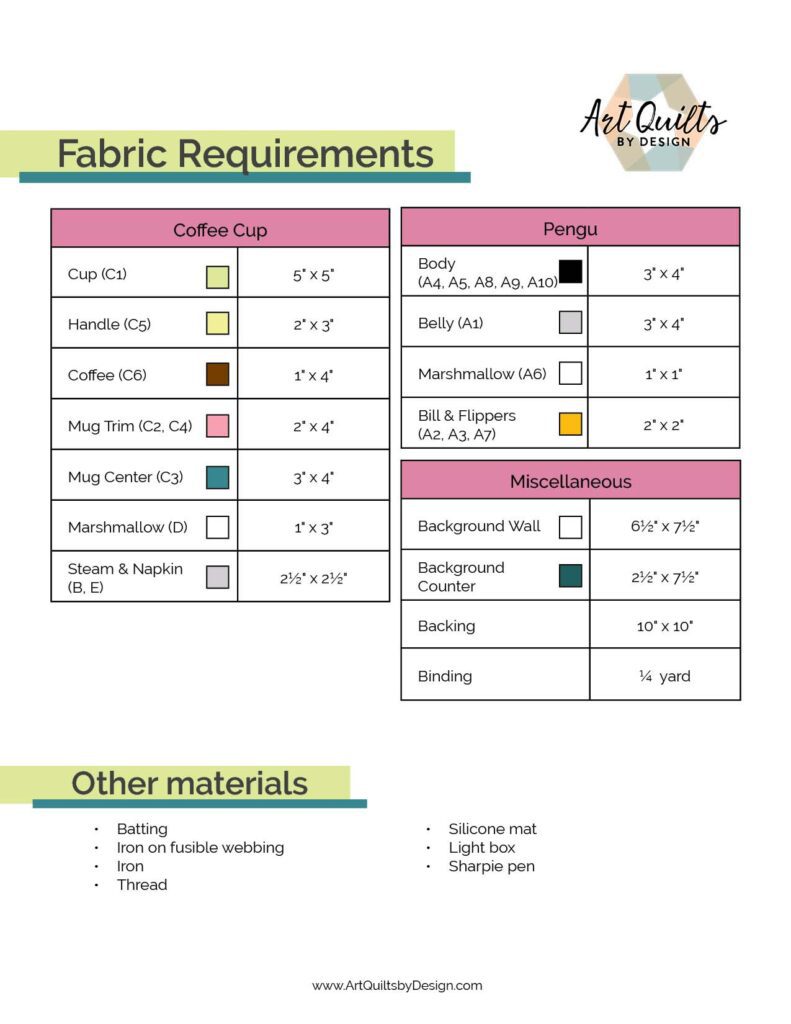
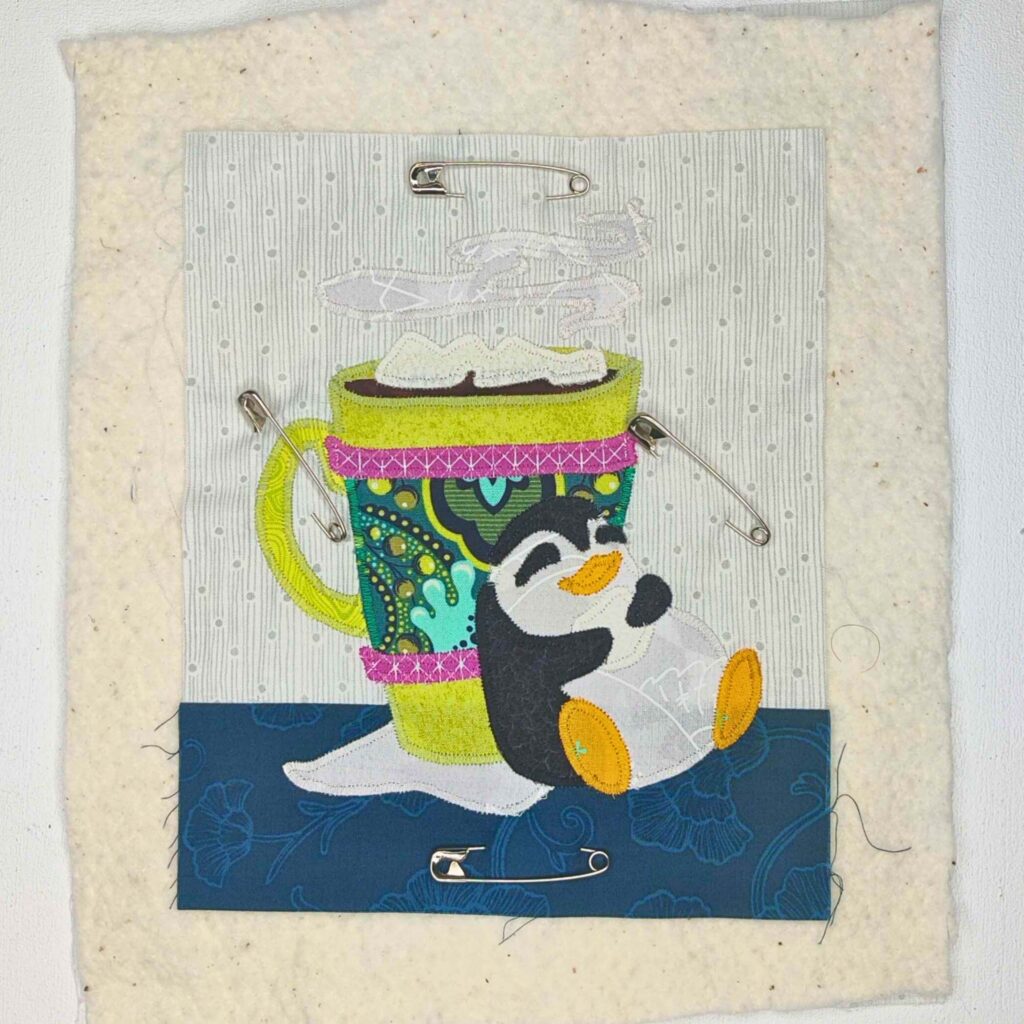
Prepare your background fabric-
Iron and prep your fabric
Cut your fabric to measurements specified in fabric requirement charts (you will trim to size at the end)
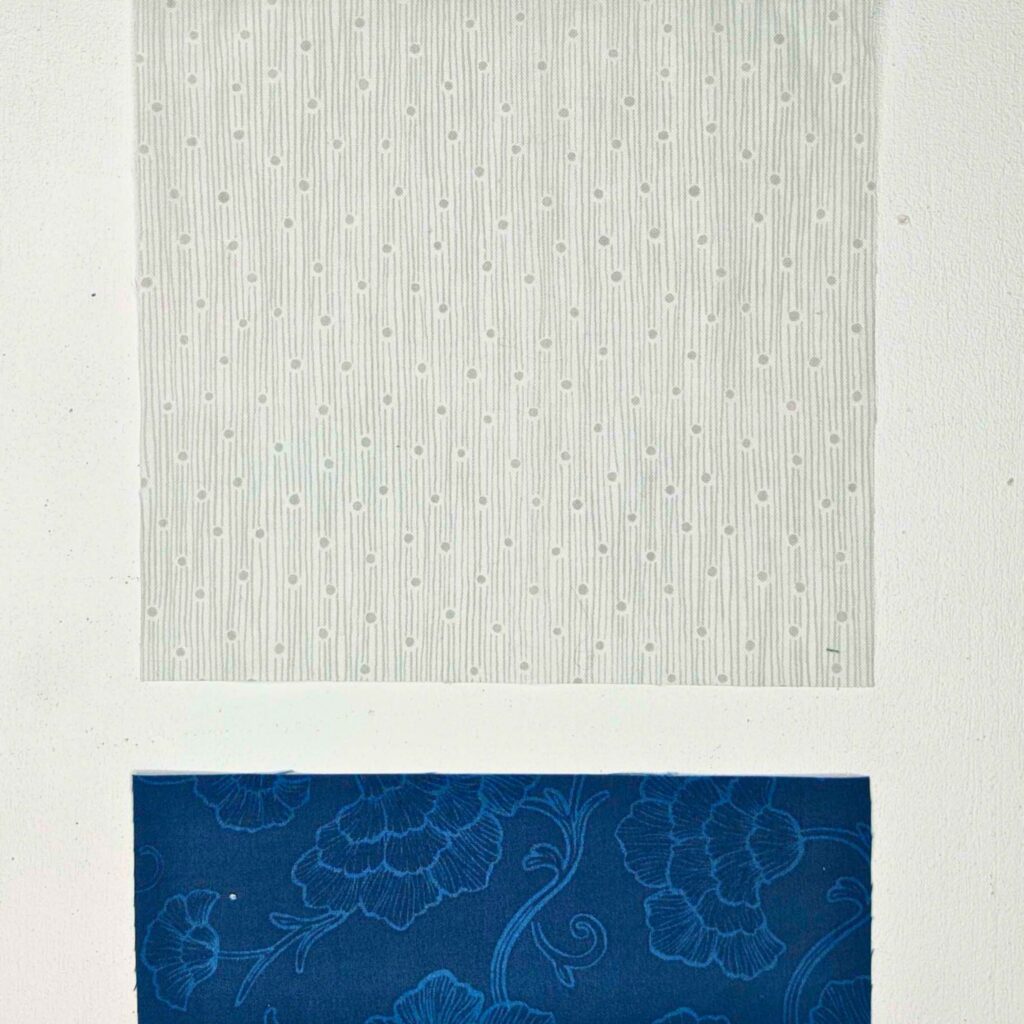
Attach Background Wall to Background Counter along the width of fabric
Press seam towards the darker fabric
Set aside until ready to apply applique shapes
Applique Instructions
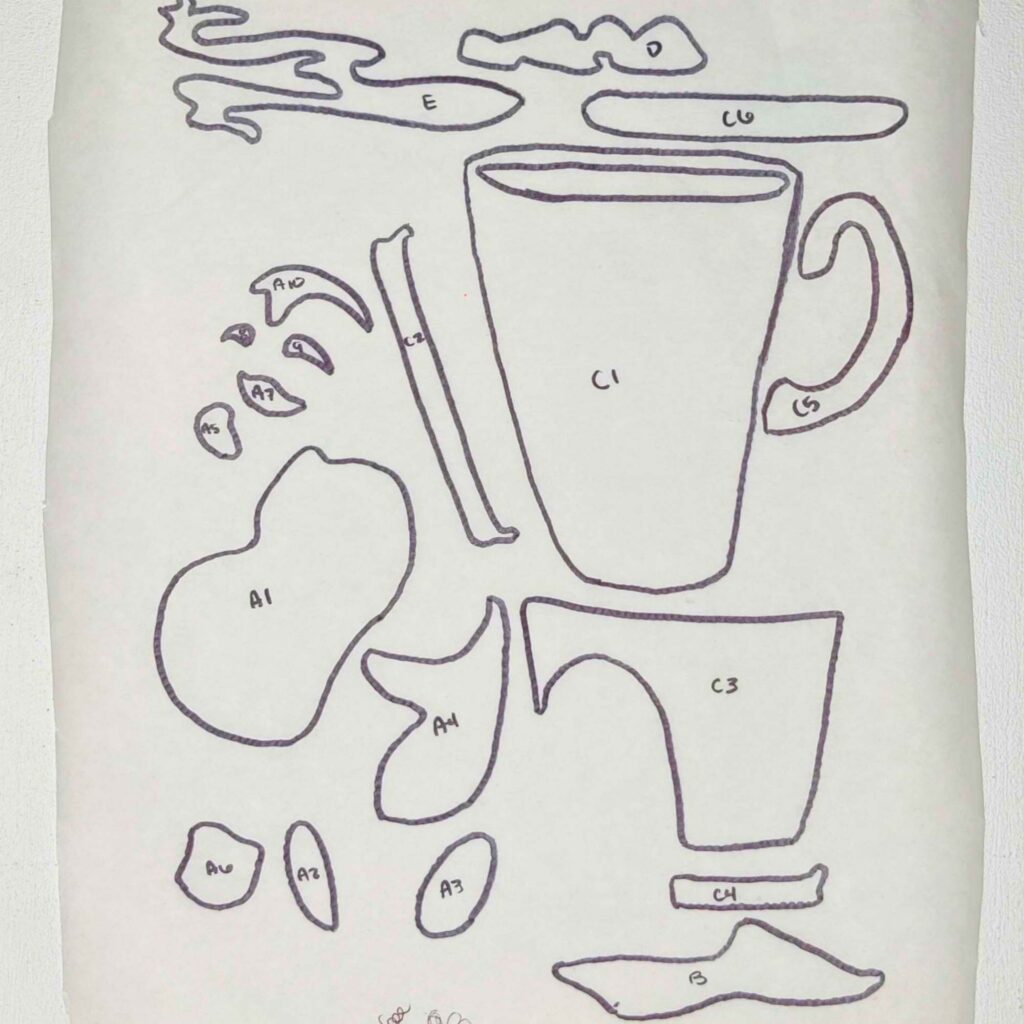
* All applique shapes have been already reversed for ease
1.Trace the included applique shapes onto fusible webbing using a Sharpie pen & light box
2.Cut traced shapes, leaving ¼” of paper bordering the shape
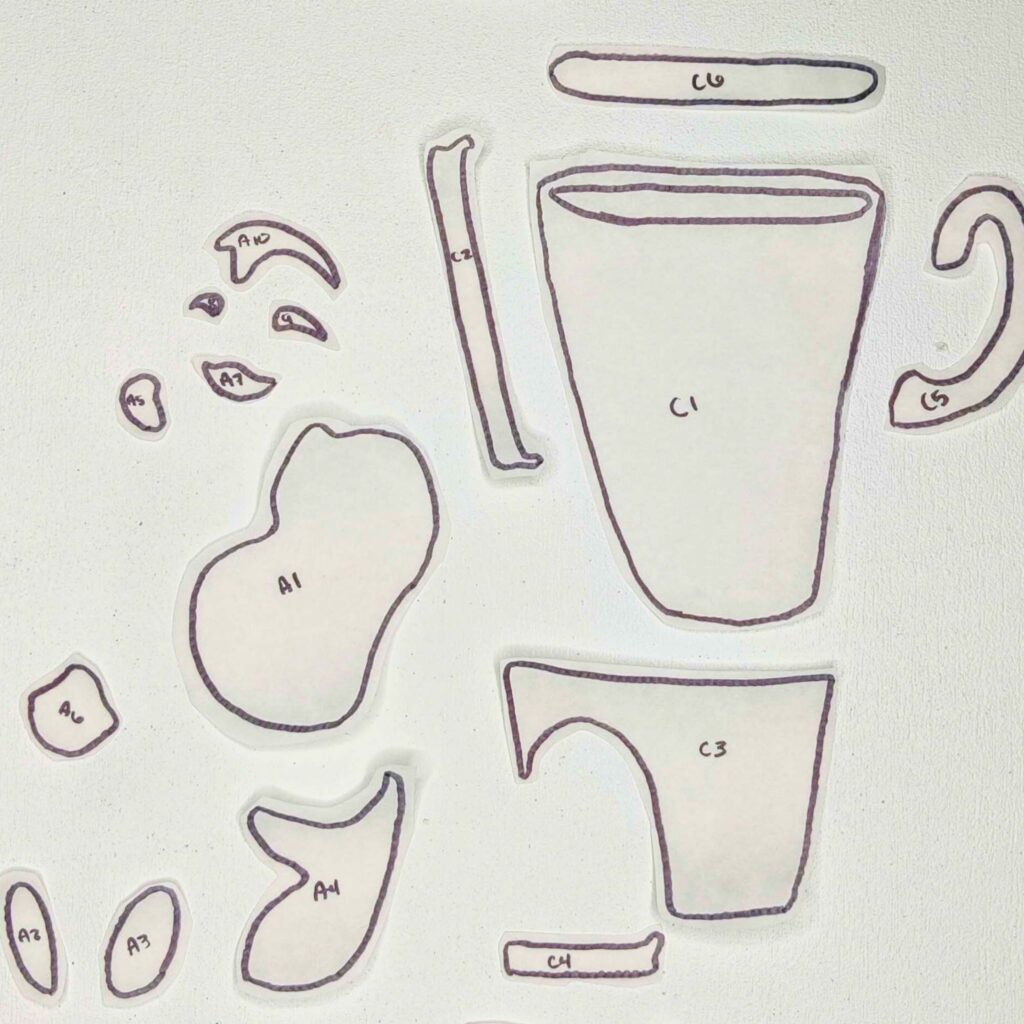
3.With WS of fabric up, iron traced shapes to corresponding fabrics, according to the instructions found on your specific fusible webbing
Cut fused shapes out along the traced line
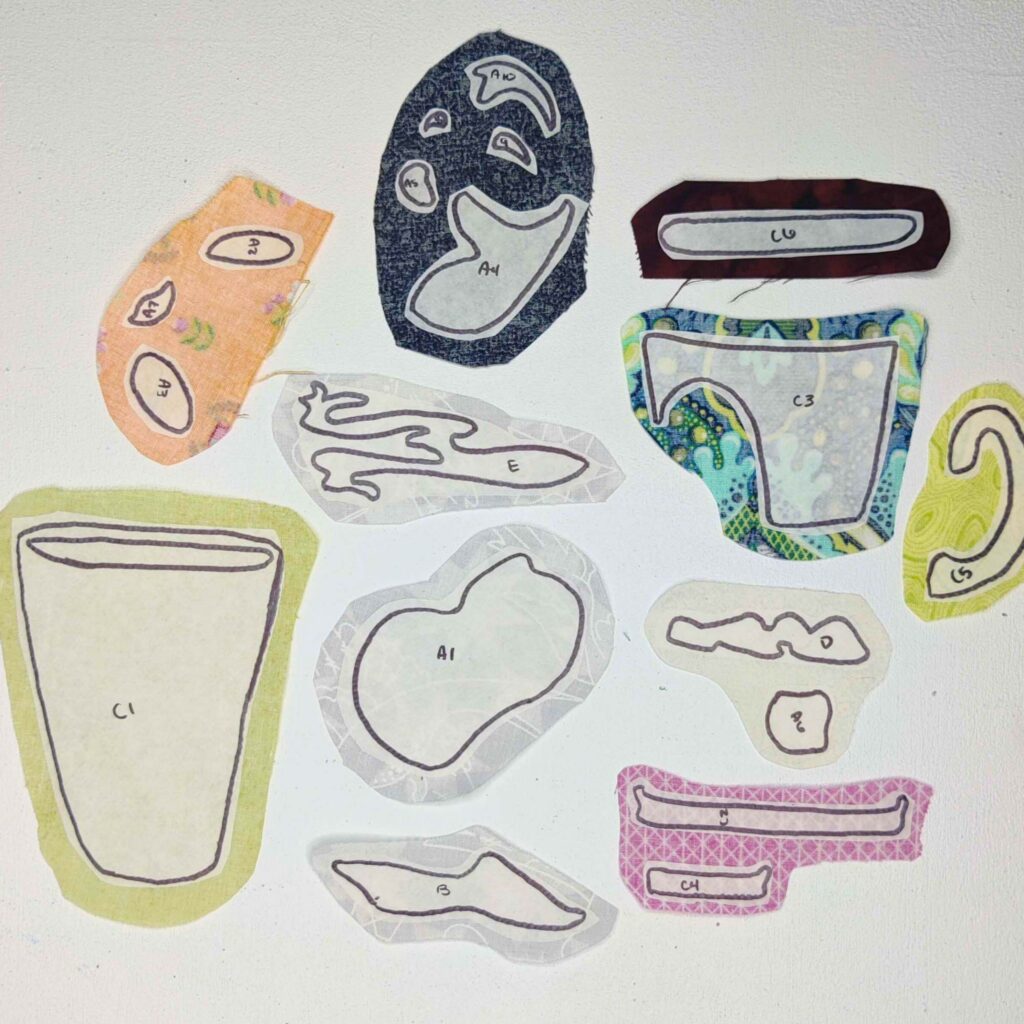
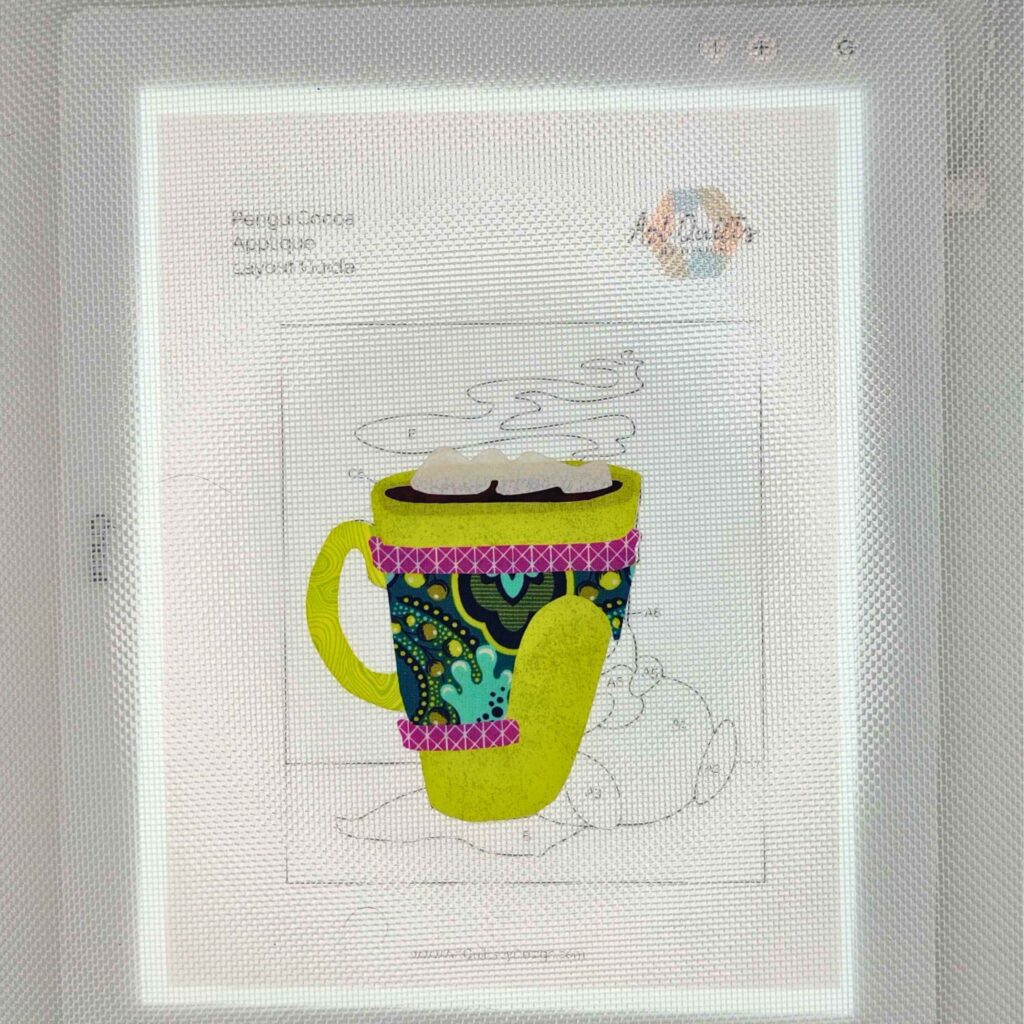
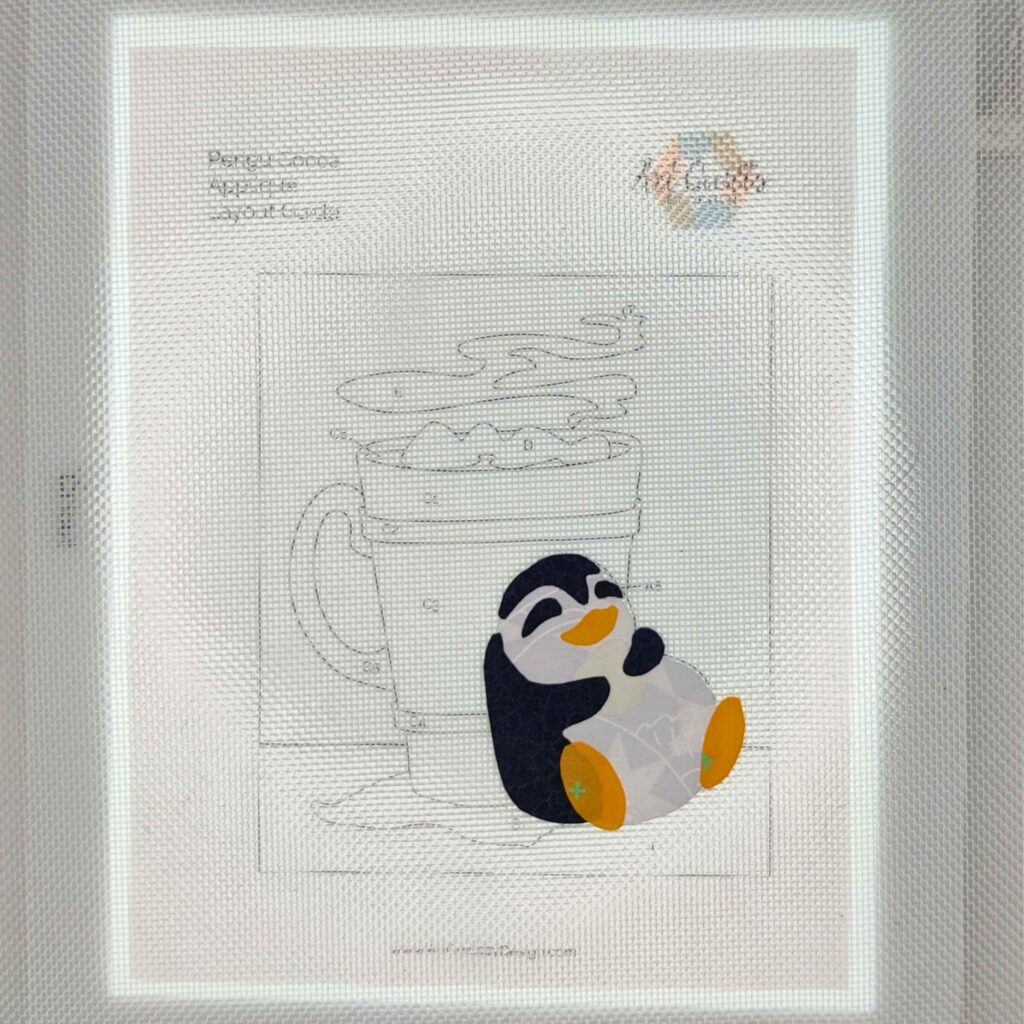
Using a heat proof, clear silicone mat that is laid over the Applique Layout Guide: a.Peel paper backing from shapes b.Place them on mat according to Applique Layout Guide and place in corresponding spot c.Iron very briefly, just to adhere shapes together (2-3 seconds) and let cool completely
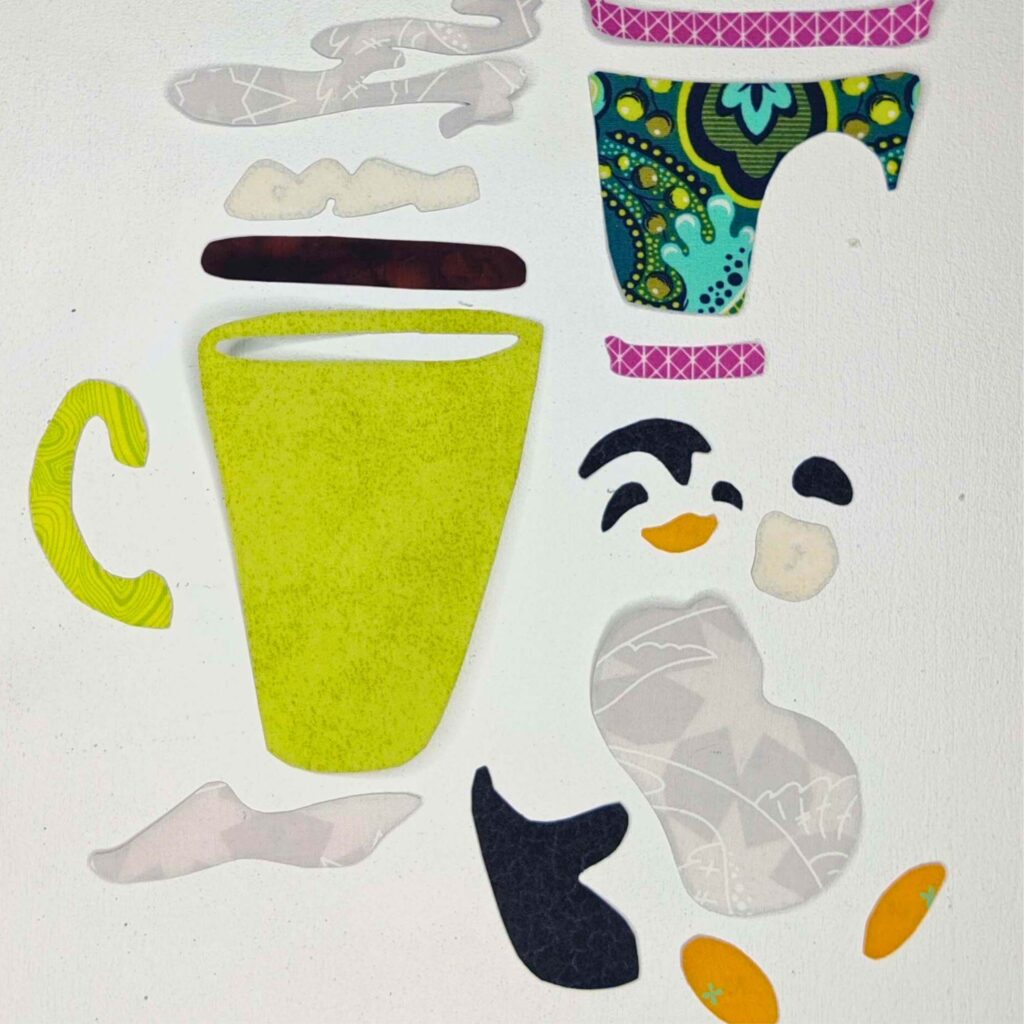
Peel pressed fabric gently off of the silicone mat (do not worry if some pieces do not stay together, you can replace them before final iron)
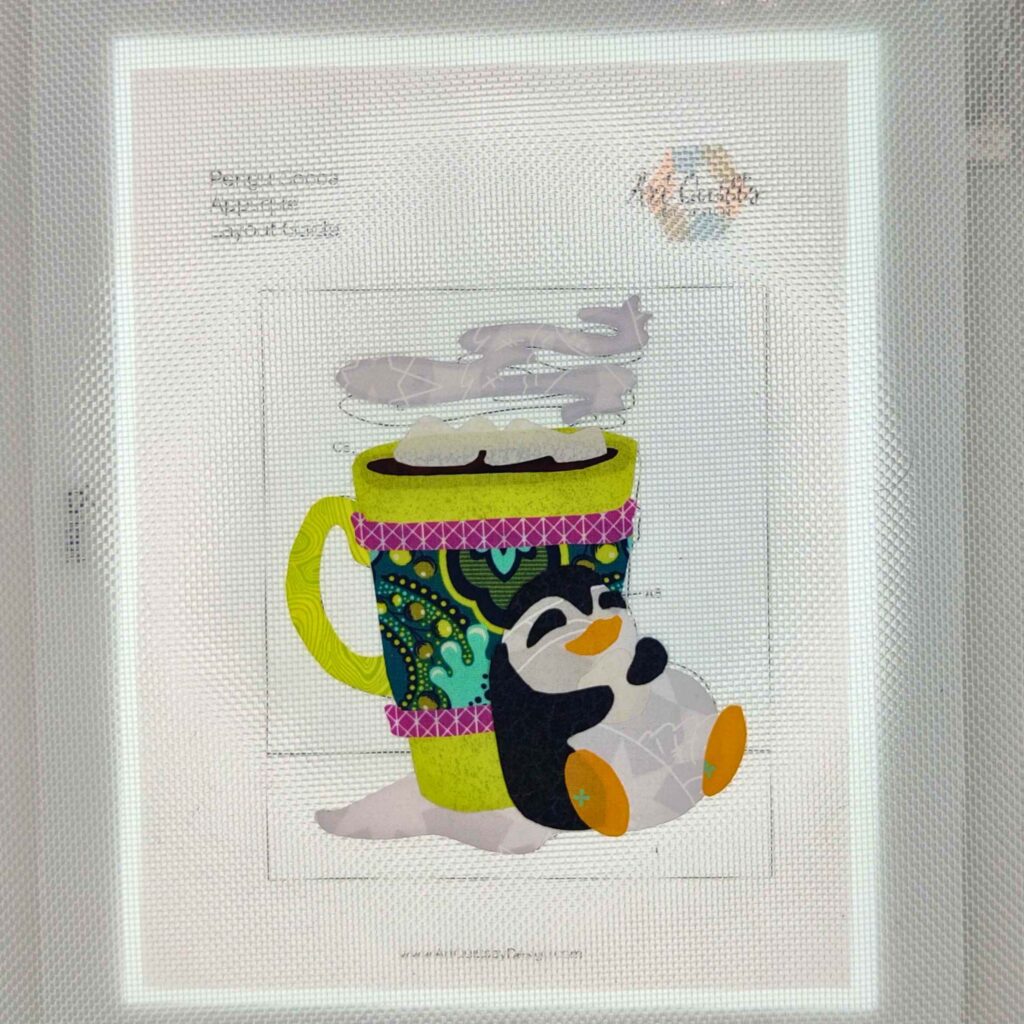
7.Lay form over background fabric, using Applique Layout Guide
Press a clean iron over shapes according to fusible webbing’s specific instructions
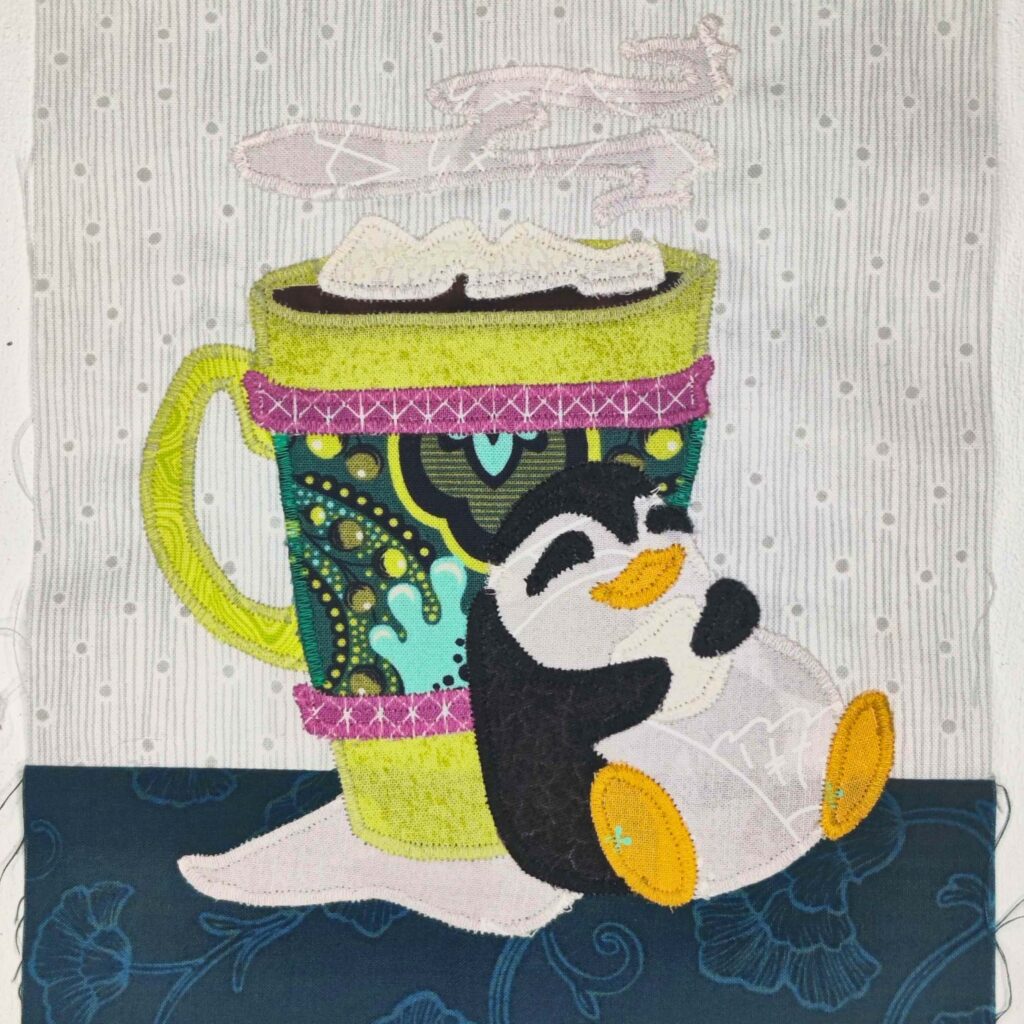
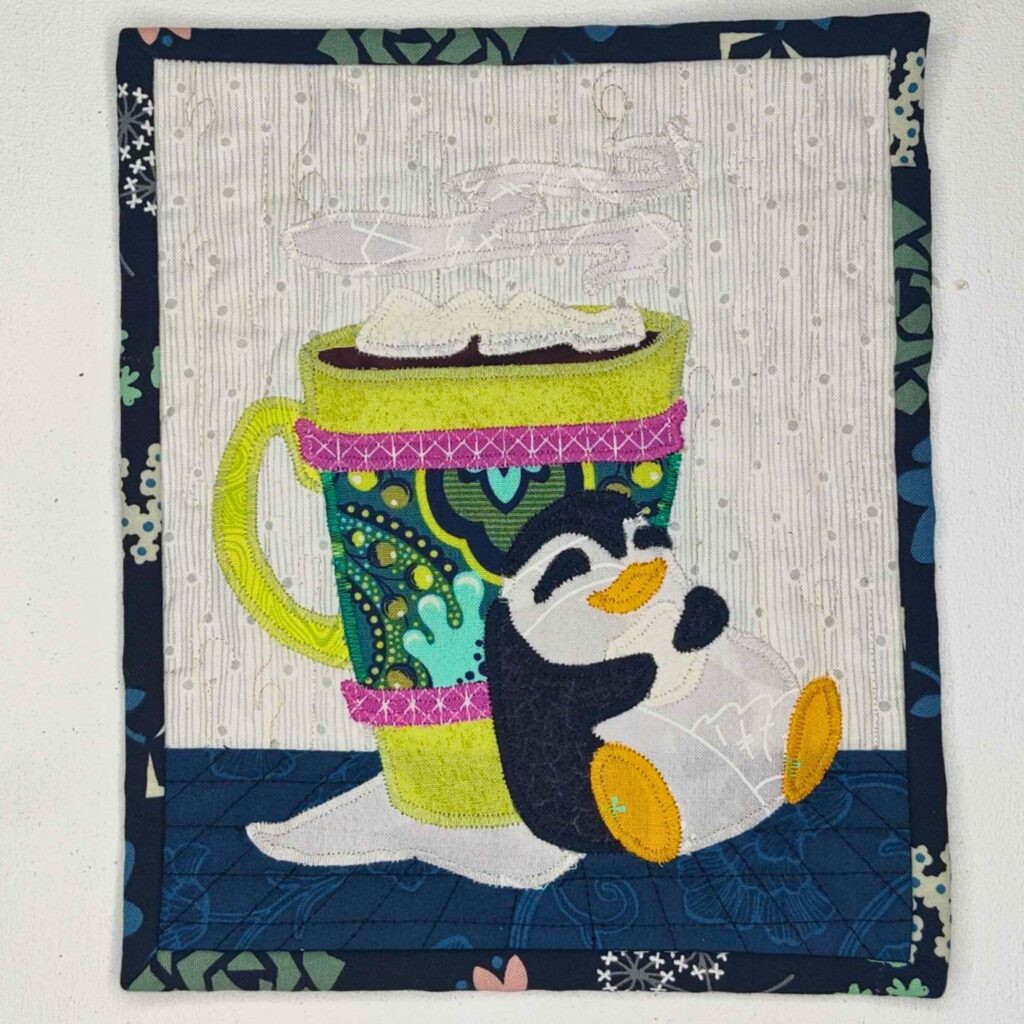
9.Sew fabric down using your preferred method (we chose to do a satin stitch around all edges because this will be washed if dirty)
And there you have it—a perfect little buddy to share your cocoa with! I appreciate you taking the time to delve into the process with me. It’s not just about the final mug rug but the care put into each stitch and the tales woven into the fabric choices. Whether you’re a seasoned crafter or new to applique, I hope Pengu Cocoa has brought a touch of joy to your creative journey. As we wrap up, keep exploring, creating, and finding inspiration in the simple pleasures around you. Until next time, happy crafting, and may your seam ripper be ever lacking.
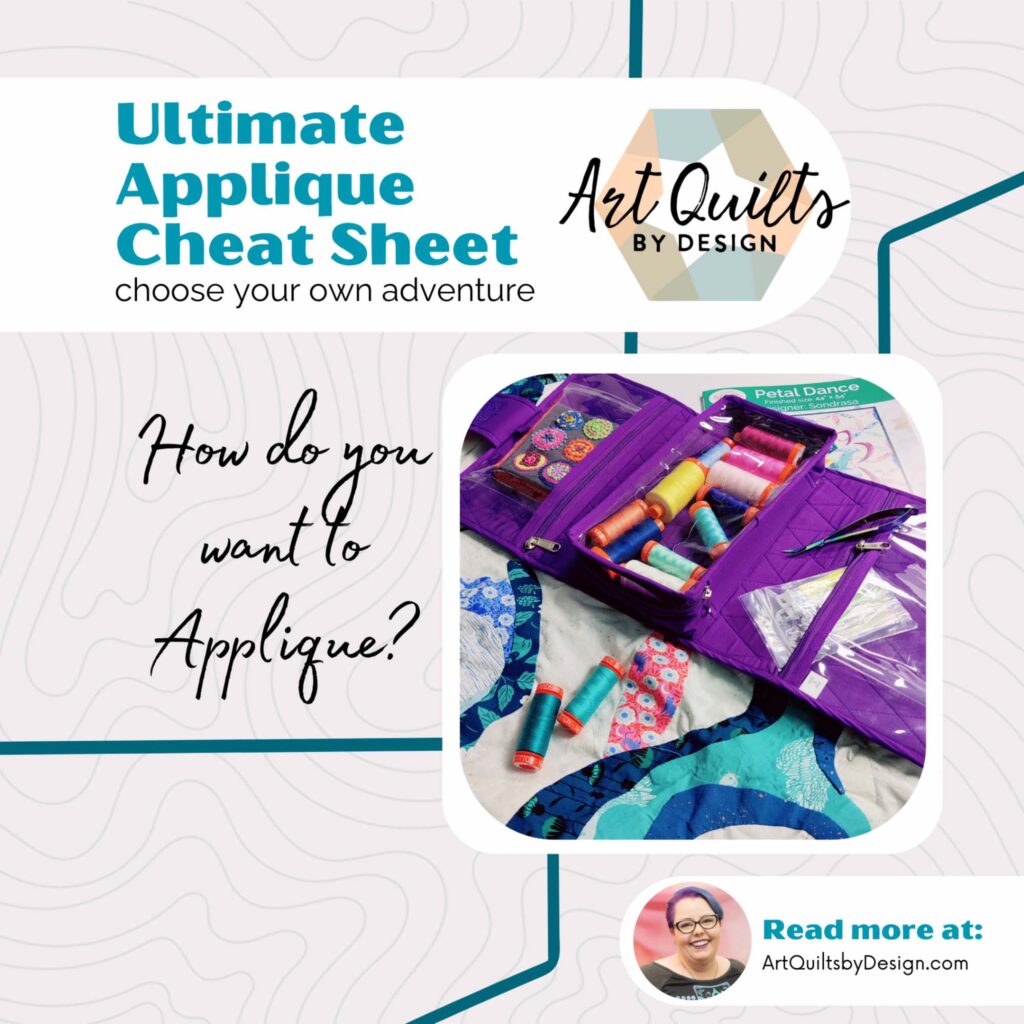
Meet Sondrasa
Sondrasa has been an avid Art Quilter for over a decade. She found quilting to be the perfect pallet for her creativity. She plays with the mediums of fabric and thread to create her own unique brand of fabric art for both international quilt shows and her own quilt patterns. When not designing and being a fabric addict, you’ll find her live streaming creative quilting content on Twitch where she’s grown a tight-knit community over the last 7 years.