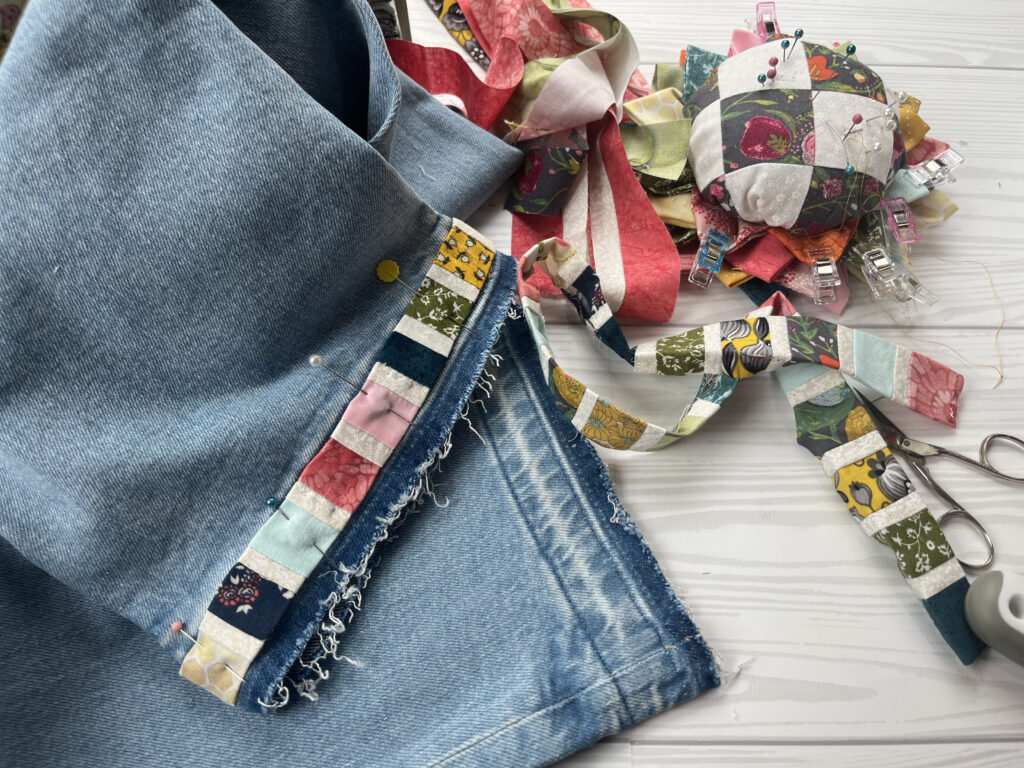
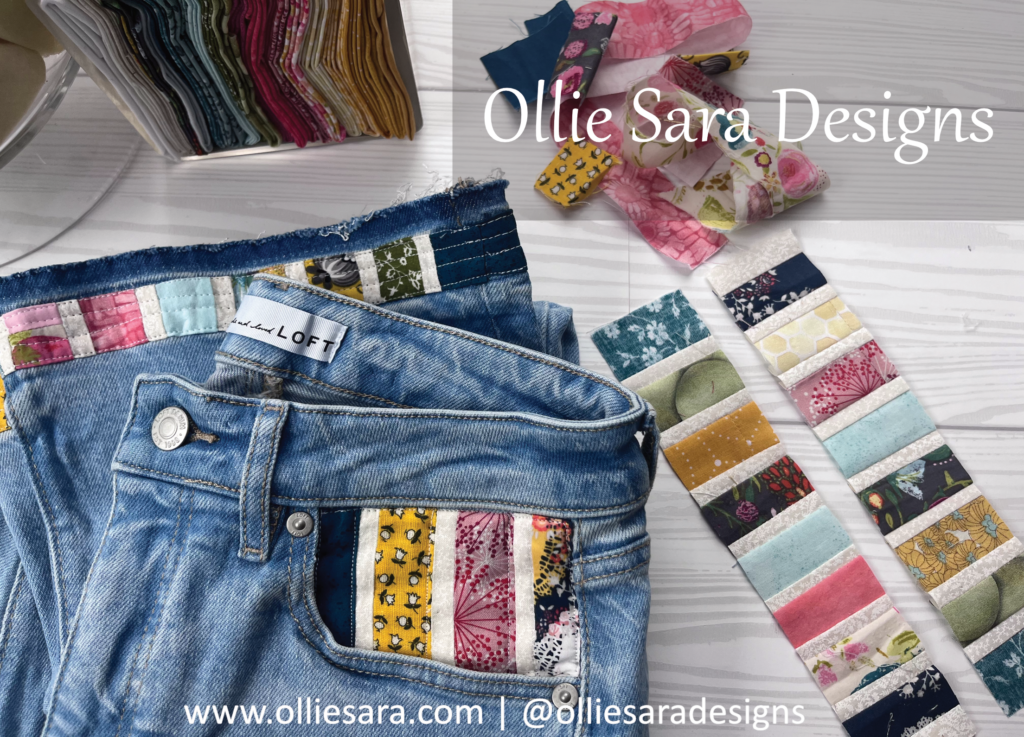
Are you ready for a DIY Patchwork Jeans Tutorial ? I am Angela of Ollie Sara Designs, and I am excited to show you just how to do that.
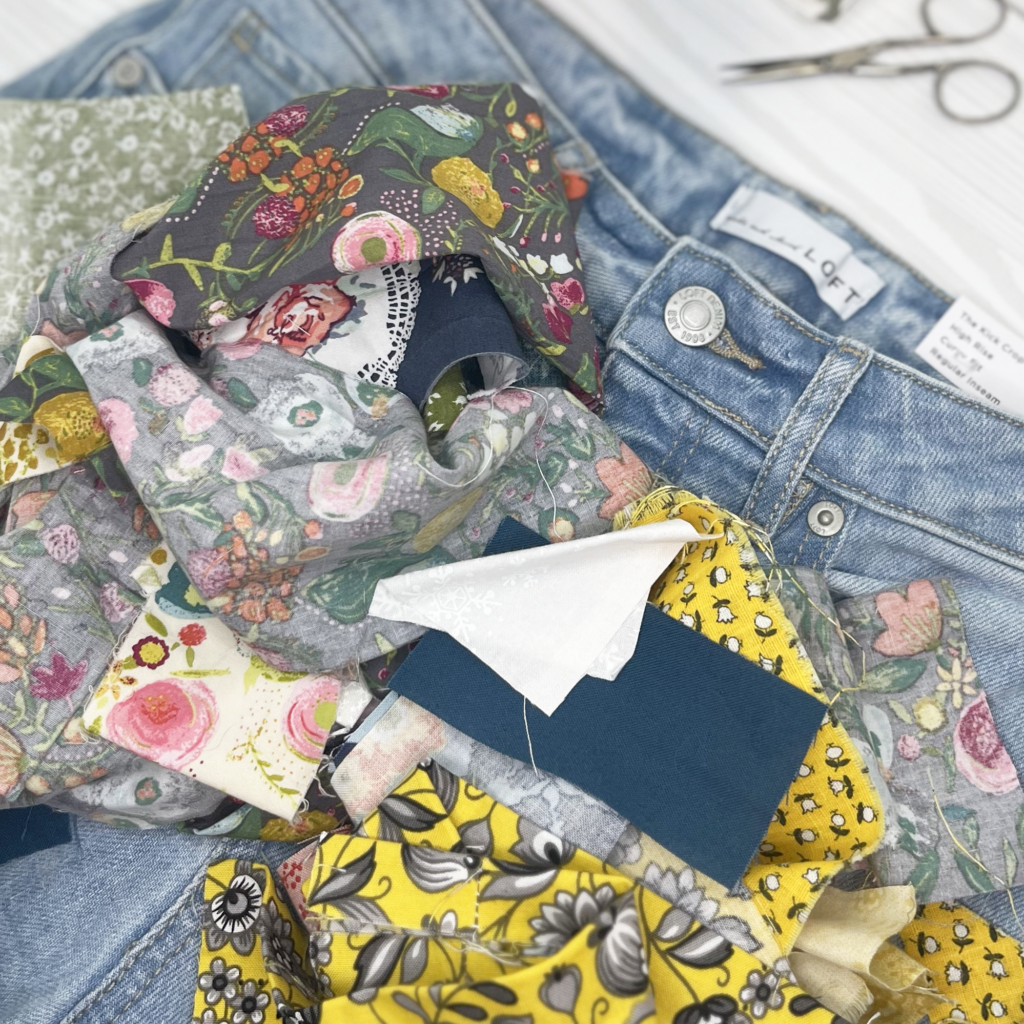
Have you seen all the sweatshirts with super cute quilt block appliques on the front? It seems like my social feeds have been filled with them recently. Seeing all those cute sweatshirts got me thinking about how a pair of jeans with some patchwork embellishments would look when paired with one of these sweatshirts. My challenge was how to make them look more boho chic than ’70s retro. So I grabbed some scraps of my favorite prints and got to work.
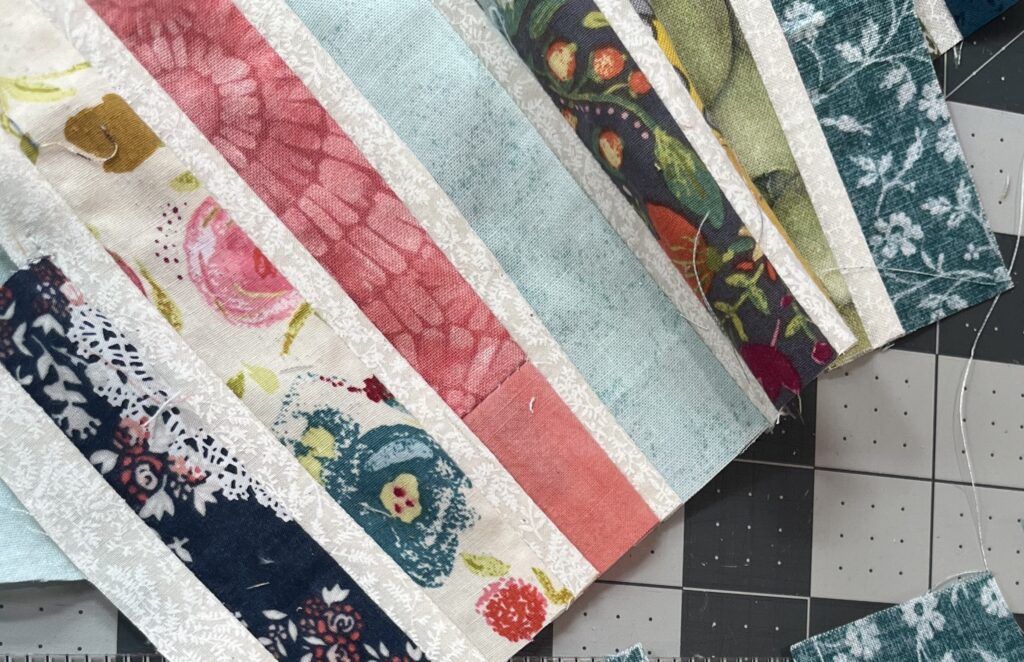
Choose 8 colors from your fabric scraps, preferably leftover strips. You can have multiple prints of each color.
Choose 1 contrast color that will go between each color. I chose white.
Measure Your Pant Leg: Measure the outer band of your pant leg to get the circumference (not the diameter). Write it down.
Preparing Your Scraps
Cut Color Fabrics: Cut your color fabric scraps into 1¼” strips. If using smaller scraps, cut each scrap, then sew fabrics of the same color together to make a strip. (I did this with the pink fabric in the picture below.) Each color strip should be roughly the same length as your measured pant leg circumference.
Cut Contrast Fabric: Cut the contrast color into (8) ¾” strips that are also the length of the circumference.
Piecing (assume ¼” seams)
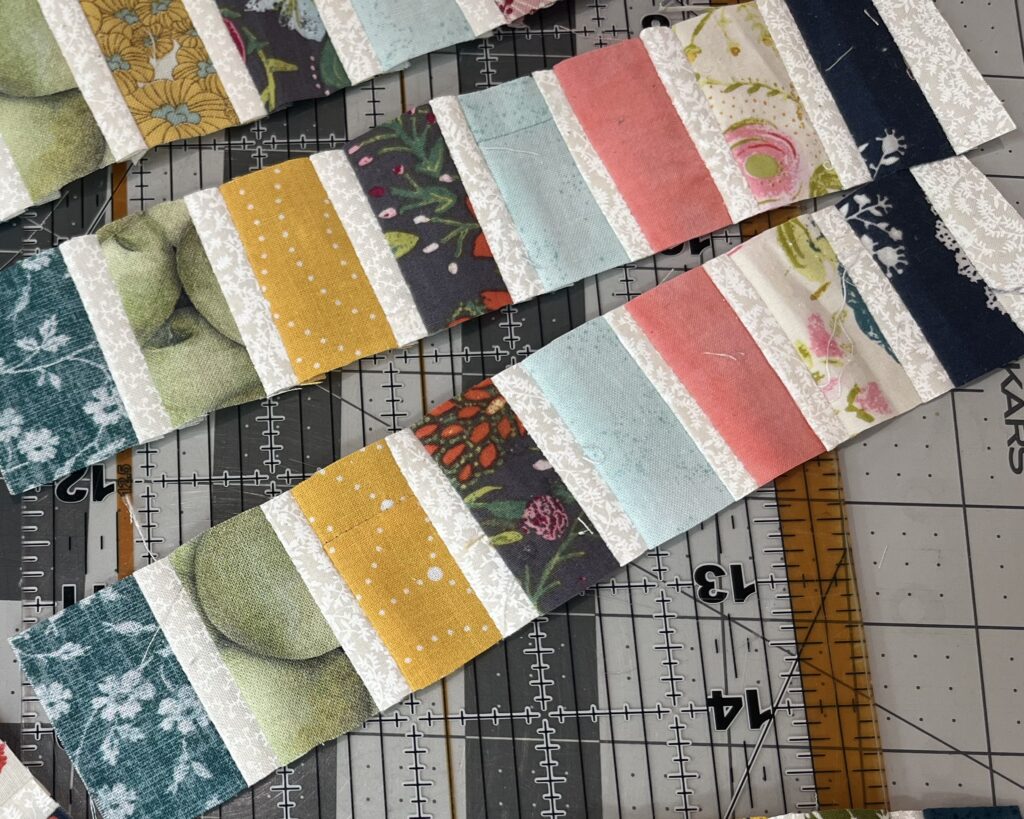
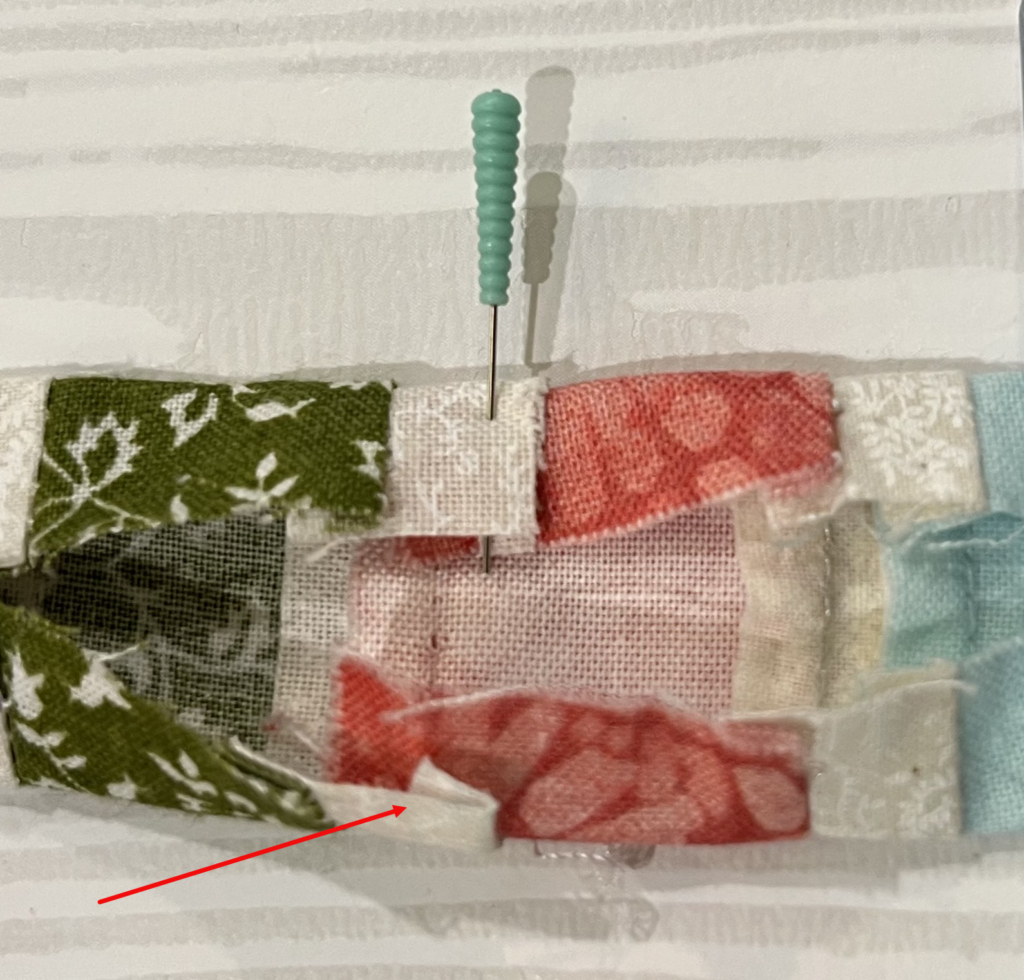
Create Pairs: Sew (1) contrast strip to each color strip. Press.
Sew Pairs Together: Sew each of these pairs together until you have a panel of strips. Press.
Pant Leg Patchwork
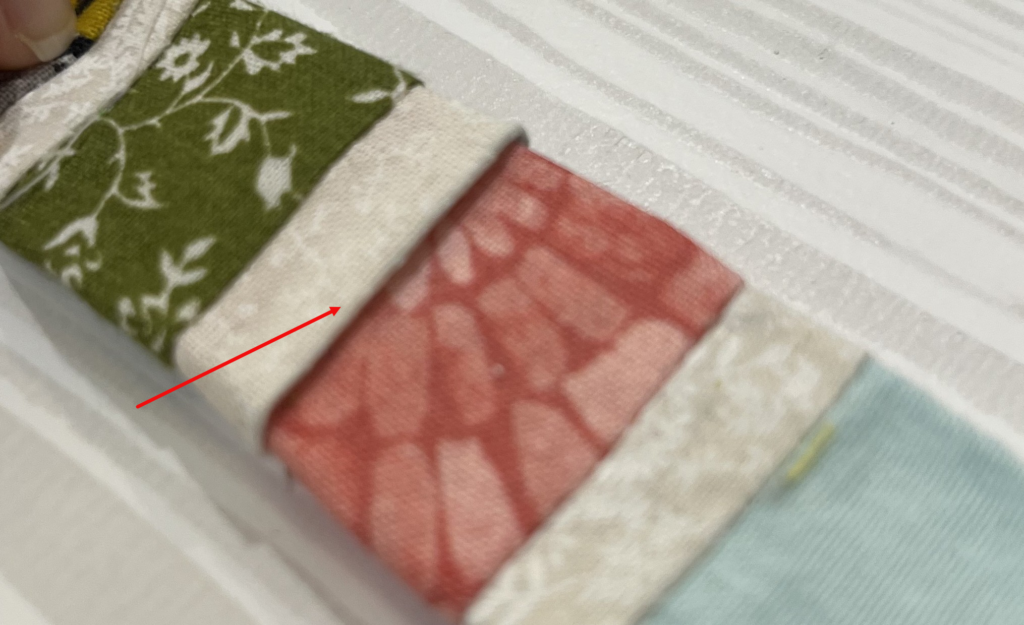
Cut Across: Cut 2″ strips perpendicular across the strip panel. Cut enough strips so that their total lengths equal twice the measured circumference, plus 2 extra strips.
Sew Strips End-to-End: Sew the 2” strips together end to end to make (2) strips slightly longer (~3″) than the measured circumference.
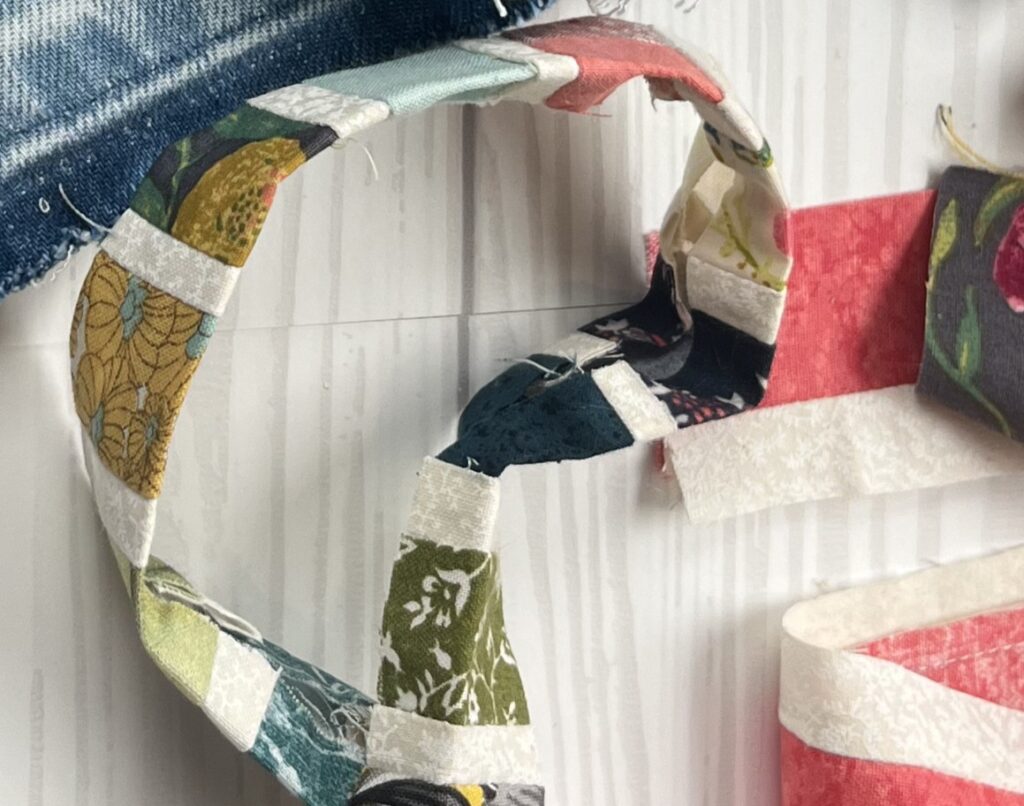
Fold and Press: Fold and press ½” on each side of these strips. They should now resemble bias tape.
Pin to Pants: Pin strips to the bottom of each pant leg at the desired location.
5. Trim Excess: Trim the excess strip to about ½” on each end. Slide one end into the other end. Then fold under the exposed end. Pin.
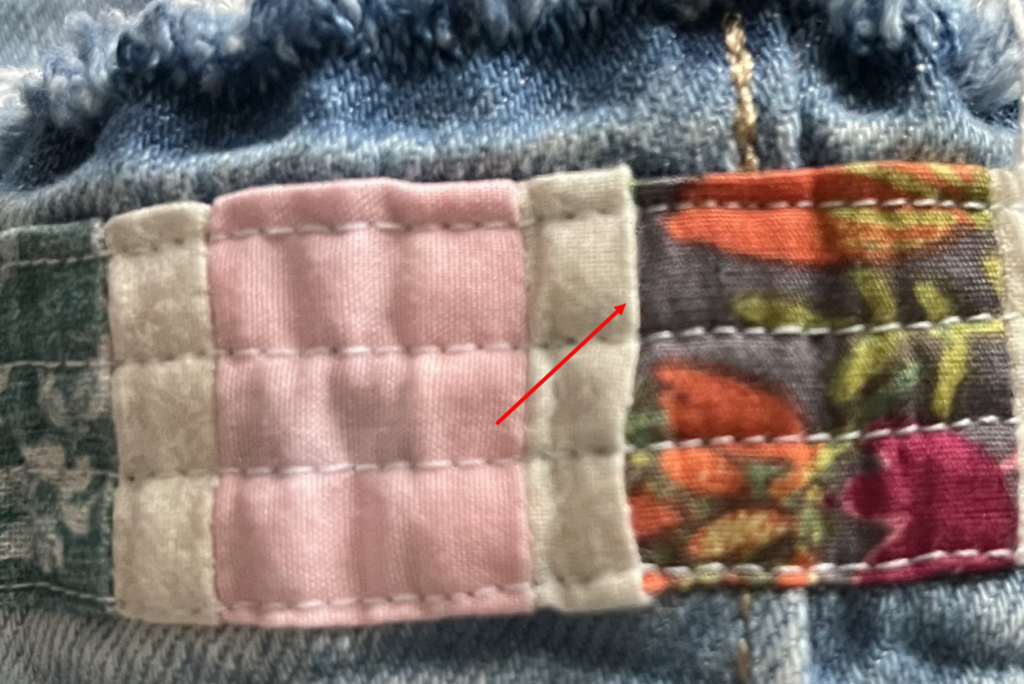
6. Top Stitch: Top stitch along each edge of the patchwork, then top stitch at equal lengths across the patchwork.
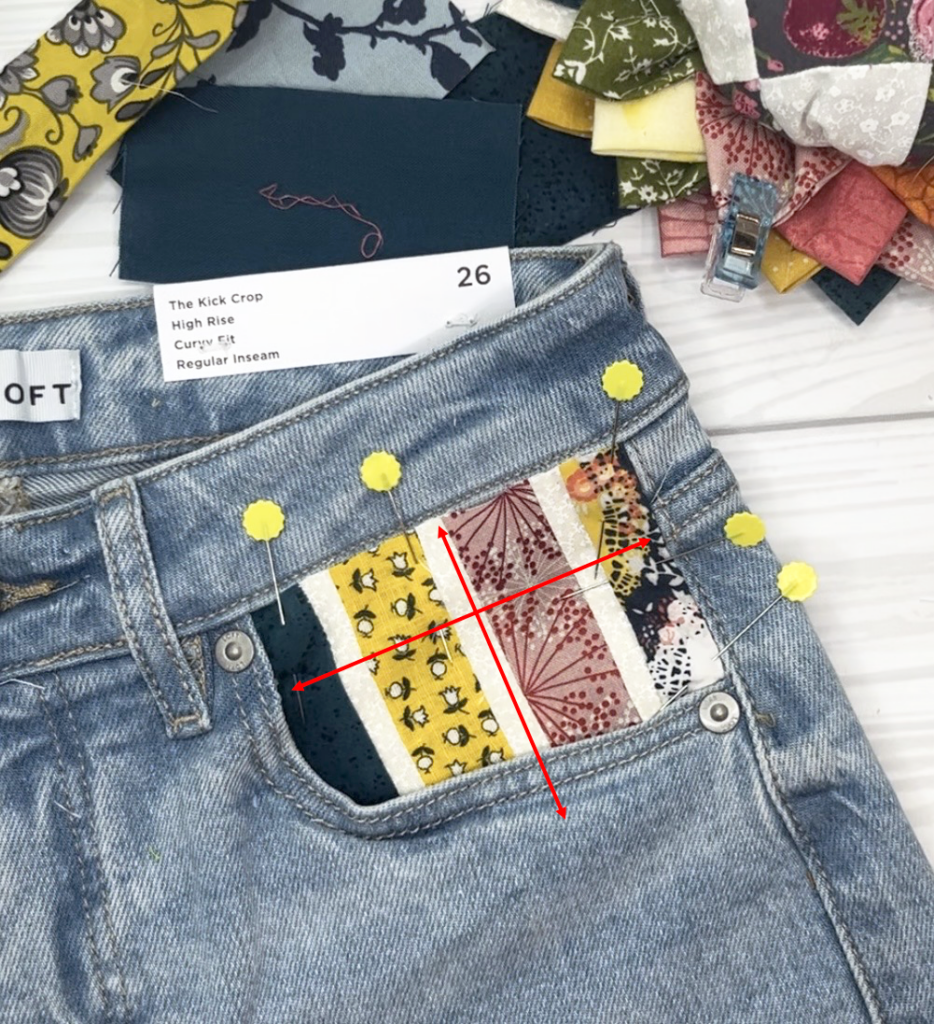
Applique the Pocket
Measure Pocket: Measure the width and length of the pocket backing. Add ½” to the width and 1″ to the length. Using the leftover scrap panel, choose the grouping of colors for the pocket.
Cut and Fold: Mark and cut the remaining panel section to the above measurements. Fold and press ¼” on the top and sides of the section.
Pin to Pocket: Pin the section to the back side of the pocket. See the video link in the pattern for more guidance on this step if needed.
Top Stitch: Top stitch along the edges of the patchwork and vertically along the length of each color just to the side of the seam. I found using a zipper foot very helpful with this step.
That’s it! You now have a cute pair of patchwork scrappy jeans to wear with your quilt block sweater to your next quilt festival or guild meeting!
Note: If you would like to tweak this pattern by changing the number of fabric colors or using a different band height, be sure to download the FREE pattern. The pattern provides not only the above instructions but also how to modify as well as a helpful video link.
MORE BLOG POSTS LIKE THIS
If you enjoyed this blog post, you will love these tutorials!